


What is the DJI Osmo Mobile 2?
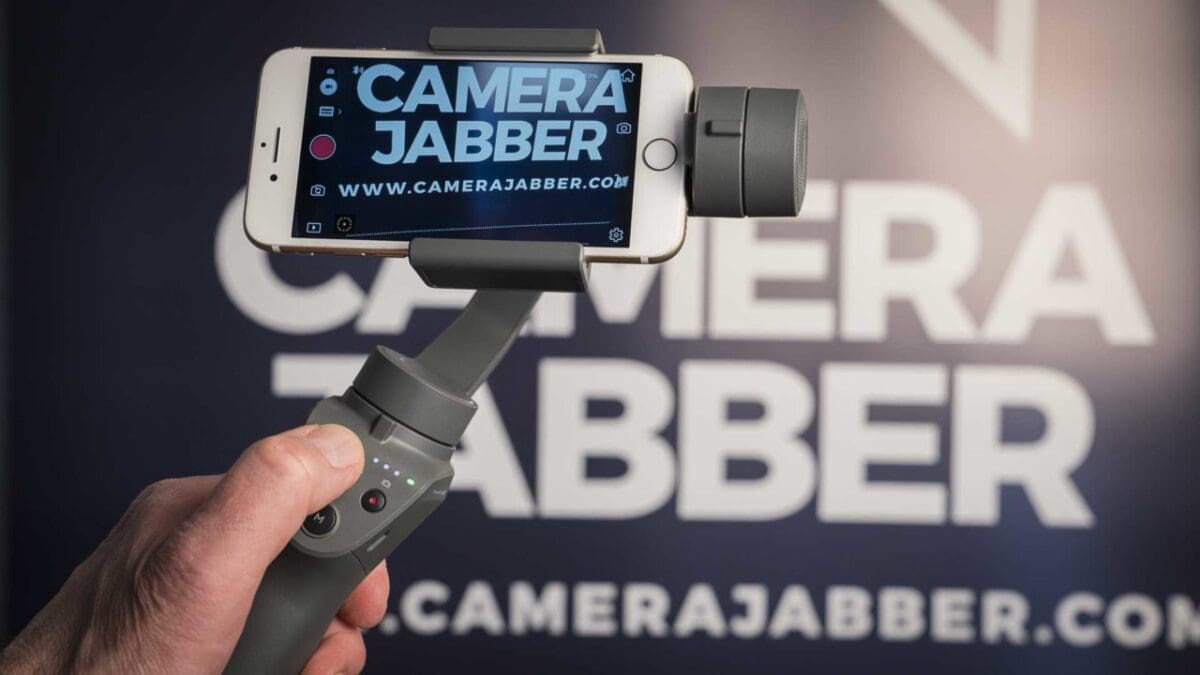
The DJI Osmo Mobile 2 is a motorised gimbal that is specifically designed for use with mobile phones for capturing shake-free video and stills. It works in tandem with the DJI Go app, which facilitates the connection between the phone and the gimbal, allowing you to use the controls on the gimbal to stop and start recording. The app also provides some simple editing tools and helps with sharing the footage.
Features
The secret to the Oslo Mobile 2’s stabilisation capability is the three-axis gimbal technology with built-in sensors and brushless motors that automatically compensate for movement around three pivot-points.
DJI has given the gimbal a two-way clamp to hold a smartphone which means you can shoot in the traditional landscape format or in portrait format for Instagram stories. To switch format, you just loosen the lock nut on the back of the clamp then pull the clamp out a little while rotating to the alternative position.
A USB port has also been provided and if you need to, you can use the Osmo Mobile 2 battery, which normally has a 15-hour life, to charge your phone. It’s worth noting here that as the charging port is covered during use, you can’t power your phone while it’s mounted in the Osmo Mobile 2.
At the base of the Osmo Mobile 2, there’s a 1/4-inch screw mount so you can attach it to your tripod if you like. DJI also offers an optional holder which is handy if you want to stand the unit on a desk or table for filming.
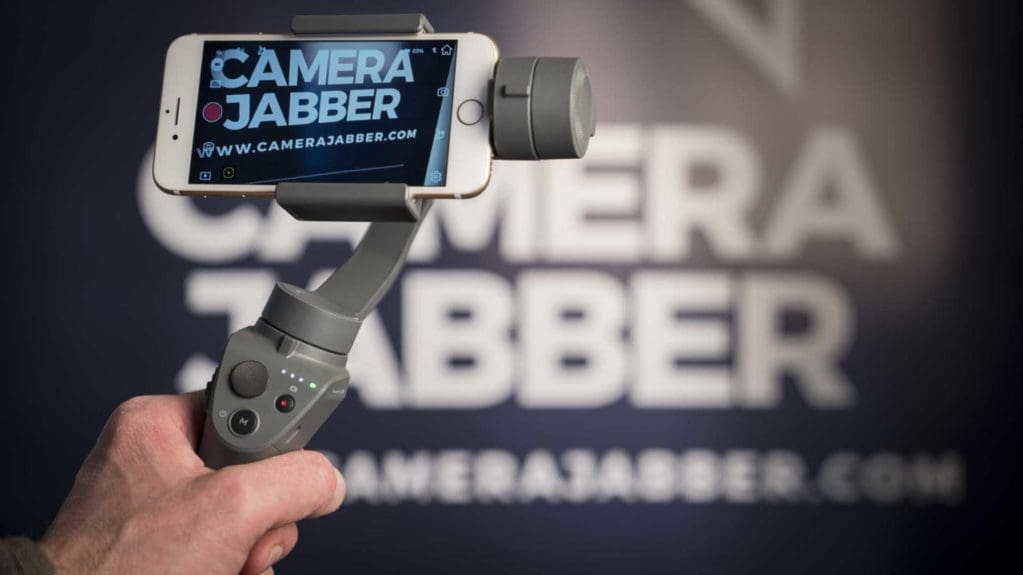
The Osmo Mobile 2 doesn’t just hold your smartphone, it can connect to it via Bluetooth, enabling you to zoom or stop and start recording using the controls on the gimbal.
DJI’s Go mobile app is central to using the Mobile 2 as it facilitates the connection between the gimbal and the phone and gives access to the image and video options.
Key Specifications
Controls
Tapping the camera icon shown on your phone’s screen when the DJI Go app is active gives access to the video resolution, Beautify Effects, Manual Adjust (of exposure), White Balance, Grid and Flash options.
With the iPhone 7, the Manual Adjust controls allow you to set sensitivity (ISO) to Auto or a value from ISO 22 to 704, shutter speed to Auto or from 1/3-1/12000sec and white balance to Auto or Kelvin values from 2000-8000. The standard White Balance settings have the usual preset values, Sunny, Cloudy, Incandescent and Neo plus a Custom setting.
Tapping the gimbal icon allows you to set the scene mode (Walk or Sport) to cater for the shooting scenario and to lock the Pitch. The Pitch Lock keeps the camera locked in one vertical plane, making it useful for following a subject around a level scene.
Shooting Video
ActiveTrack is potentially one of the most useful options available in the DJI Go app. This is selected by tapping on the yellow circle on the screen to change it to a green square. Once the square is showing you need to tap and drag a rectangle over your subject. The Mobile 2 then adjusts the smartphone’s position so that the subject is centred in the frame. If either the subject or the phone moves, the gimbal will compensate to try to keep it central.
Motion Timelapse, Hyperlapse. and the ability to stream live to Facebook, Twitter, YouTube and Instagram. When you’re shooting stills, the Mobile 2 offers Panorama, Long Exposure and LightTrail modes.
It’s possible to shoot using either the front or rear camera of your phone so you can video the scene in front of you or shoot selfies – or record a piece to camera.
As the phone is held with a clamp around its base, it’s not possible to connect an external mic to models like the iPhone 7. It may be possible with some other phones, but the trailing wires could impact upon the gimbal’s stabilising performance.
Using DJI Go
The DJI Go app is pretty straightforward to use and once you’ve connected your various accounts, it’s easy to record video or stream live to Youtube or Facebook Live.
After you’ve shot a few video clips you can also use the app to edit them together. The app can do this automatically by identifying highlights to piece together and overlaying music, or you can take control. If you down the manual route, watch all of your clips and then select the ones you want to edit together.
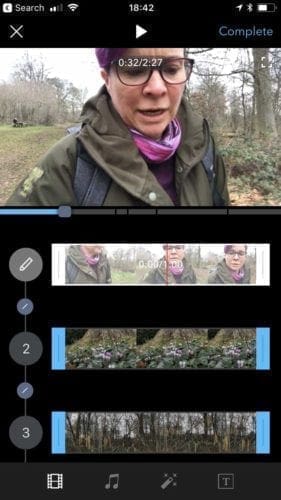
After you’ve chosen the clips, you can rearrange their order and use the sliding controls to identify the sections you want to use. Once that’s done, you can change the background music and audio mix, apply one of a small selection of filter effects and add text before tapping Complete to render your video. It’s pretty straightforward and after a few minutes playing around, you’ll be up to speed.
Until you share or save them, all the videos and images are stored within the Go app. You may want to save all your clips to your phone’s images folder so you can use other editing apps like iMovie.
Performance
After the DJI Go app is installed on your phone it’s easy to pair it with Mobile 2. From then on it’s just a case of starting up the Mobile 2 and the app, ready to begin shooting. I found the pairing worked well on every occasion and a press of the record button on the gimbal always triggered the phone to start rolling.
I tested the DJI Osmo Mobile 2 in a range of conditions including alpine skiing, running across fields and walking, using both the front and rear cameras of an iPhone 7, and it does a very good job of ironing out the usual shake and wobble associated with hand-holding your mobile while you’re shooting video.
ActiveTrack usually works well when there’s a clear contrast between the subject and background, but it gets confused when the subject and background are less distinct. When this happens, the Mobile 2 may start following the wrong part of the scene.
Another issue is that in very bright light it can be hard to see the selection area on the phone screen. This was an issue when I was skiing, so I had to just try to aim the phone it the right direction. Shooting video of myself using the rear camera was no problem, following a moving target as it zig-zagged down a slope was a bit trickier, but I still managed to get some good footage that edited together nicely.
Naturally, the actual video quality is dependent upon the phone that you use, but mounting it in the DJI Osmo Mobile 2 elevates it significantly above just hand-holding.
Sample Video
Here’s some sample footage for you to check-out the Osmo Mobile 2’s stabilisation capability.
Shot in 4K on the iPhone 7 and edited using the DJI Go app:
Live-streamed to YouTube from iPhone 7:
Five clips shot on the iPhone 7 then edited together using the DJI Go app:
The same clips as above but edited automatically in DJI Go:
Verdict
The Osmo Mobile 2 is a great piece of kit that does an excellent job of smoothing the fine tremor of hand-holding a phone and even manages to remove quite large movements caused by running over rough ground.
Although the inability to connect a mic to an iPhone 7 or 8 could be considered a drawback, any trailing wires would affect the Mobile 2’s ability to stabilise the camera. If you’re in a noisy area and need good audio, you could use an external recorder, but the Osmo Mobile 2 is really intended as an easy to use gimbal rather than a professional vlogging tool.
Should I buy the DJI Osmo Mobile 2?
At £129.95/$129.95 the DJI Osmo Mobile 2 is an excellent purchase for anyone looking to improve their smartphone video or dip their toe into vlogging. The limited audio options mean that it’s not really a good choice for reporting from noisy locations, but it’s fine in many other situations.