


Fujifilm introduced a flexible multiple exposure feature with the X-Pro3. This allows you to shoot and combine up to nine images using one of four merging styles, Additive, Average, Bright and Dark.
In Additive mode the image brightness increases with each successive exposure whereas with Average, the camera produces a balanced exposure. In Bright mode, after the first shot is captured, only the brighter areas in successive images are recorded. Conversely in Dark mode, darker areas overlay the first image.
Helpfully, you can see the first image and the result of adding successive images on the screen or in the viewfinder as you shoot. This means you can align objects within your images and assess the impact of different scenes.
We’re hoping that Fujifilm will roll out this improved Multiple Exposure feature to other cameras like the X-T3 and X-T30 with a firmware update. The company has a history of adding new features to existing cameras, but we haven’t had confirmation yet.
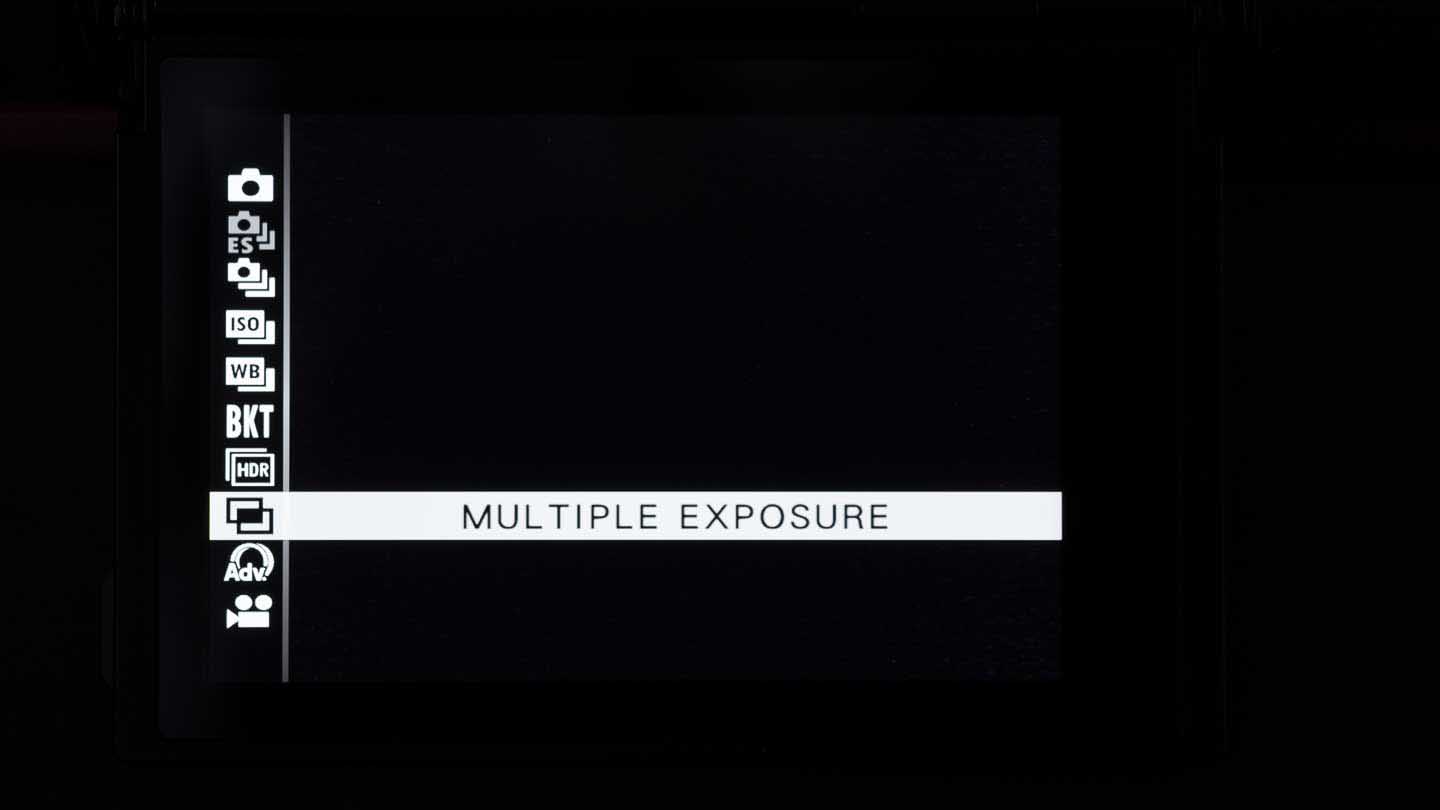
Pre-order the X-Pro3 black version from B&H Photo Video in the US or Park Cameras in the UK. Pre-order the Duratect finish versions from B&H Photo Video or from Park Cameras.01 Set the Drive Mode
Press the Drive mode button and navigate down to Multiple Exposure and press OK/Menu to confirm.
02 Shooting Settings
Press OK/Menu again and scroll to the second page of the Shooting Settings section (camera icon) of the menu.
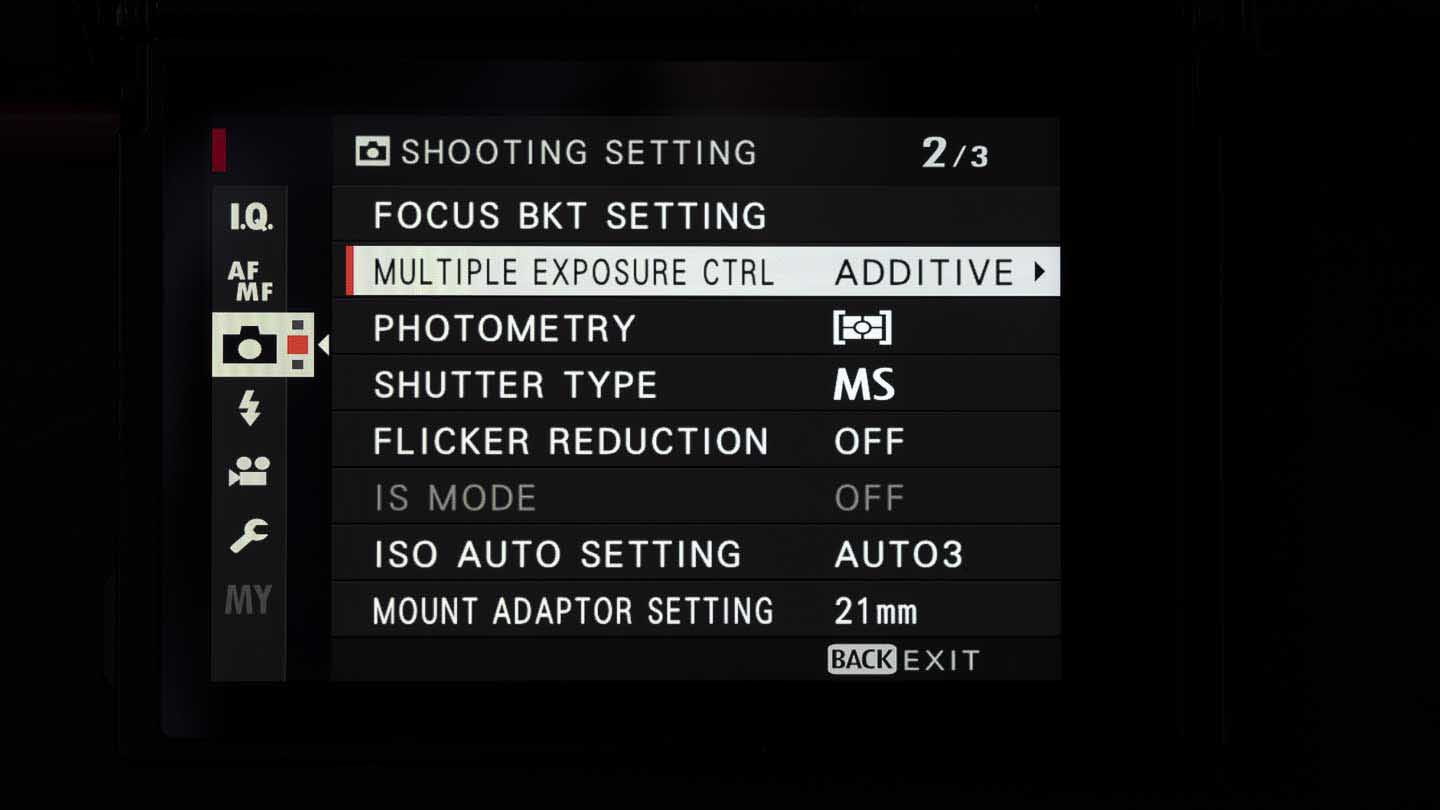
03 Multiple Exposure Control
Select Multiple Exposure Control (CTRL) and press OK or navigate right
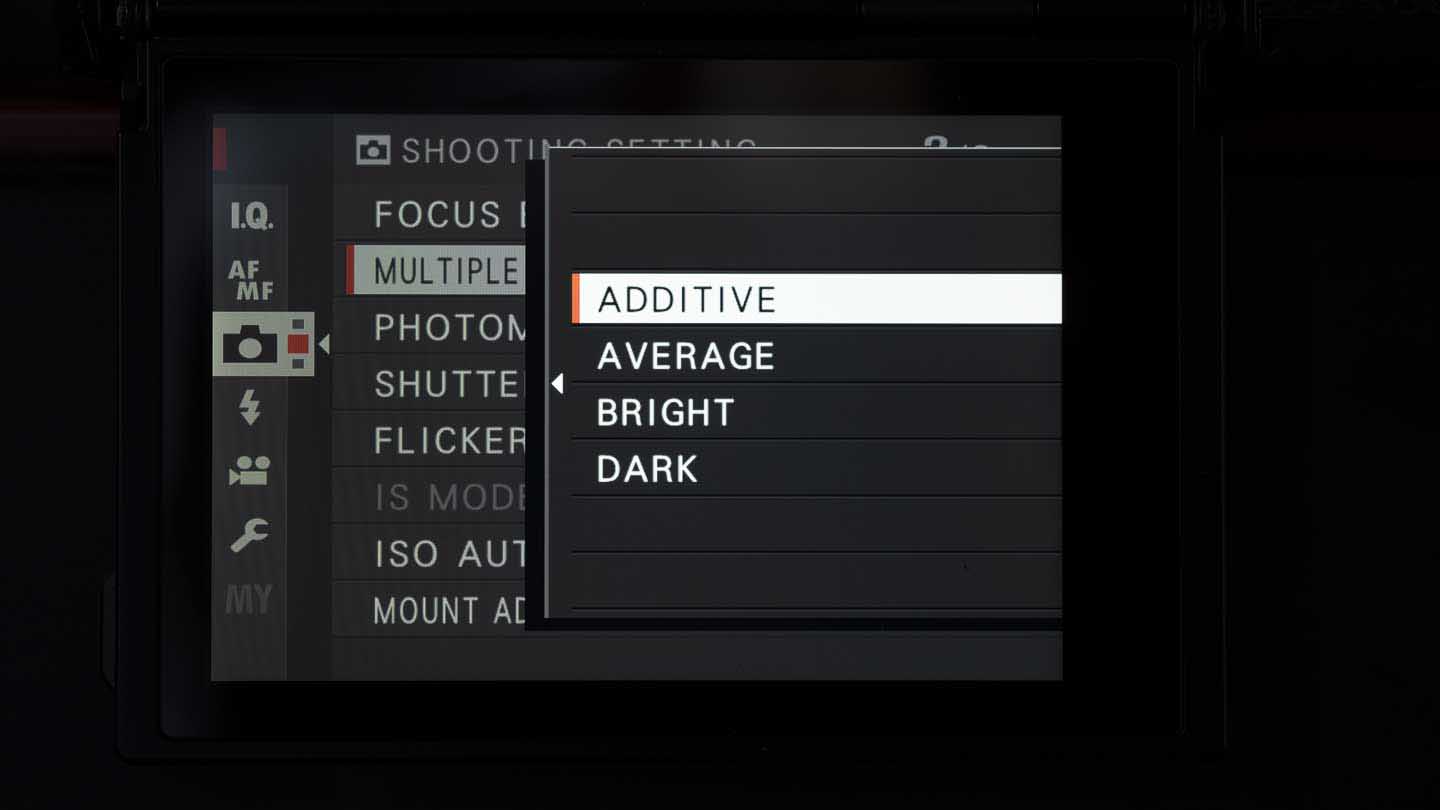
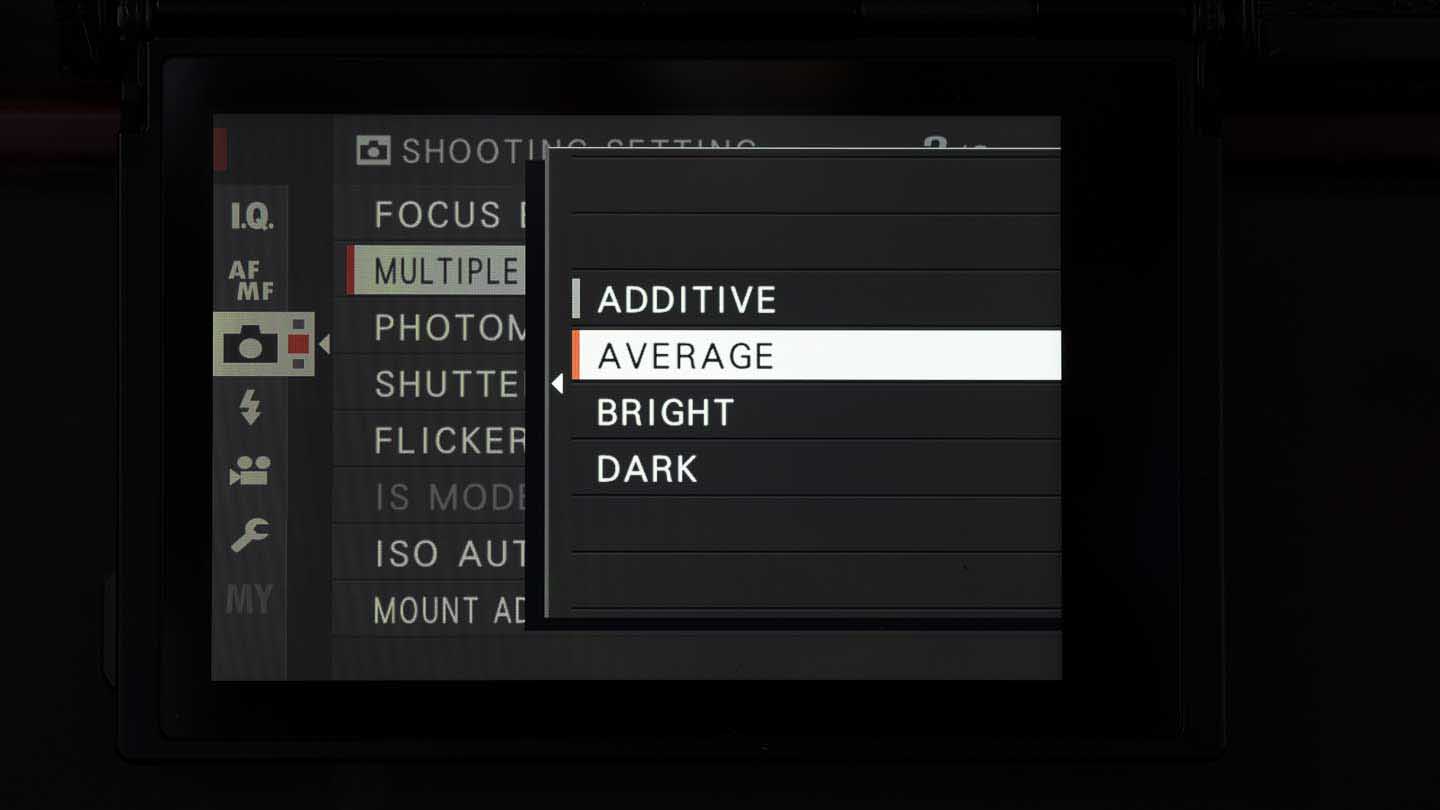
04 Select the Merge Mode
Select Auto and press OK or navigate right and then Select the merge mode that you wish to use (Additive, Average, Bright or Dark) and press OK/Menu to confirm.
05 Compose and Shoot
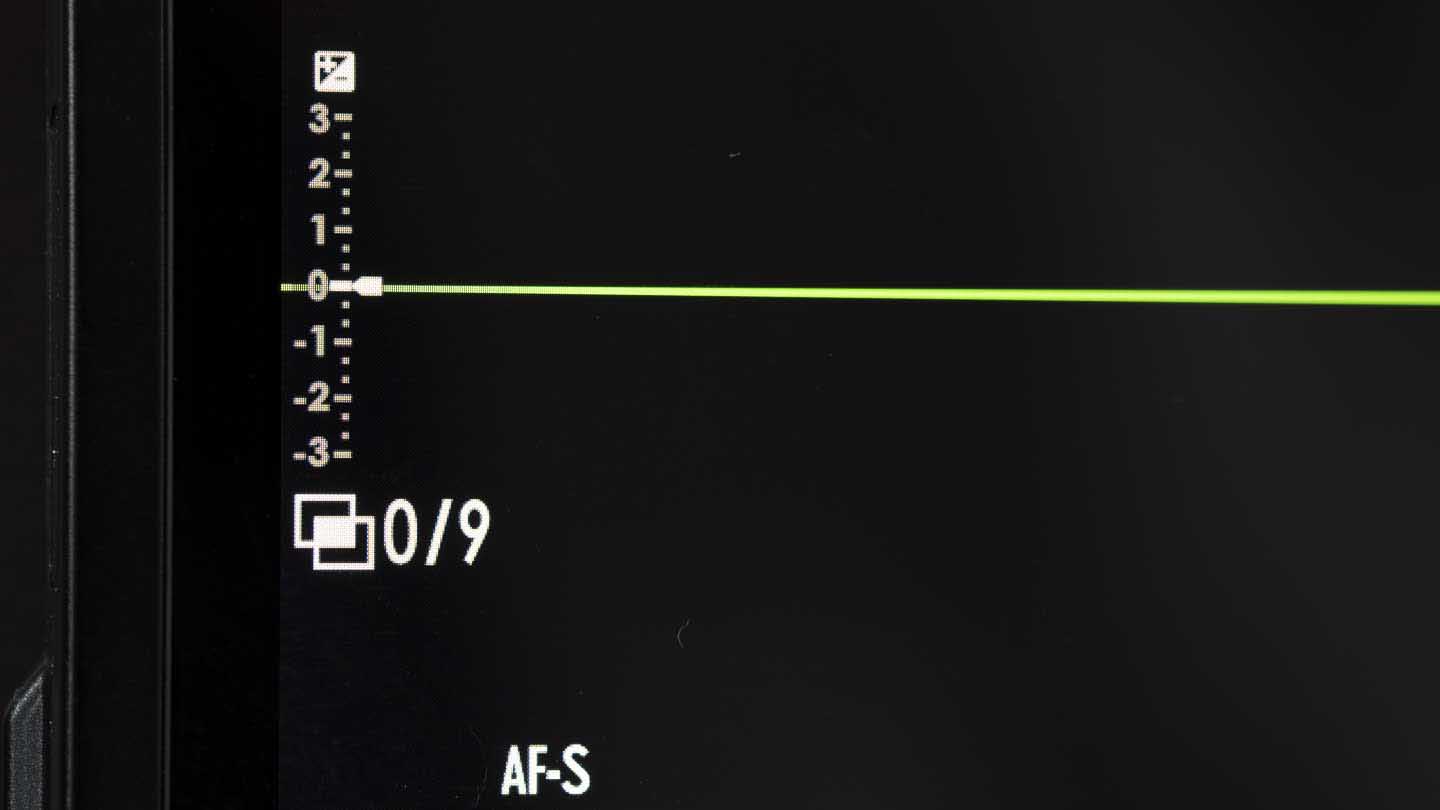
The camera is now set up to capture up to nine images in one file. The on-screen display shows how many images of the nine have been captured so far. Compose your first image and set the exposure settings that you want to use before pressing the shutter release. If you’re happy with the image, press OK/Menu to confirm. If you’re not, press the left navigation button to reshoot it or press Back to exit.
06 Compose and Shoot the Next Image
Compose the next shot and set your desired exposure settings. You can see a preview of the merged effecting the electronic viewfinder or on the main screen. When you’re happy, press the shutter release to capture the image.
Continue to capture images until you get the result you want or your reach the 9-image maximum.
07 Finish
If you want to combine fewer than 9 images, press ‘Back’ to exit and save your composite. When you reach the 9-image maximum, press OK/Menu to finish.
Hi, every time you take a picture you see a preview, but how come i cannot see the final result in the viewfinder or the lcd ? i have to take the memory card out and look in the computer in jpeg to see the final result. I was not able to do the same in the viewfinder.