When I was young, I routinely carried a disposable film camera in my bag as my go-to device for capturing those fleeting moments. As I became more confident in my photography, these were replaced by a Minolta rangefinder and eventually that was superseded by a Nikon N6006.
As the digital era unfolded and I began working at photography publications, the camera in my bag each week varied, but usually I came back to the Panasonic GF1, the Samsung GX10 or the Nikon D90. You might also find me with an Olympus OM-D E-M10, Fujfilm X-Pro1 and a Nikon Z6. The point being, I have always had a camera with me.
But my everyday camera, these days? That would be my Huawei P20 Pro smartphone.
The rise of smartphone camera technology has made it possible to take good photos with a phone that rival the top interchangeable lens cameras. Don’t believe me? Check out these comparisons we shot:
- Google Pixel 2 vs Nikon D850
- iPhone 7 Plus vs Canon EOS 5D Mark IV
- Huawei P20 Pro vs medium format vs full-frame
Modern smartphone cameras have come a long way. As well as boasting ‘Pro’ modes that offer most of the same manual controls you enjoy on your interchangeable lens camera, they also now employ multiple cameras and computational photography methods to provide superb image quality.
So while a smartphone camera may have the reputation of being a simple point and shoot, it’s a much more sophisticated device than it was a decade ago. And with that in mind, many of the tried and tested photography techniques you’ve used over the years with your ‘proper camera’ also lend themselves to smartphone photography.
In this tutorial we’ll explain how to take good photos with a phone camera. We’ll show you how to employ some of core principles of photography, but adapt them to this emergent technology so that you can get stunning photos from your device.
Setting up your smartphone to take photos
One of the benefits of smartphone photography is its streamlined shooting process. An interchangeable lens camera requires, by virtue of its name, extra processes that you simply don’t have with the single-device advantage of a smartphone.
Nevertheless, there are still a number of settings on your smartphone camera that you should use in order to ensure you get the best images possible.
01 Set Auto ISO
The smaller sensors in smartphone cameras are more prone to noise. However, a noisy image is almost always better than having one that’s blurry.
By setting your smartphone’s sensitivity to Auto ISO, you’ll be primed for capturing images in low light at shutter speeds fast enough to ward off camera shake.
02 Enable stabilisation
Not every smartphone offers stabilisation, but most newer models offer it as a standard feature. Turning this on and leaving it active will ensure that in any situation you are primed to capture the sharpest image possible.
03 Self-timer
On the subject of camera shake, setting your smartphone camera’s self-timer will help reduce vibrations that can lead to blurry images.
Of course, this is only practical for images such as portraits or other static subjects.
04 Enable your composition grid
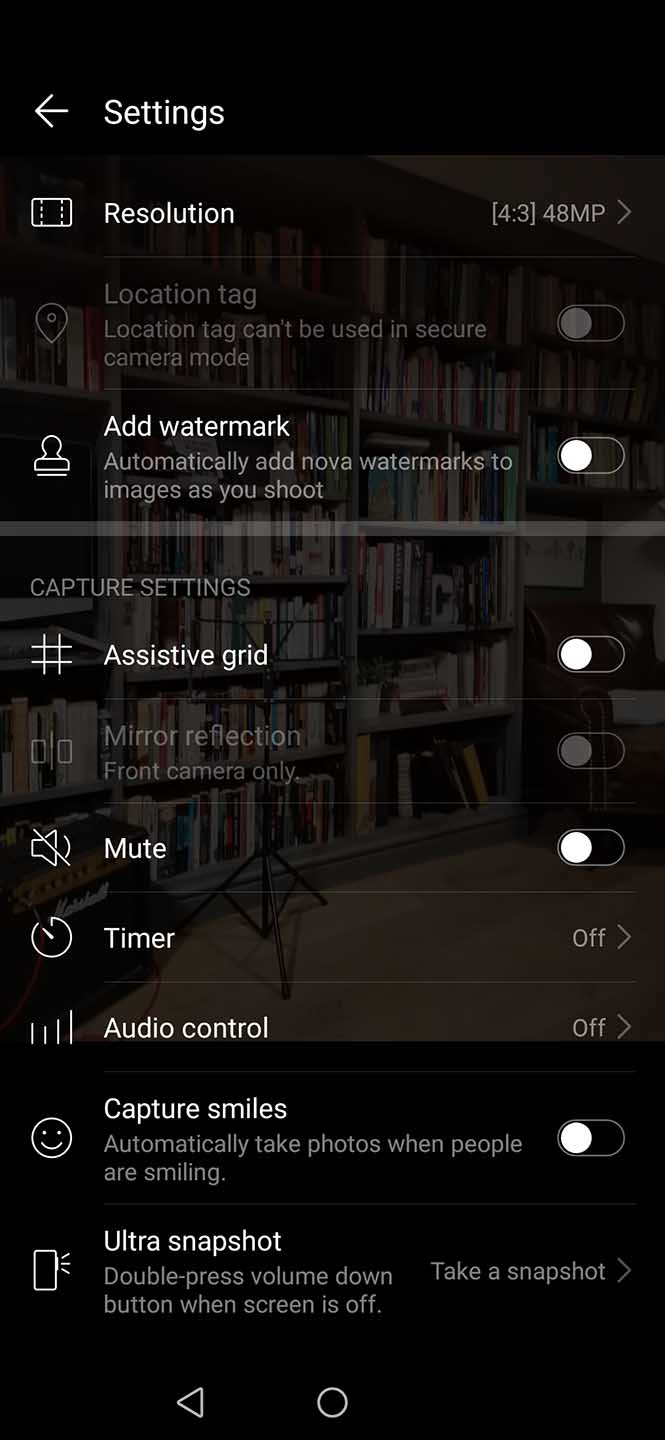
If you’ve been taking photos for a while, a composition grid may seem like something only for beginners, but you would be surprised how useful it is. This is particularly true when it comes to breaking the rules of composition.
If you’ve been taking photos for a while, you likely have an instinctual eye for framing subjects along the Rule of Thirds. But your composition grid can help you learn to look beyond this tradition and break the rules in a way that makes sense for your subject and scene.
05 Set your highest image quality
As a general rule, always set your smartphone camera to capture the highest quality JPEGs possible. And if your phone can shoot raw files, even better.
Now, your phone may have limited internal storage space and no slot for external storage. But you can always delete images you don’t want, or scale them down. It’s good to give yourself that option for a high-res image should you capture something really stunning.
06 Use Pro mode settings
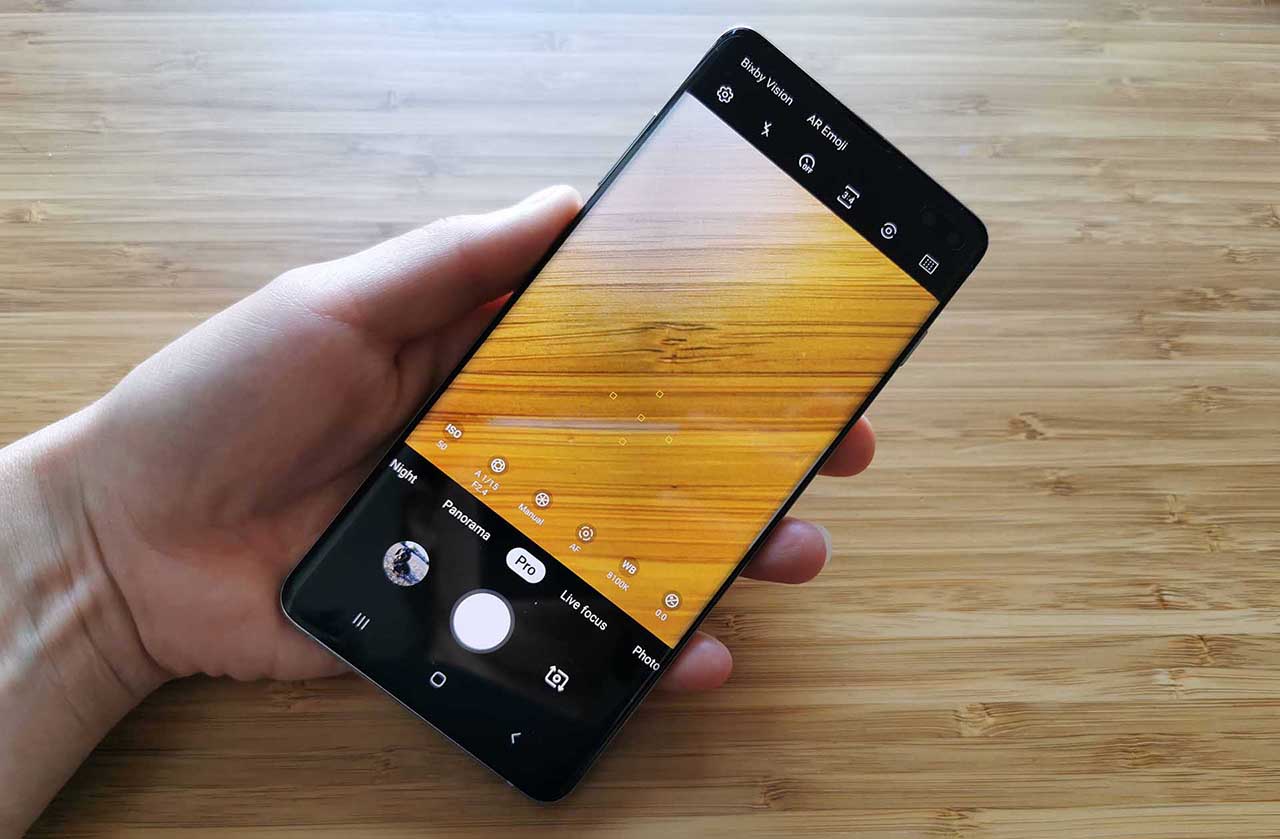
Most smartphone cameras these days feature a ‘Pro’ mode, or a similar option that allows you to take manual control over your smartphone camera’s exposure.
On my Huawei P20 Pro, for instance, I can adjust the metering mode, ISO, shutter speed, AF mode, white balance and exposure compensation.
All of these give me finer control over the look of my images, and if you are learning photography, using these will help accelerate your understanding of light and how a camera works.
07 Choose the best AF mode for your subject
Again using your Pro mode settings, you can fine-tune your AF mode to give you the best chance to capture the type of subject you’re shooting. Most smartphone cameras will offer single, continuous and manual focus options. You might also have a macro focusing option
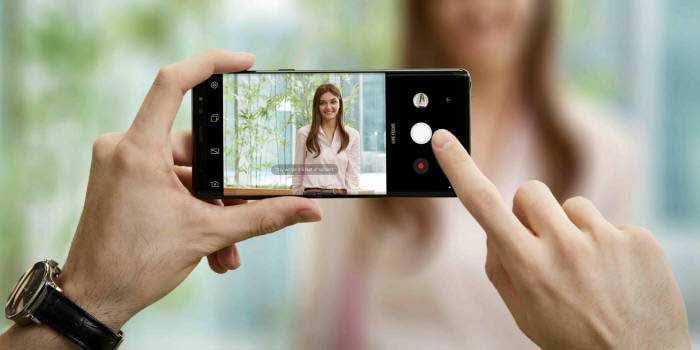
08 Tap to focus
This is perhaps my favourite element of smartphone photography, and it’s what’s so great about traditional cameras with touchscreen LCDs. Simply tap the focal point on your phone’s LCD, and the camera app will focus. That’s all there is to it!
09 Zoom in to check detail
This is a quick and easy way to check that you nailed the shot, and smartphone cameras offer a real advantage with their pinch-and-zoom function. Try to get in the habit after each shot and zooming in to check your focal point, whether it’s a person’s eyes or the mountains on the horizon.
The last thing you want is to share the image later, only to find it’s blurry throughout.
10 Experiment with aspect ratio
Most images we shoot are using the default aspect ratio option on our camera. This is true of smartphones, mirrorless cameras, DSLR or whatever device we’re using. For more compelling images, think about what aspect ration would best suit your subject or scene.
If you’re shooting a big vista, for instance, maybe it would look best to switch your aspect ratio to 16:9. Or perhaps your outdoor portrait might look interesting in 1:1.
Most phones will offer 4:3, 3:2, 1:1 and 16:9 aspect ratios, and some even offer ultra-wide panoramic options.
11 Expose for your highlights
Like any image, retaining highlight detail should be your top priority. With an interchangeable lens camera you would want to meter from the brightest part of the scene in high-contrast conditions. To take good photos with a phone, the process is even simpler.
Simply tap on the brightest part of your scene, and your phone’s camera app will meter from this region. It’s also worth setting your phone’s camera to capture raw files, if possible, to give you greater flexibility when editing.
Another workaround to retaining highlight detail is to simply place large shadow areas outside of the frame, if your composition allows for that.
12 Make use of night mode in low light

Shot taken in night mode: rather than being completely black, there’s a hint of detail in the sky
The so-called ‘night modes’ in phone cameras have come a long way. Even my long-in-the-tooth Huawei P20 Pro captures pin-sharp images in night mode, and newer smartphone cameras are even better.
One of the biggest mistakes with Night Mode, though, is shooting too quickly, which can result in blurry images. This is because you need to wait a moment in nighttime scenes for the focus to lock in.
You’ll be able to tell when the scene on your phone’s LCD stabilises. Then you can press the shutter button, and typically you’ll see a second clock count down providing you at the end with a pin-sharp scene that boasts a full range of tones.
13 Keep the lens clean / avoid fingerprints
This one sounds obvious, but think about how often you hold your smartphone and think about where that lens is. With an interchangeable lens camera and it’s contoured hand grip and neck strap, the lens is the last place you’d ever hold it. But a smartphone is a device designed specifically for you to touch all over.
Before you take a phone, it’s a good idea to give the lenses a wipe down. Even if you don’t carry a lens cloth around with you, a simple wipe with your shirt will help get rid of any fingerprints.
14 Use a wall for support
This might sound like another obvious tip, but it’s amazing how quickly we can lose our creativity while trying to be creative. If you’re shooting in low light and want more stability, think about how you can use tables or walls or anything flat and solid to prop your phone up.
Many phone cases now have extendable arms for such incidents, but even if yours doesn’t there are still workarounds. Only recently, I propped my phone upright using two rocks on either side of its base.
I’ve also used Blu-Tak, and one time I even clipped clothespins on either side of the phone, which served as a steady enough base to hold the phone upright. By enabling the self-timer (see above) and pressing the shutter, I was able to get a pin-sharp image.
15 Use gentle hand gestures to reduce movement
Building on this clothespin example, it’s also worth pointing out that your movements should be gentle. Your phone is much smaller and lighter than a traditional camera. Any interaction with the screen at all is going to produce movement, but the gentler you are, the softer these movements will be and the quicker they will subside before your self-timer triggers the shutter.
16 Shoot perpendicular
If you shoot perpendicular to your subjects when capturing macro images with your smartphone camera you will capture more depth of field.
It’s also worth taking several shots when attempting this to ensure that you’ve everything you want in focus, pin sharp.
17 Use aperture/portrait mode to blur backgrounds
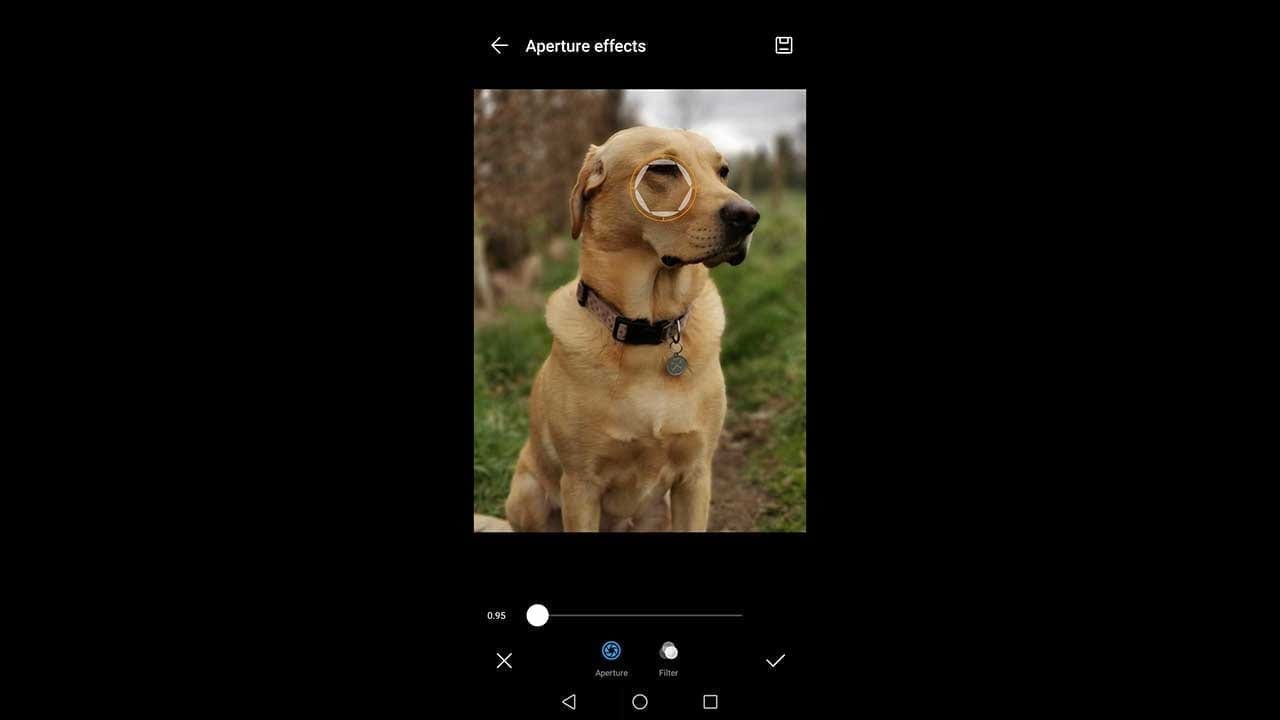
Most phone camera’s now offer an Aperture or Portrait mode that provides the shallow depth of field effect of smooth background blur. In Portrait mode, your smartphone camera will detect a face within the scene and automatically go into this style of shooting.
In Aperture mode, you have a bit more control. In Aperture mode you can shoot any subject, whether it’s a portrait or a still life or a landscape or something else, and then typically drag a slider which adjusts the effect of the aperture to blur the background or provide a wider depth of field.
Because of this versatility, Aperture mode is one of the most useful tools you have to take good photos with a phone.