Astrophotography is a deeply rewarding, yet challenging, genre, but half the battle is simply escaping the light pollution. Get away from city to a purely dark sky and you will be bowled over by the beautiful light and patterns overhead. As photographers we aim to capture what we see, but photographing the night sky in all its glory is tricky to do.
Most cameras offer some advanced features that can improve your long exposure capabilities. Using these along with a few other pieces of equipment, such as a tripod, wide-angle lens and a remote shutter release, are all you need to get started. Well, and a suitable location of course. And decent weather.
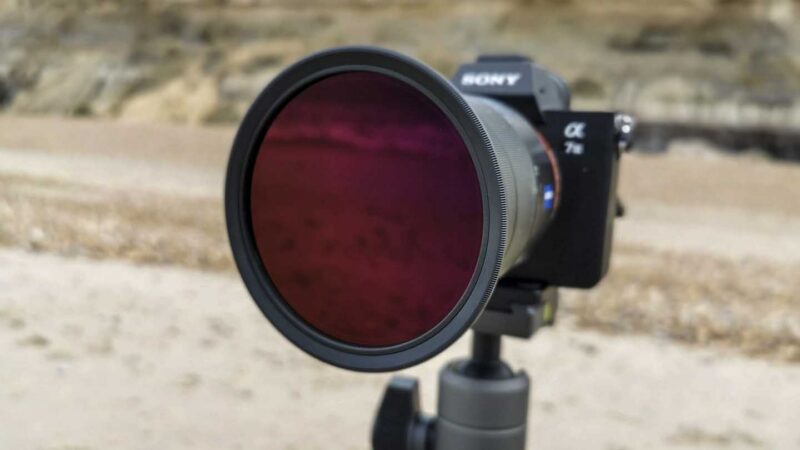
Shooting on a cloudy night will obviously mean you’ll see very few stars. And even a night with a full moon will dominate the light from the more distant stars in your exposures.
In this tutorial we’ll tell you how to photograph stars, from what to bring to the best camera settings for stars.
01 Use a tripod
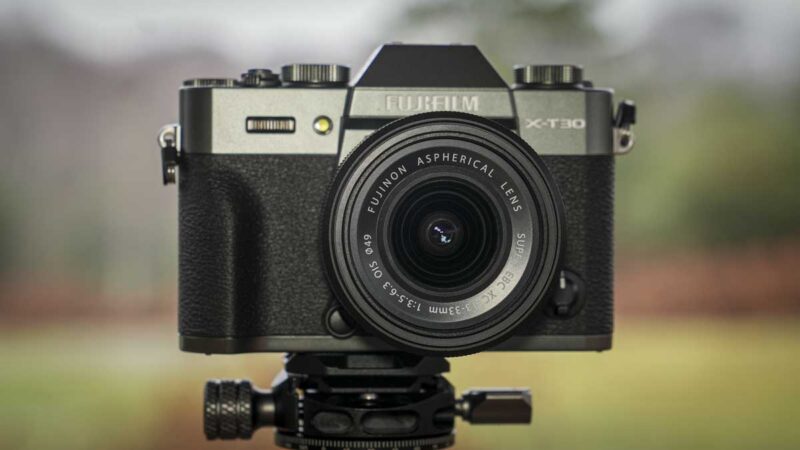
While in-body image stabilisation has come a long way and cameras like the Canon EOS R5 promise to let you shoot handheld in moonlight, it’s still a good idea to use a tripod. For best results, a sturdy tripod just gives you that extra flexibility and peace of mind when your exposures are lasting for several seconds.
Setting your tripod up properly is also important. If shooting on soft ground, before mounting your camera gently push the tripod down until its legs feel firmly in place. Some tripods have spiky feet you can apply for soft ground, which are useful in this scenario. Finally, ensure your legs are locked and mount your camera to the tripod head and ensure your horizon is level.
02 Composition
It’s important to think about your composition before simply defaulting to a landscape format shot. Our inclination is to shoot landscapes in a horizontal composition, but our main subject here is the night sky.
If your location isn’t particularly striking or well-known, perhaps a vertical orientation would work best. This allows for a big, bold sky with a small strip of the landscape at the bottom of the frame, which can look quite dramatic.
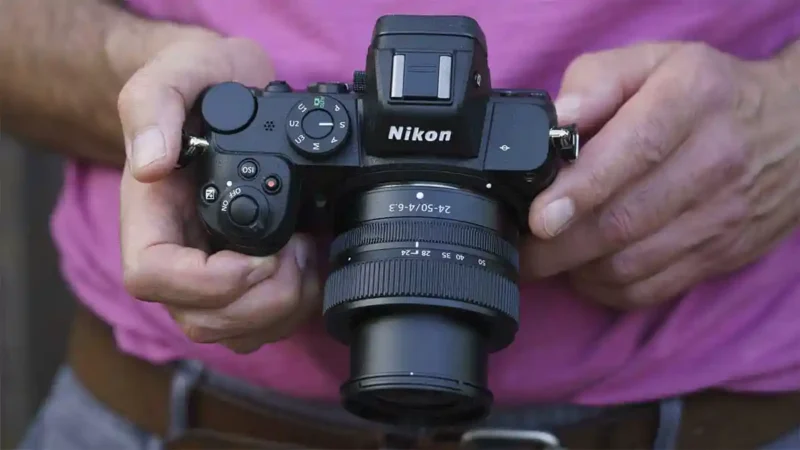
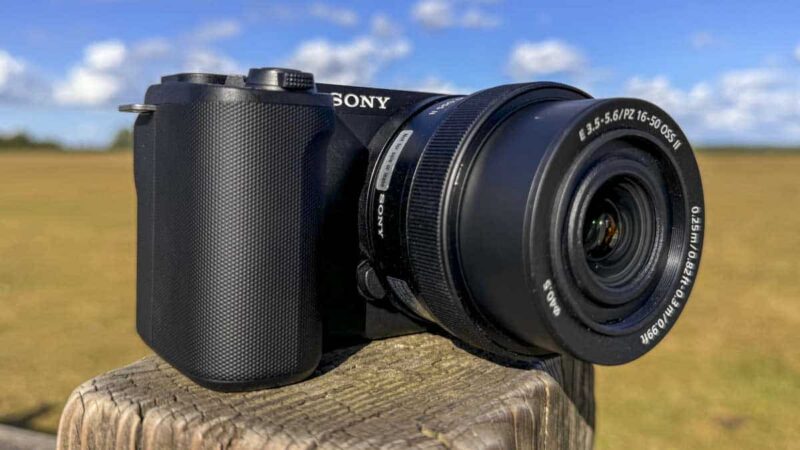
03 Use a wide-angle lens
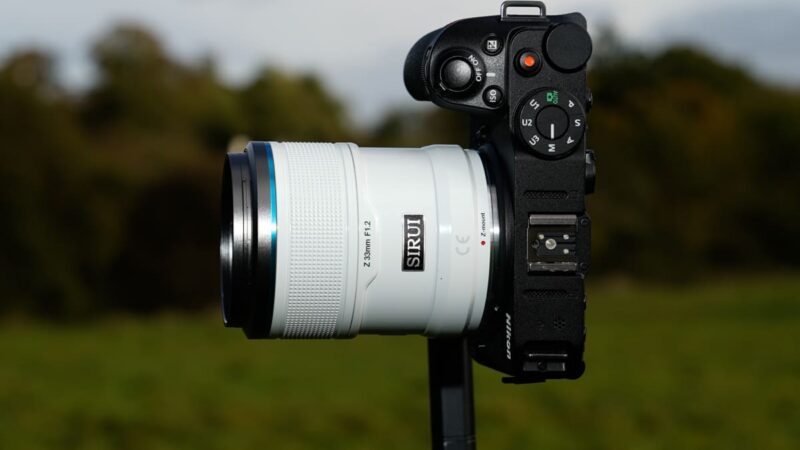
A nice wide-angle lens, such as a 24mm optic, will allow you to fit more of the sky, as well as the foreground, into your frame for a bolder view of our place in the universe. You can also shoot multiple frames and stack these on the computer for even more striking views.
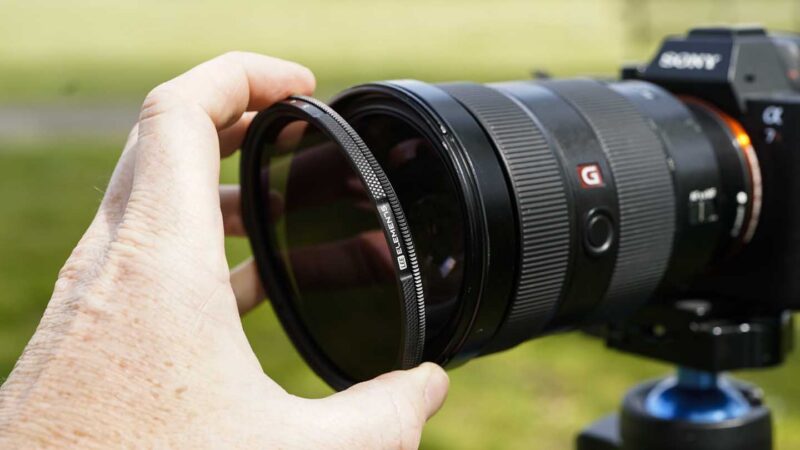
A fast aperture lens, such as f/2.8, will also help you let more of that ethereal light into your lens.
See our guide to which cameras have internal focus stacking functionality.
04 Shoot raw

Shooting in the dark, you need as much data as possible. Because raw files capture so much more exposure information than JPEGs, you’ll have a much easier time working with your images in post-production.
05 Set the self-timer
Pressing your camera’s shutter button, even gently, introduces shake and can cause your image to be blurry. If you set your camera’s self-timer to a few seconds’ delay it will allow any vibrations to subside and ensure your image is sharp.
Another option is to use a remote shutter release to avoid having to touch your camera altogether.
06 Noise Reduction
Many cameras offer a noise reduction mode for when shooting long exposures. Nikon, for instance, has a Long Exposure Noise Reduction mode that helps you produce cleaner images when shooting at night. However, it does this by effectively doubling your exposure time. So it’s worth considering this before using such a mode.
07 Use Bulb mode
Most cameras will limit your exposure to 30secs in Manual, Aperture or Shutter Priority modes. If you need a longer exposure, use your camera’s Bulb mode. This allows you to keep your shutter open for as long as necessary.
You’ll want a remote shutter release for this, though, as directly pressing your camera for such a long period of time will undoubtedly introduce vibrations.
Read our guide on how to use your camera’s Bulb mode.
08 Adjust brightness of your display settings
A bright screen will drain your battery faster. And because you’re likely shooting in the cold at the dead of night, your battery will already be working harder than usual.
09 Live view focus in magnified view
Focusing on a night sky can be tricky and requires a little fine-tuning and patience. If you start focusing at the infinity symbol and use the magnified view you’ll then be able to adjust your focus until the stars appear pin sharp.
You’ll want to use manual focus when focusing on stars in the night sky. Your camera’s AF system will struggle to lock on to a subject and be prone to what is called ‘lens hunting’ where it is constantly searching the frame for a target.
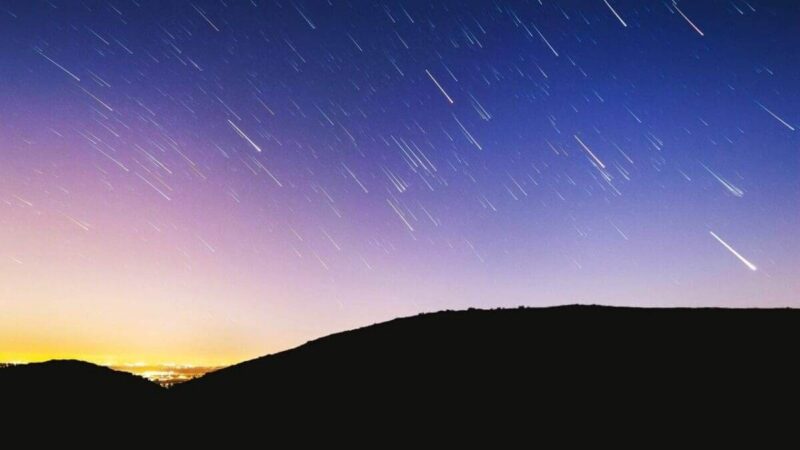
10 Use the 500 Rule to calculate exposure
Unless you’re shooting star trails, in most instances when photographing stars you’ll want a nice balance of sharpness and brightness in your night sky. This is where the 500 Rule can be an excellent guide to calculating your exposure.
The rule states that the longest shutter speed you can dial in before your image starts to get blurry is equal to 500 divided by your lens’ focal length. So if you were shooting at the 200mm end of your 70-200mm lens, you would want a shutter speed of 2.5secs.
This is based on using a full-frame camera. If you’re using an APS-C or Micro Four Thirds camera you’ll want to divide that 2.5secs we calculated above by your camera’s crop factor.
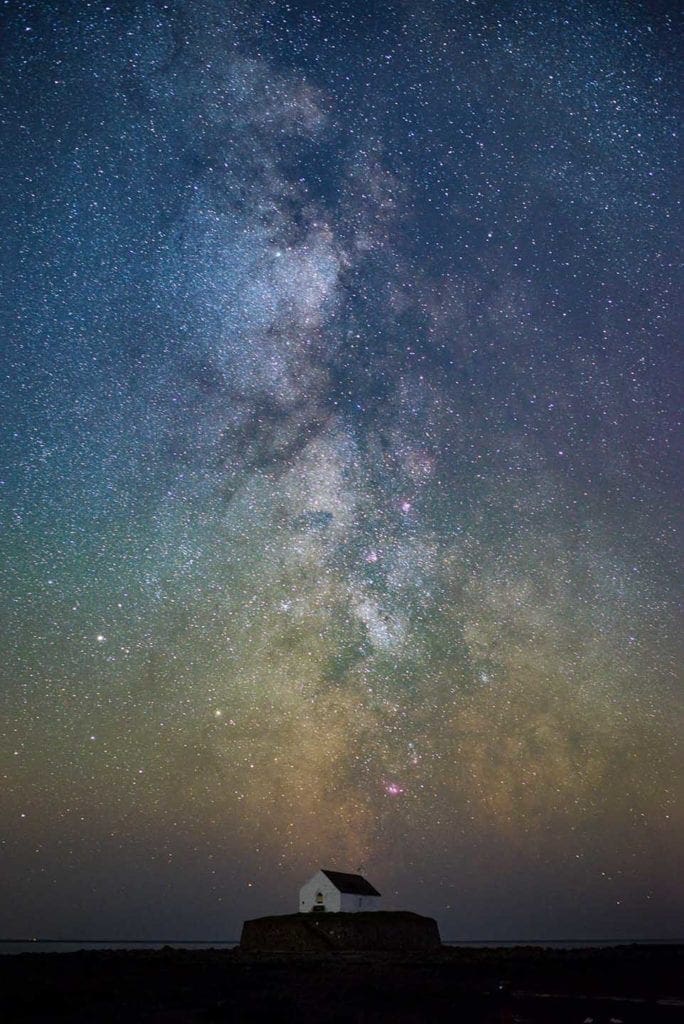
Photo © Marc Clack 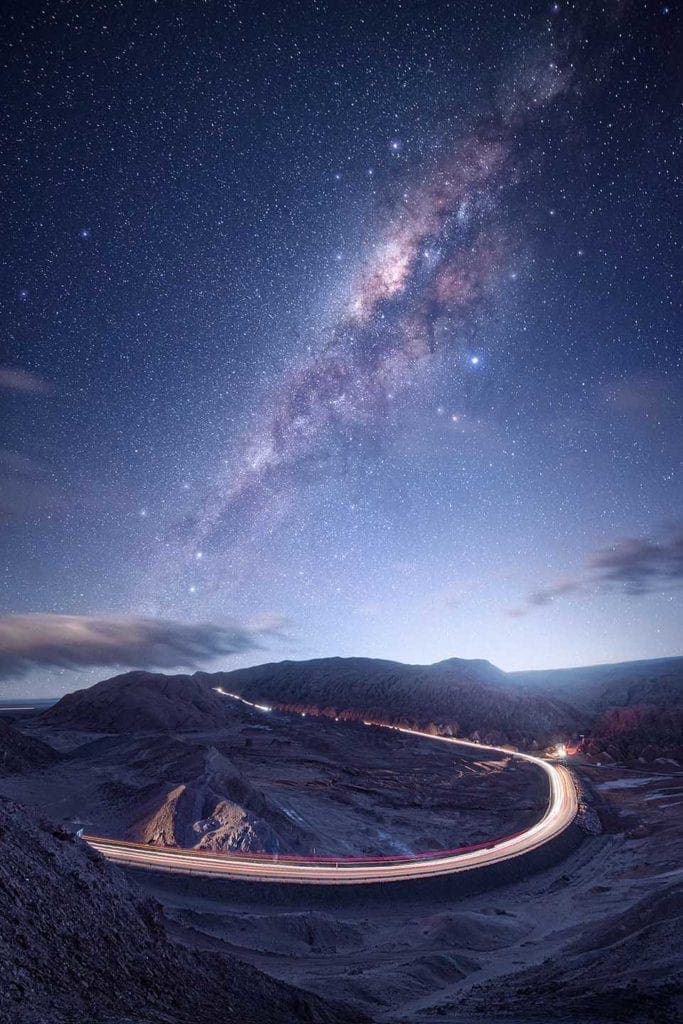
Photo © donaldhyip 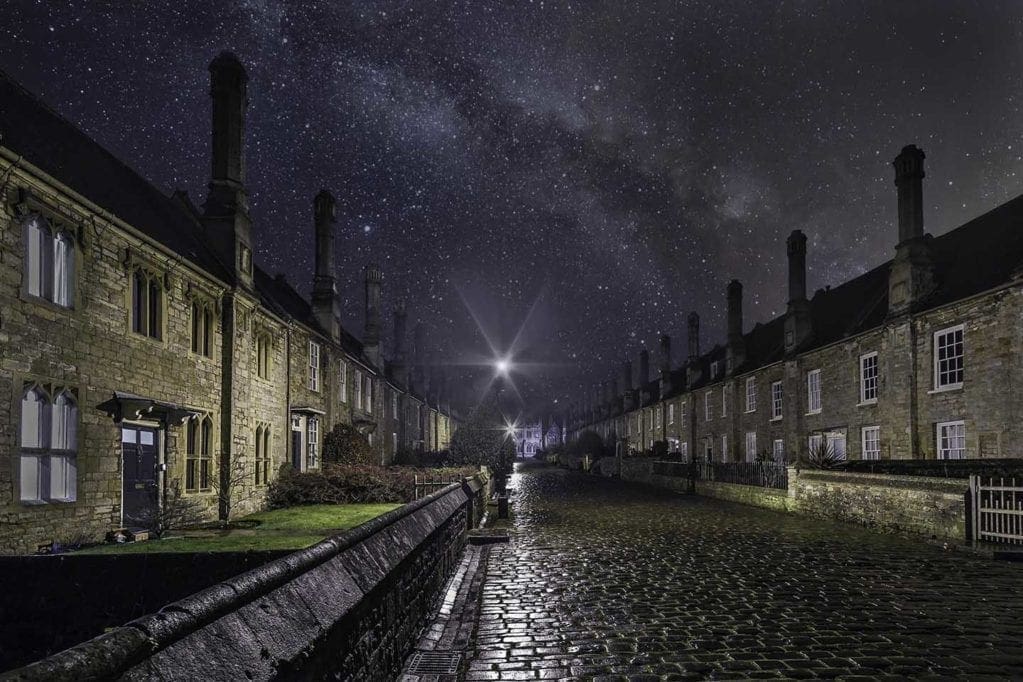
Photo © Rose Atkinson 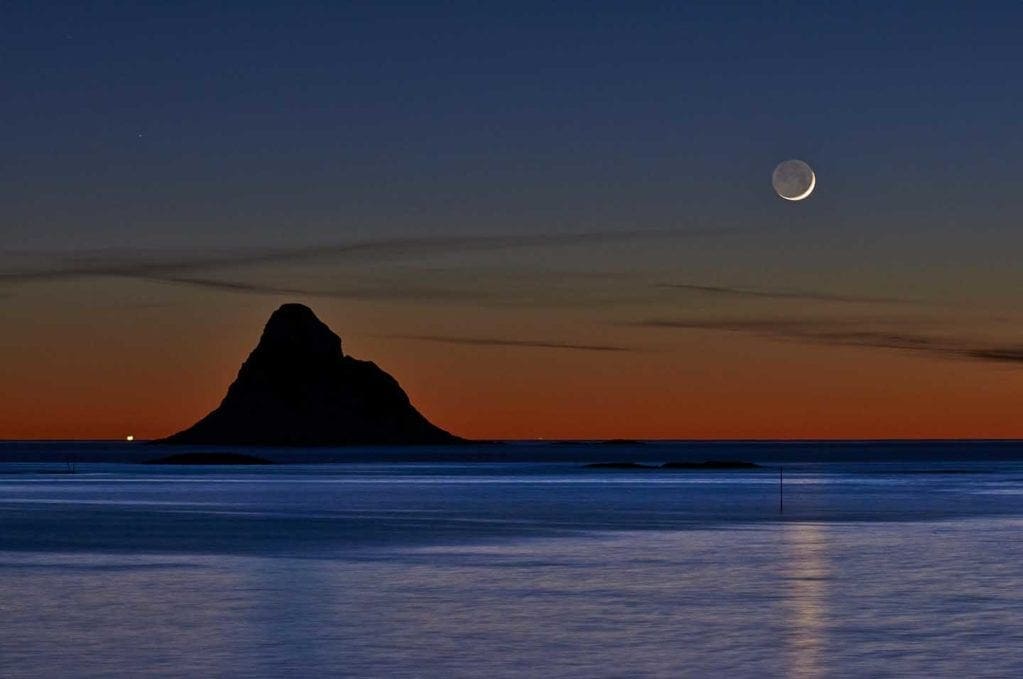
Photo © Wurzle
Why turn off image stabilization when using a tripod?
You may have heard this before, and it might seem counter-intuitive to turn off your camera’s or lens’ built-in image stabilization when using a tripod. However, leaving IS enabled in such a scenario can introduce blur. When lens-equipped image stabilization is enabled it allows the lens elements to move to compensate for the shake. If the system doesn’t detect any motion, though, the coil that moves the elements can produce a sort of feedback that causes the lens elements to move. And this can cause blurry images. This same principle is true with in-body image stabilization systems, or IBIS, where your camera’s sensor moves as it detects motion.
It’s worth noting that some image stabilization systems now are able to detect when you’re using a tripod, but to err on the side of caution it’s best to switch off your IS function when shooting on a tripod.
Best camera settings for stars
Every subject is different, of course, but these camera settings will help you get close to photographing your ideal night sky. The following are our suggestions for the best camera settings for stars. Simply adjust to your style or preference.
- Exposure mode: Manual or Bulb mode
- Aperture: f/2.8 or as fast as your lens allows
- Shutter speed: 15-30secs
- ISO: 800-1600
- White Balance: Auto
- Focus: Manual
- File type: Raw
- Self-timer: Enabled, 3-10secs