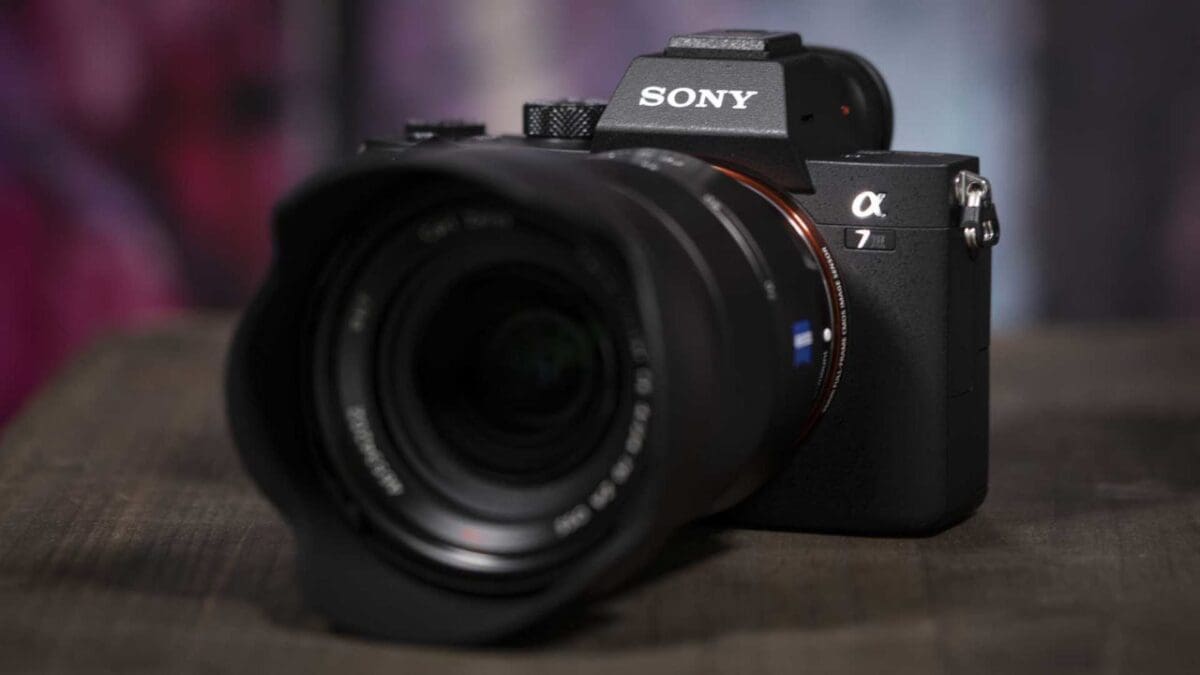
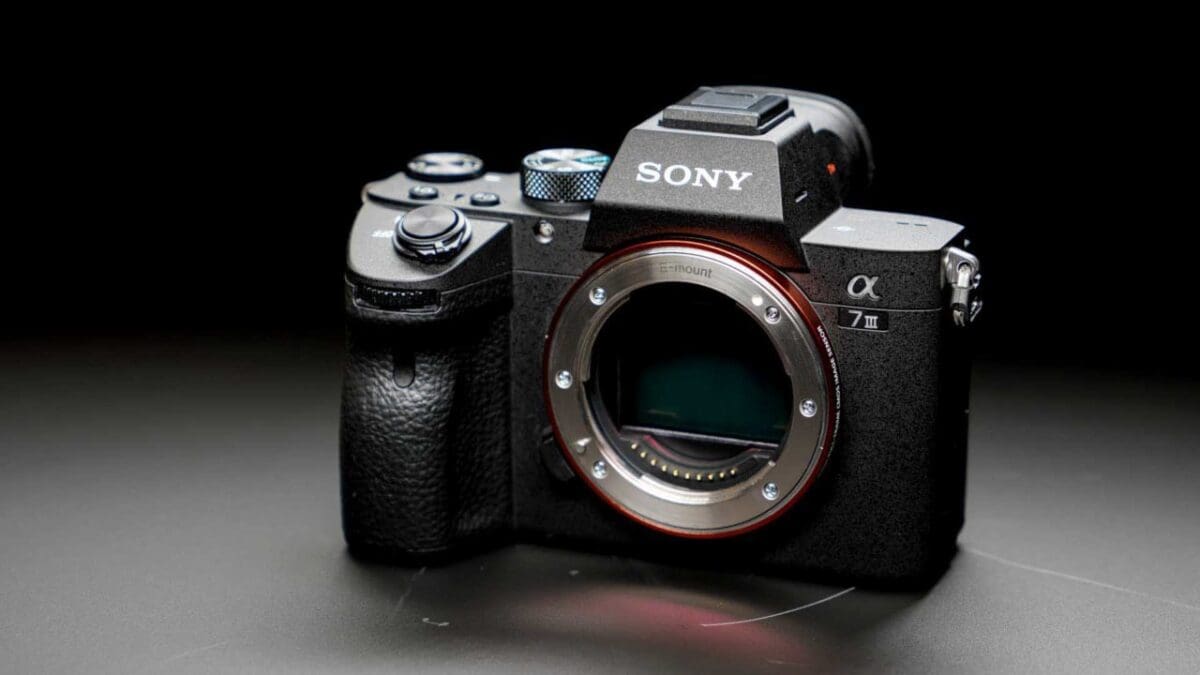
The Sony A7 III is an impressive all-rounder camera.
I don’t think its low light autofocusing is quite as good as the Nikon D850, but it’s good. I was able to photograph a pair of dancers in a dimly lit room filled with smoke and the low contrast didn’t cause much in the way of problems.
Of course, one issue is selecting the right focusing mode of the shooting situation. In some situations, for example with a relatively uncluttered or motionless background, Wide Focus area is a great choice because the camera latches onto a subject that moves randomly with more success than when you try to follow it with a small spot in the viewfinder.
Similarly, Expand Flexible Spot allows you to target an area and then the camera follows it, but it can sometimes jump to a different part of the scene.
Eye AF, which by default is assigned to the Center button can be extremely useful, especially as it works in continuous focusing mode. I found it very helpful when shooting portraits or photographing the dancers, but it doesn’t always spot the eyes so you have to be ready to react.
Sony A7 III Image Quality
With a resolution of 24Mp, the A7 III isn’t going to match the 42Mp A7R III or 61Mp A7R IV for detail, but for much of its native sensitivity (ISO) range, it captures a high level of detail.
Even images captured at ISO 51,200 look good. The jpegs have a slight texture visible at 100% and show some signs of noise reduction, but they’re not objectionable. The raw files give you the option to avoid this noise reduction so you can have slightly more textured images with more detail.
The A7 III has a maximum sensitivity setting of ISO 204,800. Which although we’ve seen before, is a crazily high setting that allows photographs to be taken in very gloomy conditions. However, that setting is an expansion setting for a good reason. At that value, although I’ve seen worse, the images can suffer from false colour and noise. They could still be usable for news reporting or evidence gathering – or those situations when you just need an image.
Exposure and Colour
The A7 III’s viewfinder and screen can display the image as it will be captured so you can adjust the exposure before taking the shot. I found myself adjusting the exposure compensation dial quite a bit during my time with it at the press event. I’ll look into this in more detail when I have longer with the camera.
In its auto white balance setting the A7 III’s shots sometimes vary in colour a little depending upon the image composition. It’s not a dramatic shift in colour, but when the images are side by side it’s noticeable. For this reason, I usually either use a preset white balance or a Custom value that I set manually.
Autofocus Performance
The autofocus (AF) system is a key selling point of the A7 III so I’ve spent quite a bit of time looking at its performance.
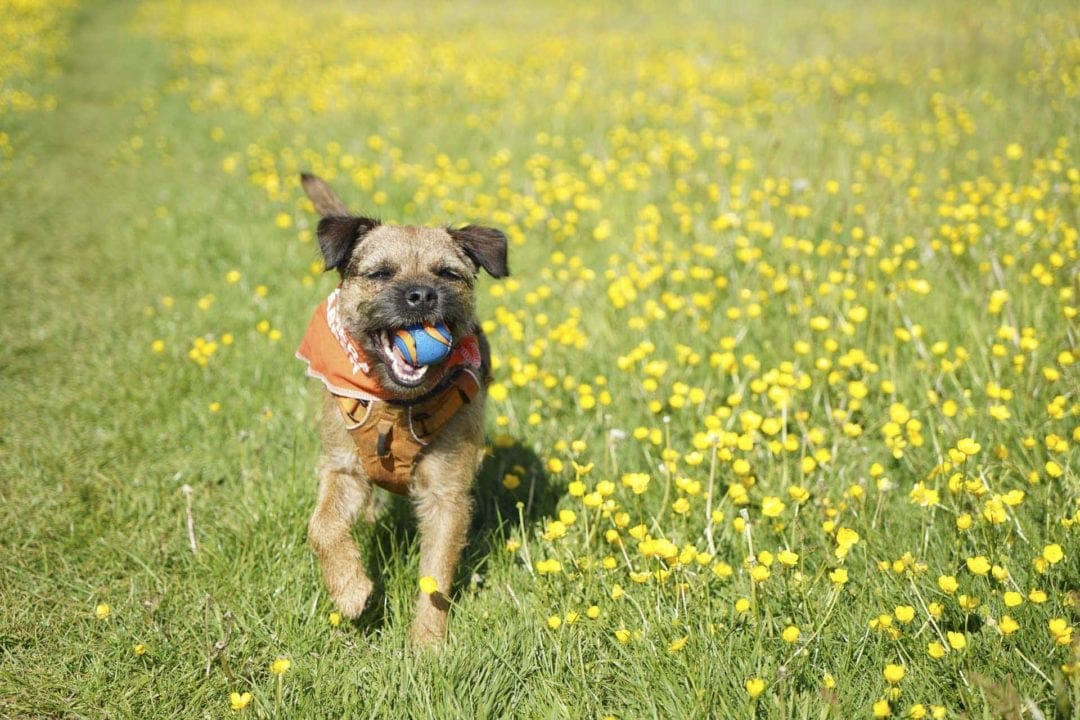
The SonyA7 III has Eye AF, and following a firmware update, it can work with humans or animals. It’s a great feature that is a real bonus for wedding and portrait photographers. It’s also useful for pet photography, but I’ve found the Eye AF is better when your dog is still or slow-moving rather than racing about.
Some of the first images I shot with it were of my dog playing fetch.
Initially, I used the Sony Carl Zeiss Vario-Tessar FE 24-70mmf/4.0 ZA OSS lens, at first keeping the AF setting in their default arrangements:
AF Tracking Sensitivity at 3(Standard)
Priority Set in AF-C: Balanced Emphasis
But then switching to:
AF Tracking Sensitivity at 5(Responsive)
Priority Set in AF-C: AF
With focusing set to Continuous AF (AF-C) and the drive mode set to Continuous Shooting: Hi+. This sets the camera to shoot at 10fps, the fastest rate available with the A7 III.
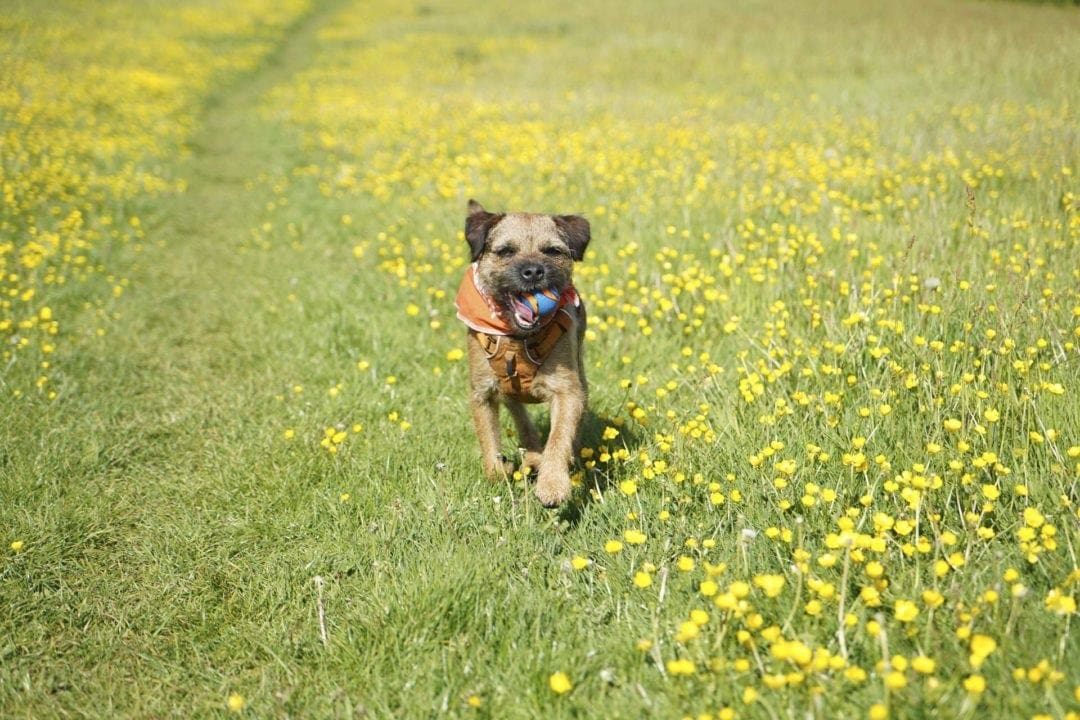
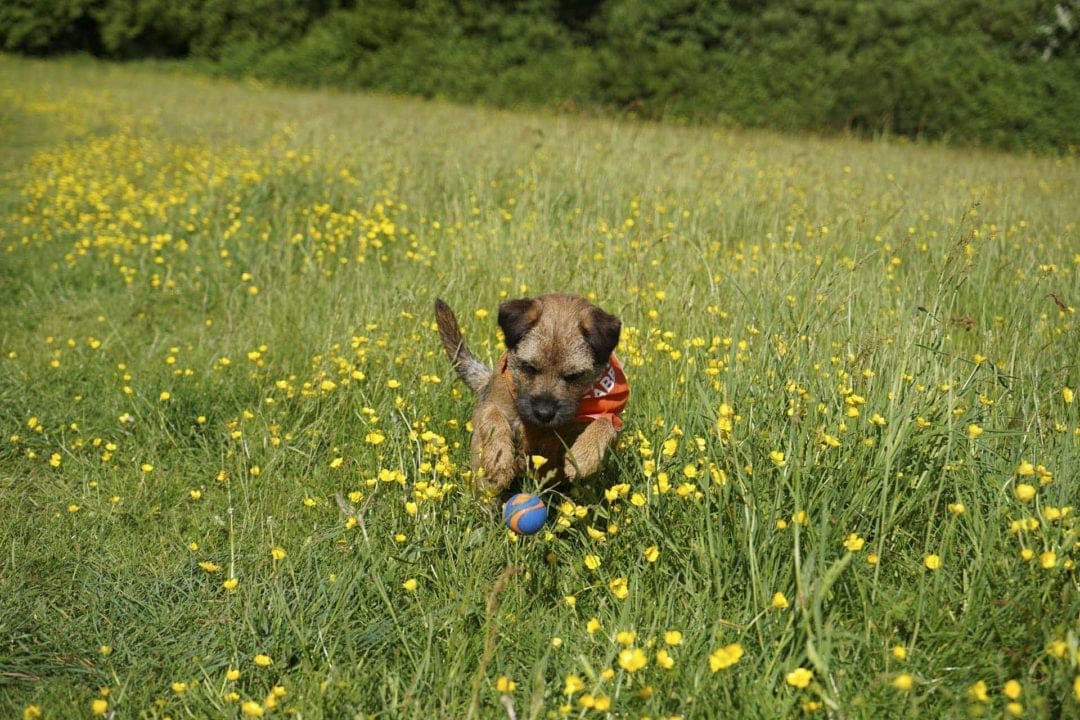
Luckily for me, Otto is obsessed with chasing balls, so armed with a launcher and a couple of balls, I set him in motion, taking photographs as he ran back to me ready for the next ball to be thrown.
Focus Area Wide
I spent some of the time with the camera set to the Wide Focus Area. When this mode is selected the camera uses all of the available focus points to detect the subject and focus on it. As I looked at the viewfinder I could see that on the vast majority of occasions the camera was managing to locate Otto in the landscape and was following him well.
As I found with the Sony A9, the A7 III’s AF-C system sometimes gets a bit fidgety when the subject isn’t moving, but when it is, it usually latches on quickly. You can see this as green squares appear over your subject and follow it around the frame.
Focus Area Flexible Spot
After several runs with the A7 III set to Focus Area Wide, I switched to Lock-on AF: Expand Flexible Spot S (Small) or M (Medium). In this mode you can choose the starting point for the AF and then the camera tracks the subject around the frame. It’s a very convenient option for a variety of subjects.
I generally find it easier to move the AF point to where I want it to be with my left thumb on the screen with the Touch Panel+Pad activated.
Again in the majority of cases, the green squares stayed over Otto’s head as he ran towards me.
Sony A7 III Autofocus Test Results
After downloading all the images, I checked them at 100% on my computer screen. This reveals that many of them are sharp with the focus point where I want it. However, when the AF Tracking Sensitivity was set to 3 (Standard) there are lots where to focus is on Otto’s shoulder or the end of his body rather than his head.
The focusing system seems to have struggled the most when Otto was close to the camera but not closer than the nearest focusing point. At relatively close quarters, there’s greater chance of missing the focus because small movements have a more significant impact.
Using the Priority Set in AF-C: AF option reduced the number of failures and switching the AF Tracking Sensitivity to 5 the maximum boosted the success rate significantly.
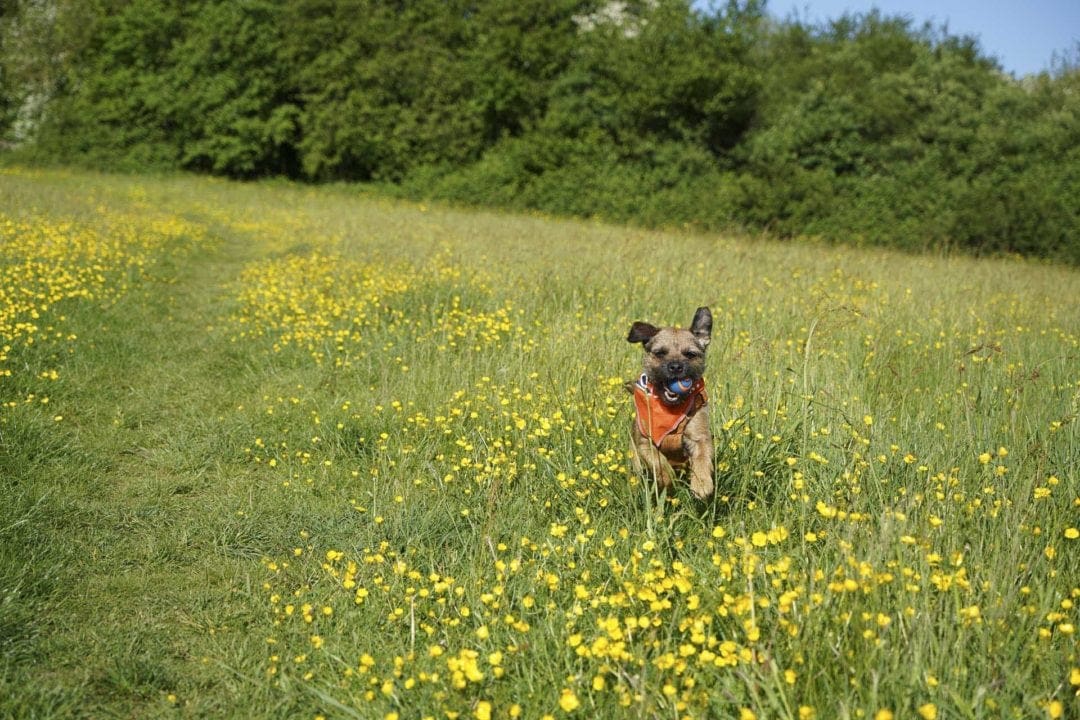
There were a few occasions when the AF system moved the active points away from Otto, as I was shooting in a meadow of tall grass it’s possible that something got in the way, but it predominantly got the point in the right area and got his face sharp.
The images below are just a small selection of the sharp results. Follow the link to browse and download full-resolution images. Follow this link to see a wider selection of Sample Images.
Dynamic Range
A camera’s dynamic range is a measure of the range of tones that it is able to capture in a single image. A camera with a low dynamic range produces images that have dense shadows with little detail and the brightest areas, the highlights, burn out easily.
Conversely, a camera with a wide dynamic range captures images that lots of tones between the extremes of white and black.
Having the ability to capture lots of tones means that a camera reproduces tonal gradations well, so there’s no stepping or banding where there should be a smooth transition from one shade to another.
Sony claims that the A7III’s 14-bit raw files have a 15-stop, or 15EV, dynamic range. That’s a very high value on a par with what our eyes can see. It’s also beyond what the average computer monitor or printer can replicate.
However, capturing images with wide dynamic range allows you to make adjustments to images so they look as you want them to on screen or in print.
Sony A7 III Dynamic Range in Practice
After shooting in a range of conditions with the A7III, it’s clear that it does have an impressively high dynamic range. A little of the tonal range has been a lost in the images below, but they illustrate the point.
The high contrast scene below was shot using exposure settings that avoided any sign of Zebras with the Zebra Level set to 100+.
This meant reducing the exposure below that recommended by the camera, but the darkest parts still have a good range of tones.
Original Exposure
Boosting the Shadows slider in Adobe Camera Raw (ACR) to 100 shows the degree of information available in the darkest areas.
Shadows value increased to 100 in Adobe Camera Raw
However, producing a more natural, attractive image that better reflects the scene requires a lighter touch with the controls.
Balanced Exposure
Boosting the Shadows
This scene was exposed using the settings recommended by the A7III. Unsurprisingly, given the bright scene in the window, the boy running towards the window looks very dark.
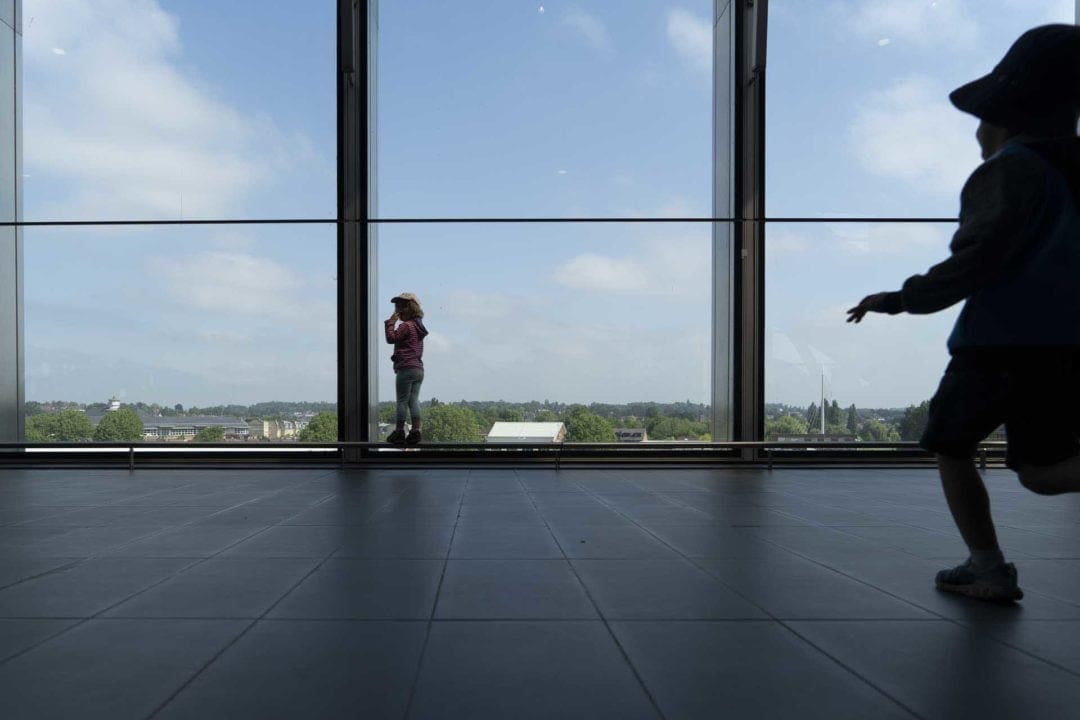
Original Exposure
Boosting the exposure by 4.75EV in ACR reveals there’s plenty of colour visible in the darker parts of the image, and although some noise has crept in and the boy is out of focus, there is also detail visible in his clothes.
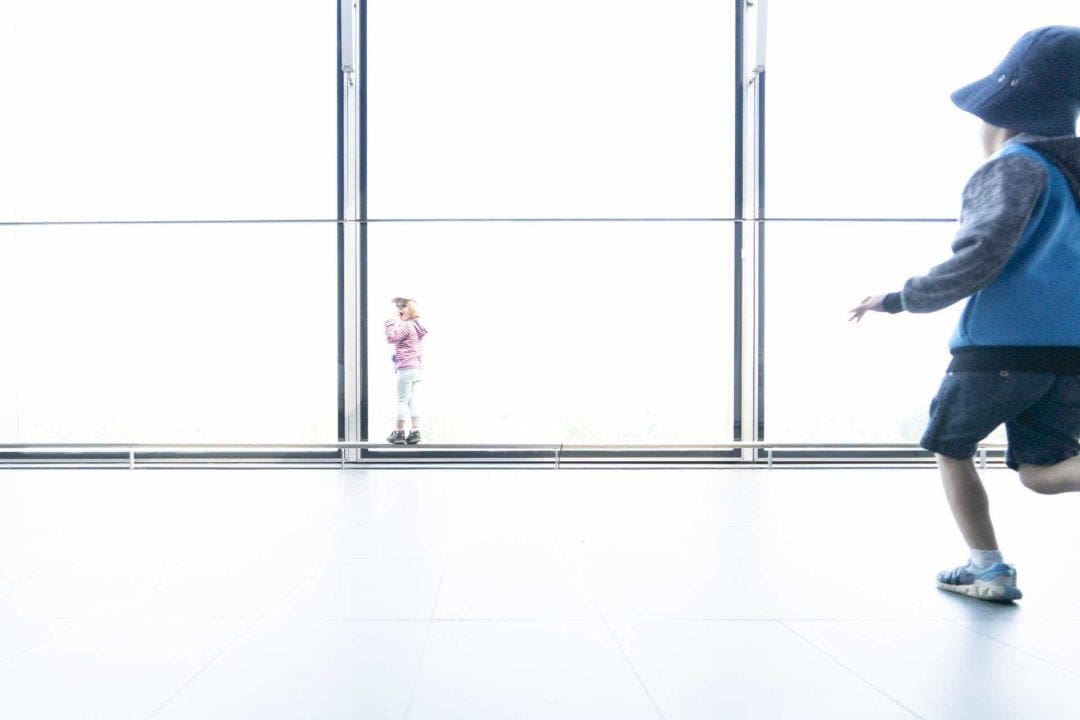
Exposure increased by 4.75EV in Adobe Camera Raw
Subtler use of the ACR controls produces a better balance of exposure.
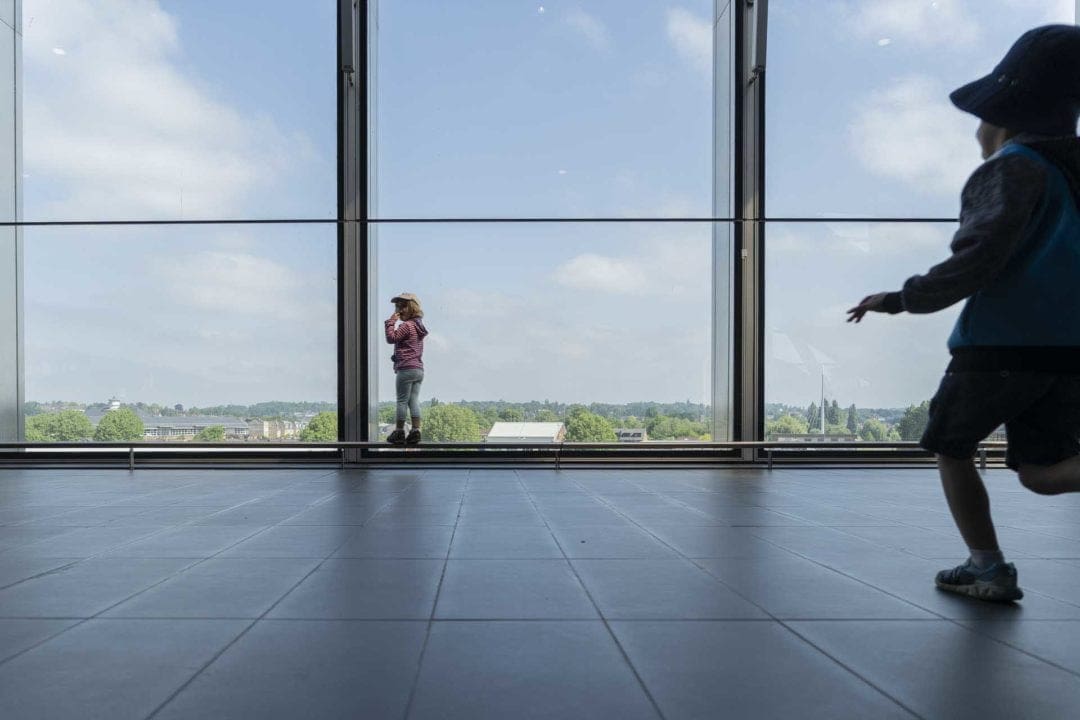
Balanced Exposure
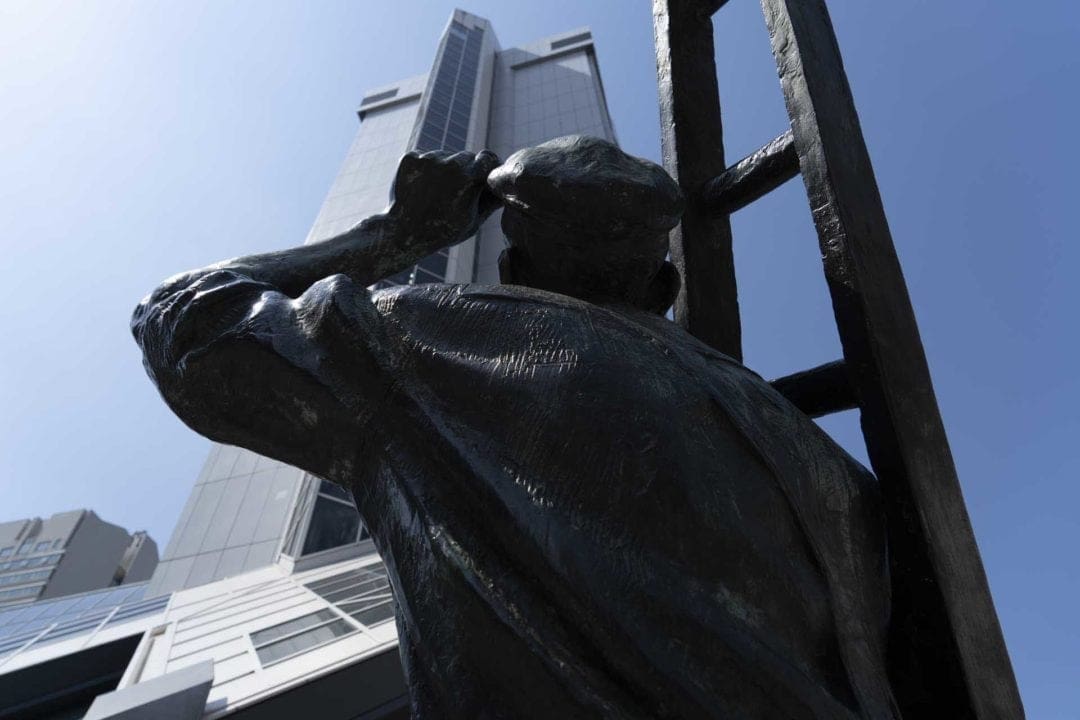
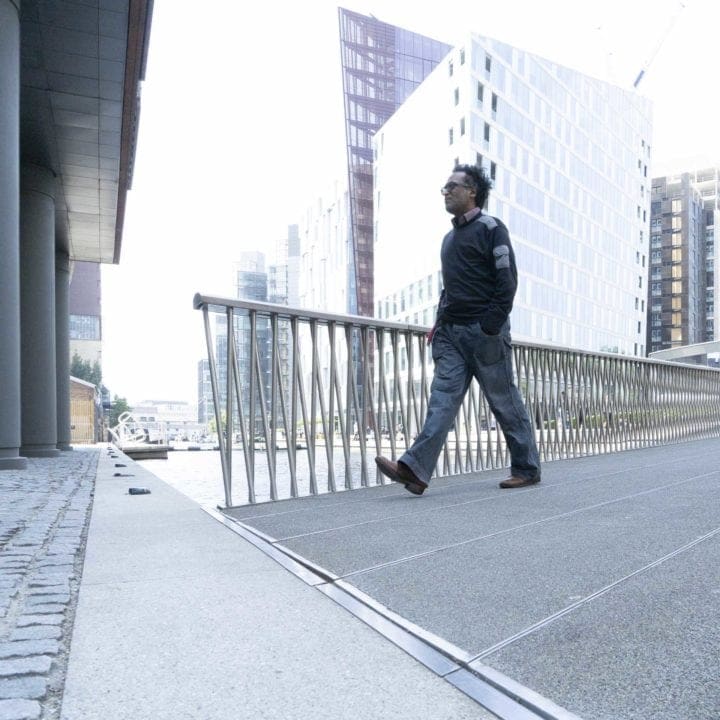
High Contrast
I dramatically underexposed this high contrast scene to record the person crossing the bridge as a silhouette and to get a deep blue sky.
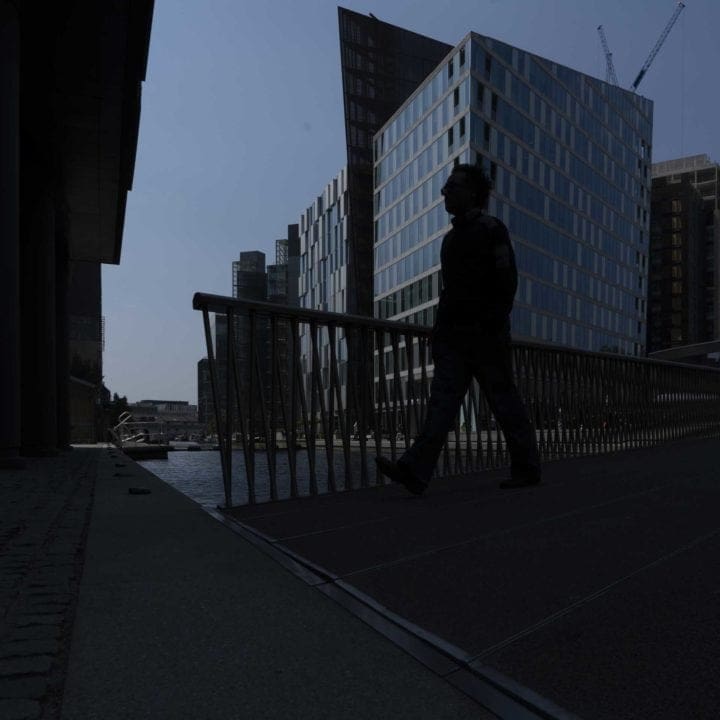
Original Exposure
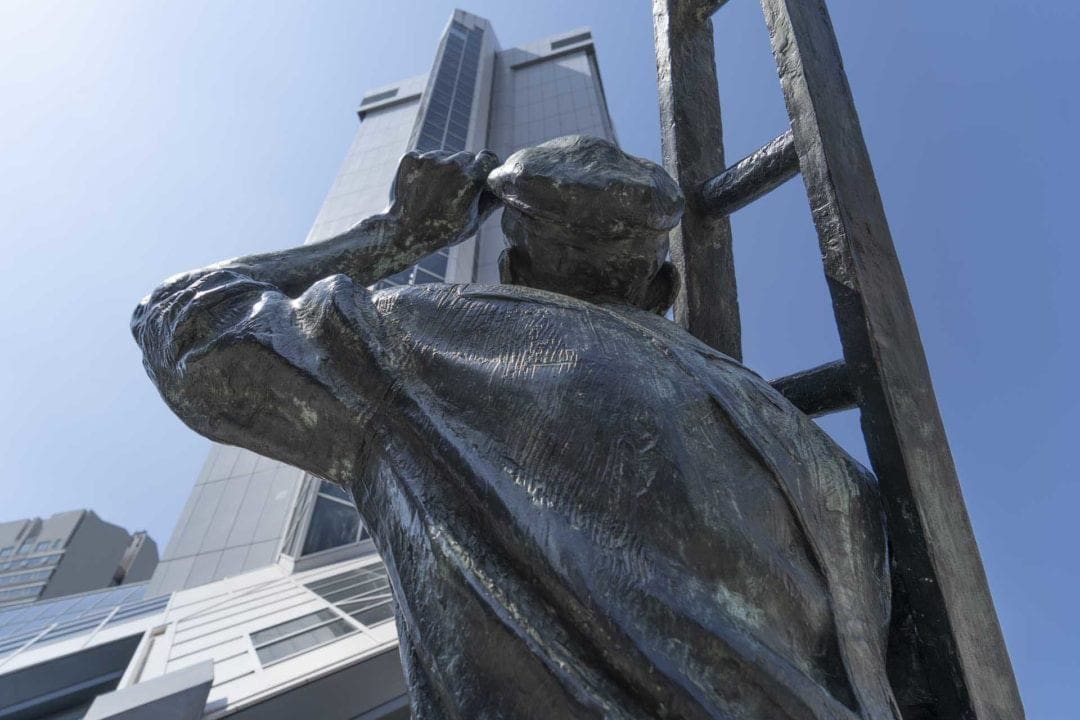
Boosting the exposure to its maximum value of +5EV in ACR reveals that there’s a lot of information available in the shadows, but it’s pushing this image a bit too far.
Exposure increased by 5EV in Adobe Camera Raw
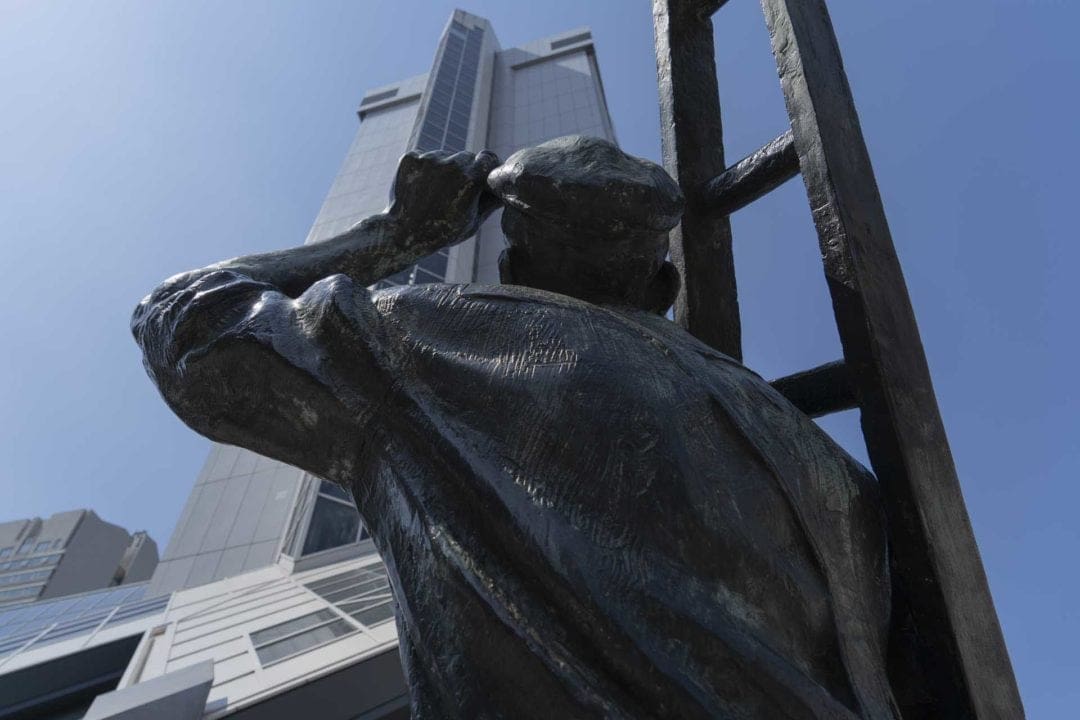
I got a better, more natural-looking result with the exposure set to +3.5EV.
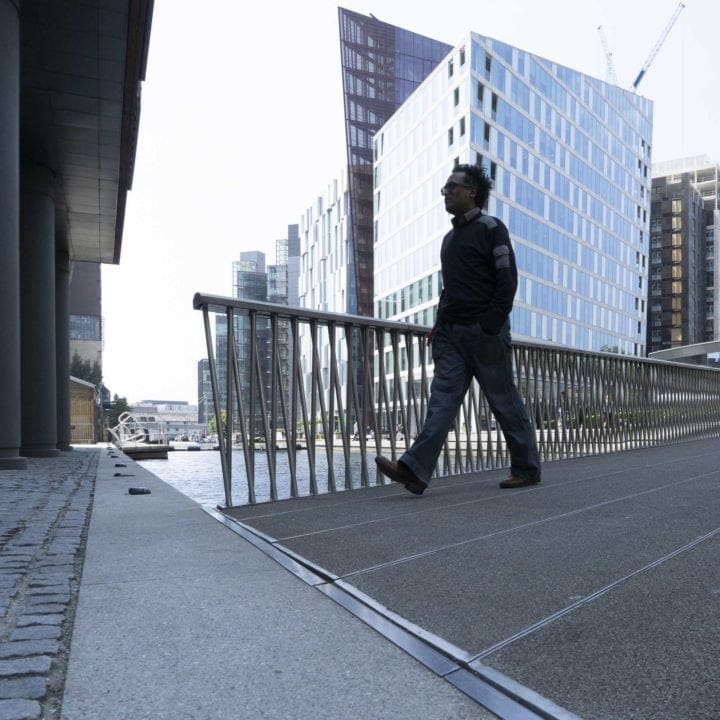
Exposure increased by 3.5EV in Adobe Camera Raw
However, below is how I envisaged the image when I shot it. The wide dynamic range has enabled detail to be revealed in the darkest parts of the scene and the end result is a dramatic image.
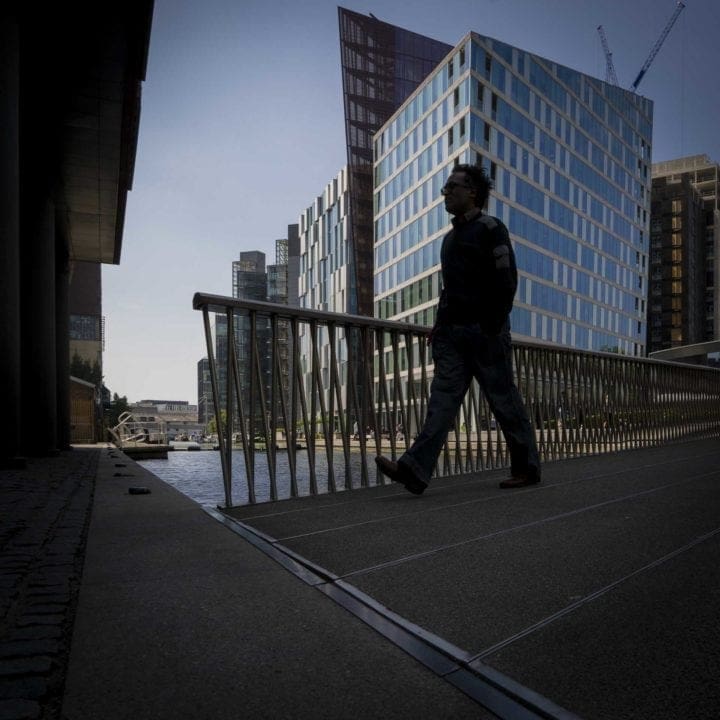
Final Image
Sony A7 III Dynamic Range Summary
The Sony A7III has an impressively wide dynamic range that enables it to capture images that look natural.
It also means its raw files have excellent latitude. You won’t find the highlights burning out quickly and the shadows can be brightened post-capture if necessary.
In some instances, it’s possible to brighten the 14-but raw files by as much as 5EV. But 3.5-4EV is a safer margin.
Video Performance
The video quality from the A7 III is also very high. As you’d expect the exposure, white balance and colour are the same as the stills. Details also look good, while noise is controlled well.
The fast readout speed means that rolling shutter isn’t a major issue, but the ‘jello effect’ isn’t controlled quite as well as by the Sony A9.
Overall, it’s capable of producing high-end results that make it a good choice for anyone who wants to shoot stills and video in equal measure.