Although the processor plays a significant part in determining the image quality from a camera and Nikon has doubled the Z7II’s processing power, the company isn’t making any claims about improvements in image quality. Consequently, as the Nikon Z7 II uses the same sensor as the original Z7, its image quality doesn’t come as a surprise. The 45.7Mp full-frame sensor captures a high-level fo detail while Nikon’s understanding of image-handling ensures that noise is controlled well.
Nikon Z7 II Image Quality
Nikon has given the Z7 II the same native sensitivity range as the original Z7, ISO 64-25,600. Although I’d try to stick to ISO 6,400 or lower, I’d happily use the Z7 II at any of the native settings if the conditions demand it. However, it’s worth shooting raw images as well as or instead of Jpegs when the sensitivity rises to ISO 16,000 or more because the finer details and shadows generally look a little better.
As usual, you need to apply a little sharpening to raw files in post-capture processing, but generally, you’ll achieve a more natural-looking result than from the Jpegs.
Autofocus Performance
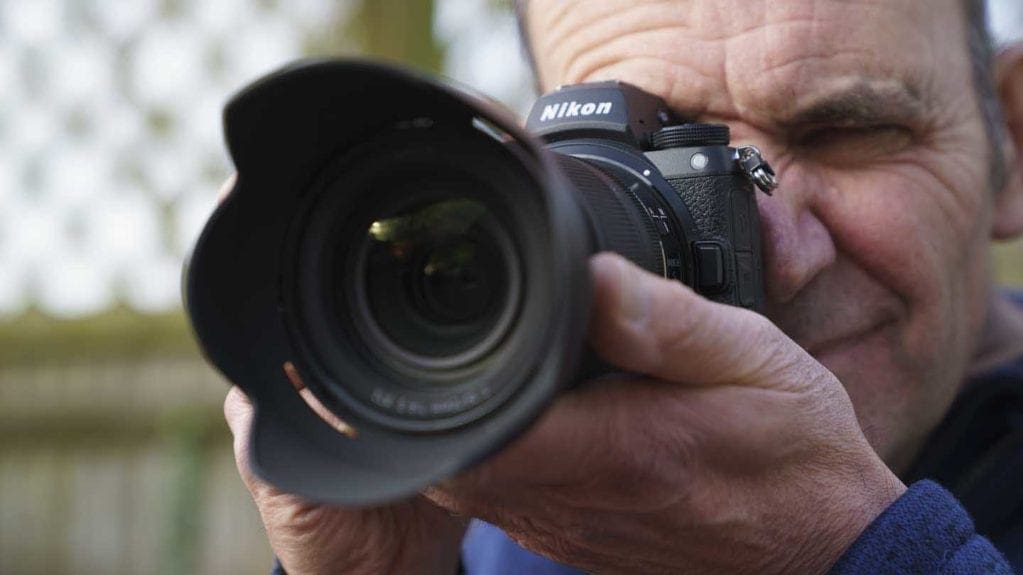
For my first few shots on the Nikon Z7 II, I headed into a local woodland to photograph some fungi. Although most of the leaves have fallen, I was shooting at around 9am on an overcast December day in the UK, so the light was pretty low. It was immediately apparent that the Z7 II’s autofocus system is more responsive than the Z7’s.
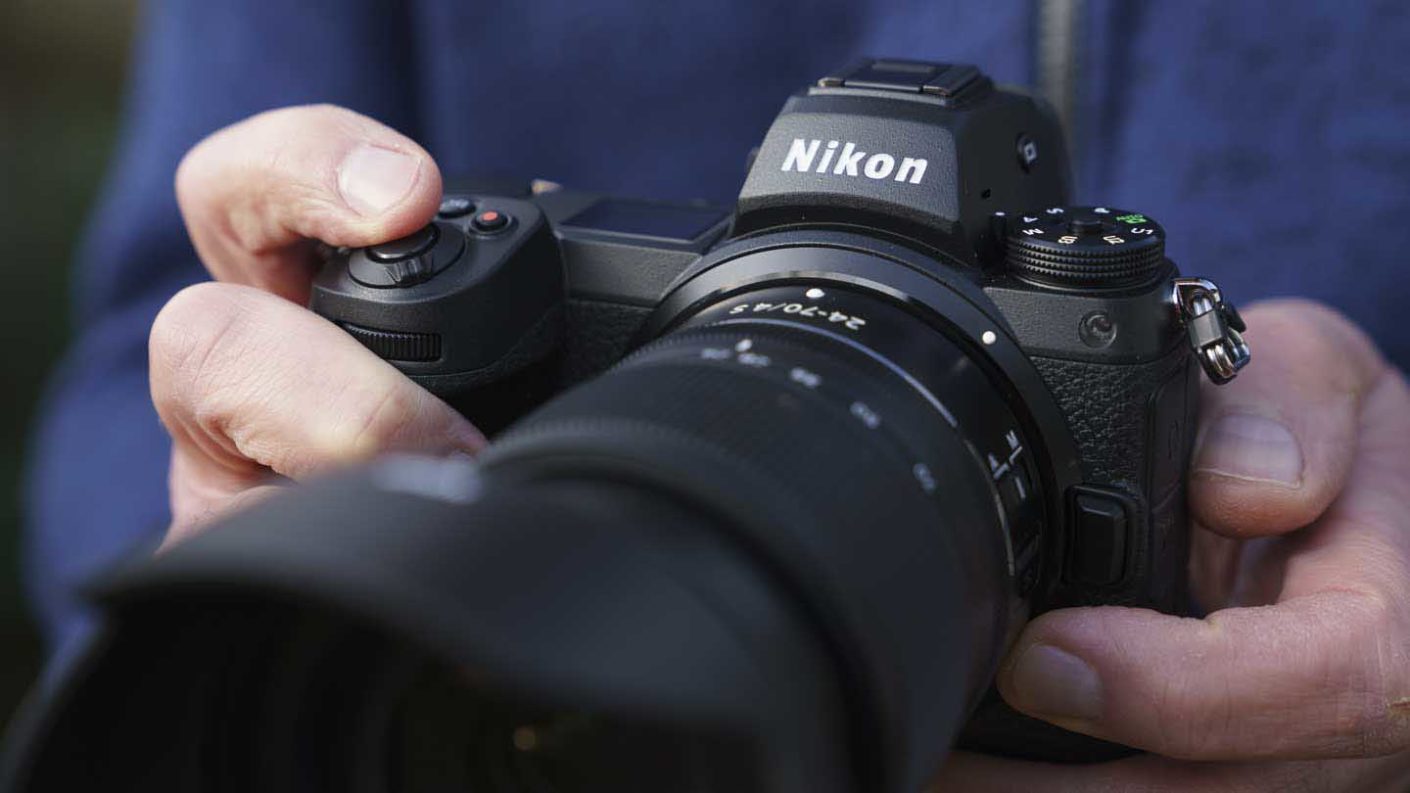
I was shooting with the Nikon Z 24-70mm f/4 S and the camera picked out the low-contrast subject with ease.
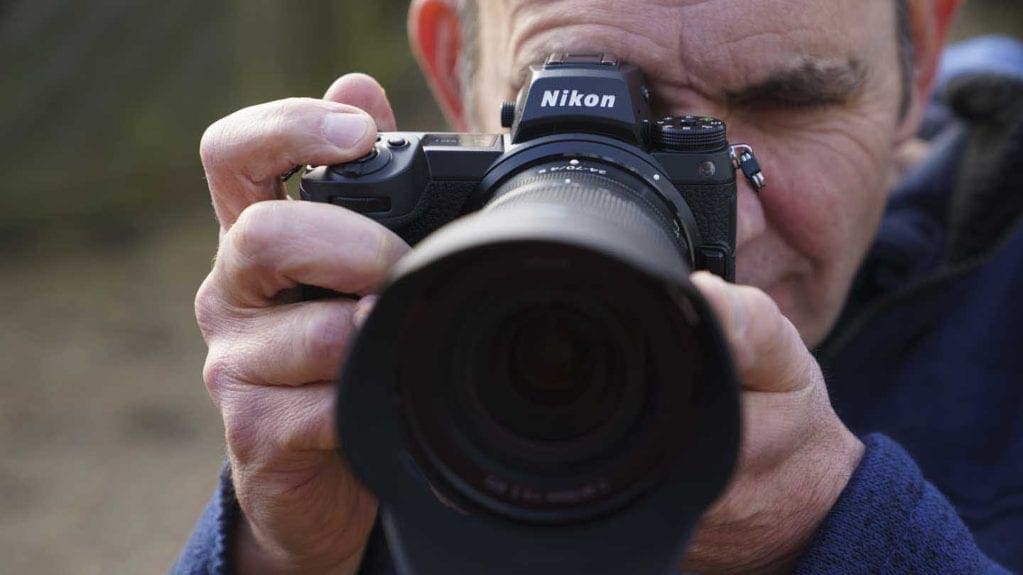
Turning to a moving subject, my dog Otto, I set the Z7 II to Continuous AF, Auto-are AF (animals) and Continuous H (this sets the camera to shoot at around 5.5 frames per second). As with the Z6 II, I noticed that the Z7 II has a habit of sometimes putting a fairy large square just above his eyes, but it still get his eyes sharp.
When Otto is sitting still or dosing, the Eye-detection AF works well most of the time, especially when he’s looking directly towards the camera. It even managed to focus on his eyes on a few occasions when they were closed, but generally, Single-point AF works better with a sleeping dog.
To give the camera a challenge, I started throwing a ball over a log so that I could photograph Otto as he leapt back towards me with the ball. On most occasions, the Z7 II did a good job of spotting his eyes in the frame, however, there’s a fairly small size window within which it recognises them, by which I mean they have to be reasonably big. I framed the shot so that I could see him approach the log, but so that best composition would be as he went over the log. It was only as he mounted the log that the yellow squares appeared over his eyes. In some cases, it managed to get his eyes sharp, but there are more images where further down his body is sharp.
Moving away from the log, I threw the ball and photographed Otto as he ran back towards me. Without the log, he’s a faster-moving target and I switch to shooting in Continuous H+ (or Continuous High Extended), which pushed to frame rate to 10fps. Again, the yellow squares appeared over Otto’s when he was quite close to me, but the camera’s hit rate is lower. I have a few sharp images from this test, but not as many as when I was shooting at 5.5fps.
Shooting a moving subject using Single-point AF and Dynamic-area AF delivered a higher hit rate as long as I kept the active area over the subject.
Which Eye-detection mode?
There are two Eye-detection modes for use with people and animals, Auto-area AF (people/animals) and Wide-area AF (people/animals). In Auto-area AF the Z7 II looks across the whole focusing area for eyes but in Wide-area AF it searches within a comparatively small rectangle.
Wide-area AF (people/animals) is useful for flexibility of composition and with a moving subject, but Wide-area AF is a bit more reliable with a moving subject. When photographing my dog, for example, it kept his head or body shape even if his eyes weren’t detected, and it was less prone to focusing on the background.
If the animal or person is stationary or only moving slowly, then the Nikon Z7 II is pretty dependable in Auto-area or Wide-area, however, with a fast-moving subject, Dynamic-area AF, Wide-Area AF (S) or Tracking AF mode make a better choice. Tracking AF does a good job of following the subject around the frame while Dynamic-area AF and Wide-Area AF (S) rely on the photographer keeping the active area over the subject.
Colour and Exposure
Getting the exposure, white balance and colour as you want them is far easier with a mirrorless camera than it is with a DSLR because you can see the impact of the camera settings before you take the shot. Of course, that relies upon the viewfinder and/or screen giving an accurate preview of the image.
It’s worth noting that even in Matrix metering mode, the position of the active AF point can have an impact upon the exposure of the overall scene. Position it over a deep shadow, for example, and the rest of the image may be overexposed. However, as I’ve already mentioned, you’ll see this in the viewfinder and you can adjust accordingly.
Nikon has given the Z7 II a collection of Auto white balance options and it’s worth experimenting to see which works best for the conditions you’re shooting in. A0 ‘Keep white’ is handy in artificial lighting conditions, but in natural light you’re more likely to want to use A1 ‘Keep over atmosphere’ or (my preference) Natural Light Auto.
Nikon has offered an extensive collection of Picture Control modes for a while now and I increasingly stray beyond the usual Auto, Standard and Natural to shoot with settings such as Bleached and Dramatic. I find these are especially useful when the scene is interesting but the light isn’t.
Dynamic Range
The Nikon Z7 II has a high dynamic range which means it can capture a wide range of tones in a single image. That’s good news for images straight from the camera, but it also translates into greater scope for adjusting images post-capture. On those occasions when you might need to reduce the exposure to preserve the brightest highlights, you can do so in the knowledge that the shadows and mid-tones can be brightened in processing.
The Z7 II’s raw files withstand substantial brightening well. In fact, low-ISO images can cope with being brightened by 4 or even 5EV with only a slight increase in the noise level.
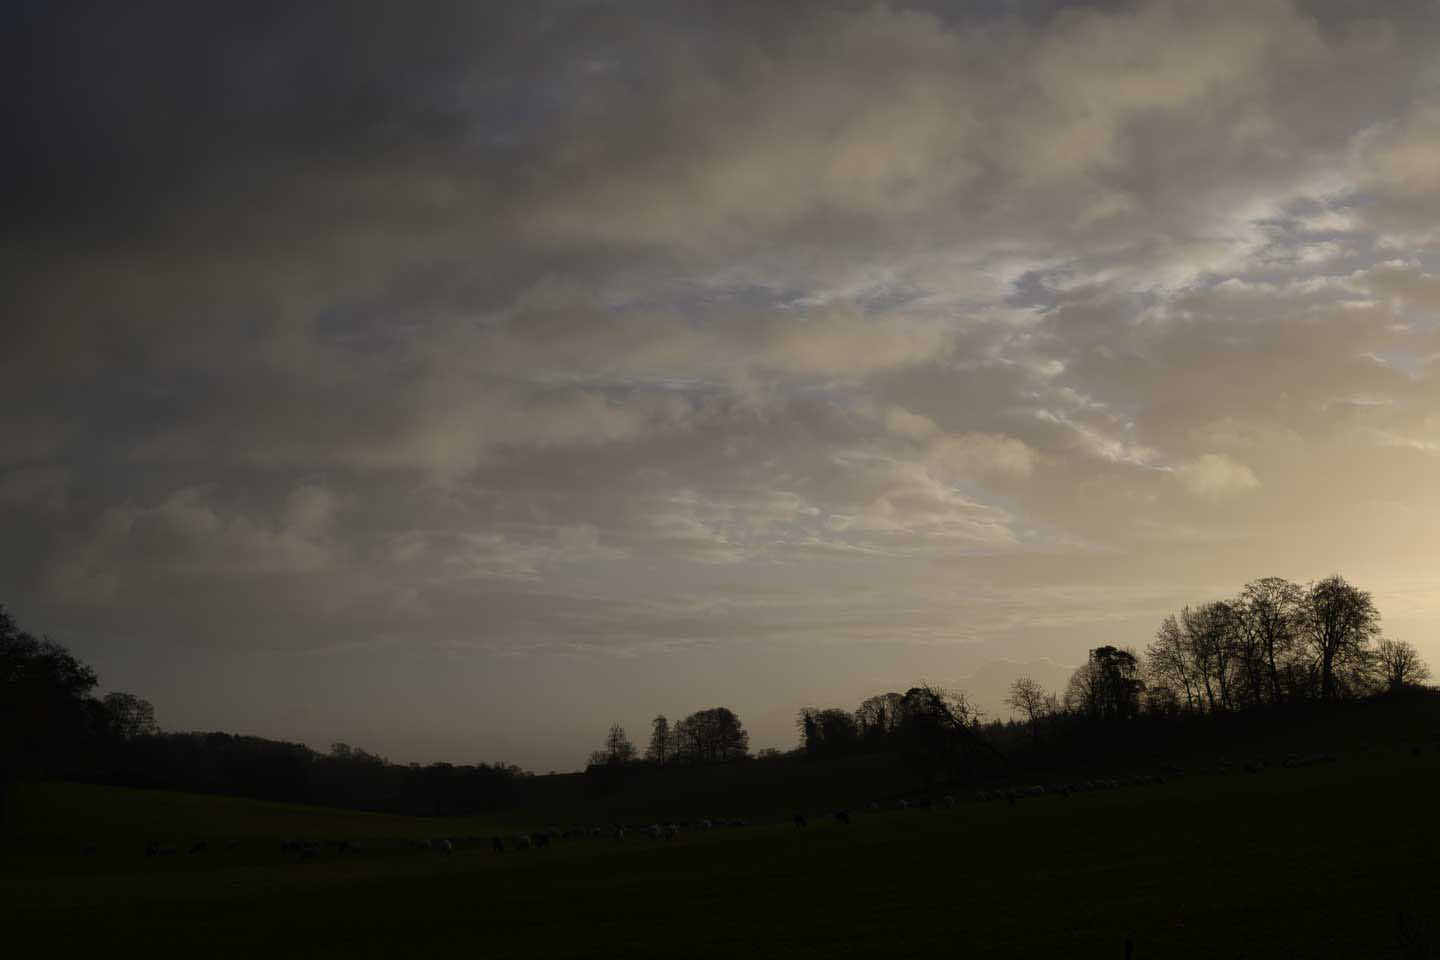
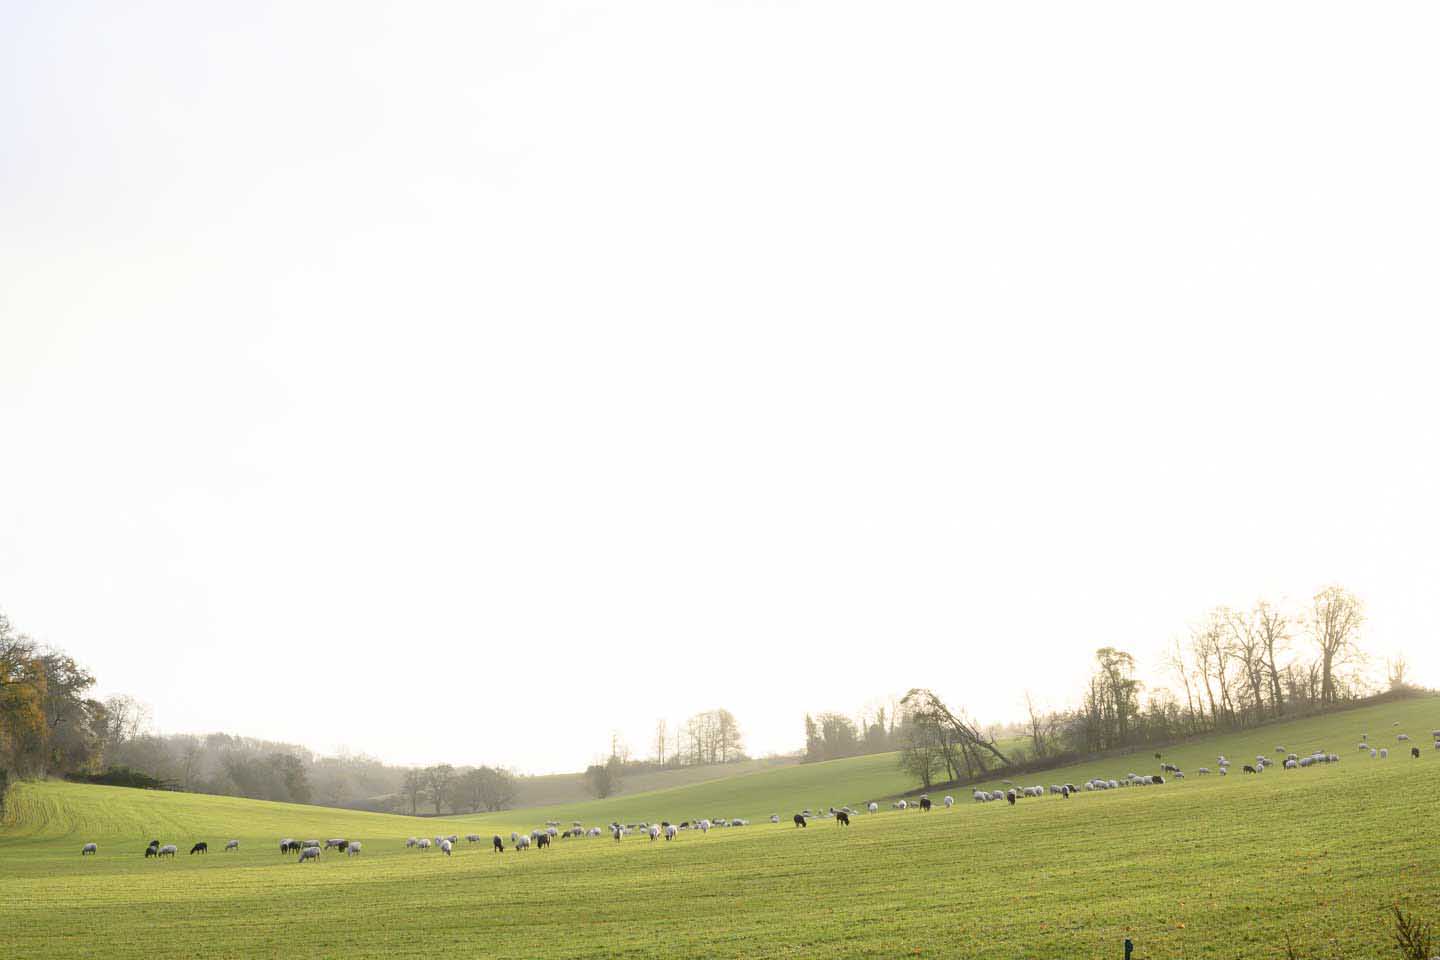
The images below were all created from the same raw file. The image on the left shows the original exposure while the one in the centre has been brightened by +5EV in Adobe Camera Raw. This has brightened the foreground more than is required, but there’s only a slight increase in the level of noise visible in the misty mid-ground.
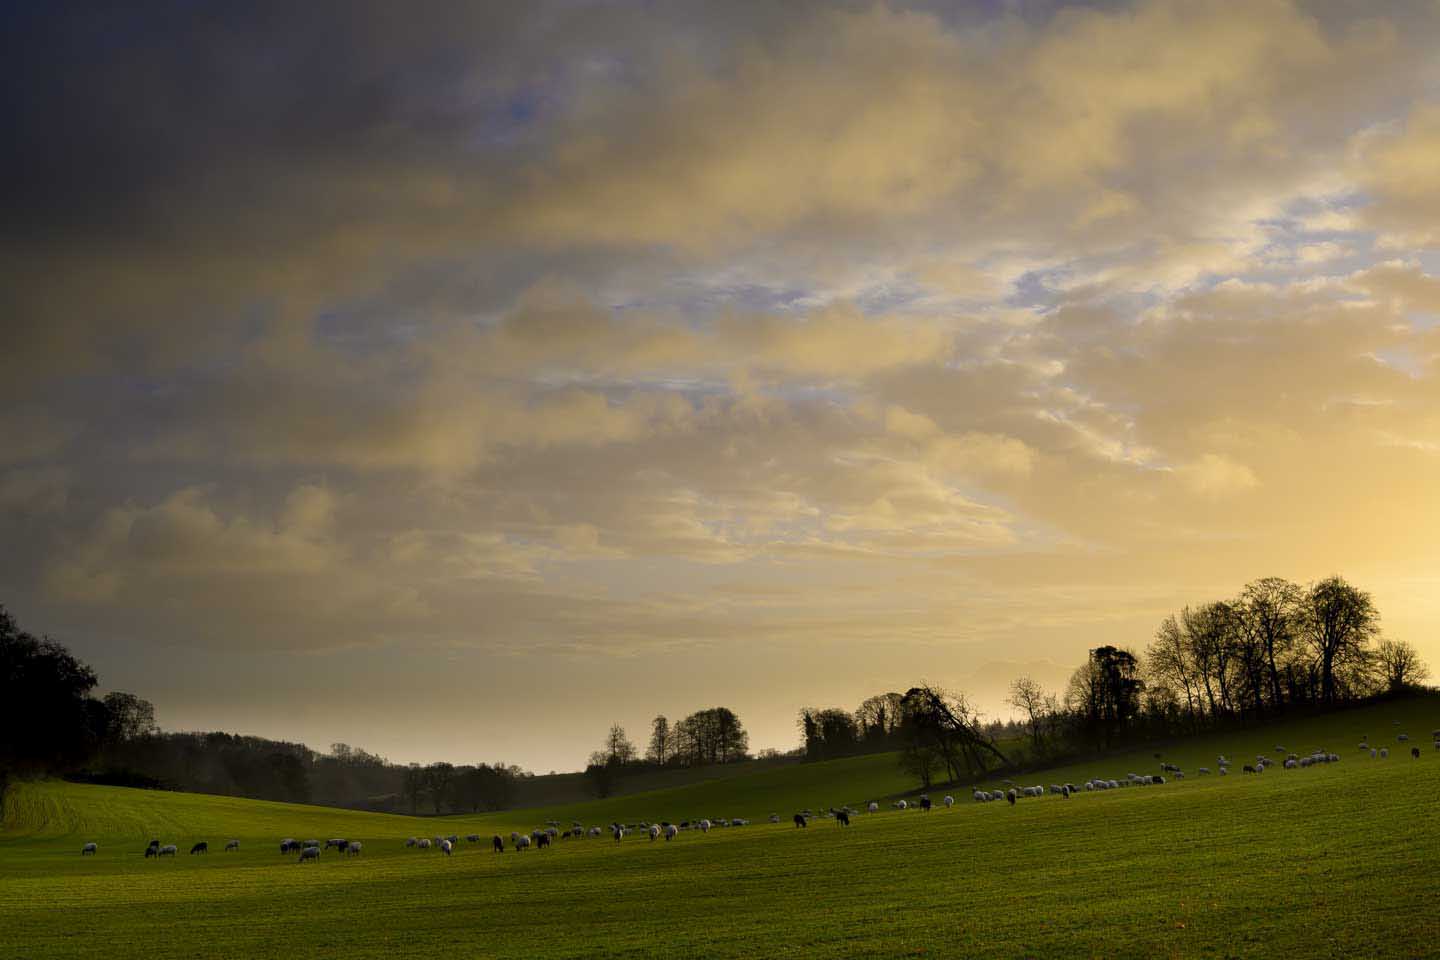
The image on the right has received an overall brightening of +3.55EV and then a graduated filter was applied to the sky in Adobe Camera Raw to bring out the detail and colour. I also applied a few tweaks to the shadows and blacks to enhance the undulations in the foreground.
-
-
Original
-
-
+5EV
-
-
+3.55EV balanced exposure
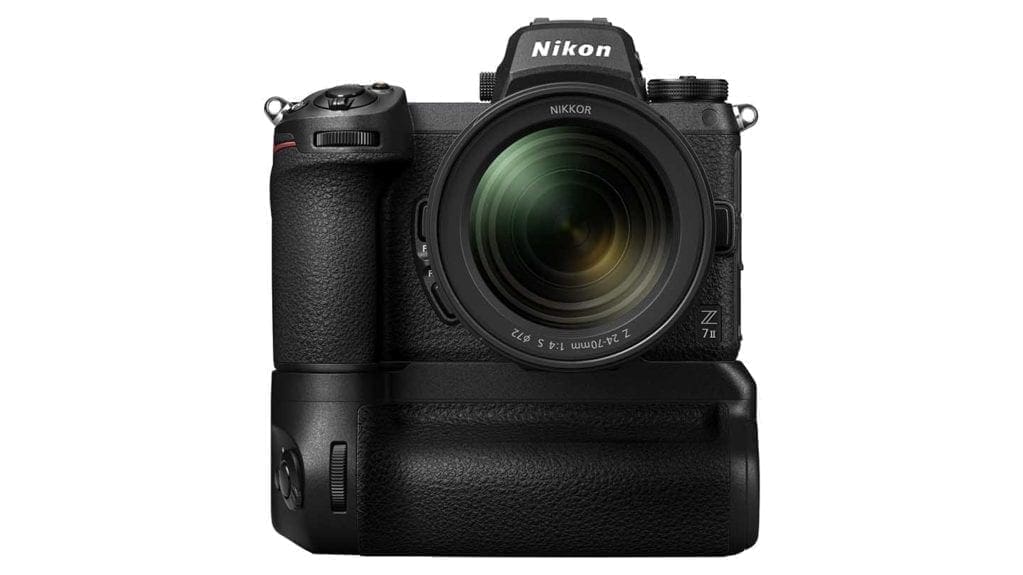
Nikon Z7 II Stabilisation
Like the Z7, the Z7 II has 5-axis in-body image stabilisation (IBIS). Shooting with it set to ‘Normal’ rather than ‘Sport’, with the Nikkor Z 24-70mm f/4 S mounted, I was able to capture sharp hand-held images at shutter speeds around 5EV slower than normal with a hit rate of about 50%. That’s a significant bonus to anyone looking to shoot landscape or low-light images without carrying a tripod.