The Fujifilm X-T30 III is the most portable creative camera in the Fujifilm range, combining retro controls, film simulation modes, and 6.2K video in a body small enough to carry every day.
What is the Fujifilm X-T30 III?
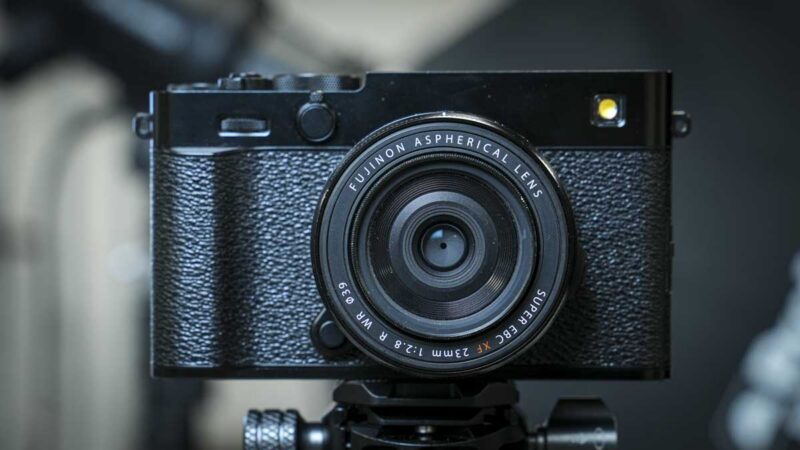
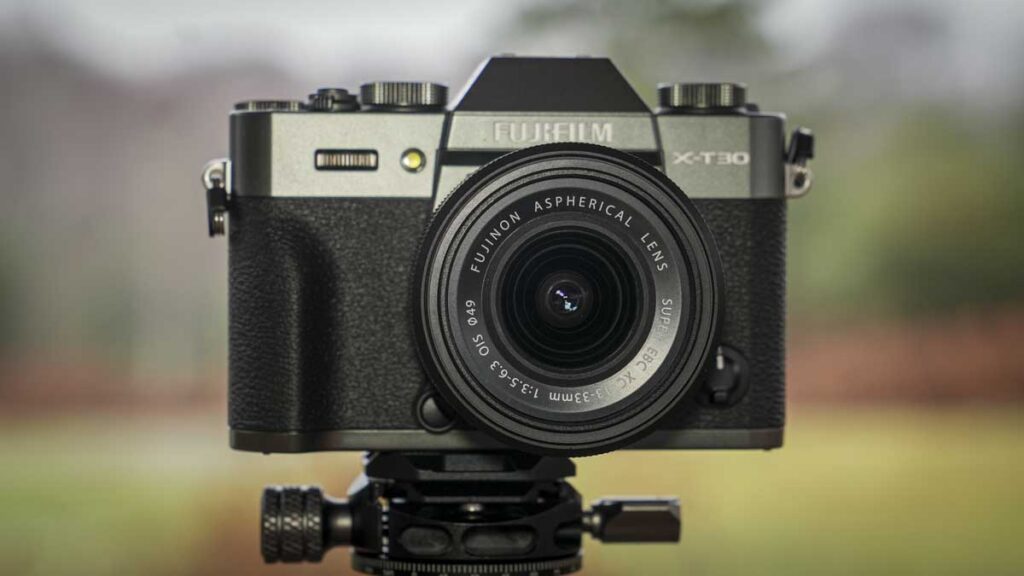
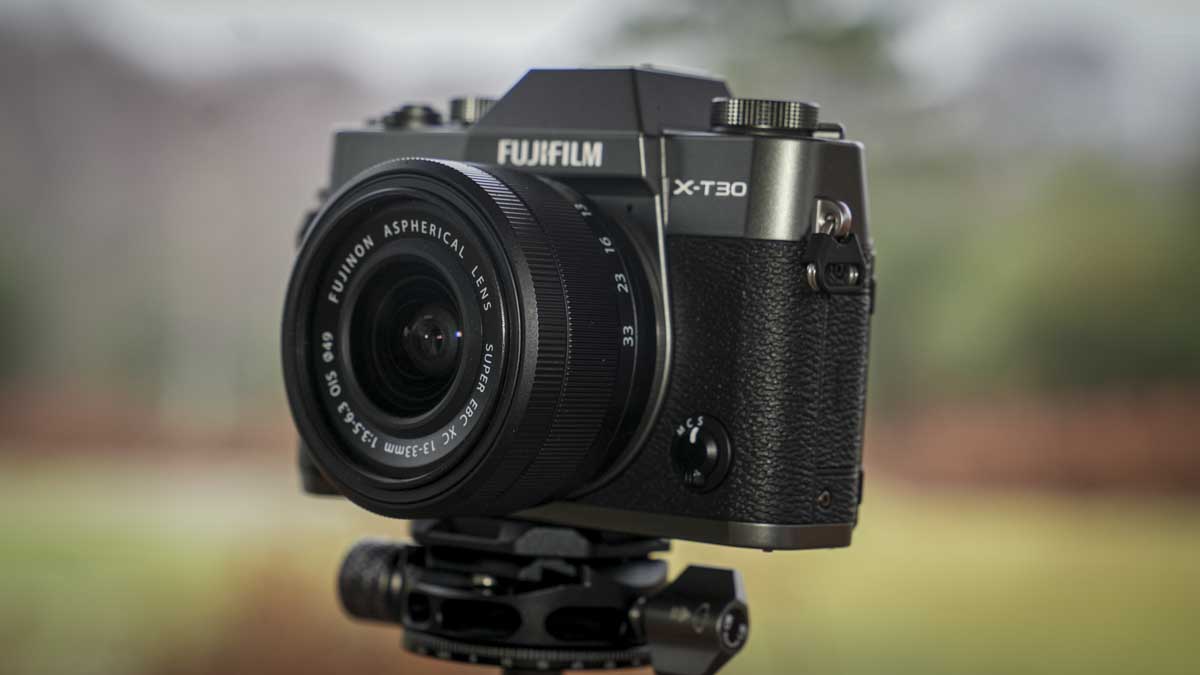
The Fujifilm X-T30 III packs a compact APS-C (Advanced Photo System type-C) mirrorless body and introduces users to Fujifilm’s X-T series. It sits above the X-E range in the lineup, while maintaining the brand’s signature retro styling and analogue controls. The camera employs the X-Trans CMOS 4 BSI (back-illuminated) sensor at 26.1 megapixels and works seamlessly with Fujifilm’s extensive X-mount lens range.
This creates one of the most complete small-camera systems available. The X-T30 III directly succeeds the X-T30 II, delivering updated processing, 6.2K video, and improved subject detection AF (autofocus).
It is aimed at creative enthusiasts and everyday photographers. This camera is small and light enough to carry everywhere without sacrificing image quality or creative capability. The film simulation modes, dial-driven controls, and compact body make it a natural choice for street photography and travel.
It appeals to anyone who wants a camera that encourages engagement with the photographic process, rather than automating it away. Its USP is the combination of portability, Fujifilm’s colour science and film simulations, and a shooting experience that feels more tactile and considered than any other camera in this test at a similar price.
Build and Handling
The X-T30 III is one of the smallest and lightest cameras in this test, and that compactness is central to its appeal. At approximately 378g with battery and card, it slips into a jacket pocket or a small bag without the weight and bulk that dissuades photographers from carrying a camera every day.
The build quality is solid for the size, with a finish and material quality that feels appropriate for the price and the brand. Fujifilm has maintained the X-T aesthetic with care across the range, and the X-T30 III looks and feels like a camera that belongs to a serious creative lineage.
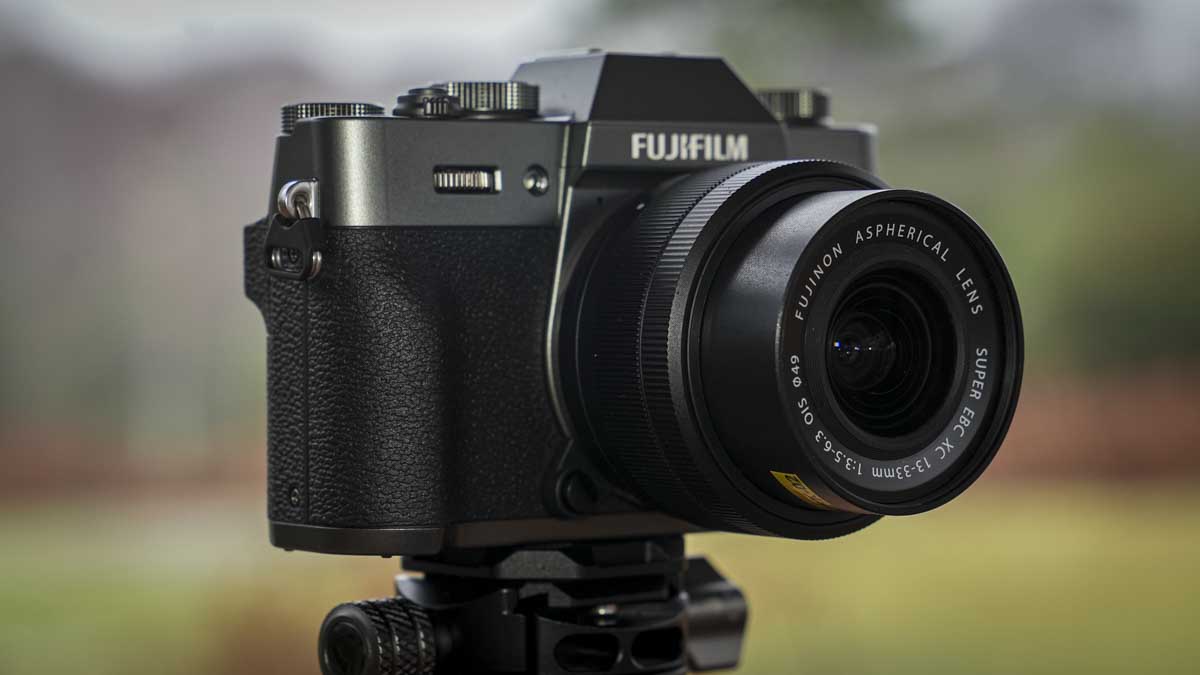
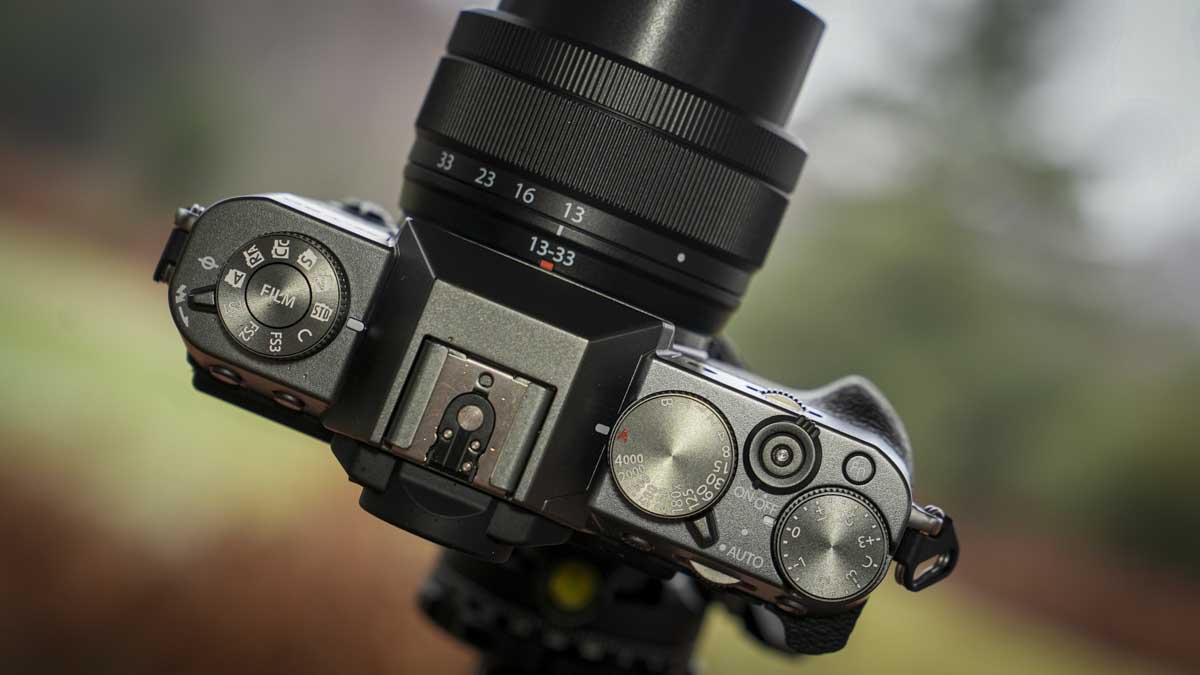
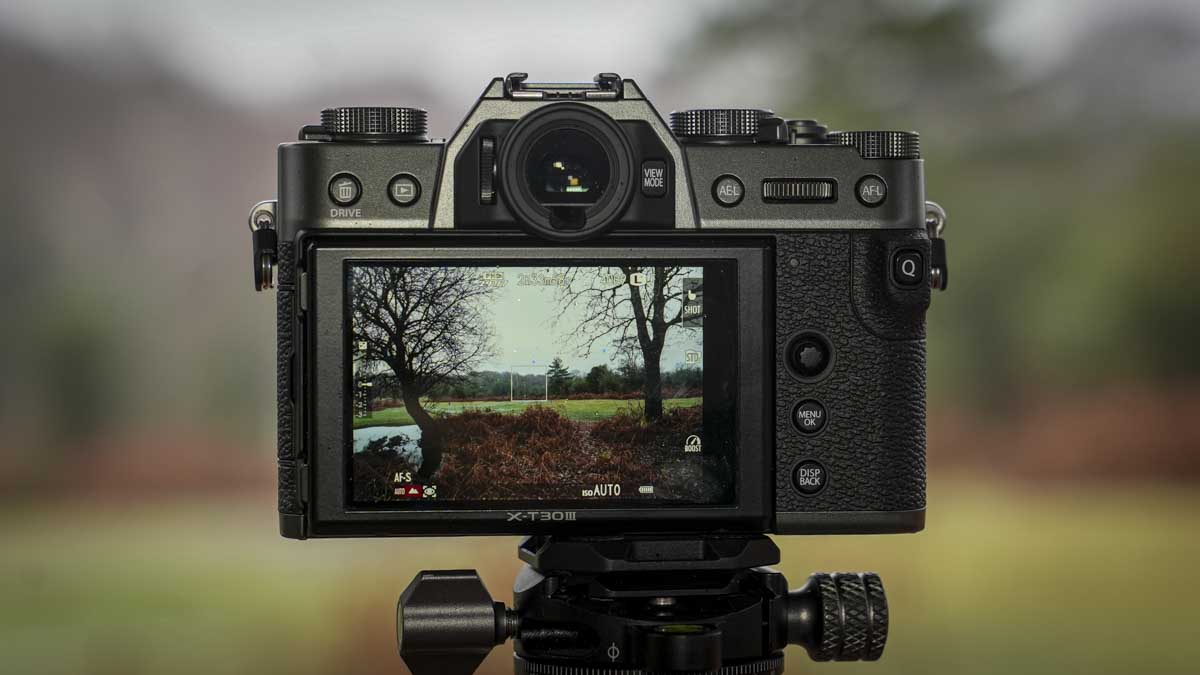
The handling is the most immediately distinctive aspect of the shooting experience. The shutter speed dial on the top right, exposure compensation dial alongside it, and the film simulation selector on the top left give the camera a control layout that feels genuinely analogue in use.
Aperture is set on the lens ring, as it was on traditional film cameras, completing the tactile, hands-on approach that Fujifilm has consistently championed. Once familiar, these controls give exposure adjustment a directness and immediacy that menu-driven systems cannot replicate, and the experience of setting up a shot on the X-T30 III is noticeably more engaging than on a conventional mirrorless.
The small size gives the camera its greatest practical advantage but also exposes its most honest ergonomic limitation. Photographers with larger hands or those who use heavy zoom lenses may find that the compact grip supports less than a deeper-bodied camera.
The X-T30 III balances and handles excellently when paired with compact primes. Navigating the menu system requires more effort than using a Canon or Nikon entry-level body. Spend your first session with the manual or deliberately explore the camera before its logic becomes intuitive.
Features
The film simulation modes define the Fujifilm X-T30 III. They give you the most compelling reason to choose it over competing APS-C cameras at a similar price. Fujifilm draws on its heritage as a major film manufacturer, carefully replicating the visual character of specific film stocks.
You can quickly access Velvia’s vivid colours, Provia’s balanced rendering, Classic Neg’s cinematic quality, and Eterna’s film-like tones via the top-left dial. The live view screen displays the selected simulation before you take the shot. Whether you want to develop a consistent style or enjoy the creative process of choosing how an image will look before pressing the shutter, these modes excel.
The 6.2K 30p video capability is a specification that surprises for a camera of this size and price. Dropping to 4K, the frame rate rises to 60p, and the combination of high-resolution video with Fujifilm’s colour science produces footage with a distinctive look that suits documentary, travel, and creative video work. Subject detection, AF, and tracking perform reliably in both video and stills, and the hybrid phase/contrast AF system achieves reasonable accuracy with people, animals, and vehicles.
The 20fps electronic shutter burst rate in crop mode is a capable specification for fast-action work, though the crop factor reduces the effective focal length, and the buffer has limits in extended sequences. For street, travel, and everyday photography, the X-T30 III is primarily designed for; the 8 fps mechanical burst rate is more than sufficient. The X-mount lens ecosystem is extensive and particularly strong in compact primes, with the 23mm and 35mm f/2 lenses being natural companions for the X-T30 III’s portable character.
Performance
In practical use, the X-T30 III delivers exactly what its design promises, a compact, engaging, creatively capable everyday camera that rewards a considered approach to photography. The film simulation modes in use are a genuine creative tool, and working with them over the course of the test noticeably changed the character of the shooting sessions.
Choosing Classic Neg for a grey urban afternoon, Velvia for autumn colours, or Eterna for low-light documentary work gives each shoot a defined visual identity before it begins, and the results in JPEG straight from the camera are often ready to share without post-processing.
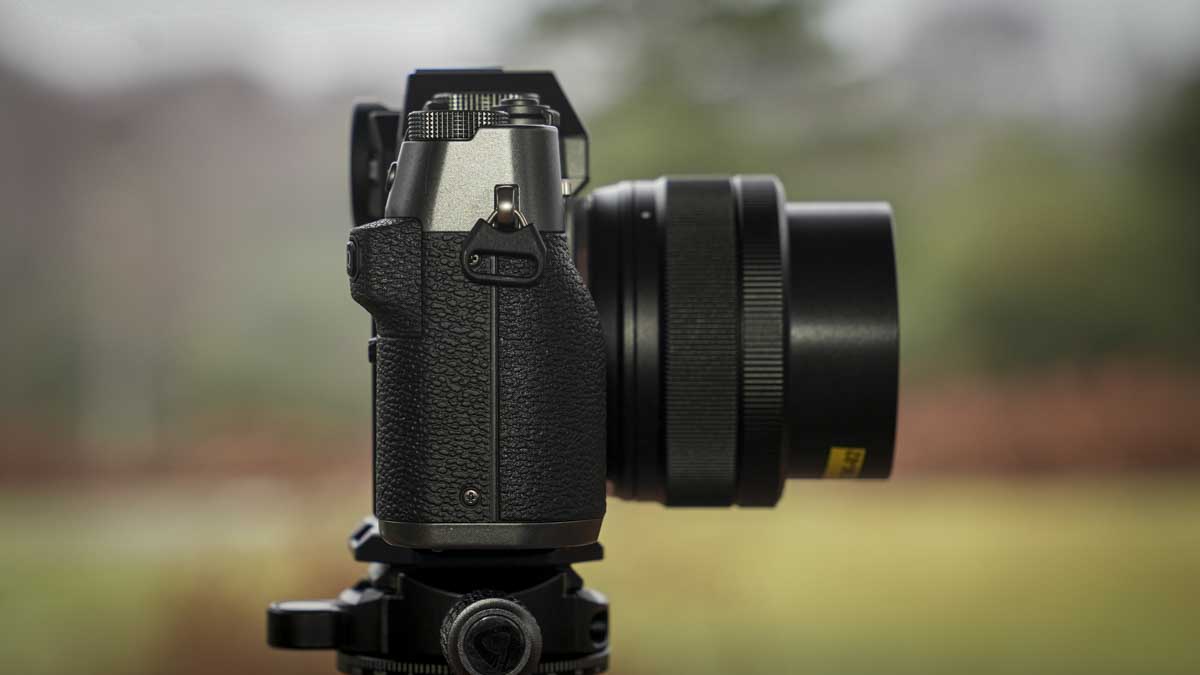
Image quality from the 26.1MP X-Trans CMOS 4 sensor is excellent for an APS-C camera. The X-Trans colour filter array’s distinctive rendering gives the files a tonal quality that sits closer to film than the Bayer sensors of most competitors, and combined with the film simulation processing, the output has a character that is immediately recognisable as Fujifilm. Colour accuracy is strong, detail is well resolved in good light, and the low-light performance with the BSI sensor is better than older X-Trans designs, maintaining usable image quality at ISO values that earlier Fujifilm cameras found challenging.
The autofocus is reliable for the shooting situations the X-T30 III is designed for. Subject detection and face/eye tracking performed well in portrait and street situations, and the camera acquired focus quickly on stationary and slowly moving subjects. For fast-action work, the system is adequate rather than exceptional, and photographers whose primary subjects involve rapid, unpredictable movement would be better served by a camera with a faster dedicated phase-detect system. Within its natural range of applications, the AF was not a limiting factor.
The video performance at 6.2K is impressive for a camera of this size, producing detailed footage with Fujifilm’s characteristic colour rendering that suits creative and documentary applications. For a photographer who occasionally shoots video rather than a dedicated videographer, the X-T30 III’s video capability is more than sufficient, and the compact body makes it a practical handheld option for travel and street video work. Battery life of 315 to 425 shots, depending on shooting mode, is adequate for a day’s photography with a spare battery to hand.
Final Thoughts
The Fujifilm X-T30 III is the camera in this test that makes the most changes to how shooting feels. The analogue control layout, the film simulation dial, and the compact size combine to make photography feel more deliberate and more rewarding than a specification-driven approach would suggest. It is the camera most likely to be in your bag every day, and for a creative photographer, that is arguably the most important quality a camera can have.
At around £829 body-only, it is well-priced for the X-T system entry point, and the X-mount compact prime lens range offers an exceptional selection of well-matched optics at every price point. The menu complexity and small grip are honest limitations for some users, but for the photographer who wants a camera that makes the act of taking pictures feel genuinely engaging, the X-T30 III is a superb everyday choice.