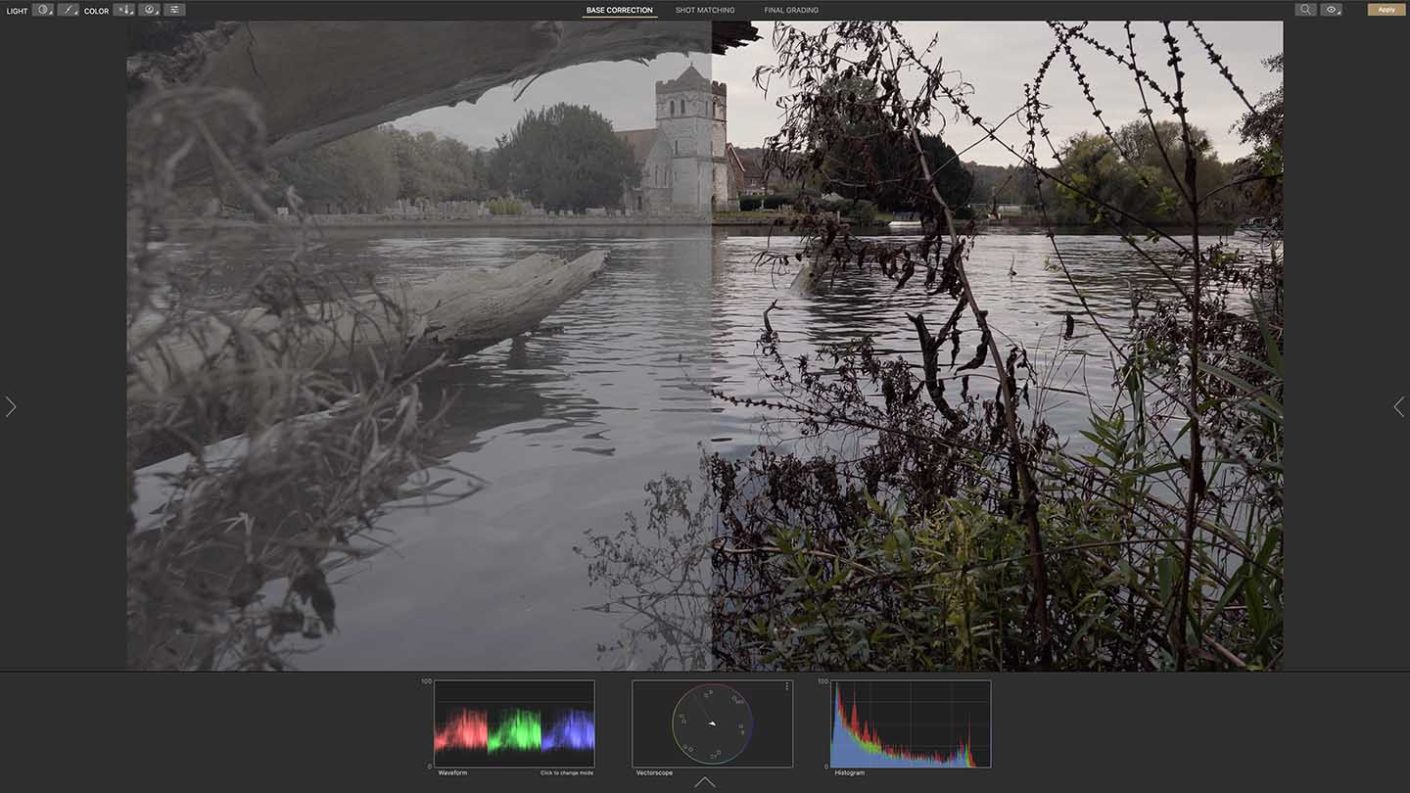
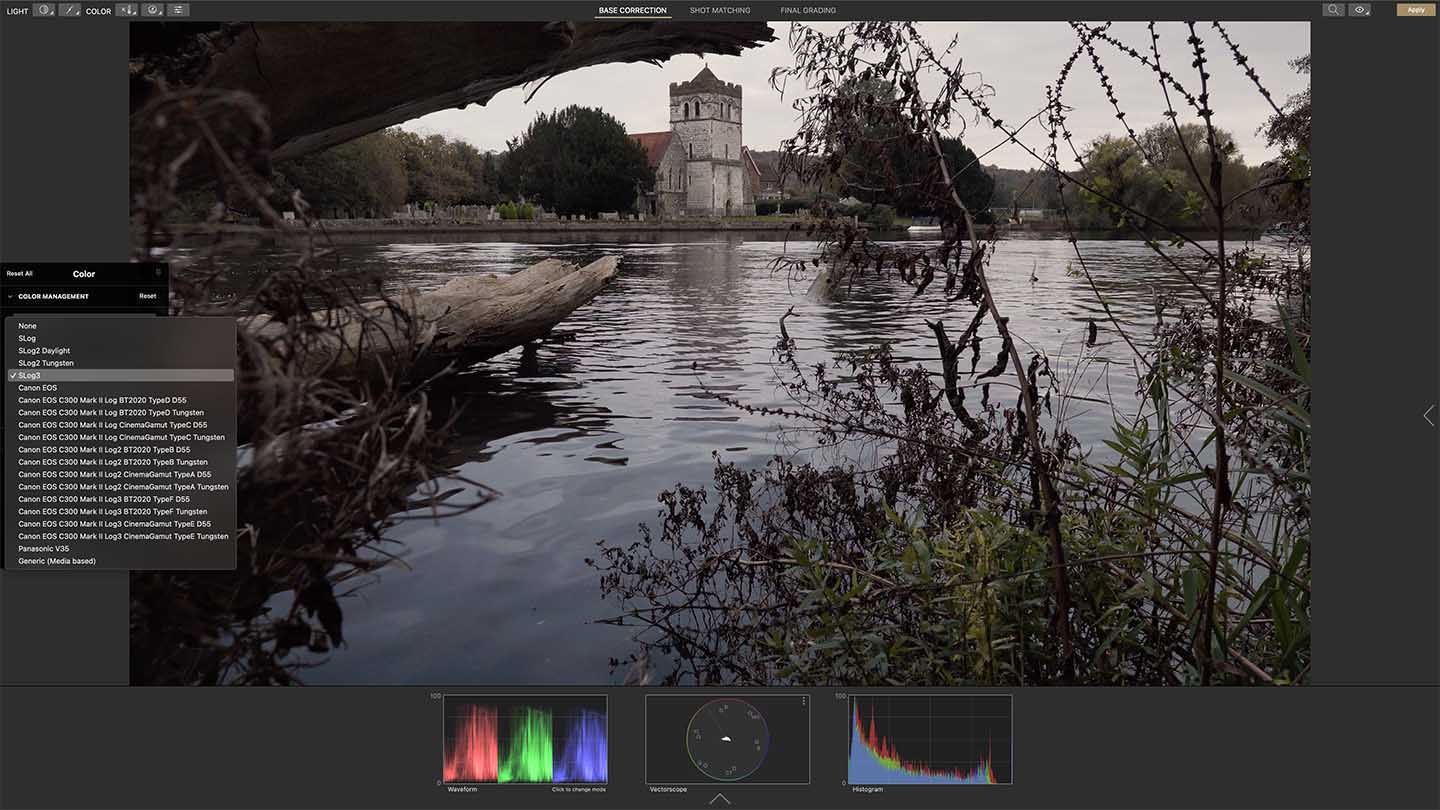
The Base Correction area is where you make the adjustments to ensure your clips all have good exposure and colour balance.
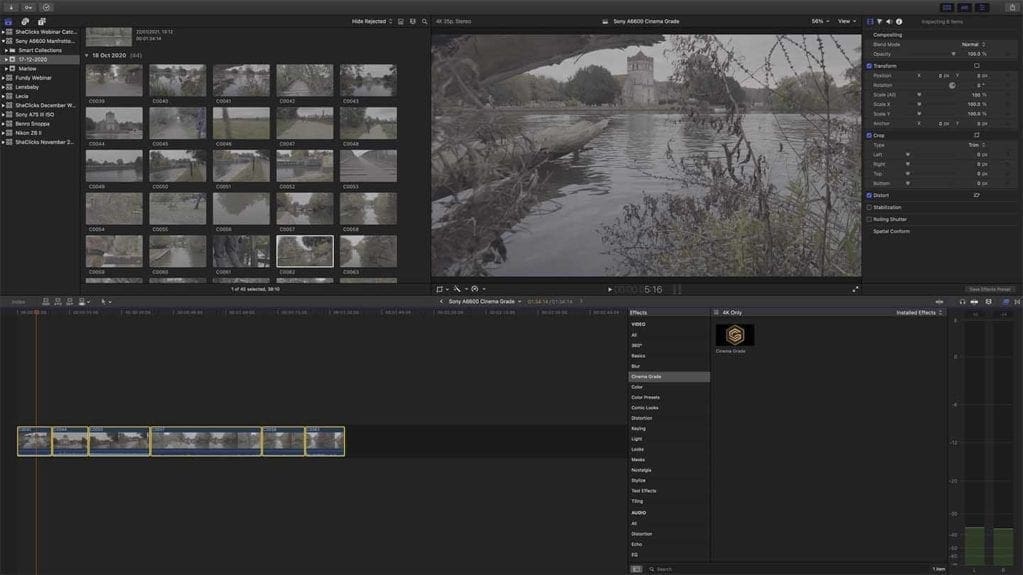
If you’ve shot in Log mode you can make the first basic corrections using the Color Management tools that are reached by clicking on the arrow on the left of the screen. Simply click on the Camera dropdown control and select the appropriate Log setting (or camera) to make a 1-click adjustment.
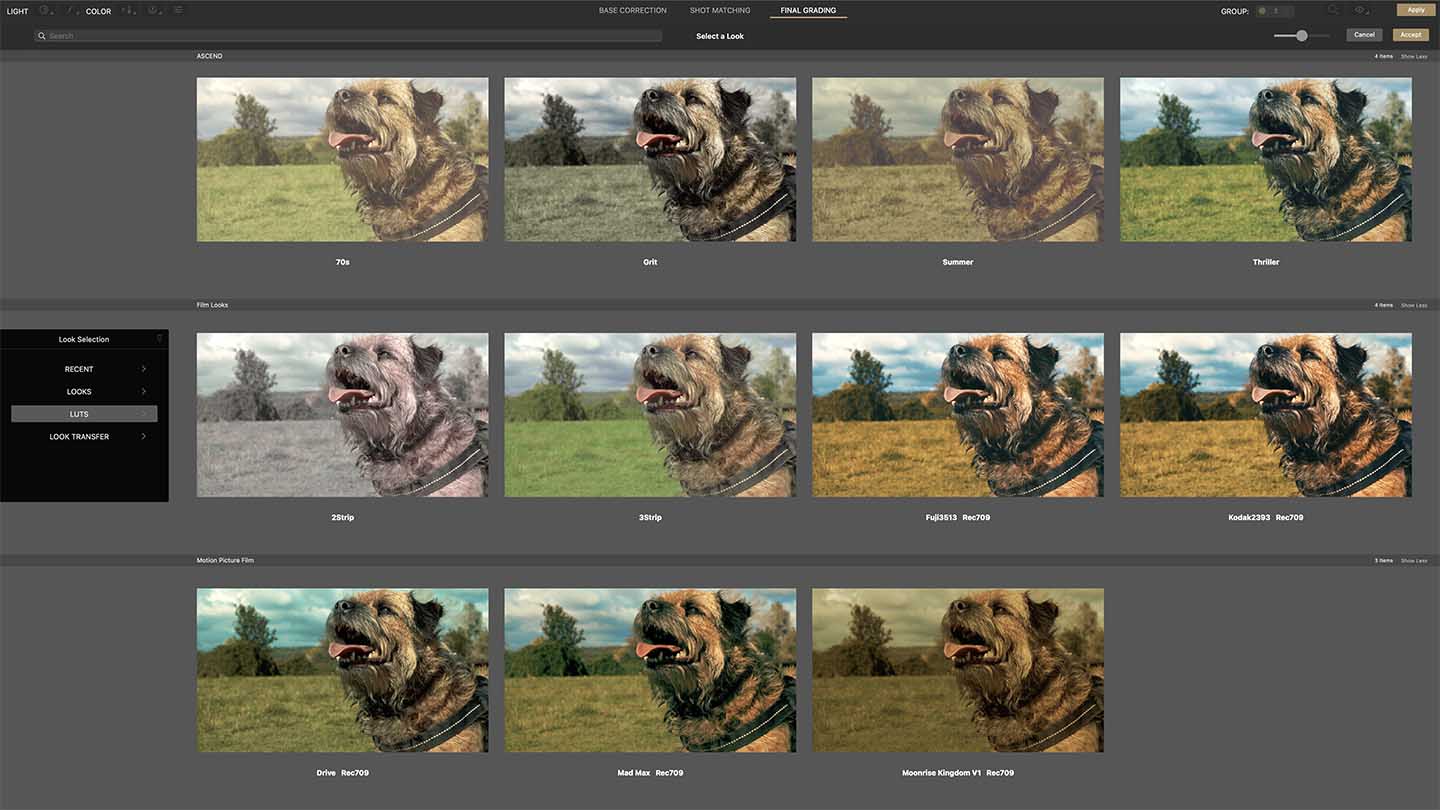
Alternatively, you can import a LUT or use Cinema Grade’s X-rite Color Checker Video and X-rite Color Checker Passport Video chart compatibility to make a basic correction.
If you opt to make a colour chart correction, find the frame that includes the chart then use the Color Chart dropdown list to select the type of chart that you used. This puts the relevant reference box over your preview, you need to drag it over the chart and manipulate it so that the coloured areas go over the right parts of the chart. Once you’re done, click in ‘Match’ to apply the adjustment.
Once you’ve finished making any automatic adjustments, you can move on to using the controls at the top left of the screen. Alternatively, click on the arrow on the right of the screen to reveal a panel of sliding controls.
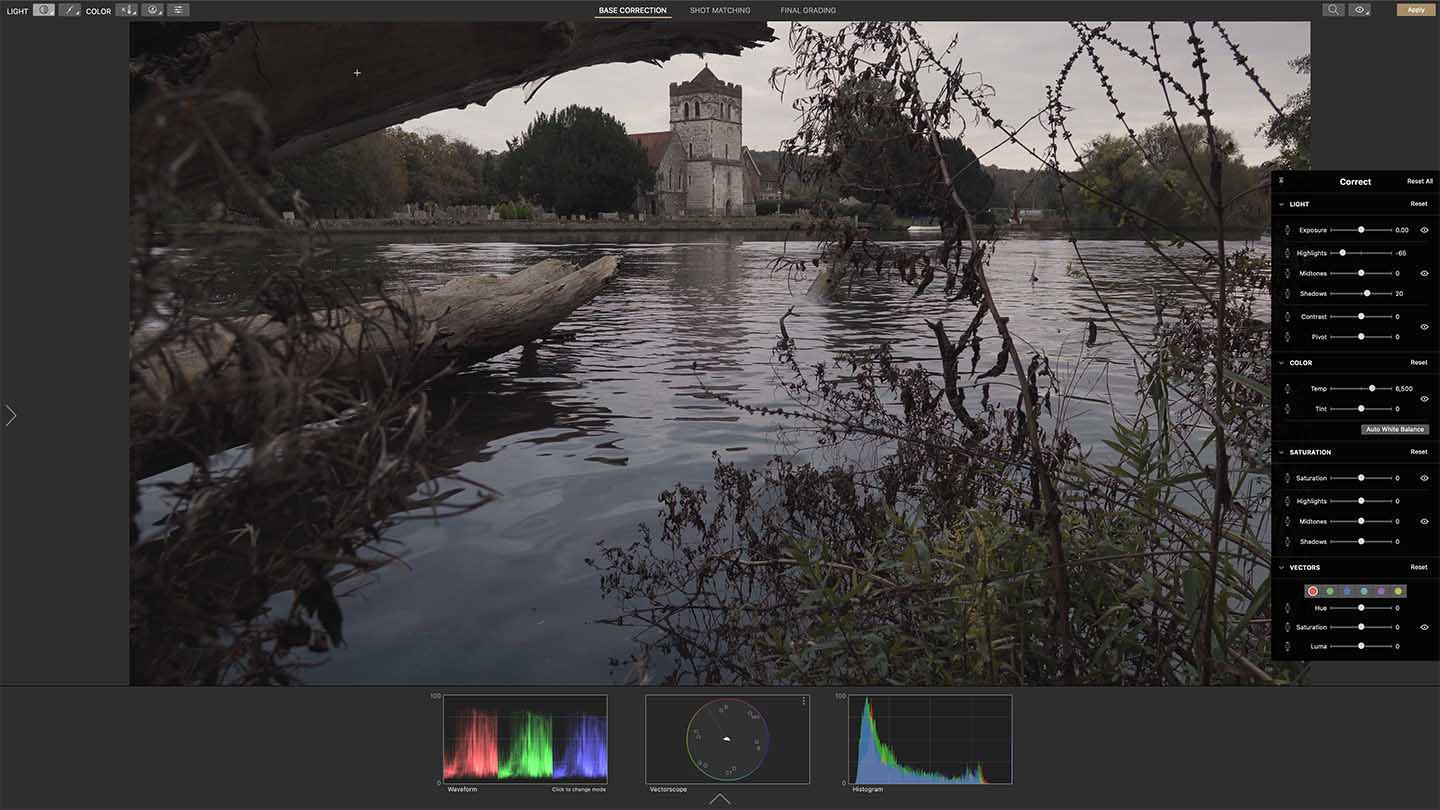
The controls at the top of the screen are more intuitive to use, but they adjust the same parameters as the sliding controls and you can see the sliders move as you use the upper controls.
It can be helpful to click on the pin in the top left corner of the sliding control panel so that it stays visible while you use the other controls.
The tools at the top of the screen are arranged in the order that it’s best to use them. Start with the Light control before moving onto the work on the contrast control before moving on tackle the white balance and colour.
After selecting a tool, simply click on an area of the image that you want to adjust to add a control point. Then drag the point up or down to adjust, not just that area, but other areas that are the same.
With the Light tool selected, for example, if you add a control point to a highlight and drag down, you will darken all the highlights but the midtones and shadows are unaffected.
Over in the slider control panel, you’ll see the highlight setting change and you can reset or adjust it using the slider if you like.
Similarly, when you move on to the Saturation Highlights/Midtones/Shadows Adjustment tool in the Color section, you can select the tonal range that you want to work on by clicking to add a control point and then adjust the brightness or saturation of that tone dragging up or down.
In addition to the standard view, Cinema Grade has a False Colours view that makes it easier to visualise the different brightnesses within the image so you can receiver highlights or bring out details from shadows.
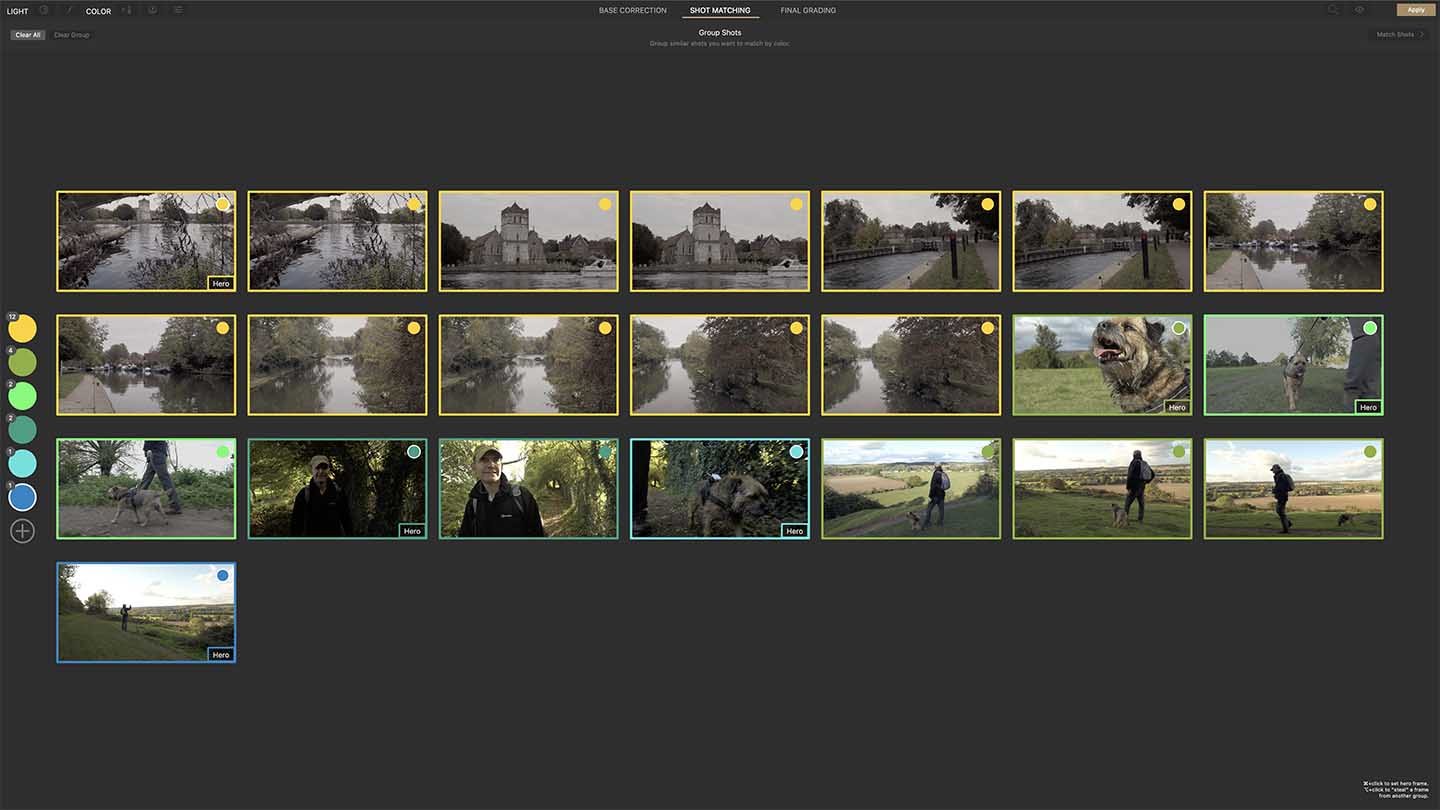
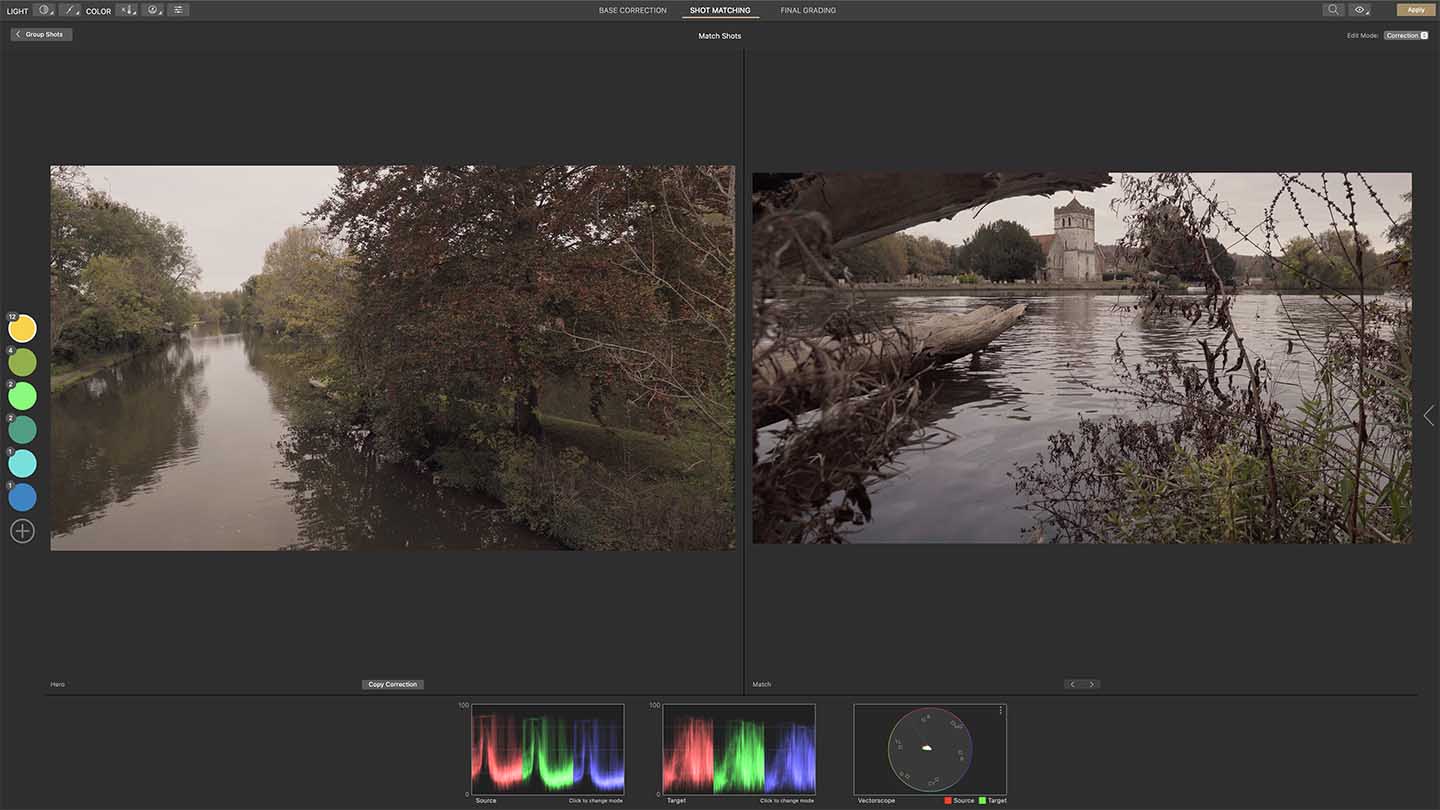
Once you’ve worked your way through the tools and you’ve made all the base corrections, it’s time to click on ‘Shot Matching’ at the top of the screen.