


The use of ISO in photography can sometimes prove confusing for new photographers. Many photographers avoid high ISO settings at all costs because they’re afraid of creating excess noise in their images.
While this is a healthy fear to some extent, there are situations where high ISOs are practical, even producing fantastic images. We’re here to help you overcome your fear of using a high ISO in photography by exploring the concept of sensitivity and the situations in which high values are necessary.
What is ISO in photography?
In digital cameras images are created after the sensor receives light and generates an electric signal that is subsequently converted into a digital signal.
In addition to many other factors, the amount of light that each photoreceptor (pixel) receives helps establish the strength of the electric signal.
Shutter speed and aperture determine how much light the sensor receives. In film cameras, low sensitivity film needs more light than high sensitivity film to produce an image.
High sensitivity film is therefore a better option for low light situations whereas low sensitivity film is preferable when light is plentiful or you’re using long exposures.
Digital cameras operate in a similar manner. Since you can’t change the sensor between shots, the sensor has a ‘base sensitivity’ that you can change by applying ‘gain’ or amplification to the signal. This base value is typically the lowest ‘native’ sensitivity setting available.
Applying gain, however, will also introduce noise into the image.
What is noise?
There are two kinds of noise in digital images, luminance and chroma. Luminance refers to the brightness of coloured pixels, and looks a little like the grain you see in black and white film. It happens when there is a disparity in the brightness of pixels that should share the same tone.
Chroma noise can look like individual points of colour or large smears of colour. It’s those coloured flecks you might see in high sensitivity images, particularly in the shadows.
Even after chroma noise is removed, luminance noise is typically left behind.
SEE MORE: 8 night photography tips you’ll use forever
What are native and expanded ISO settings?
A ‘native’ or standard sensitivity range typically covers values of around ISO 100 or ISO 200 to ISO 6400, with some cameras going even higher. Most interchangeable lens cameras have this native sensitivity.
Camera manufacturers set this range by determining which ISO settings produce images that are good enough for average, day-to-day use. Any noise that results from higher ISO settings is deemed to be within the acceptable limits by the camera’s maker.
Choosing the expansion settings in the menu will push the sensitivity range higher or lower, but it also means the resulting image won’t conform to the manufacturer’s standards. While these settings do have their uses, they’re typically used only in dire situations when it’s more important to simply capture any image regardless of its quality.
Experiment with your camera’s high sensitivity settings to become familiar with the quality of images it will produce. This way, you’ll know how high you can go without sacrificing a great deal of quality, and at what point you need to pack it in because conditions are too dark.
Surprisingly, it’s not all too uncommon for photographers to experiment with high sensitivity settings in conditions that are far brighter than they really need.
Since noise isn’t as big of an issue in good light, this doesn’t provide an accurate depiction of how the camera will perform. You really need to challenge your camera with low light and shadows to get a good idea of its performance at high sensitivity settings.
When you’re exploring your camera’s performance, then, it’s imperative that you shoot in same conditions that would require the higher ISO settings.
SEE MORE: What is a histogram in photography? Common questions answered
Are the lowest ISO values the best?
While it is true that low sensitivity settings produce the best image quality when you’re shooting motionless subjects in ample light (or you’re using a tripod), this doesn’t mean that using a low expansion setting will do you even better.
Settings such as ISO 50 or ISO 32 will typically leave you with a worse quality image than simply using the base sensitivity setting. While detail doesn’t typically suffer, noise levels will probably be higher and dynamic range can be adversely affected.
Low values such as these are supplied to permit wider apertures or slightly longer shutter speeds in certain situations. Bottom line, using these settings won’t necessarily produce the most technically correct image, but it can make your image more attractive in the right circumstances.
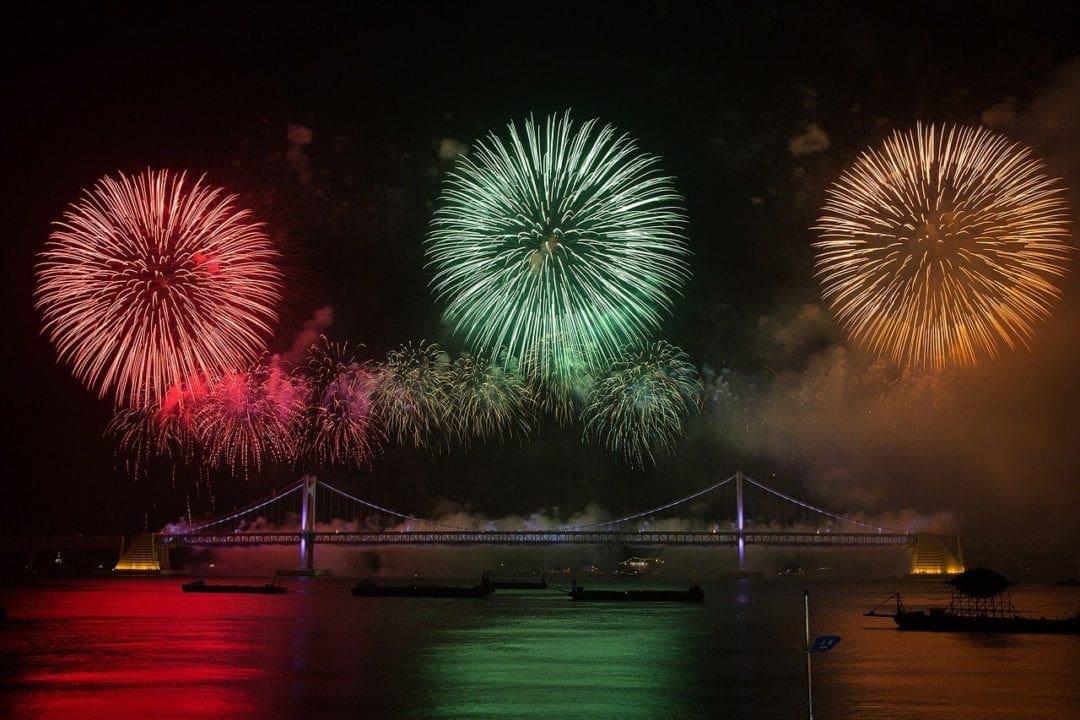
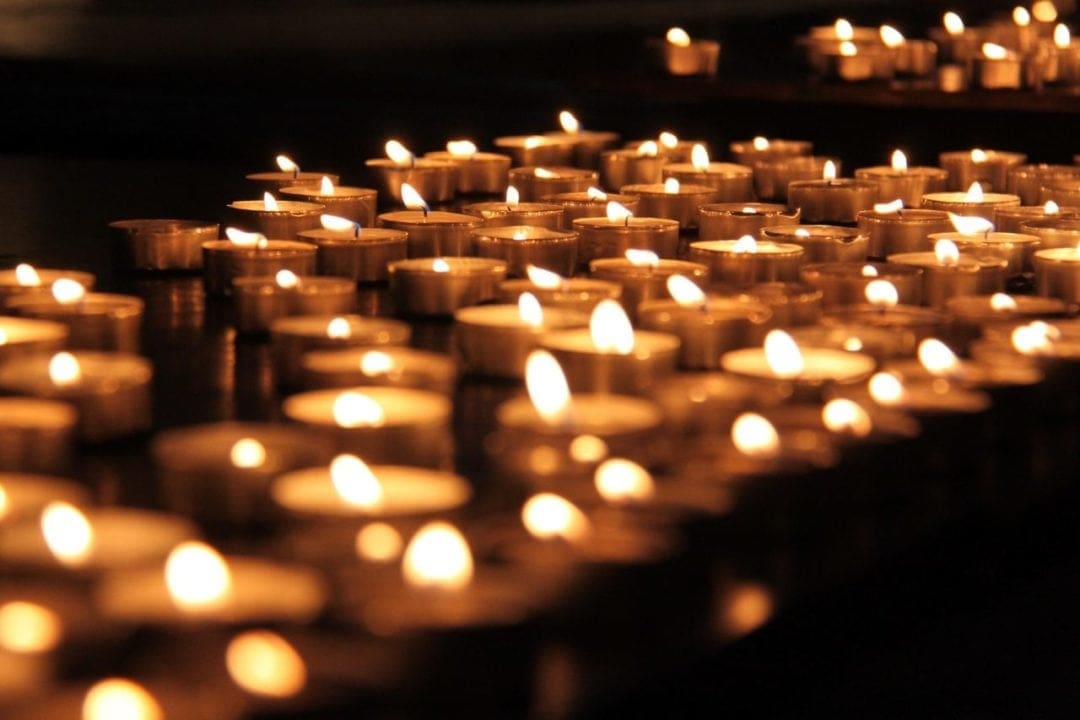
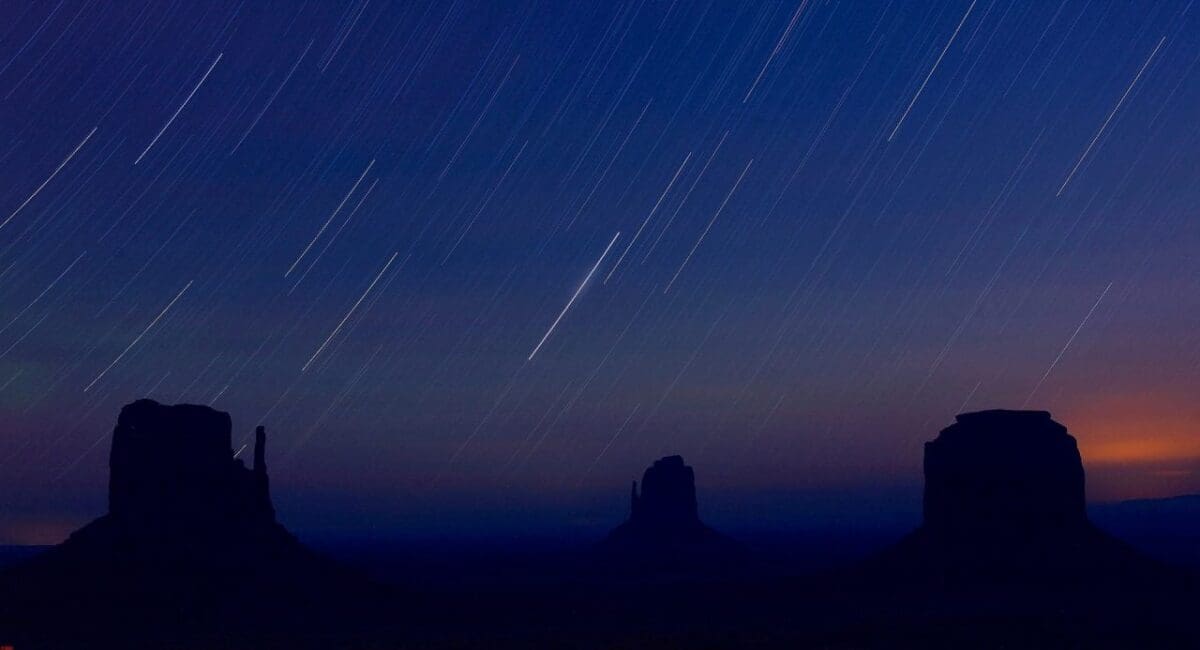
Shooting in low lighting
The most common circumstance for high sensitivity settings is low light. If you don’t have your tripod with you, a high ISO setting could help you avoid blur from camera-shake by letting you use a faster shutter speed.
Generally speaking, a little noise is better than blur. When light levels start to drop off, you might have to push sensitivity up a bit to get round extremely long exposure times. This doesn’t apply only to hand-held shooting, but for tripod-mounted cameras also.
Shooting a fast moving subject
You’re going to need a fast shutter speed if you want sharp shots of moving subjects, so it’s important to understand just how high of speed you may need to accomplish this.
If you’re shooting footballers, for instance, you will likely need an exposure of 1/1000sec or more to freeze their movement. While this does mean an increase in the sensitivity level, remember that a focussed image with a little noise is preferable to a blurry one.
Using a long lens
Long telephoto lenses can increase camera-shake, which means you’re going to need a faster shutter speed when using them. A good rule of thumb is to use a shutter speed that is at least 1 second divided by the effective focal length.
With a 300mm lens on an APS-C Canon SLR this means using a shutter speed that’s at least 1/480sec, or more commonly 1/500sec.
This isn’t an issue in the sunny days of summer, but during the dark winter you will probably have to push the ISO settings up a bit to achieve sharp results.
Dealing with noise
Noise reduction systems are now built in to cameras to help combat the problem. You typically can make adjustments to these systems to mask more or less noise.
While most of these built-in systems do their job quite well, they tend to be a little over-zealous, resulting in a reduction in overall colour saturation or smudge detail.
Your best bet is to shoot raw files. This way, you can process each file individually, modifying the amount of noise reduction used in order to reach the correct balance between detail and noise visibility.
Google’s Nik Collection Dfine tool specialises in noise reduction. It lets you reduce noise selectively across an image. Similar results can be attained by many photo editing software options that support layers.
READ MORE
What is a mirrorless camera: key technology explained
What is aspect ratio in photography