


I recently tested the Huawei P20 Pro’s camera and I’m pretty sure it’s the best smartphone camera around right now. It’s also the first smartphone to have a triple camera system. What’s more, that trio of cameras was developed with input from Leica, the esteemed German camera manufacturer.
But as is often the case, the Huawei P20 Pro doesn’t deliver the best performance straight from the box. There are a few tips and tricks to achieving that. Read on to find out how to set up the Huawei P20 Pro’s camera for the first time.
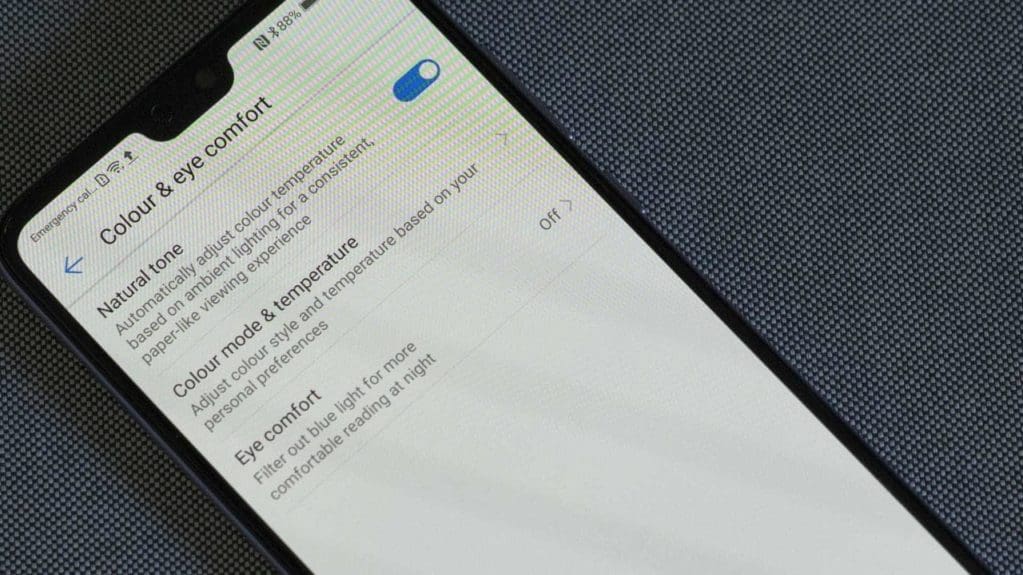
1. Natural Colours
The Huawei P20 Pro produces attractive colours but if you’re viewing them on the phone’s screen in its default setting, they’ll look oversaturated.
Fortunately, this is easily resolved. Simply tap the Settings icon followed by Display and then Color & eye comfort. Now flick the switch to enable Natural tone.
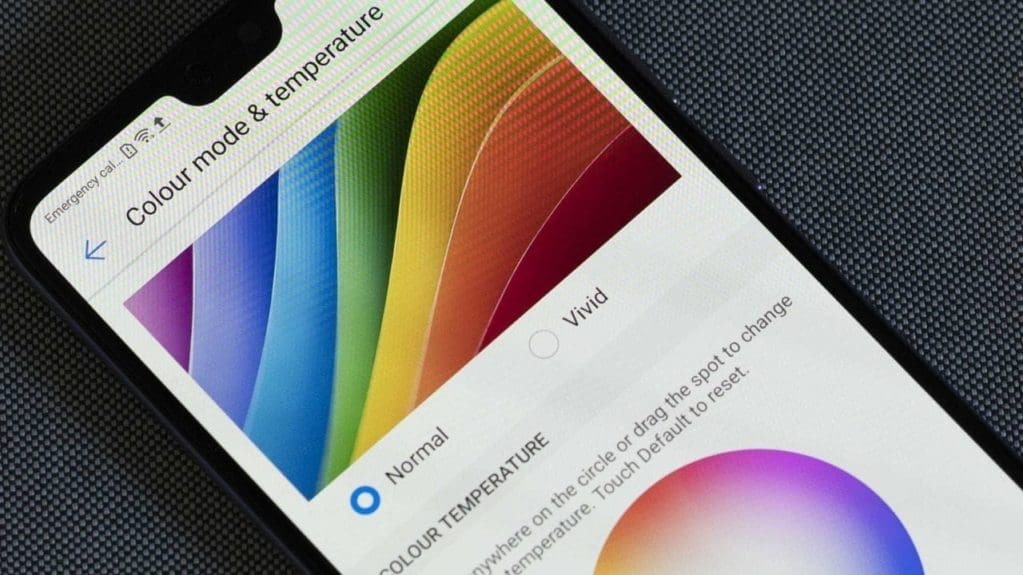
While you’re at it, you might want to tap on Color mode & temperature and make sure that Normal is selected rather than Vivid.
2. Hide the Notch
It doesn’t really bother me, but lots of people find the notch at the top of the display annoying. Thoughtfully, Huawei has provided an option to hide it if you’re one of them. All you need to do is open the Settings screen and then tap Display before tapping Notch and selecting the option to hide it.
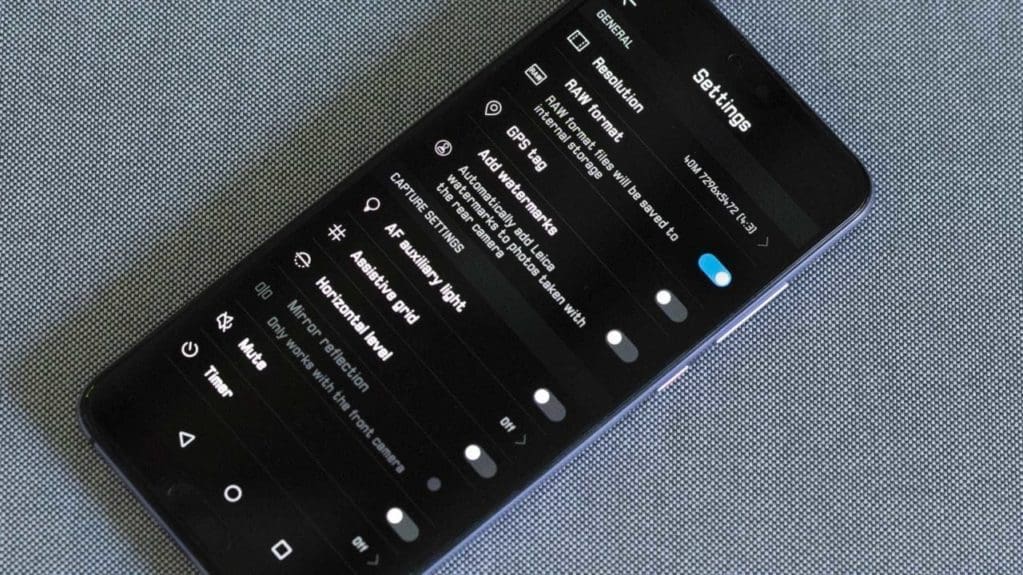
3. Set the Resolution
The Huawei P20 Pro’s three camera sensors have a combined pixel count of 68million. However, by default, the Light Fusion Technology merges the data and images are output at 10Mp. If you prefer, however, you can shoot 40Mp images in Photo and Pro mode.
To do this, open the camera app and select Photo or Pro mode at the bottom of the preview. Now tap the cog icon in the top right corner of the screen to access the settings. Tap Resolution at the top of the screen and select 40M.
One word of caution here, this will prevent you from using the zoom in Photo or Pro mode. However, you can zoom any of the subject shooting modes (Night, Portrait, Light Painting etc) and images will revert to 10Mp in size.
4. Shoot Raw
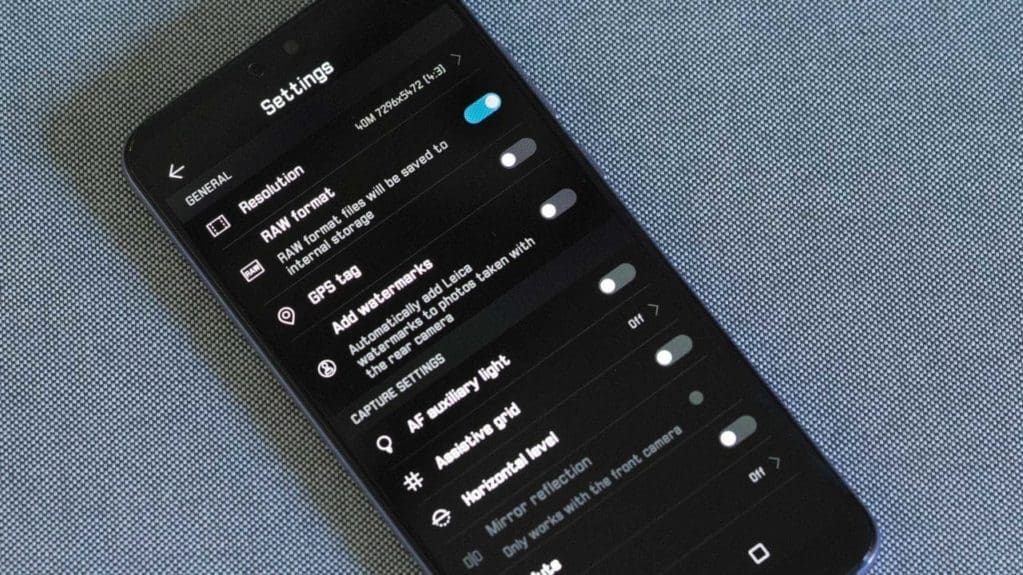
The P20 Pro allows you to shoot raw files in Pro mode if you like. To do this, open the camera app, select Pro mode followed by settings (cog icon) and then slide the RAW format switch right so it turns blue.
5. Activate the Grid and Level
Activating the Grid or Level display helps you keep the horizon level in your photos. Frustratingly, the electronic level can only be displayed in Pro mode, so you’ll have to satisfy yourself with a grid display in the other shooting modes.
With Pro mode selected, open the settings screen and slide the Horizontal level switch to the right so it turns blue. Then select one of the other shooting modes, open the settings screen, tap Assistive grid and select the display option that works best for you. I use Grid as it gives me straight lines to assess the image against.
6. Enable Ultra snapshot
When situations develop quickly you may want to grab a shot quickly and think later. Ultra snapshot can help with that by allowing you to take an image by double-pressing the down volume button. The downside is that you won’t see the image on the screen before you take the shot.
Helpfully, the camera stays active after the shot has been taken and briefly displayed so you can shoot a more considered image if you like. Alternatively, set the double-press to open the camera app rather than take a shot blind.
Ultra snapshot is activated by the option at the bottom of the camera setting’s screen.
7. Set the Video Resolution and use the Stabiliser
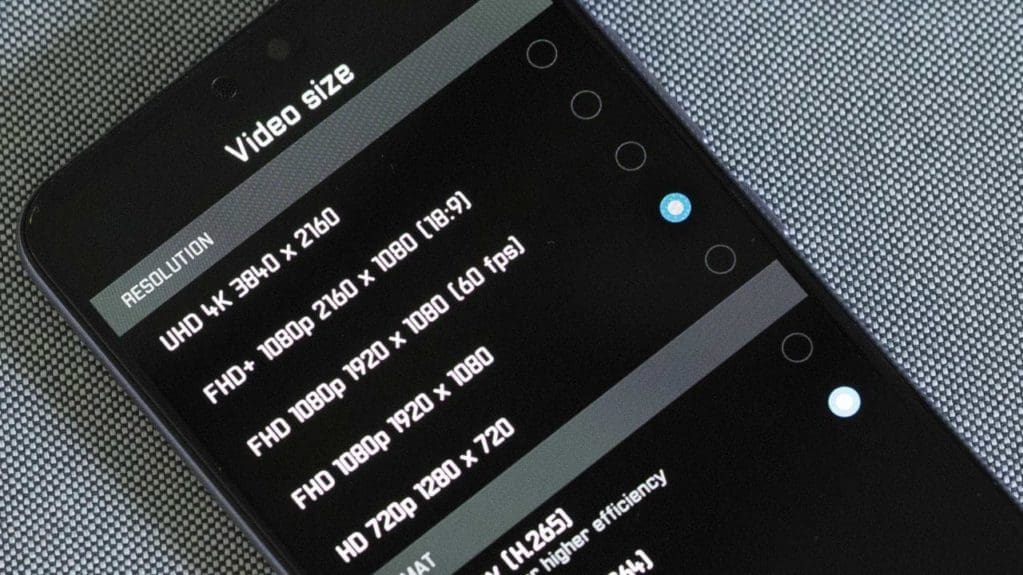
The natural inclination with video is to select the highest setting available. With the P20 Pro that means UHD 4K (3840 x 2160). However, this rules out using the Stabiliser. In fact, it’s the same story if you keep the video resolution (size) at FHD 1080p 1920 x 1080 but boost the frame rate to 60fps.
Consequently, if you’re hand-holding the P20 Pro, we recommend sticking with the default size of FHD 1080p 1920 x 1080 or using the letterbox shaped FHD+ 1080p 2160 x 1080 (18:9) option. If you have a gimbal or you’re using a tripod, however, got for 4K mode.
Summary: How to set up the Huawei P20 Pro’s camera
- Set the screen to display natural colours
- Hide the notch
- Set the resolution to 40Mp in Pro Mode
- Shoot raw in Pro mode
- Activate the Grid and Level display
- Enable Ultra Snapshot
- Set the video size to FHD 1080p 1920 x 1080 and use the Stabiliser