Most digital cameras these day have a feature often known as a film simulation mode that allows you to take control over the colour of your images, even when shooting raw files.
These film simulation modes are designed to boost colours and range in their scope from an overall lift in saturation to targeting specific tones, such as blues and greens.
Fujifilm popularised this feature, once regarded as a novelty, introducing what it called, quite simply, Film Simulation Mode. Fujifilm took the common simulation modes like vivd and black and white and tweaked them to replicate the colour effects of its popular heritage films.
The company even named its film simulation modes after its classic film, introducing Provia (standard), Velvia (vivid), Astia (soft – more subdued colour and contrast), Classic Chrome, Pro Negative High and Standard, Acros (black and white), Monochrome and Sepia.
Canon calls it Picture Styles in its cameras. Nikon’s version is called Picture Control. Olympus has Picture Mode. Sony dubs its offering the Creative Style Mode. And so on.
The great thing about using your camera’s film simulation modes is that it immediately puts you into a mindset where you are visualising your final image. Any time you approach a subject with a vision of how your final image should look, you will come away with a far better image. This is especially true with black and white photography.
Setting up your camera’s film simulation modes
Film simulation modes are almost always among the first page of options within your camera’s menu settings. Simply navigate to the mode you want to use, enable it and you’re ready to go.
Many cameras also allow you to customise your film simulation modes to create a more bespoke look for certain subjects. These will typically give you control over elements like contrast and brightness.
You can also use this control help develop your own photographic style and develop a look and feel that you can apply consistently throughout all the subjects you shoot.
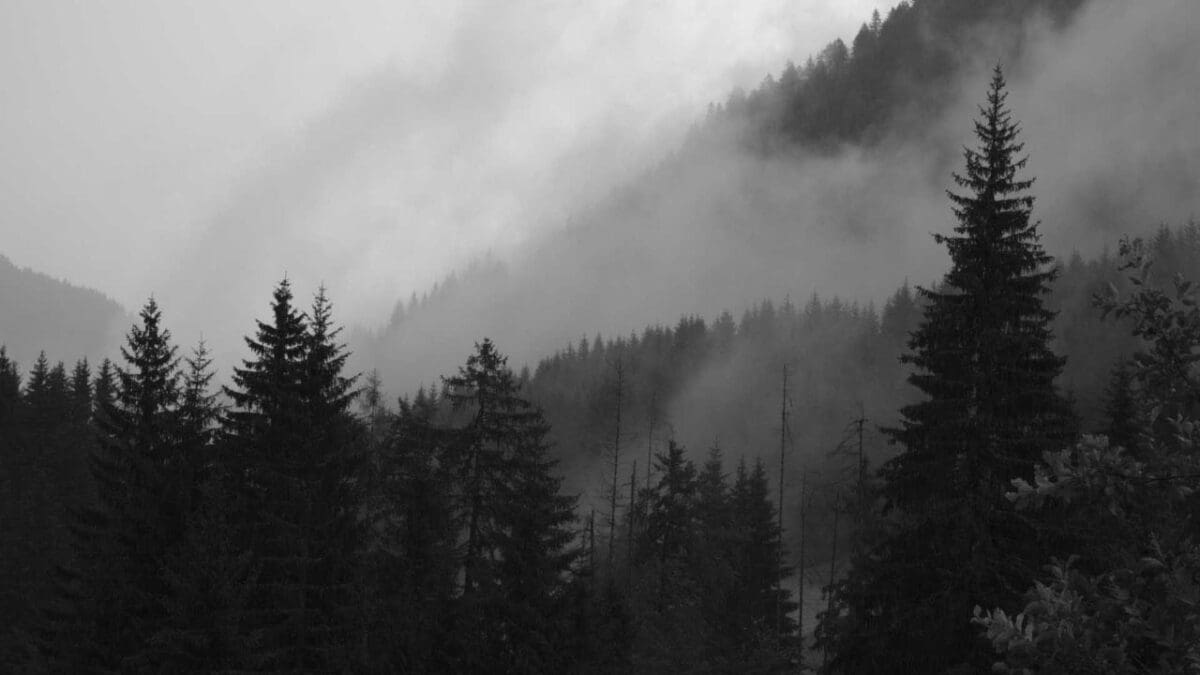
The advantage of Black and White film simulation modes
With mirrorless cameras like the Fuji X-T2, Olympus OM-D E-M1 Mark II, Panasonic GH5 and Sony A7R II others you can actually see your subjects in black and white through the viewfinder or on the LCD screen on the back of the camera when you’ve enabled the monochrome film simulation mode.
The reason these companies have done this is because it’s far more difficult to pre-visualise monochrome images than it is colour. This is because we see in colour.
When you strip colour away from a scene you’re left with its shape and form and texture – things you often take for granted and look past in everyday life.
So at the shooting stage when you can see your scene rendered in black and white tones you can more quickly determine if your subject and composition work or if it needs improvement.

How to preview Picture Style / Picture Control effects on a DSLR before taking the shot
Many DSLRs, particularly high-end models like the Canon EOS 5D Mark IV and Nikon D810, allow you to preview how an image will look with in a certain film simulation mode before you take the shot.
To do this you need to activate the camera’s live view mode and compose your image on the LCD screen.
Alternatively, you can also compose and take a photograph using your camera’s viewfinder, then see how it looks on the LCD screen in playback mode.

JPEG or Raw?
Many professional photographers who use mirrorless cameras have begun shooting in-camera jpeg files, which they find saves a lot of time spent on the computer processing raw files.
Some photographers still swear by raw files for that extra flexibility – and we’d certainly recommend that you shoot raw and jpeg files simultaneously, at least while you’re getting to grips with the various colour modes and finding your own photographic style.
What’s more, shooting raw + JPEG means if you come across a subject that looks better in colour, you’ll have a full-colour raw file if don’t have time to switch colour mode.
