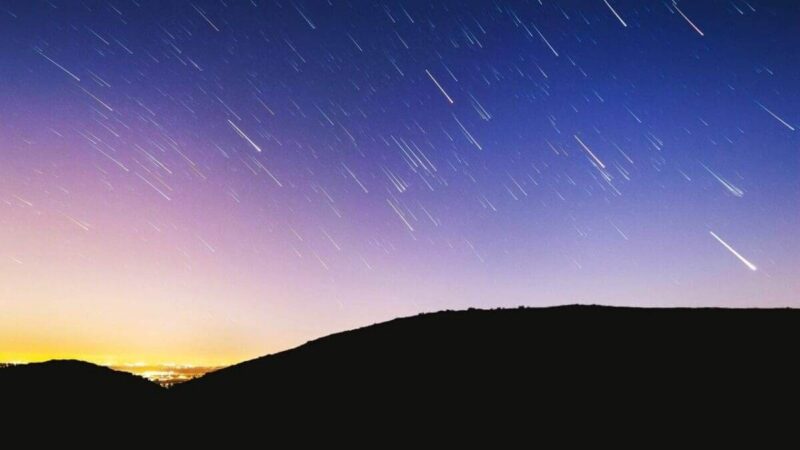
Learning how to photograph the moon is one of the techniques that budding night photography enthusiasts seek to learn first. That’s because the moon’s ethereal qualities can evoke powerful moods and emotions, which is why the moon has enthralled artists for centuries.
In this tutorial we’ll show you how to photograph the moon by first planning your visit so that you know when the moon will rise in the best locations. We will show you how to read moonrise timetables and check weather forecasts for a clear night, then head out to the countryside, away from the city lights, to find a great location.
We’ll then show you how to set up your camera to photograph the moon to capture striking lunar images.
Photographing the moon can prove difficult, though. Shooting a bright subject in the midst of total darkness is going to throw up all sorts of challenges in terms of exposure and focusing, but with some careful planning and the right conditions, anyone can photograph the moon and come away with great results.
Perhaps the biggest challenge you’ll find when learning how to take pictures of the moon is that it’s difficult to record detail in the surrounding landscape without burning out that crucial detail in the moon.
Some people like to create composite images of the moon. What this means is they will take a photograph of the moon exposing for detail on the lunar surface. Then they’ll take another shot exposing for the surrounding landscape.
Later, on the computer, they’ll use their photo editing software to blend the two images together to create a perfectly exposed photograph of the moon.
Some people might say this is cheating, and everyone has their own tastes and rules to live by. But it’s worth noting that compositing isn’t new to the digital age. Photographers were making composites in traditional wet darkrooms long before Photoshop came around.
In other words, there is no wrong way to take pictures of the moon. We’ll save the compositing for another time. Below we’ll show you how to get a good photo of the moon with whatever camera you have.
When to photograph the moon
Autumn and winter are the best time of year to photograph the moon. This is because the colder air at night holds less moisture than the warmer air in spring and summer. This means it’s easier to get sharper images when shooting at long focal lengths.
And as an added bonus, the shorter days mean you don’t need to stay out too late to be able to photograph the moon in the night sky.
How to photograph the moon or supermoon

01 Plan your shoot out in detail
The first thing you need to do is think about your image and decide whether you would like your image to feature a full or crescent moon. Both create different types of moods and are visible at varying times throughout the month. You can check moonrise times online, or download one of the many apps available for Android or iOS.
Next you’ll want to leave the city behind and venture out to the countryside to avoid light pollution spoiling your image. It’s worth remembering that it can get quite cold at night at this time of year, so make sure you dress for the weather, and don’t forget a head torch.
What’s more, one of the most useful camera accessories you’ll find for moon photography is a quality pair of fingerless gloves.
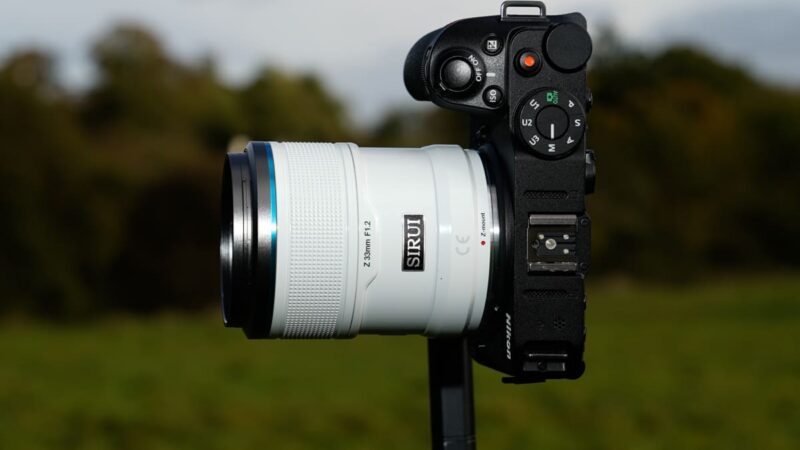
02 Use a long lens
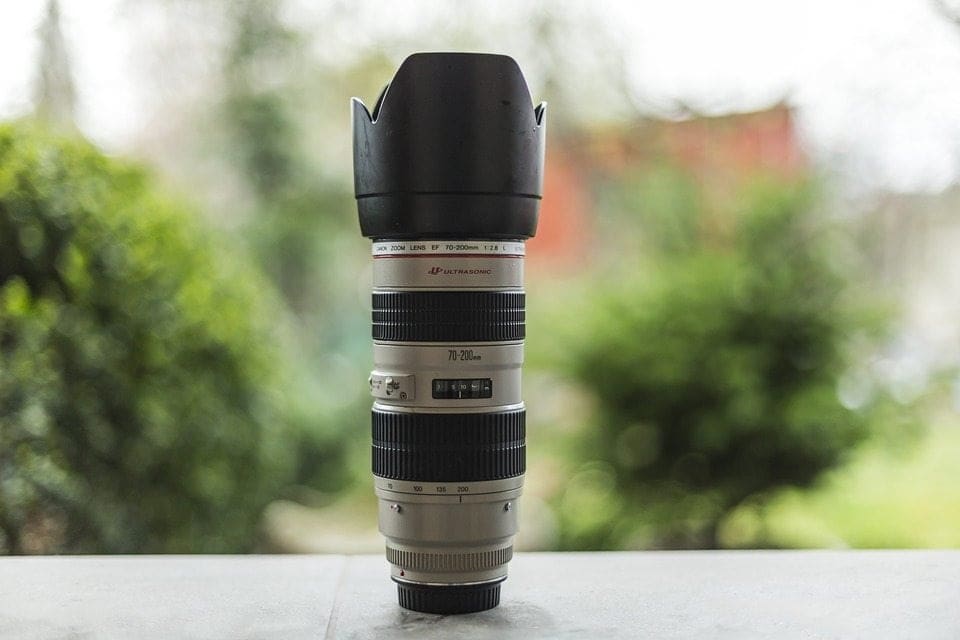
To capture images of the moon with any reasonable detail, you’re going to want to use a telephoto lens – ideally 400mm or more. But, really, the longest you can go, even if it’s 200mm, will be fine.
Because the moon appears larger closer to the horizon, a long telephoto lens will magnify it even further in your frame. What’s more, the crop factor on a DSLR with an APS-C sensor, for instance, brings you closer even further, so your 400mm focal length might increase to an equivalent of 640mm, depending on the brand of camera you use.
And if you were to add a 2x extender to that mix, well, you could be shooting at an effective focal length of up to 1200mm!
However, it can be difficult to photograph the moon nearer to the horizon because you’ll encounter more ambient light and air pollution. So with this in mind, the best place to photograph the moon in the night sky is to frame it when it is halfway between the horizon and its highest point.
03 Use a tripod and shutter release
If you’ve ever shot at long focal lengths on any type of camera, you’ll know that keeping your camera completely still and the subject pin-sharp is a real challenge. Add a long exposure to that, and the risk of camera shake goes right up.
For this reason, a tripod is absolutely necessary for photographing the moon in the night sky. Mount your camera on a sturdy tripod, use a remote shutter release and you’ll be in a good position to get a sharp image. Check out our round-up of the best camera remote controls to find the right shutter release for you.
If you use a DSLR with a Mirror Lockup option, this will help reduce the chance of camera shake even more. If you really want to take every precaution, you can also use small sandbags – one on the camera and one on the lens – reduce vibrations.
A lot of experienced night photographers use what’s called a gimbal head to keep their cameras stable, but any decent tripod-and-head combination should serve you well. Check out our guide to the best gimbal heads for your camera.
04 Focus manually
Focusing to infinity isn’t really a viable option when shooting a subject as far away as the moon at night. You’ll find that there isn’t enough depth of field with a telephoto lens to fix focusing errors, especially at an aperture of f/8 which you’ll likely be shooting at.
An aperture of f/8 is a popular choice for night photographers because it affords a generous depth of field and will be close to the sharpest image quality available on most lenses.
For best results, we suggest switching to manual focus and then turning on your Live View screen. Here you can zoom in on the moon and fine tune your focus on the details on its surface.
If there’s cloud cover, though, perfecting your focus in Live View will prove difficult. Ideally, you want to photograph the moon on a cold night with low humidity for best results.
05 Use your histogram
It’s best when photographing the moon to always shoot raw files. A raw file gives you so much more flexibility to make adjustments to colours and tones and exposure, particularly if you plan to make a composite.
That said, like any night photography, any time you’re photographing the moon it will require some trial and error before you get the exposure right. A good way to speed this along is to use your camera’s histogram so you can see where highlights are overblown (make sure you turn on your highlight warning) or shadows are too dark.
06 Shoot in manual mode
Because of the trial and error involved in shooting the night sky, and how much fine tuning you’ll be doing, using your camera’s manual exposure mode is the best way to photograph the moon.
Because the moon is so bright and surrounded by so much dark, as we mention earlier, your camera’s metering system is going to have a tough time ascertaining the correct exposure on its own. It needs your help!
A good starting is setting your camera to 1/125sec at f/8, ISO 100. This will get you ‘in the ballpark’ to take a good photograph of the moon, and you can adjust from there as needed.
07 Use a fast shutter speed
You might wonder why we shot at 1/125sec. This is because even though it’s very subtle to the human eye, the moon is in motion across the night sky as you photograph it. A long exposure will only result in a sharp surrounding landscape and a blurred photograph of the moon.
So to counter the motion of the moon you’ll need to dial in a fast shutter speed.
How do you take a picture of the moon with your phone?
Smartphone cameras has come a very long way, and advancements in AI technology and stabilisation mean that you can now photograph the moon with a phone and expect good quality results.
01 Use your phone’s manual mode.
Manual mode will often be called the Pro mode in your settings. In here you’ll find more manual controls over settings like ISO, white balance, aperture and shutter speed. In manual mode you’ll want to set as low an ISO as possible. Then set your metering to Spot and expose for the moon. You’ll probably also want to dial in some negative exposure compensation to ensure you capture detail in the moon.
Also, ensure you have a low ISO (around 100 is ideal). And check that you’ve dialled in a slow shutter speed. But remember, a long exposure is hard to shoot handheld without camera shake. Therefore we recommend using a small smartphone gimbal or mounting your phone on a mini tripod.
02 Shoot in Night mode
Alternatively, you might also want to use your phone’s night mode. These are called different things from manufacturer to manufacturer, but the night mode effectively allows you to shoot sharp, handheld shots in the dark.
How this typically works is that your smartphone camera takes a series of long exposure images at different camera settings, and then it applies stitching software to create the best looking image.
03 Zoom in
Most phones will allow you to zoom into your scene. Zoom in as far as you can and make the moon large within your frame. The quality won’t be as high as if you were using a camera with a bigger sensor, but you still should be able to capture some nice detail.
04 Turn off your flash
You can typically turn off your flash on the main screen most phone’s camera app. The flash light from your smartphone’s tiny LED will never illuminate the moon and will only serve to wash out your image.
05 Shoot raw files
If your phone shoots raw files, this will give you much more flexibility to edit your pictures of the moon later on. If you click the cog wheel settings icon on your camera app screen, you should be able to set this here.
Best camera settings for moon photography
The best camera settings for moon photography will mean finding the right combination of shutter speed, aperture and ISO. To help you get started, try these camera settings when you next photograph the moon:
- Shutter speed: 1/100 to 1/125sec
- Aperture: f/11 to f/16
- ISO: 100 to 200
- Image stabilisation: turn this off if your camera is mounted on a tripod, as it can have the opposite effect
- File type: shoot raw files to give yourself more editing flexibility
The thinking here is that you want a faster shutter speed than you’d normally use at night because the moon is so bright. Likewise, you’ll want to a smaller aperture to get a wider depth of field but also to prevent the highlights from being overblown. To get a good photo of the moon, you want to see its textures. A washed-out image won’t have that subtle visual interest.
What ISO for moon photography
The best ISO for moon photography is generally your lowest sensitivity value, which for most cameras is 100. The lower your ISO, the less noise you’ll see in your images.
How to make the moon look big in photos
- Shoot at a long focal length
- Capture the moon when it is close to the horizon
- Shoot from far enough away to include some foreground interest
To make the moon look big in photos, you’ll want to mount a longer lens. A telephoto lens creates the effect of compressing the perspective, making the moon look much bigger within your scene. If you think about a traditional landscape image, a photographer might shoot a scene with some boulders in the foreground and mountains in the background. A telephoto lens creates the effect of compressing that scene, as if the mountains have been pushed forward. Pairing your long lens with a teleconverter can magnify the moon even more in your frame.
Using a long telephoto lens is the first step to make the moon look big in photos. You also need to consider your timing and location.
Timing
Timing-wise, you want to take a photo of the moon when it is closest to the horizon. Your best bet is to be in your location and ready at about 30 minutes before sunrise or sunset. You have about 10-15 minutes on either side to get your shot. So it’s best to dial in your camera settings and do a dry run before the big day.
Location
We’ve explain how to make the moon look big in photos, but let’s be honest: a big moon in the frame could have ben shot anywhere. It’s the location that really helps tie a big moon photo together and tell a story.
Once you’ve decided on a location for your shoot (maybe it’s a national park, or perhaps a city centre), scout your location during the day and find the best spot for you to set up your camera and tripod and incorporate some foreground interest into your image.
Because you’re shooting at such long focal lengths to make the moon look big, you’re going to need to be farther away in order to get both that large moon and your subject within the landscape in the frame together. So that recce of your location is very important.
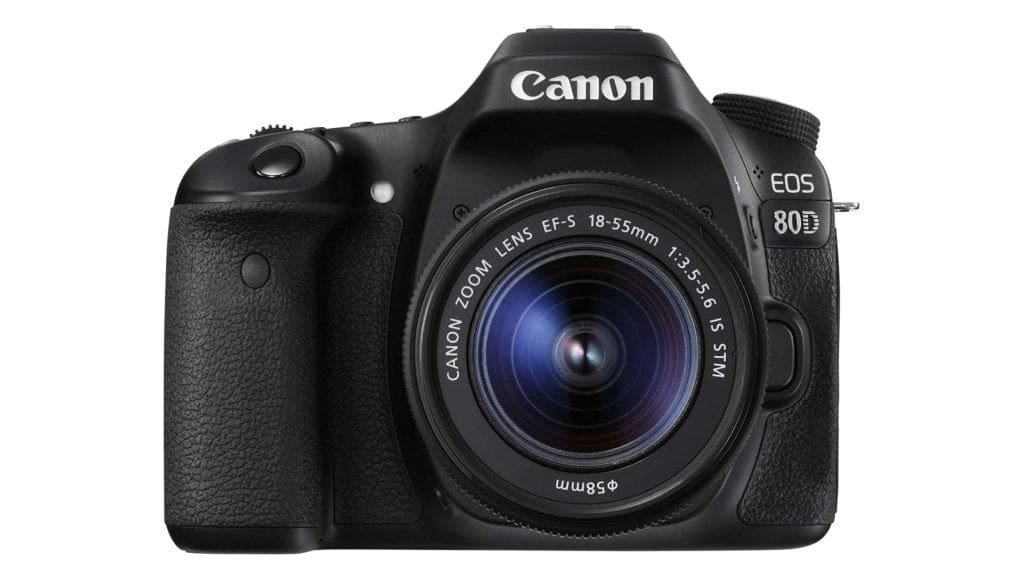
How to photograph the moon with an 18-55mm lens
We’ll be honest: it’s not easy to photograph the moon with an 18-55mm lens. You won’t be able to take the classic close-up shot of the moon in the sky because the focal length is too short. This is because longer telephoto lenses not only have farther reach but have the effect of compressing perspective.
So objects in your background appear closer, and bigger. With an 18-55mm you won’t get that effect, and the moon will be fairly small in your frame.
But don’t fret: there are still some ways to get interesting images of the moon with your kit lens.
As well as the focal length being too short, exposure will be an obstacle for you. In the thick of night, there will be so much black sky in your frame that the moon will probably be an over-exposed white dot.
To overcome this, you’ll want to photograph the moon with an 18-55mm lens just after sunset (or before dawn) when there is still a bit of light in the sky. There will be less contrast between the sky and foreground allowing you to capture detail in both.
And because the moon will be fairly small in your frame, think about the surrounding environment and how you can include that in your composition. Maybe stage your shoot around an old cathedral or familiar landmark to give your moon shot some extra context or interest.
Shoot in manual mode and bracket your shots. Set your lowest aperture and increase your ISO (try starting at 800 and adjusting as necessary). You’ll probably need to adjust your settings until you find the right balance.
What lens do you need to photograph the moon?
You want the moon to be as big as possible in your frame to reveal that detail of its landscape. To do this you’d ideally want a telephoto lens with a focal length of 300mm or 400mm.
That said, lenses at this length can be quite expensive. You’re more likely to have a lens that reaches 200mm in your arsenal, and if this is your longest lens you should still be able to get a nice photograph of the moon.
And it’s worth noting that you shouldn’t worry too much if your long lens doesn’t have a fast aperture. The moon is so bright, that when it fills your frame you’ll be able to use an aperture of f/5.6 or even f/8.