In this tutorial we’ll show you how to photograph a reflection and see the world in a new way with your camera!
It can be very easy to get stuck in a rut taking photographs of the same subjects over and over again, particularly when shooting the city you live in. Even on when you’re on holiday, photographing landmarks and famous city skylines can start to look samey.
In these situations professional photographers try and see locations differently. They seek out compositions and angles that many people might not have seen before, and one of the tricks they use to do this sometimes is to photograph landmarks in reflections.
It could be the Eiffel Tower in a Parisian puddle. It could be a mountain gleaming in a still lake. Learning how to photograph a reflection can also be a fun way to shoot outdoor portraits.
Below we’ll show you how to photograph a reflection by first knowing where to look and then setting up your camera.
Best camera settings to photograph a reflection
01 Set a small aperture
You’ll usually want a decent amount of depth of field when photographing a reflection to ensure you get it all crisp and in focus. To this end, I would set an aperture of around f/11 to f/16.
02 Set your shutter speed
There are two schools of thought with shutter speed when it comes to photographing a reflection. Using a fast shutter speed will ensure that you don’t capture any movement that may spoil your reflection. This could be a boat drifting through your reflection of a tree, or passersby blocking a window.
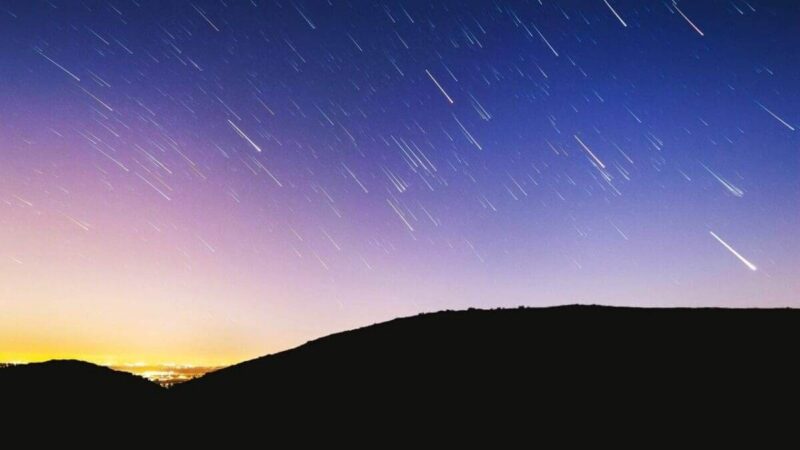
On the other hand, when the conditions are right a slower shutter speed will make your reflection all the more dramatic. The longer exposure will saturate the reflection, making it more impressive. It will also flatten out the ripples in water and smooth things over.
03 Set your ISO
If you went for a faster shutter speed in step 2, it’s likely here that you’ll want to increase your ISO value. The higher sensitivity will allow you to work at faster shutter speeds; however, just be aware that the higher you creep up the scale, the more noise you introduce to your images. I tend to stick around ISO 6400 as a maximum.
If you are working with longer exposures and using a tripod, it’s worth using your lowest possible ISO value in order to keep your images noise-free.
04 Expose from within the reflection
A good rule of thumb is to set your exposure from a point within the reflection. But if there is a range of tones within the reflection, expose from a midtone.
What you don’t want to do is blow out certain parts of your scene. This is why step 5 is very useful…
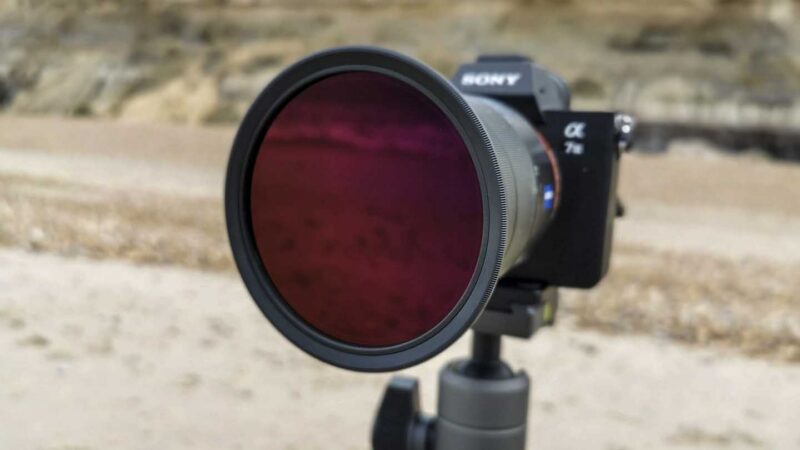
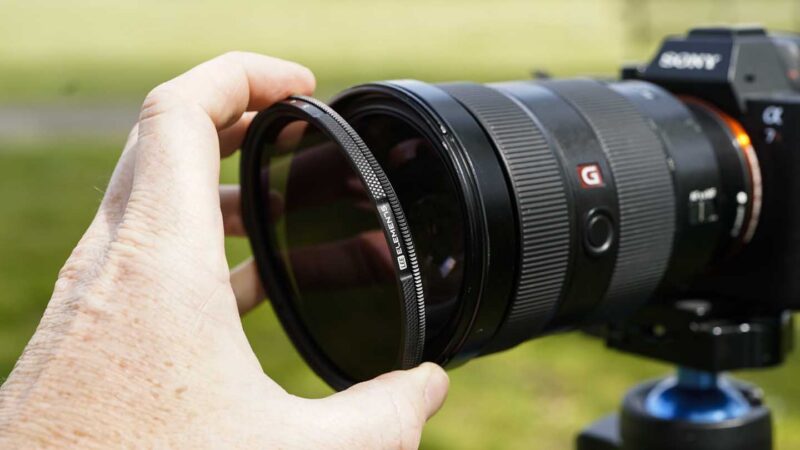
05 Use an ND filter
An ND restricts the light coming through your lens, allowing you to shoot at slower shutter speeds in brighter conditions. You could use an ND filter in daytime, for instance, in order to get a slower shutter speed to smooth over water.
An graduated neutral density, or ND grad, filter is also useful. ND grads are dark on one half of the filter but clear on the other. This means you could shoot a longer exposure of a reflection in water, but place the dark side of the ND grad at the top of your lens to prevent overexposing the sky.
06 Shoot at the golden hours
If you photograph reflections at the golden hours they will look all the more impressive because sun is at a low angle in the sky, producing more dramatic light.
With jobs and family responsibilities, though, it’s not always possible to shoot at these times. In which case, just try to avoid mid-day if you can. In the middle of the day the sun is directly overhead and will wash out your reflections, leaving them less impressive.
07 Set a Daylight white balance
Whether you’re shooting city lights at twilight or reflections in a pond in bright daylight, set your camera’s white balance to its Daylight pre-set to deepen the colour of that blue sky and warm up those city lights.
08 Use exposure compensation
If you’re shooting a reflection under city lights, don’t forget to dial in a little underexposure to reproduce the dark conditions!
If you’re taking your photo during the day you may find that the bright reflections on the water trick your camera into underexposing.
In some cases this may not be a bad thing, as a little underexposure can help deepen the saturation of your colours. But keep an eye on the situation and increase the exposure compensation if necessary.
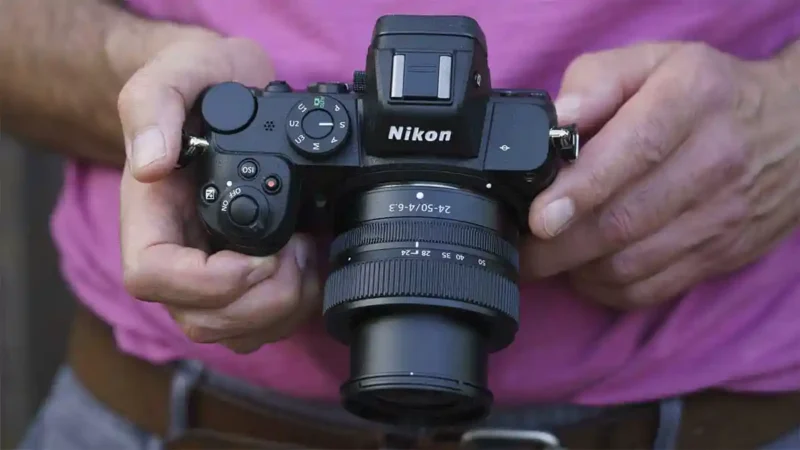
What gear you need to photograph a reflection
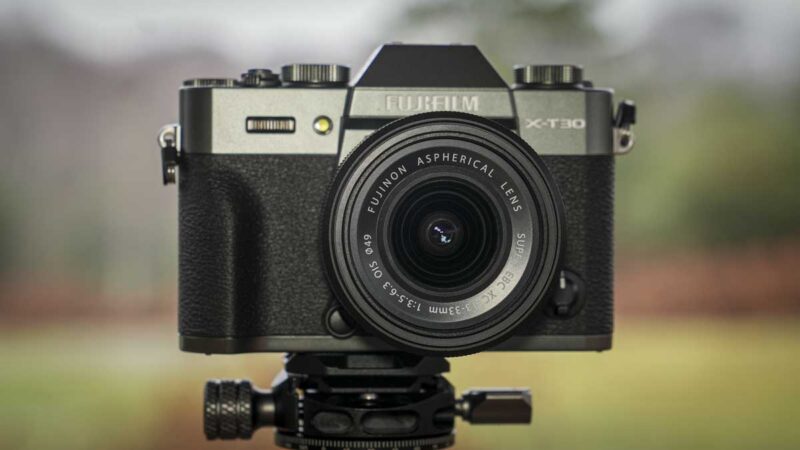
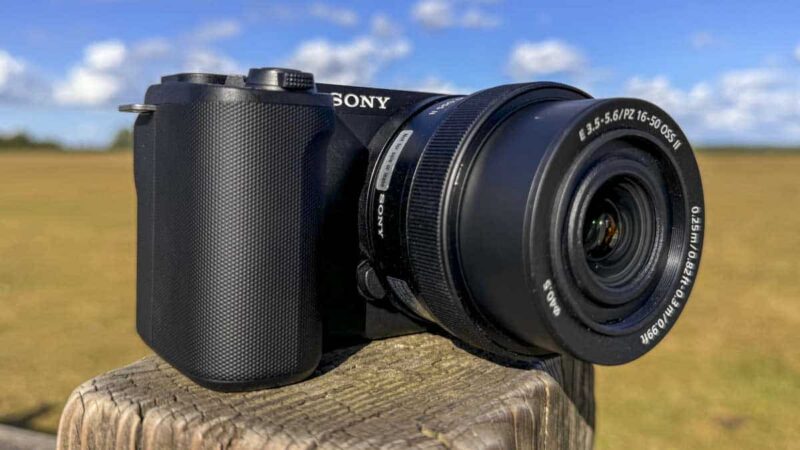
I find a telephoto lens to be the best optic for photographing a reflection because its different focal lengths allow you to capture wider views and finer detail, as well as cropping in on distant subjects such as reflections high up a tall building.
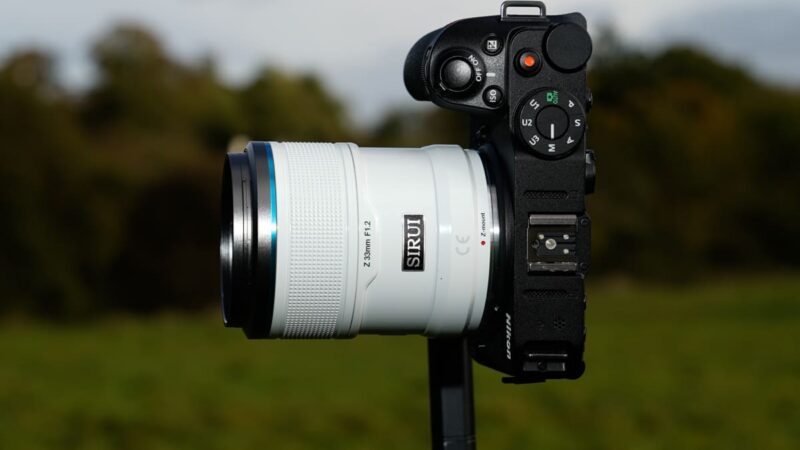
That said, a shorter, fast lens can also be useful if you’re shooting in the city at dusk and don’t have a tripod, yet want to avoid your high ISO settings.
If you’re shooting lakes or pods, a tripod can come in handy. Shooting a long exposure can smooth out any ripples. A neutral density filter can also do this if you’re shooting in strong light.

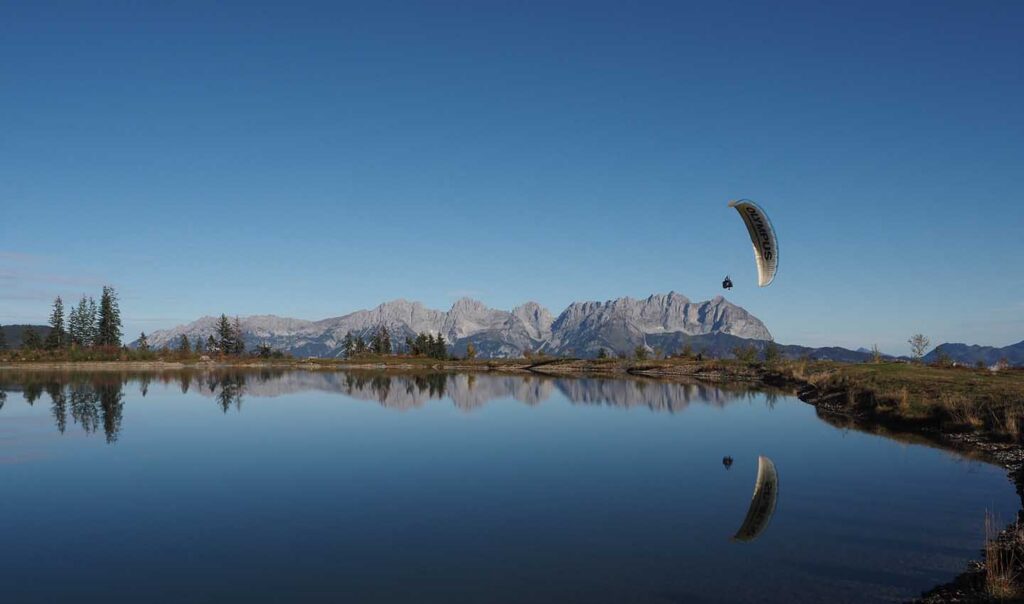
How to photograph a reflection in water
Rivers, lakes and ponds are the obvious places to look for reflections when you’re out in nature, and for the best results you should visit early in the morning. This is because the water surface tends to be stiller in the morning than later in the day.
But remember what we said at the beginning about trying to see subjects in new ways? Our natural inclination when photographing a reflection is to capture a perfect copy of the subject, but sometimes a distorted shape or imperfections can make a reflection more interesting.
For this reason it can also be worth your while to visit a lake or pond in the afternoon or early evening. Even just a few ripples can give your reflection an abstract look and feel.
And puddles and even wet pavements can work just as well! In fact, I find these even more interesting because their urban setting allows you to include other environmental markers and even people within the frame.
Another great thing when you photograph a reflection in puddles is that as you move around it and seek new angles different landmarks and backgrounds are included in the frame. In theory, you can take a variety of different photos from the same reflection as you play with juxtaposition.
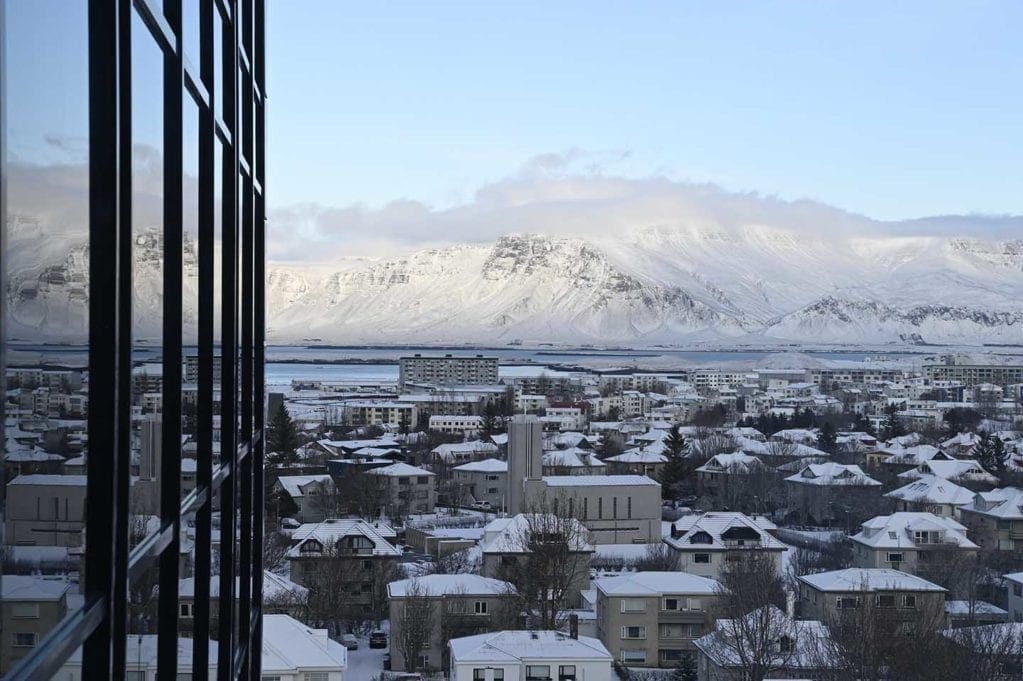
How to photograph a reflection in the city
As well as puddles and wet pavements, all the shiny surfaces and glass shopfronts in city centres can make excellent canvases for photographing a reflection. What’s more, if you wait until twilight, that’s when many of a city’s colours come to life, offering much more striking reflections.
Photographing a reflection in glass can be really tricky, though – more so than shooting water.
For starters, you really need to get your composition just right to avoid including yourself in the frame. And you need to think about the subject being reflected as well as what it is reflected on.
Before you press the shutter release, take a look around the frame. Scan the edges and make sure you haven’t included anything you don’t want to appear in your final image. It’s easier to correct these mistakes at the shooting stage.
Sometimes if I’m shooting street photography I will find a nice reflective surface like a glass window, then frame my image how I want it and get my camera settings dialled in. Then I just wait for someone to come along. And as they past through my focal point, I press the shutter.