
Articles
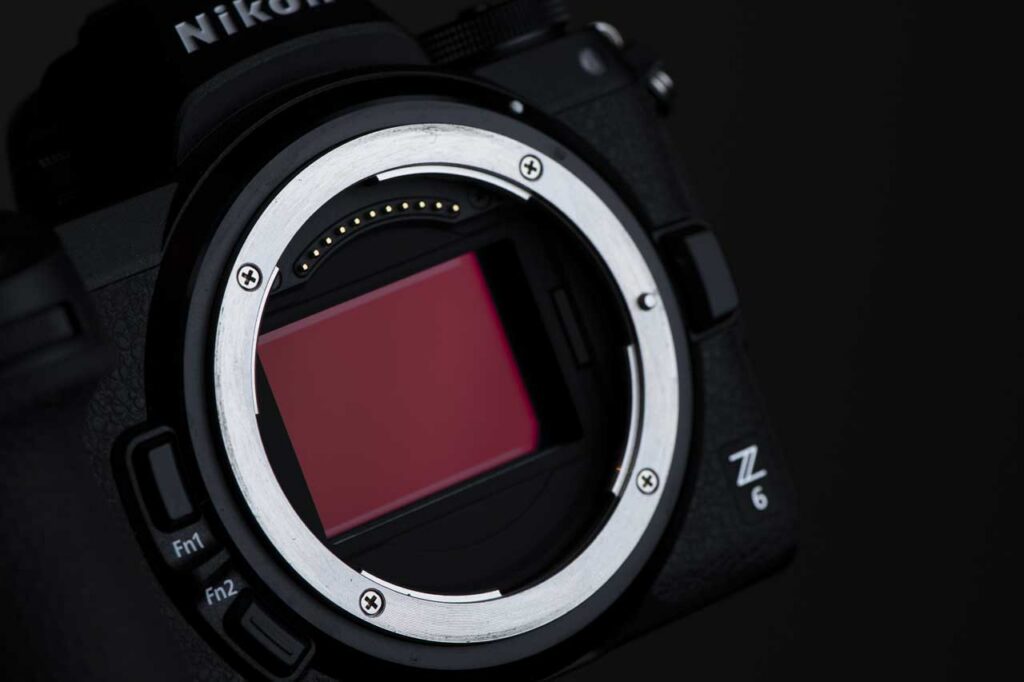
What is an APS-C CMOS Sensor?
In a world where photography is as much about the tools as it is about the vision, the APS-C CMOS…
A guide to affordable yet versatile gear for new photographers
Whether you're new to photography or have been taking pictures for years, choosing the right photo accessories should really be…
Essential Camera Kit for Beginners in 2025
Well, we've just stepped over the threshold of 2025 and the long wet winter is slowely drawing to a close…
Beginers photography Guide: Getting to know your camera
There's just no arguing with the fact that smartphones are incredible imaging devices, and they've revolutionised how we take pictures;…

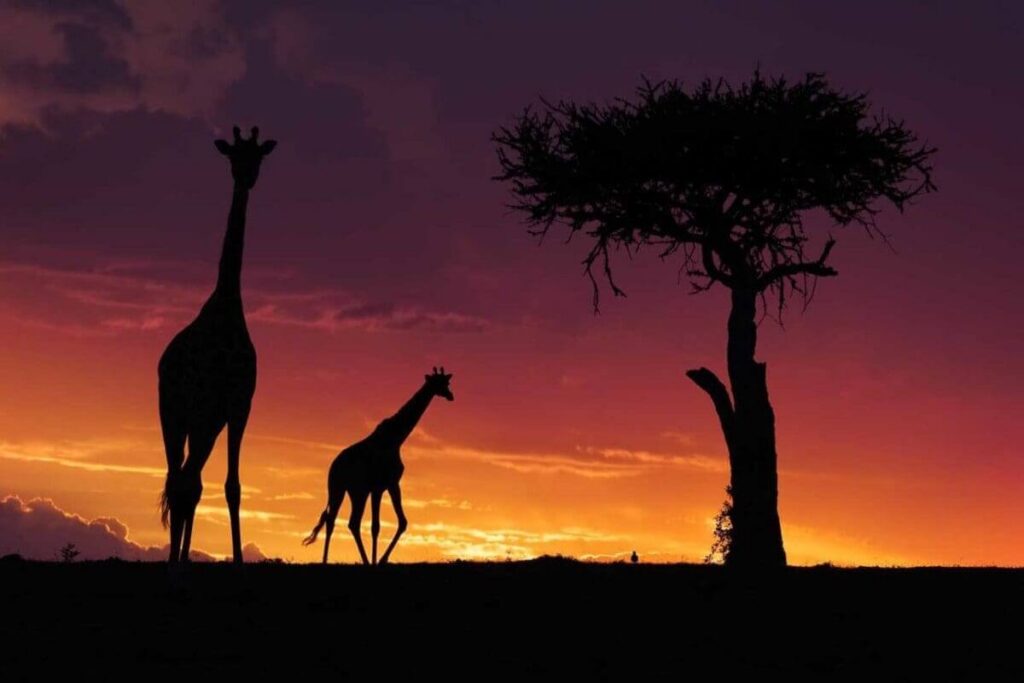
Minimalist photography explained
In this article, we will explore the art of minimalist photography, its techniques, and how you can master it to…

Electronic shutter vs mechanical shutter: differences explained
In this comparison of the electronic shutter vs mechanical shutter in a camera, we explain the advantages and disadvantages of…
What is a global shutter (and how does it work)
What is a global shutter and why does it represent such a significant leap in camera technology? We explore the…
How to choose the right camera
The camera you choose will significantly influence your photographic journey, so take the time to select a model that will…
Understanding different camera types
This comprehensive guide takes an in-depth look at the different types of cameras available on the market and explains when…
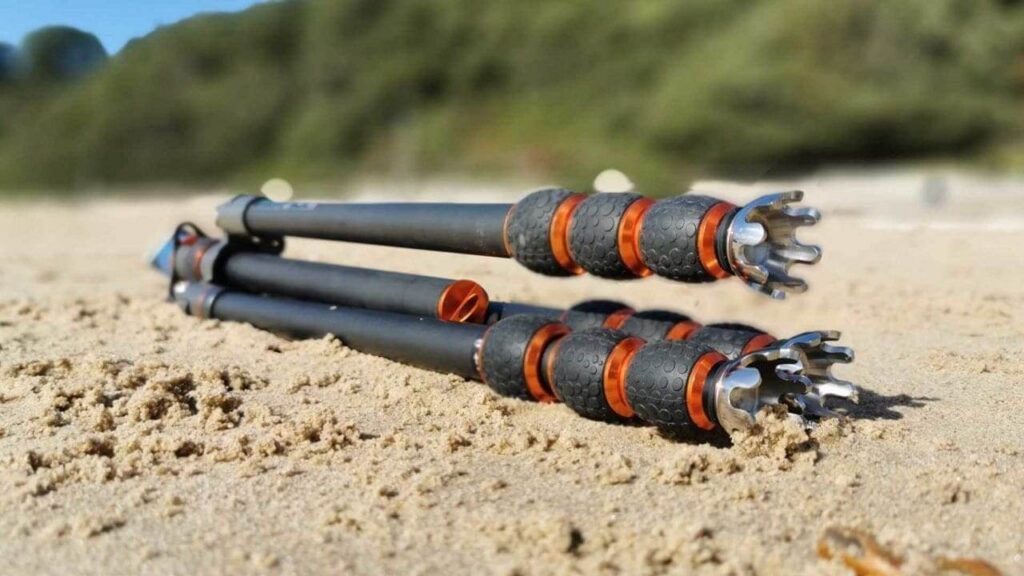
How to clean a tripod
Owning a tripod often represents a significant investment, and this step-by-step guide on how to clean a tripod, we'll show…
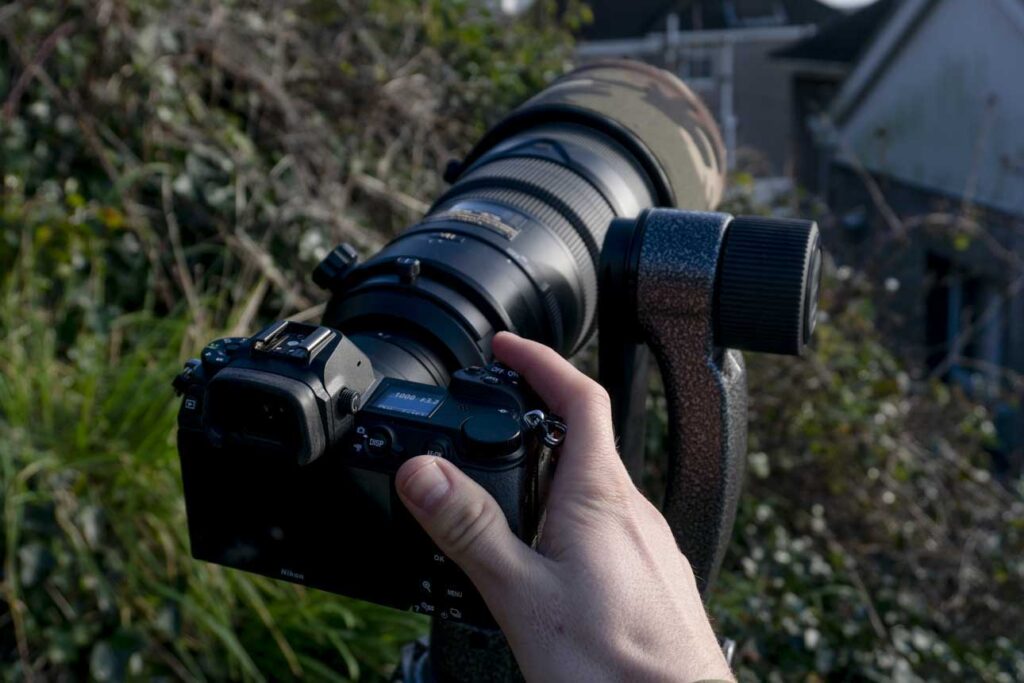
Best camera settings for wildlife photography
Whether you are a novice picking up your camera for the first time or an experienced photographer looking to fine-tune…
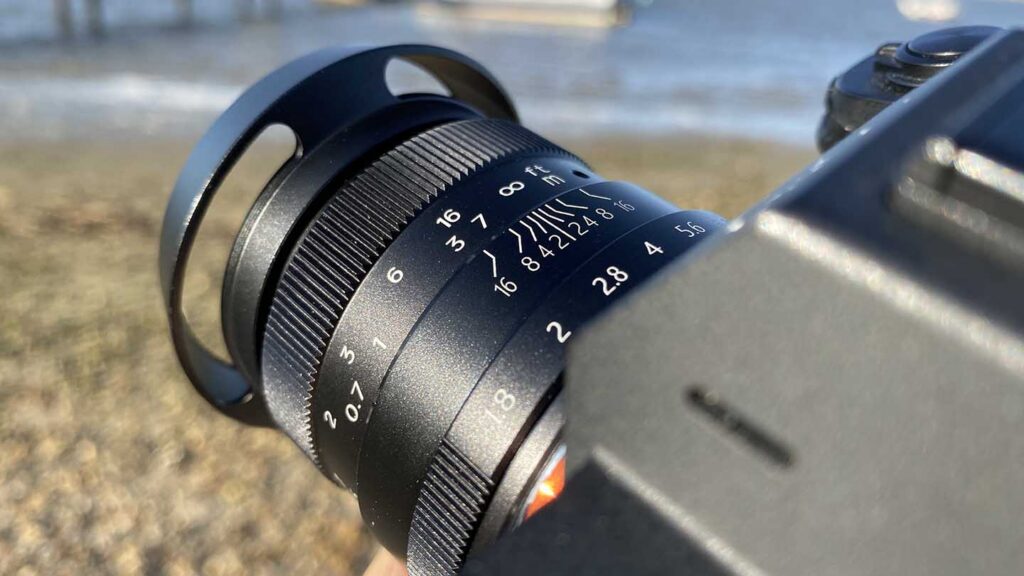
What is Focal Length in Photography?
Among the various aspects of a lens that a photographer needs to understand, one of the most fundamental is focal…
Showing 12 of 77 articles