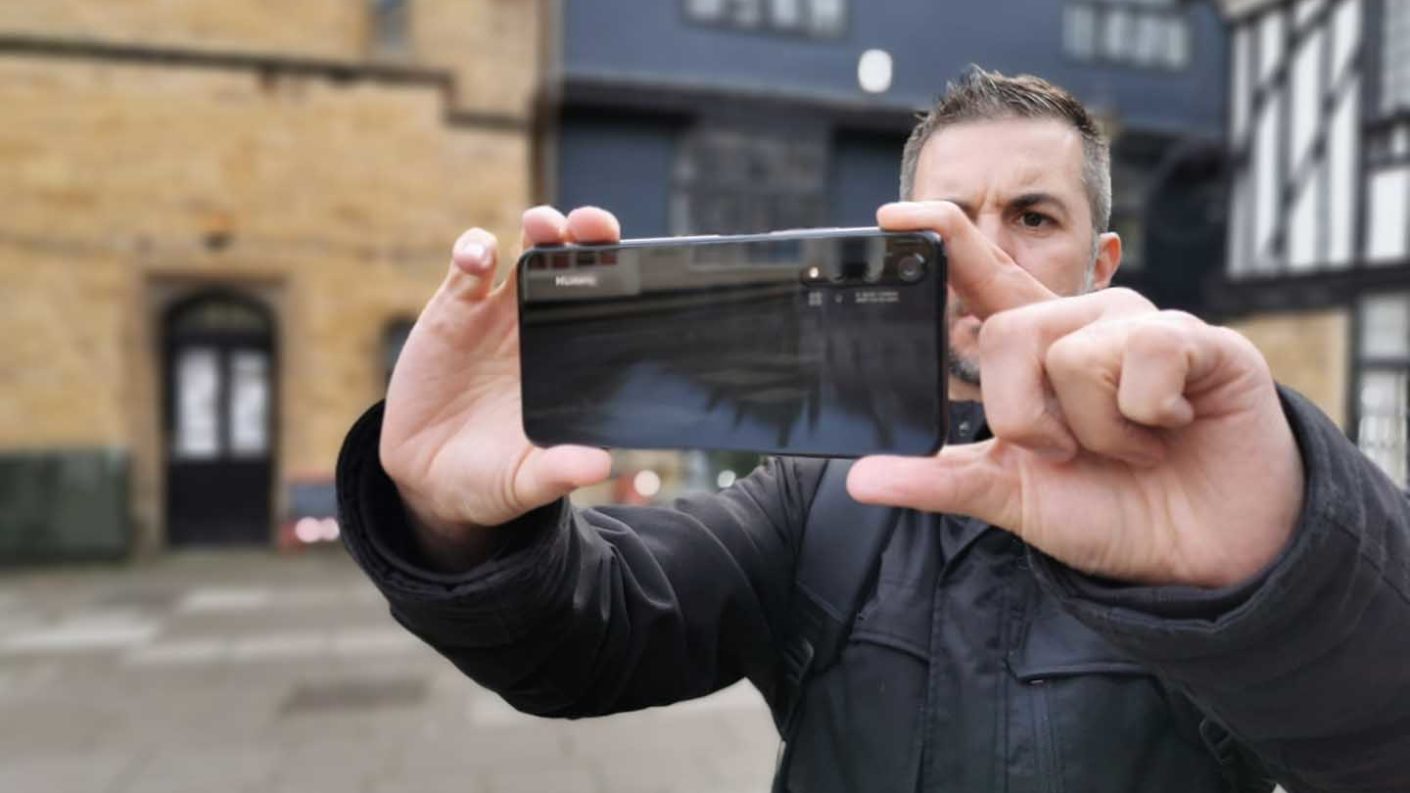
“How do I make my camera quality better,” is a common refrain from many photographers. Most people likely use their smartphone’s camera for selfies and quick everyday snaps. But when you’re on holiday your phone might become the best travel camera you have. You might find yourself frustrated by grainy or out-of-focus images when shooting in low-light or from afar.
As manufacturers release new smartphones that are capable of ever more amazing things, it’s inevitable to have a bit of gear envy. You might think that your older or budget smartphone isn’t capable of taking nice pictures. But the reality is, when you ask yourself, ‘How do I make my camera quality better,’ there are several simple techniques you can use that are much cheaper than forking out for the latest iPhone.
Your phone may not boast the ultra high-resolution capabilities or the latest portrait mode, but there are ways of getting the very best from what you already have. Some of these will sound obvious. Others will sound familiar. And best of all, if you follow these tips and techniques for making your smartphone camera quality better, they will give you a solid grounding for making the leap into using interchangeable lens cameras.
Ways to make your smartphone camera quality better
01 Avoid digital zoom
Always avoid the digital zoom function on your phone if you can help it. Digital zoom isn’t actually a zoom. Your smartphone camera’s lens isn’t a zoom lens. Digital zoom simply means your camera is cropping into the image.
If you think of a photo in your hand. Now imagine cutting a small section of that photo and stretching it out to the same size as the original print, this is what digital zoom is doing. As a result, the images are very noisy and often soft.
It’s always better to physically move closer to your subject to the extent you can.
02 Use a tripod
We’re not suggesting a massive tripod like those on our best tripods guide. Just get yourself a mini tripod. There are plenty to choose from these days. One of our favourites is the Manfrotto Pixi.
A mini tripod fits nicely in a small bag, and they come with a smartphone mount that accommodate most phone sizes. If you’ve stopped at a landmark or beauty spot, or you’re out with your family at a nice restaurant, mounting your phone on a mini tripod adds extra stability and gives a more professional look to your image.
03 Use Pro, or manual mode
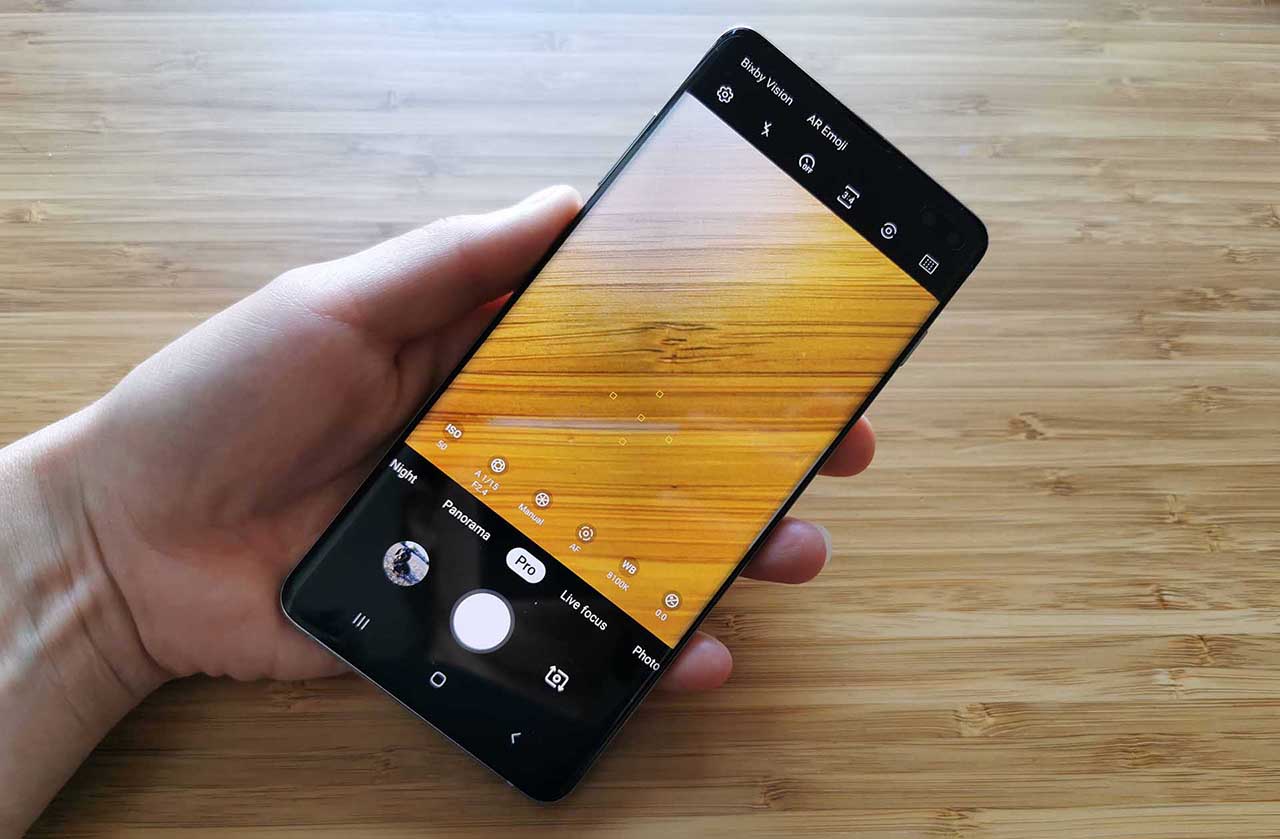
Most smartphones will have a Pro mode where you can take manual control over key exposure settings like shutter speed and ISO. Even if you know nothing about photography, it’s worth experimenting with your phone’s manual settings. Once you see how adjusting them one way or another can impact a scene you’ll remember that you have these settings at your disposal the next time you’re faced with a tricky shot.
Shooting inside a dark cathedral? You might want to increase your ISO setting. Or maybe dial in some exposure compensation. Play around with these on some test subjects and you’ll soon get a feel for what’s possible.
04 Shoot raw, or set the highest image quality
Most smartphone cameras these days will have an option to shoot raw images, or if not it will have the option to choose whether you want high or low quality JPEGs. You can usually find these settings by tapping the cog wheel icon in the top of your camera app.
Raw images are effectively digital negatives. With raw files you have a lot more flexibility in editing to make adjustments to exposure. So if you’re shooting an important image, perhaps the cover for your family’s Christmas card, it’s a good idea to shoot raw or the highest quality JPEG your camera can capture.
0
06 Use AE/AF Lock
Most smartphone cameras have an AE/AF lock feature, which stands for auto exposure and autofocus. This is a really handy feature for shooting in high-contrast light, or even in low-light conditions.
The process may differ depending on your phone, but essentially tap your screen to focus on your subject as you normally would. Holding your finger on this focal point you should then see an AE/AF Lock icon appear on your screen. This locks your focus and calculates the best exposure from your focal point. Now simply press the shutter button.
It’s important that once you’ve done this you don’t move or reframe your subject. If you do, you’ll need to repeat this process.
07 Set your phone to Natural colours
Most phones produce attractive colours but if you’re viewing them on the phone’s screen in its default setting, they’ll look oversaturated.
Fortunately, this is easily resolved. Simply tap the Settings icon and go into your phone’s Display settings. Here you’ll be able to enable Natural tones. Having more natural tones on your display will help you produce better exposures when using your phone’s manual settings.
08 Clean your lens
This might sound a bit obvious, but you’d hate for an otherwise perfect image to be ruined by grease smears on the lens which make it soft. We carry our phones around all day. Our fingers are all over the phone body and undoubtedly grip the lens. Before you take an important shot, give it a quick wipe. Even your shirt will do the job.
09 Use your editing tools
Don’t be afraid to use the editing tools in your phone’s camera app. Some simple tweaks can often go a long way. You might want to crop an unwanted tourist out of your image of a local landmark, for instance. Or you might want to adjust the brightness or add a filter to produce a nice effect.
It’s worth taking the time to experiment with these to see what they can do. When you edit an image and tap the save icon, your phone will also save your edited photo as a new image.
Make some simple edits in your editing app
Leave a Reply