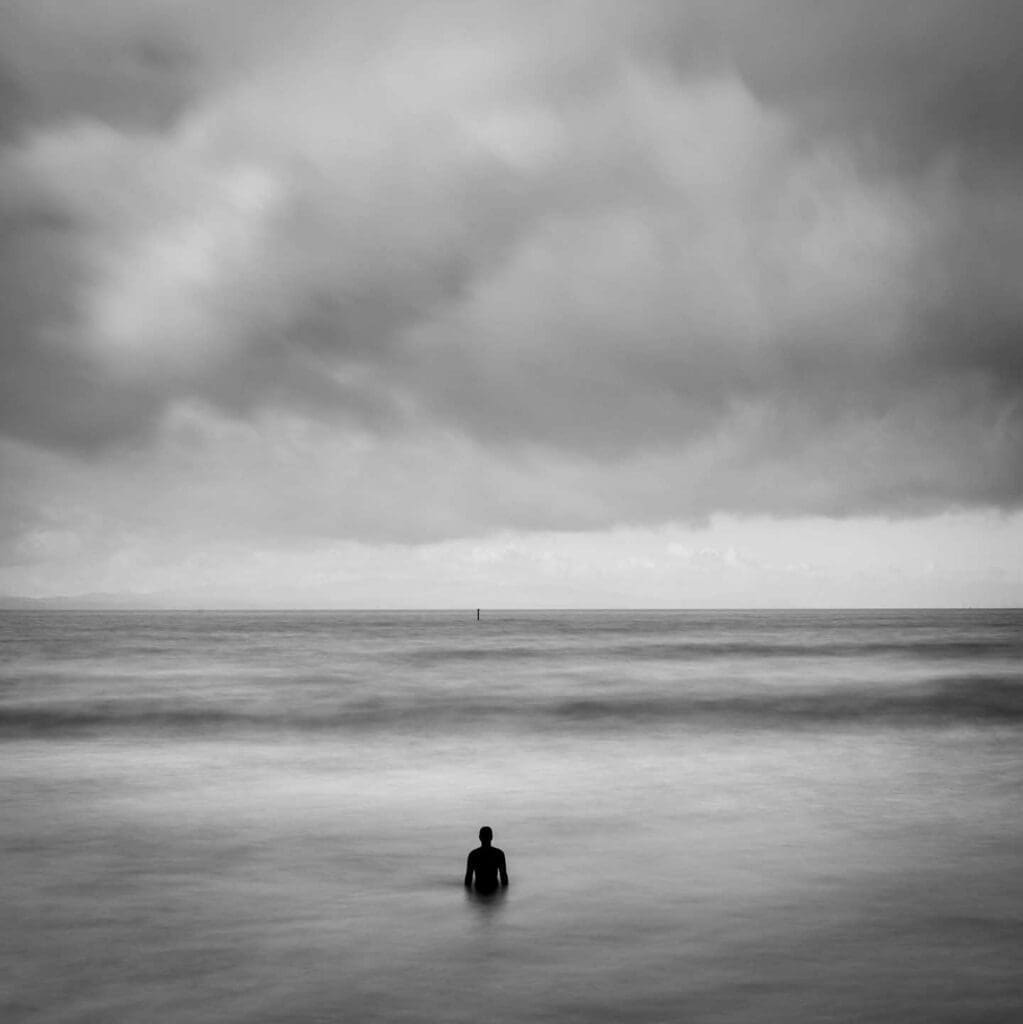
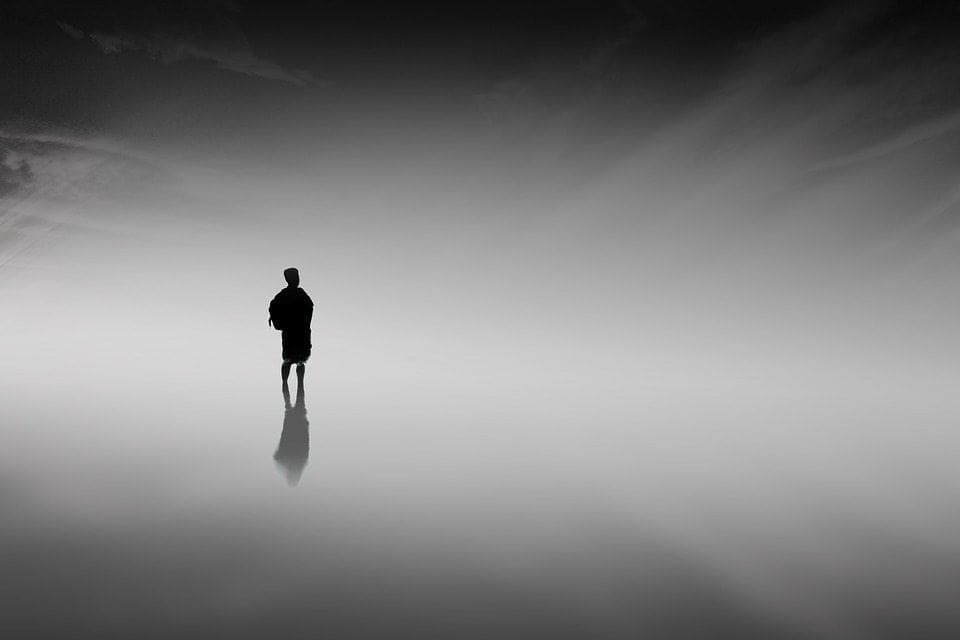
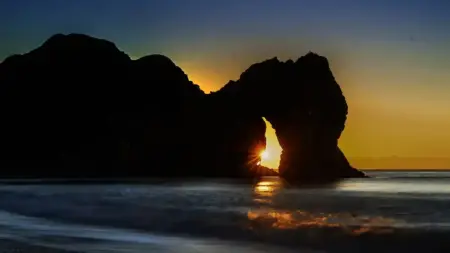
If you’ve always admired landscape images with blurred streaks of cloud in the sky or seascapes with billowing, soft water, but never had a go at producing one yourself, it’s not as daunting as you might think. Daytime long exposure techniques can add a real sense of drama to a landscape image and help make your seascapes, in particular, more graphic by blurring individual waves into soft whiteness, emphasising the stationary objects in the scene.
Daytime long exposure settings
If you use ‘normal’ shutter speeds to shoot a landscape or seascape during the day, the clouds and waves are usually frozen because they don’t move much during the very short exposure.
Switch to an exposure of a few seconds or even minutes, however, and their movement becomes significant enough to register as a blur in the shot.
Even if you set a very small aperture and your camera’s lowest sensitivity, it’s not usually possible to set a long enough exposure to produce this kind of blur in daylight. This is where a strong neutral density filter can really transform your daytime long exposure photography.
Neutral density filters come in a range of strengths and they act by cutting out some light without imparting a colour. For long exposures during the day you’re likely to need one that cuts out around 10EV (10 stops) of light. In twilight a 6EV filter may be more appropriate.
Lee Filters’ Big Stopper is a popular choice for a 10EV filter, while the Little Stopper cuts out 6EV. There are also some variable density filters which use two layers of polarising material and are very useful because you can adjust the density by rotating part of the filter.
If you opt for this type of filter, take care not to rotate it to the maximum point as a cross may appear in the image.
Using a strong ND filter for daytime long exposures
Because a strong ND filter cuts out lots of light it’s usually impossible to compose the shot or focus when it’s in place on the end of the lens.
Consequently, it’s important to get the focus and composition right before attaching the filter. If you’re using autofocus mode, switch to manual focus once the subject is sharp to avoid the focus shifting or the lens hunting when you press the shutter release to take the shot.
Set your camera to manual exposure mode and set the aperture that gives you the depth of field that you want. Then set a low sensitivity and take an exposure reading to find the shutter speed that’s required without the filter in place.
Next fit the filter and calculate the shutter speed that’s required using the measured, filter-free figure as your starting point.
If you’re using a 10EV filter, the exposure needs to extended by 10 stops or 960 times. This turns a shutter speed of 1/60sec into one of 15 seconds.
A 6EV filter extends exposure by 64 times, making a 1/60sec exposure 1 second long. You maybe able to calculate the required exposure in your head, or you can use a calculator, or one of the online tables.
There are also a number free smartphone apps, even some from ND filter manufacturers like LEE Filters and NiSi, which can do the work for you.
If the calculated exposure extends beyond 30 seconds you’ll need to shoot in bulb mode and time the exposure yourself.
In bulb mode the shutter opens when the release is pressed, and it stays open until the button is pressed again.
This makes a remote release with a lock vital as it allows you to hold the shutter open without actually touching the camera and making it wobble. Check out our guide to the best camera remote controls to see which remote release works best for you.
It’s essential that the camera is held rock-steady during the exposure, so it needs to be mounted on a solid tripod on good, firm ground. If you’re shooting with a DSLR, it’s also worth using its mirror-lock-up mode to prevent the mirror movements from causing any vibration that can lead to blurred images.
If you’re new to using ND filters, you can find more information on how they work in our guide Neutral density filters explained. You can also find more information in our guide to the best ND and best variable ND filters.
Noise reduction
Most cameras have a long exposure noise reduction option and although it doubles the time it takes to produce every image, it’s very effective and well worth activating when shooting a daytime long exposure.
The long exposures heat the sensor and without the long exposure noise reduction system, images would appear very speckled.
The system works by taking a second ‘dark’ exposure of the same duration as the image capture exposure.
This allows the camera to see the regular noise that the sensor generates during a long exposure and to extract it from the image.

How to shoot a minimalist black and white daytime long exposure
We’ve all seen them: the Zen-like, square-cropped, black and white landscapes shot over long exposures to blur the water into a frothy milk. It’s been one of the most enduring image styles of the past 10 years, and by mastering a few core photography techniques it’s quite easy to shoot an image like this for yourself.
In order to get this minimalist black and white effect you’ll need to find a scene with some water in it. What’s more, the effect is best captured with moving water, which is why many photographers choose a beach setting. However, a river or stream will also suit nicely.
You’ll also want a strong focal point in your fore or middle ground. Rocks, buoys, boats, even a bird works quite well. Here’s how to do it.
01 Pre-visualise your image
Sometimes a good way of knowing if your composition will translate to the effect you want is to simply set your camera to display the preview image in monochrome. Most cameras have a black and white option in their creative filter modes. Set yours to black and white or sepia and see how it looks.
You can even take your image in this mode, if you prefer. If you are shooting raw files – which we’d recommend – these files will retain all of the colour date which you can restore if you want to once you’ve downloaded the image from your memory card.
02 Keep it steady
As we mentioned above, you’ll want to mount a Neutral Density filter block out some of the light entering your camera so that you can slow down your exposure. This will allow you to capture the motion of the waves or current. Remember: always compose and focus your scene before attaching the ND filter.
When shooting this type of scene we also recommend you mount your camera to a tripod and use a cable release to trip the shutter. Also try setting the Mirror Lock-up feature on your camera. All of these together will help ensure camera shake doesn’t spoil your image.
03 Convert to black and white
There are several ways to convert your images to black and white using Photoshop or Elements. The easiest way is simply converting your image to Grayscale in the Image > Mode options.
However, this quite a destructive way of doing it, and your image might lose some important fine detail. We find that desaturating the image works best and retains a lot of the original detail.
We would always recommend, too, that you use a Black and White Adjustment Layer. This is what is called a non-destructive editing technique.
What this means is that instead of taking something away from your original image, you are simply adding on top of it. And if you don’t like it later on, you can always remove it and return to your original image.
Non-destructive editing gives you control over how your black and white conversion looks, and allows you to re-edit the effect later.
Finally, finish your effect by using the Crop tool to make a square crop.


Leave a Reply
You must be logged in to post a comment.