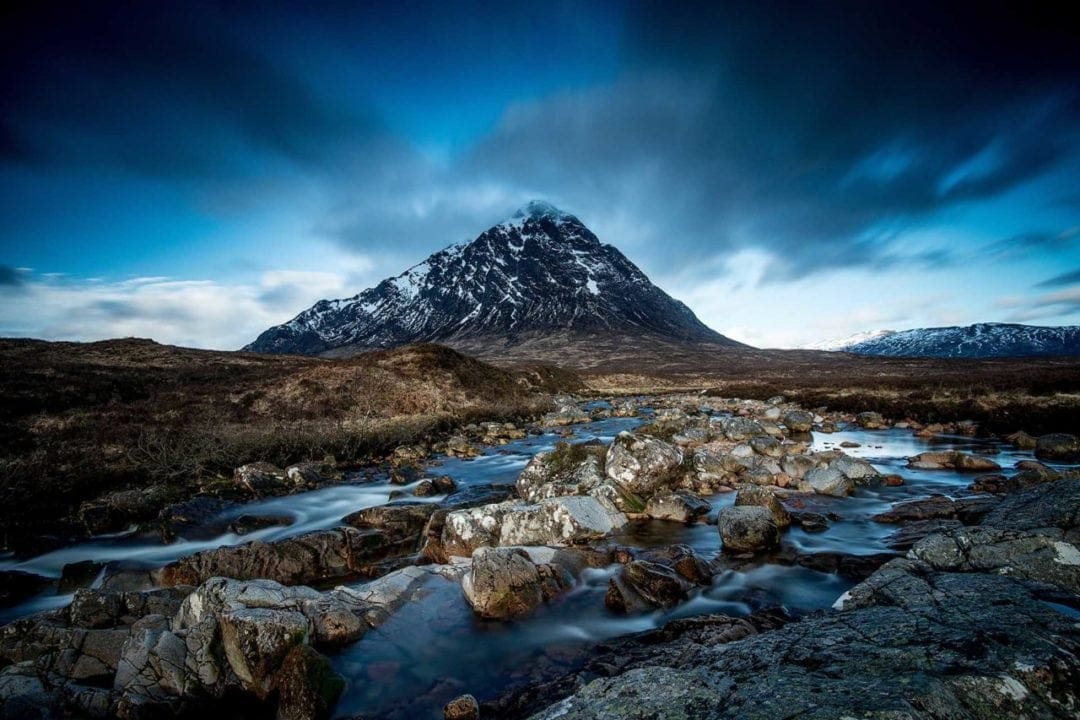
Sometimes a tripod simply isn’t possible, whether it’s because you’re on unstable ground, the side of a mountain or you simply didn’t want to carry it! Shooting a landscape hand-held increases your chances of camera shake, so to help you avoid soft images below we’ve suggested some of the best camera settings for shooting landscapes without a tripod.
Your camera is a complex beast, and you can be forgiven for not considering – or even remembering – every single setting and feature every time you shoot. For starters, this will distract you from composing your scene and considering the best angles. And if your composition is off, the settings you dial in become superfluous.
The good news is that many of your crucial camera settings can be pre-set so that you don’t have to think about them when you’re in the moment. Doing this will give you more time to focus on your composition and the settings that you will need to change on the day.
You’ll find that when you set up your camera in advance you will have more head space to think about the creative decisions involved in taking a picture, and this can make all the difference between an average and stunning image.
Now, you might think that with landscape photography you have the luxury of time to play with your settings in the moment. And maybe you will. But not always. It’s still a good habit to pre-set your camera, particularly if shooting hand-held. Many of the camera settings you use for shooting landscapes hand-held are quite different to those you would typically use when shooting the landscape with a tripod. Below we’ll look at some of these options…
Setting your camera up in advance
If there’s one overarching camera setting to consider when shooting the landscape without a tripod, it will be your shutter speed. If your shutter speed drops too low, your risk of camera shake will increase.
That said, we still recommend setting your camera to Aperture Priority mode because you also want to maximise your depth of field.
If you’re photographing landscapes without a tripod you’ll want to use an aperture of around f/8 or f/11, which should help you get a fast enough shutter speed to shoot hand-held while also keeping your image sharp throughout the frame.
Most modern cameras are so good that you can also increase your ISO to enable faster shutter speeds. But just remember that detail can make or break a landscape image, so if you can keep the ISO low to avoid the risk of any banding in your skies or unwanted noise, do it.
We recommend setting your ISO to 200, which should suit you well in most daylight conditions. It’s also worth turning on your vibration reduction feature if your lens has one, just to further combat the risk of camera shake. We’d also suggest pre-setting your white balance to the Daylight option.
Finally, select your single shot AF mode and dial in a single point in your focus area. Then set the drive mode to single shot, and you’re ready to go!
Final adjustments in the field
The camera settings we’ve detailed above will get you in prime position to shoot landscapes without a tripod, but it’s worth bearing in mind that you can never totally prepare for every eventuality.
Light, for instance, can be very unpredictable, and for this reason there are settings like your exposure that may need adjustment in the moment.
Using your Aperture Priority mode as we explained above, you can adjust your exposure by dialling in some exposure compensation. This will be the +/- button usually located around your camera’s top plate or on a rear dial. Use this setting to increase or reduce your exposure accordingly.
Your f/8 or 11 will stay constant, so no worries there; instead, your shutter speed will alter to either let in less light and darken the exposure or decrease to let in more light and brighten the image.
Your AF point might need adjustment, as well. To keep the whole scene sharp, you’ll want to place your AF point about a third of the way between your closest subject and the furthest one in the frame.
Once you make these adjustments to your camera settings it’s important to take a test shot, view the image in playback mode and zoom in to see if it’s sharp. Are your subjects in the far distance in focus? If not, you may need to dial in a smaller aperture for more depth of field.
Bump the aperture up to f/16, but be mindful of your shutter speed. If you’re shooting with a crop-sensor camera and using a wide-angle lens of around 18mm (28mm on full-frame) you won’t want to let your shutter speed fall below 1/30sec. In this instance you’ll want to increase your ISO to prevent camera shake.
If your lens has Vibration Reduction, you might get away with 1/15 sec or even 1/8, but if you go this slow, steady yourself as much as possible, and take a test shot to check sharpness.
What are the best camera settings for shooting landscapes without a tripod?
File format
RAW
Exposure mode
Aperture-priority
Aperture
f/8
ISO
200
Shutter speed
Set by camera
Focus mode
Single-servo
Drive mode
Single shot
White balance
Daylight
How to avoid camera shake
Even when using shutter speeds faster than 1/30 sec, camera shake can still affect your shots. Try shooting from a kneeling position to help to stabilise your camera, or if you are standing, look for a solid object such as a tree, wall or rock to lean against to steady yourself.


5