


It can be all too easy, especially for your first safari, to let your emotions run wild and just take photos of everything and anything without consideration. You will be rewarded with far better images though if you are able to assess the scene before you, decide what will make the best photo and understand what conditions will provide the best end results when it comes to editing your images.
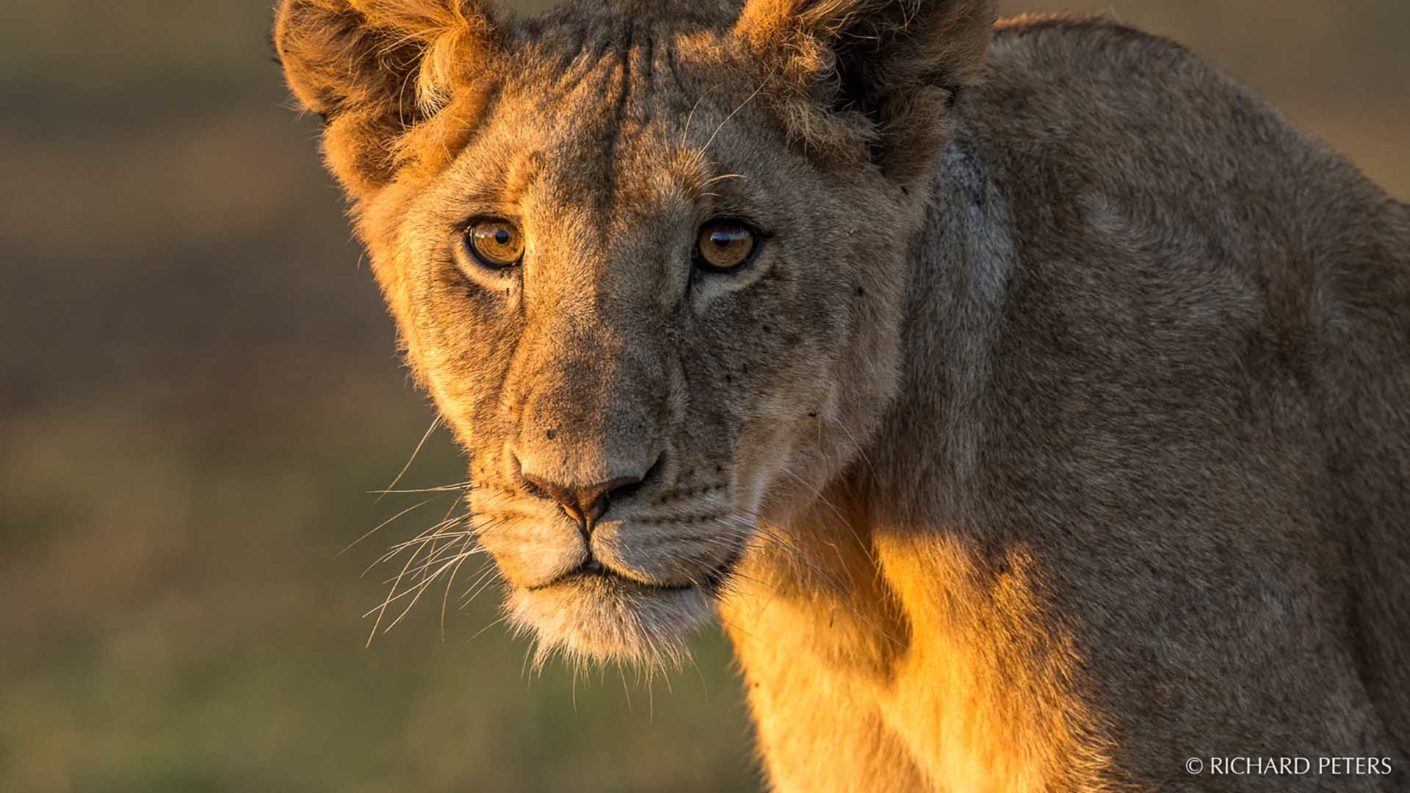
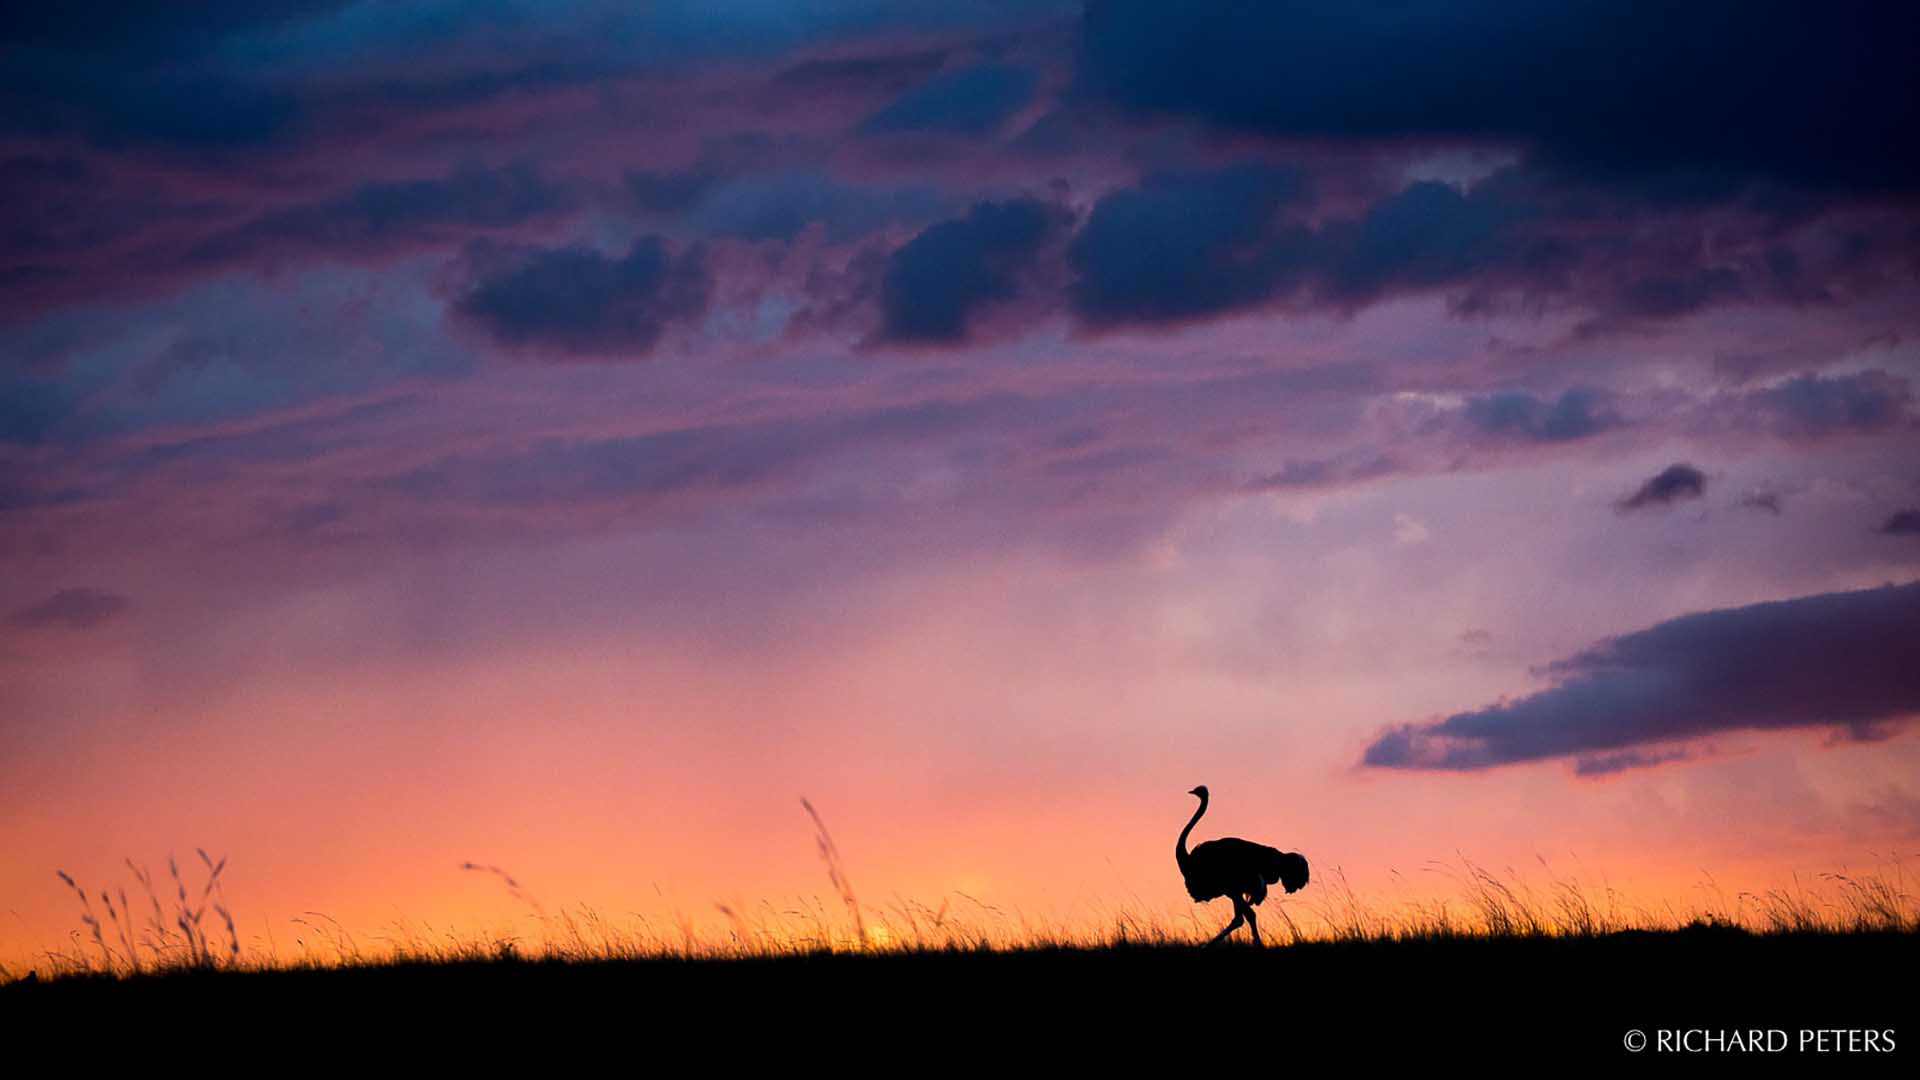
Stick to one subject at first and last light
Naturally, the start and end of the day is always considered the best for warm tones and beautifully lit wildlife photos. Keep in mind however that, especially in Kenya, you’re right on the equator. As such the sun rises and sets very fast, giving you around 30 minutes, maximum, of soft light at either end of the day. Finding and sticking to a single subject for those last 30 minutes often gets the best results, rather than wasting time driving around trying to photograph as many subjects as possible. Any animal in good light is better than taking no photos, because you decided to look for a more interesting subject and didn’t find one.
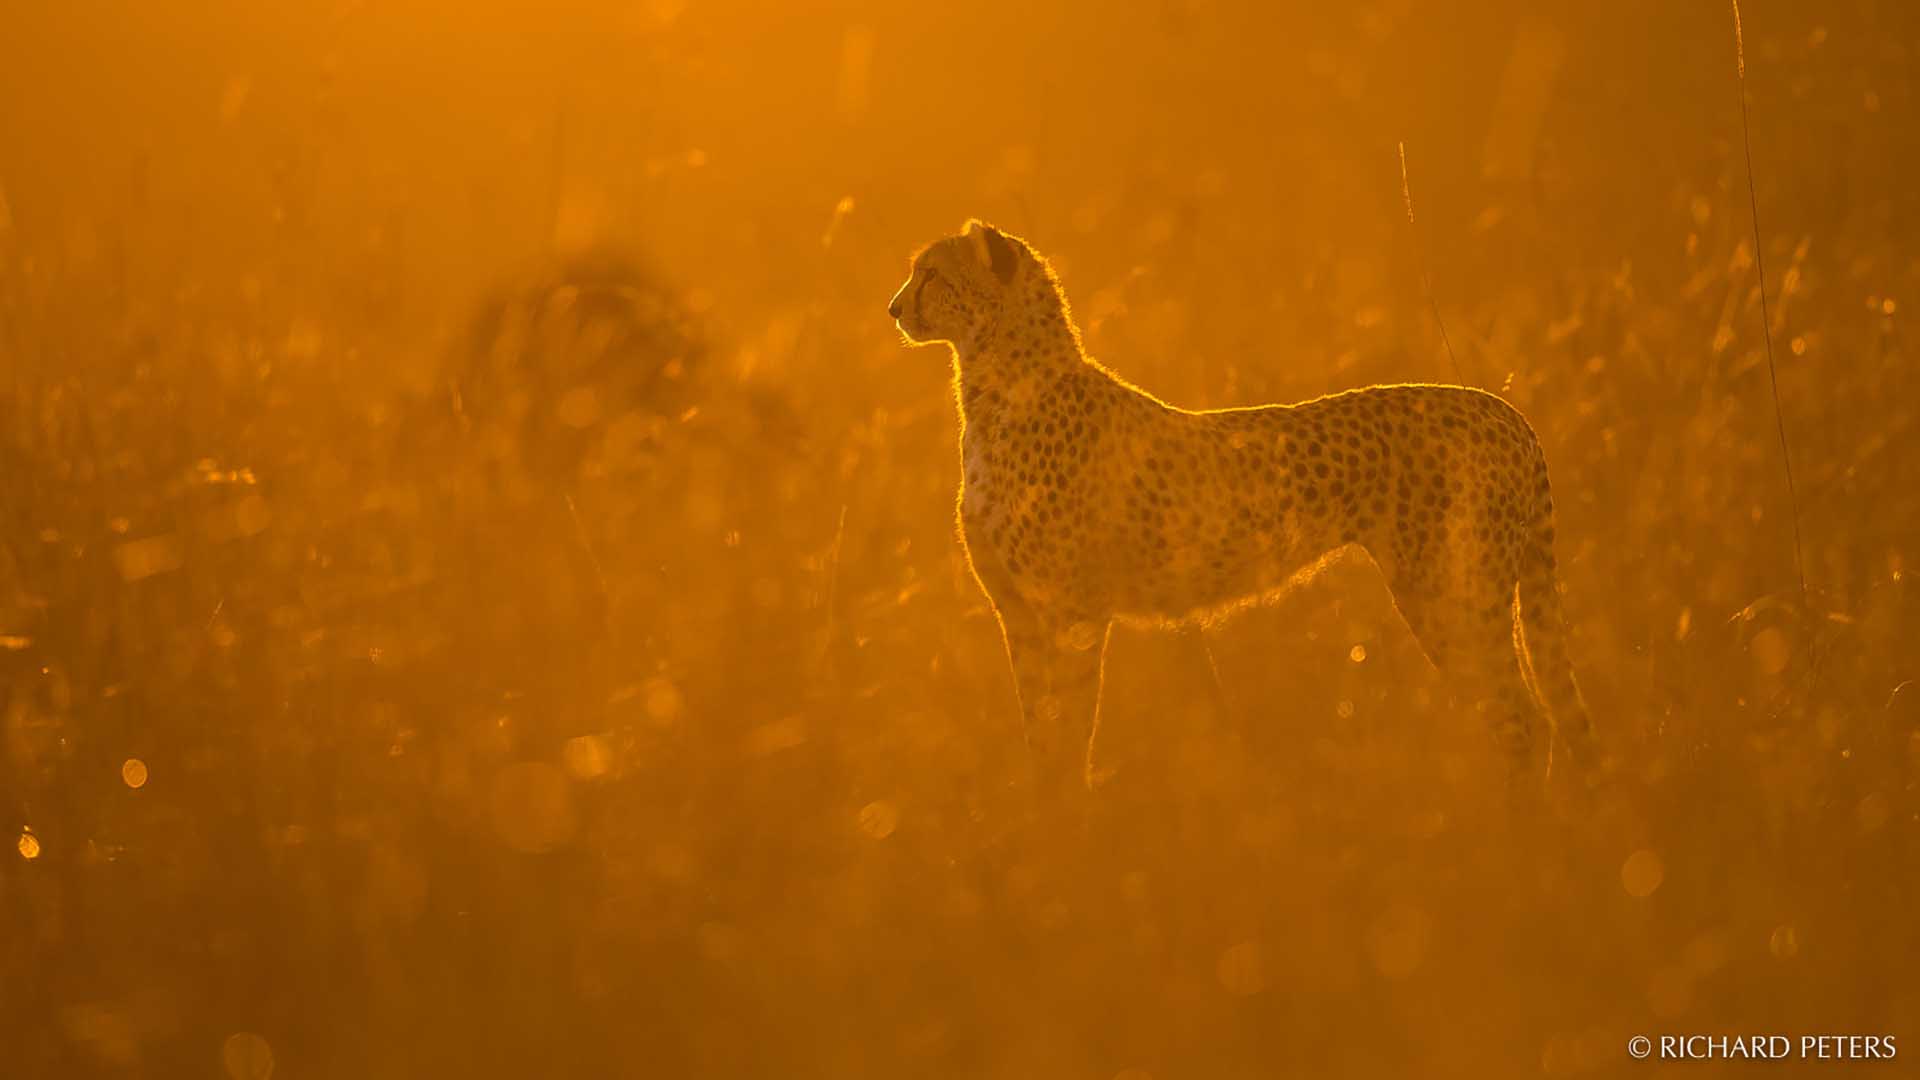
Colour saturation is key to getting the best from warm tones. Calibrating your monitor with tools such as Datacolor’s SpyderX, will set a more accurate colour temperature with which to work from. This means when you’re adjusting saturation or white balance in your favourite editing software, you won’t be trying to colour correct for a hardware induced tone that isn’t actually in the photo.
Think wide, include some environment
Whilst close up portraits are always crowd pleasers, taking in more of the surroundings of the scene can give context and a sense of place to your images. Every encounter is different so if you find yourself unable to get close enough to your subject, for that beautiful portrait, see if you can make the surroundings part of the image too.
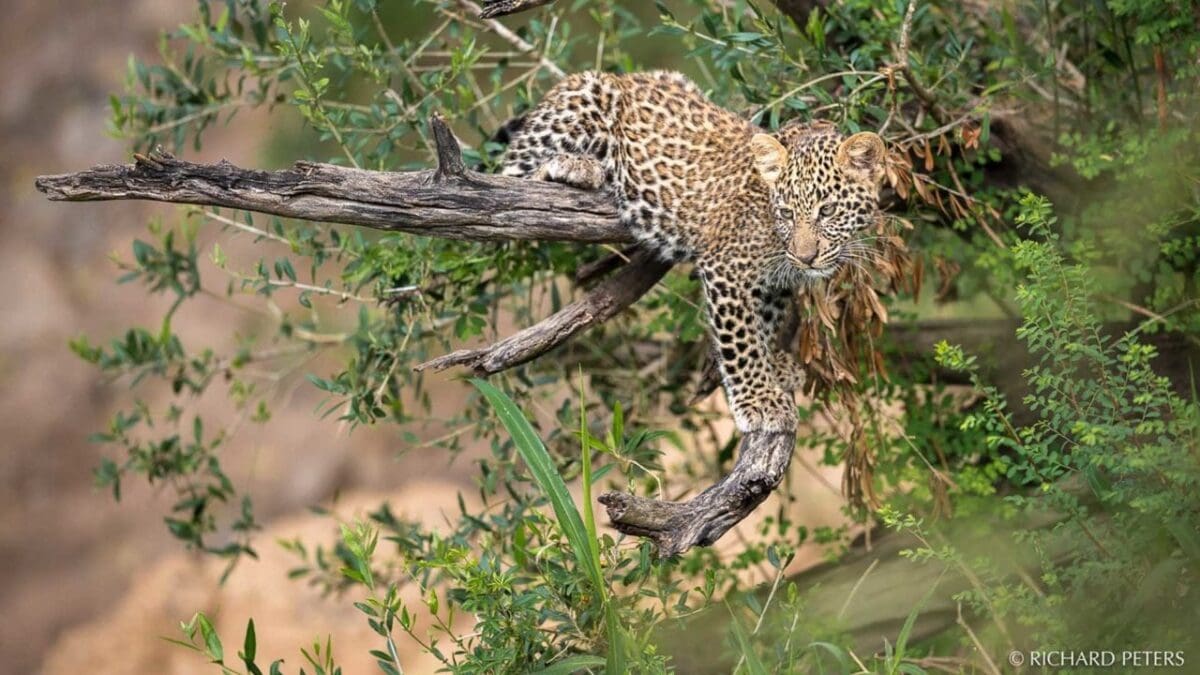
When such images include lots of foliage and vegetation, colour accuracy is more important than when the subject dominates the frame. It can be all too easy to let yellows and greens overpower a scene. With an accurately calibrated monitor, you can fine-tune the individual colour channels with great results, building on the advantages of the accurate colour temperatures mentioned above.
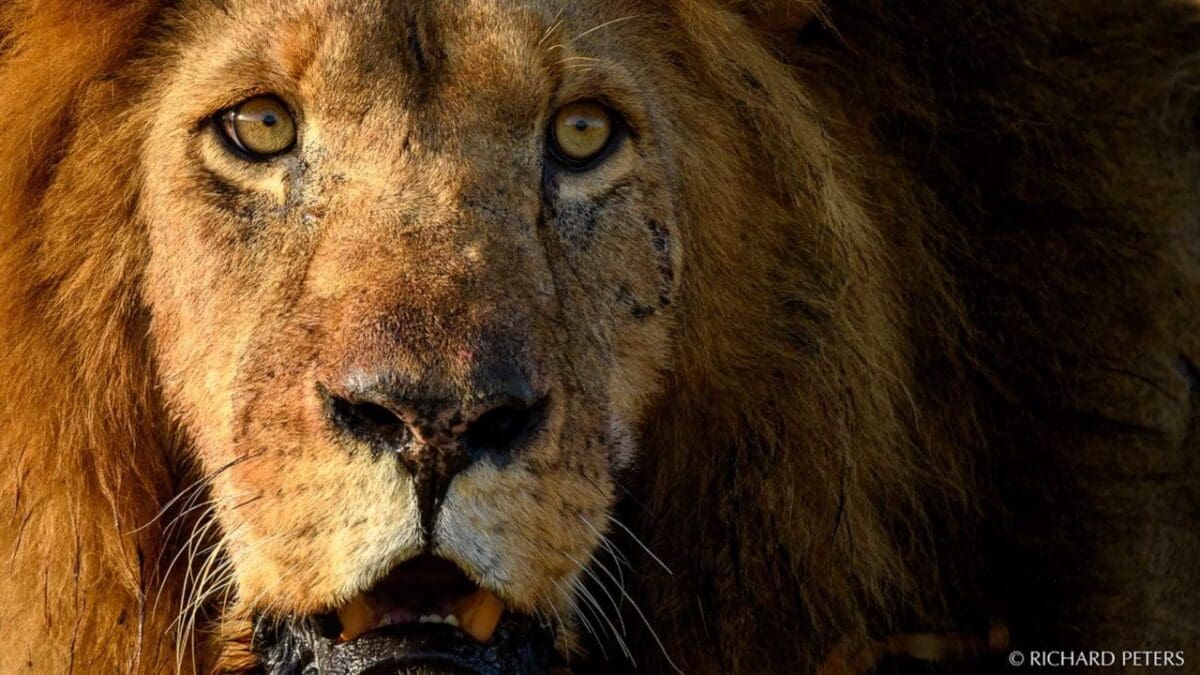
Don’t waste time on unrewarding encounters
Not every sighting can result in a good image. Just because you’ve flown half way round the world and are sat in front of a lion, doesn’t mean there is a good photo to be taken. Don’t waste time watching lions sleeping under some bushes in the middle of the day, they spend most of the day sleeping and are mostly active early morning and late evening. Understanding when it’s time to call it quits on one subject and move on to another is important.
In a similar way, with a calibrated monitor you will have a much more accurate idea of how well exposed your photos are. If, with proper calibration, the image still looks like it has lost shadow or highlight detail and you can’t get it to look natural, it may be an indication that the image isn’t salvageable, and you can spend your time editing the images that are usable.
Editing at camp versus back home
Getting the best out of your subjects isn’t just about getting it right at the scene. Taking the photo is only half the process. Editing them to get those final tweaks is all important. Editing for me, involves making sure my computer screen is calibrated and I’m in a dimly lit room with no harsh or direct light.
The subtle tones or indeed the strong contrasts of more intense light, require just the right amount of shadow and highlight tweaking to make sure the photo is neither too flat or too overpowering. If I’m in a hotel room, in my tent or sat by the fire in the evening, I find I’m constantly adjusting the laptop screen brightness. As such this is calibrated based on ‘average’ lighting. This helps to warm the screen up from the cooler look it offers out of the box. I tend not to do any critical workflow on my laptop, but I do find it useful to do initial edits whilst I’m away, as it helps in knowing what images work, don’t work and what else you can do to improve whilst you’re still there an able to take more images.
Once I’m home, I import across all my photos to my master Lightroom catalogue, taking those initial edits with them and then go back through, making tweaks and finishing touches. Because you can calibrate your computer at home in controlled conditions, you’ll find there are always changes in brightness and contrast to be made versus the on the road edits. Even if your computer at home is the same laptop, you’ll get better results by making sure you have a calibration setting based on controlled conditions at home. As ever, best results are obtained by not having any bright or direct light hitting the screen.
With the above all taken in to consideration, you should get the very best from not only your safari experience but also the images you take home.
Find out more about the importance of screen calibration and Datacolor’s SpyderX to help you make the most out of your images here: spyderx.datacolor.com