LUT essentially stands for Look-Up Table. They arrive as a small file that can be loaded into hardware or software to give video footage a certain look.
There’s a variety of different approaches to using LUT’s depending on where you are in the production process, and whether you’ve shot in Log or 709 standard colours. So, before you start and delve into what’s possible with them, it’s worth familiarising yourself with your camera and gamma options such as SLOG2 and SLOG3.
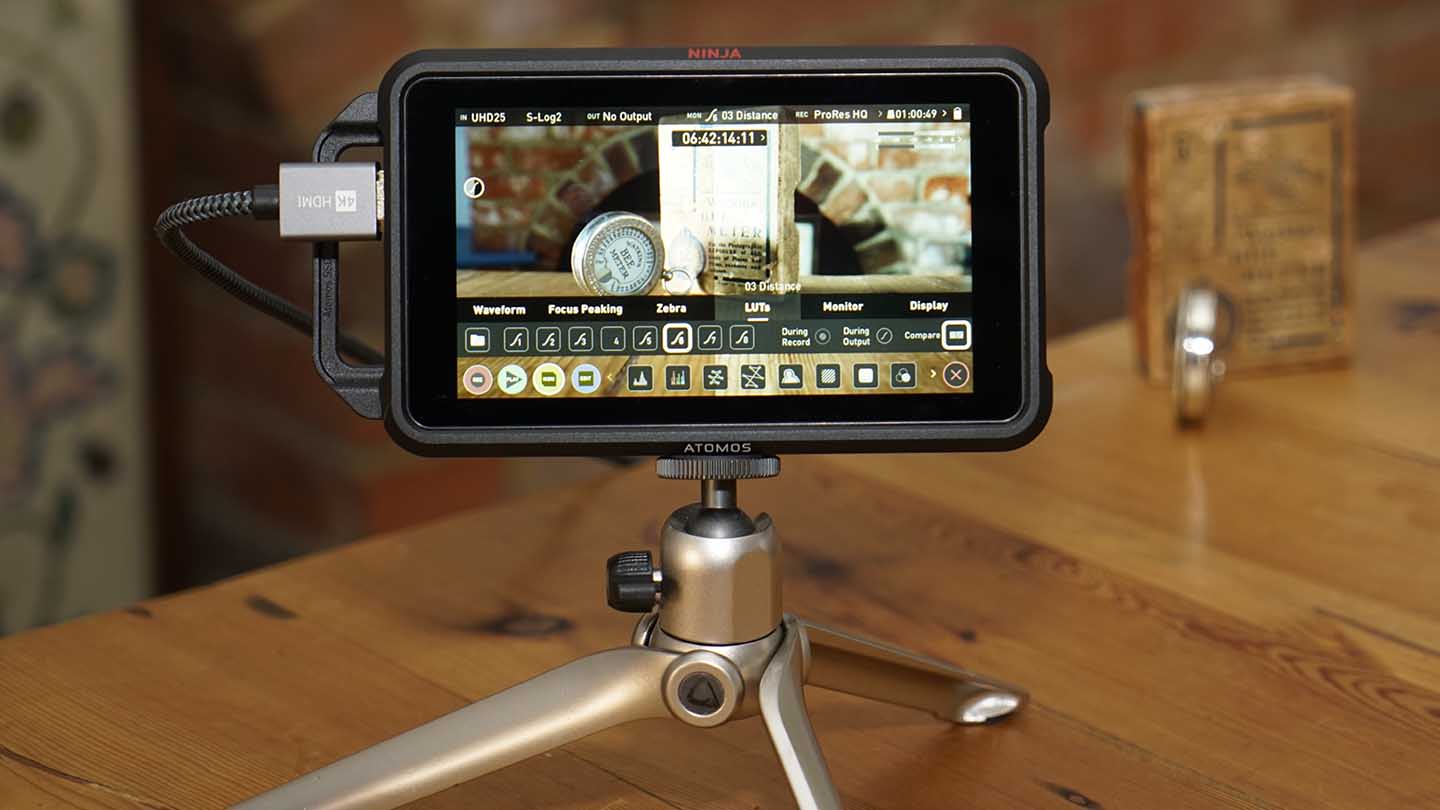
Once you’re set and ready with the cameras base settings then you’re ready to get filming using LUTs. At present, there are few cameras that enable the direct application of LUTs without the need for additional hardware such as an ATOMOS Ninja V.
The Bouncecolor LUTs arrive as generic .cube format files that can be applied to both hardware and software. The process of loading the LUTs varies but is generally relatively straight forward.
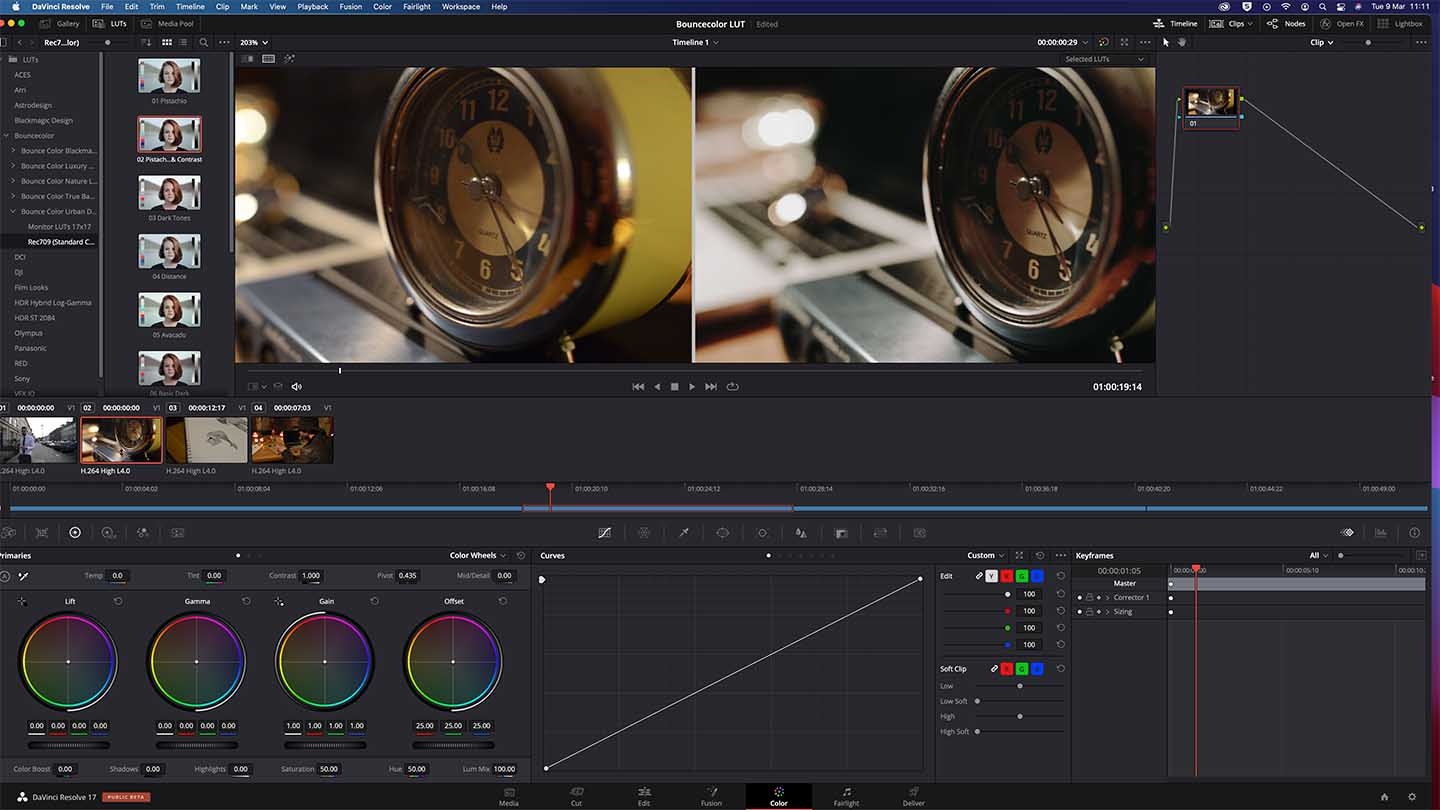
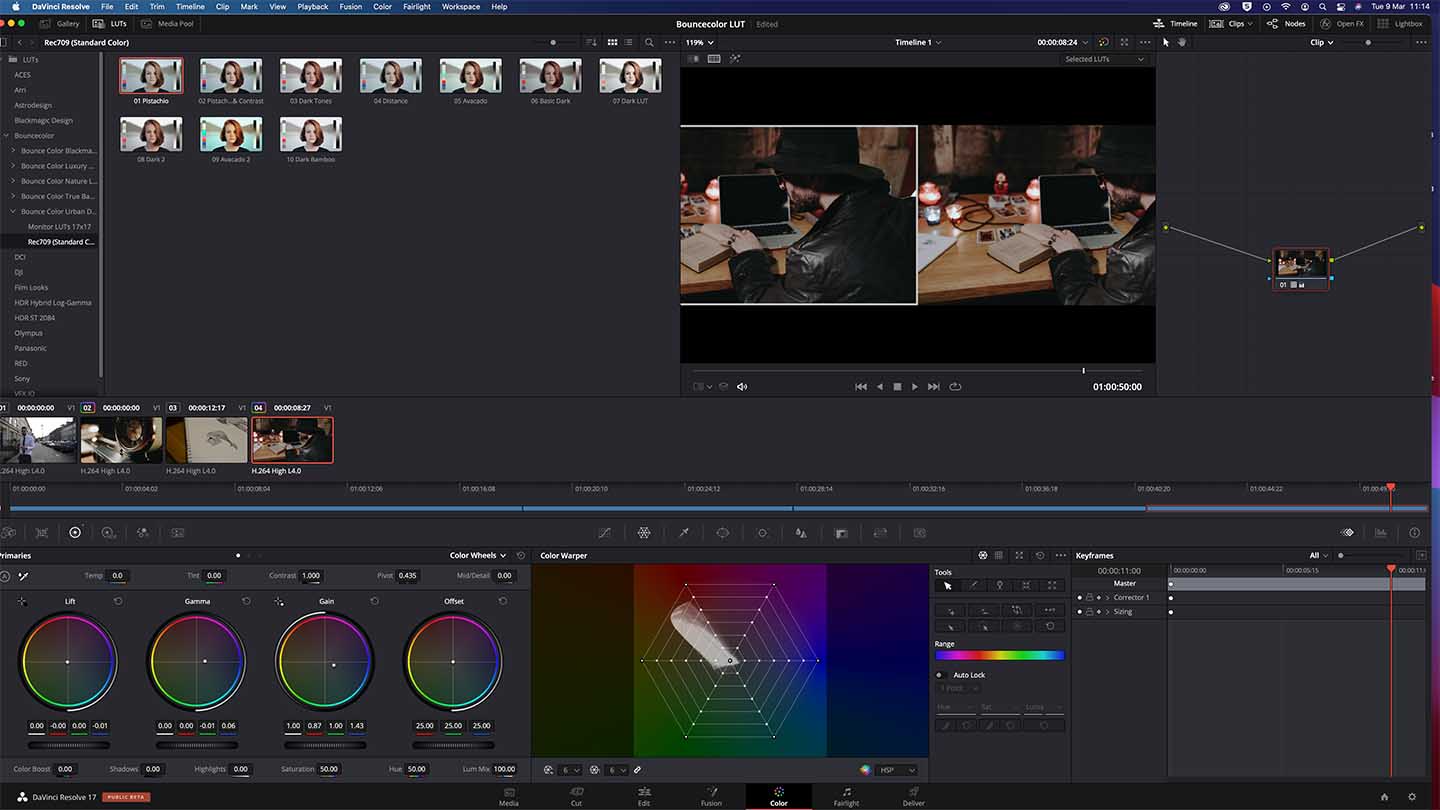
Devices such as the ATOMOS Ninja V enable you to load LUTs .cube format onto the recording media and then the LUT is selected through the Mon menu. DaVinci Resolve enables you to load them directly into the Color workspace.
Using Bouncecolor LUTs with a field monitor
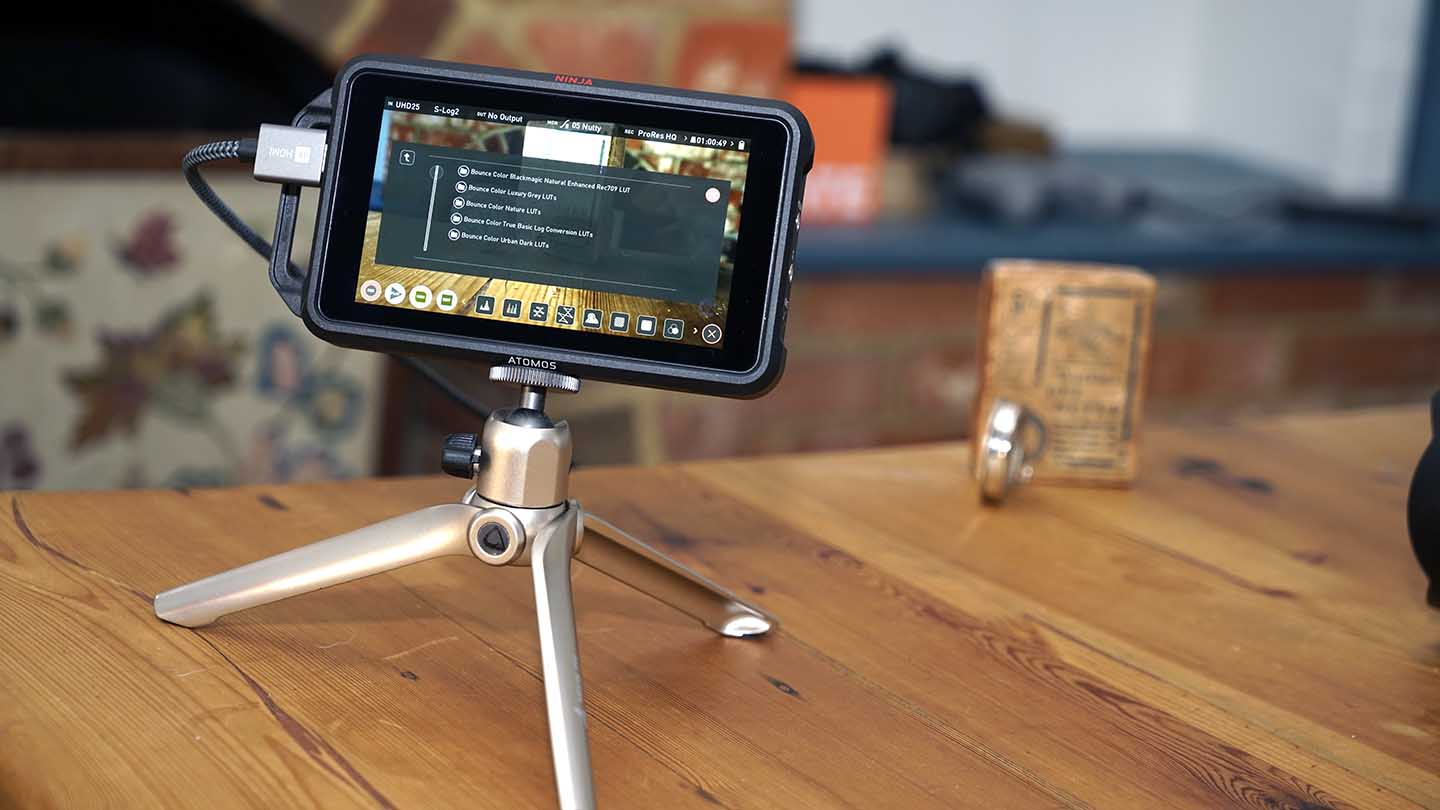
I loaded a series of LUTs into the ATOMOS Ninja V to check out the use and application.
As the LUTs is contained as a look within the monitor, you can preview how it will look on the final footage – this is just a preview and will not be applied (Baked) into the footage. However, you do that baked in option on some hardware such as the ATOMOS Ninja V.
For video this is the ability to preview the effect is especially important as the effect of grading can reduce the exposure considerably, so it’s good to see if the footage needs a tweak, either way, to ensure you have a good idea of how the effect will look once the final LUT and Grade are applied in the edit.
Using LUTs does take practice to ensure you get the correct balance of colour and tone in the RAW recordings, but the rewards for good controlled LUT use are huge.
Using Bouncecolor LUTs in a video editor
As well as applying LUTs in hardware they can be loaded into the Grading environment of most popular video editors such as DaVinci Resolve, Final Cut Pro X and Premiere Pro.
Again a quick drag and drop from each applications colour grading environment enables you to apply the effect to the footage.
Bouncecolor LUTs offer one of the most comprehensive collections out there and will enable you to boost your production’s cinematic quality with ease.
Their use is relatively straight forward, but Bouncecolor has gone the extra mile and ensured that they had produced plenty of additional material and videos to ensure that you get up and running with their LUTs in multiple applications quickly. They also look as base grading and using base corrections and Log to Rec 709 use.
In this review, I’m looking at a small selection of the companies vast LUT range, including the Blackmagic Natural Enhanced Rec709 LUT, Luxury Grey LUTs, Bounce Color Nature LUTs, True Basic Log Conversion LUTs and Color Urban Dark LUTs.
I’ll be looking at the effect of these in use on the preview screen on the ATOMOS Ninja V and through the editing process using DaVinci Resolve.


