Our Verdict
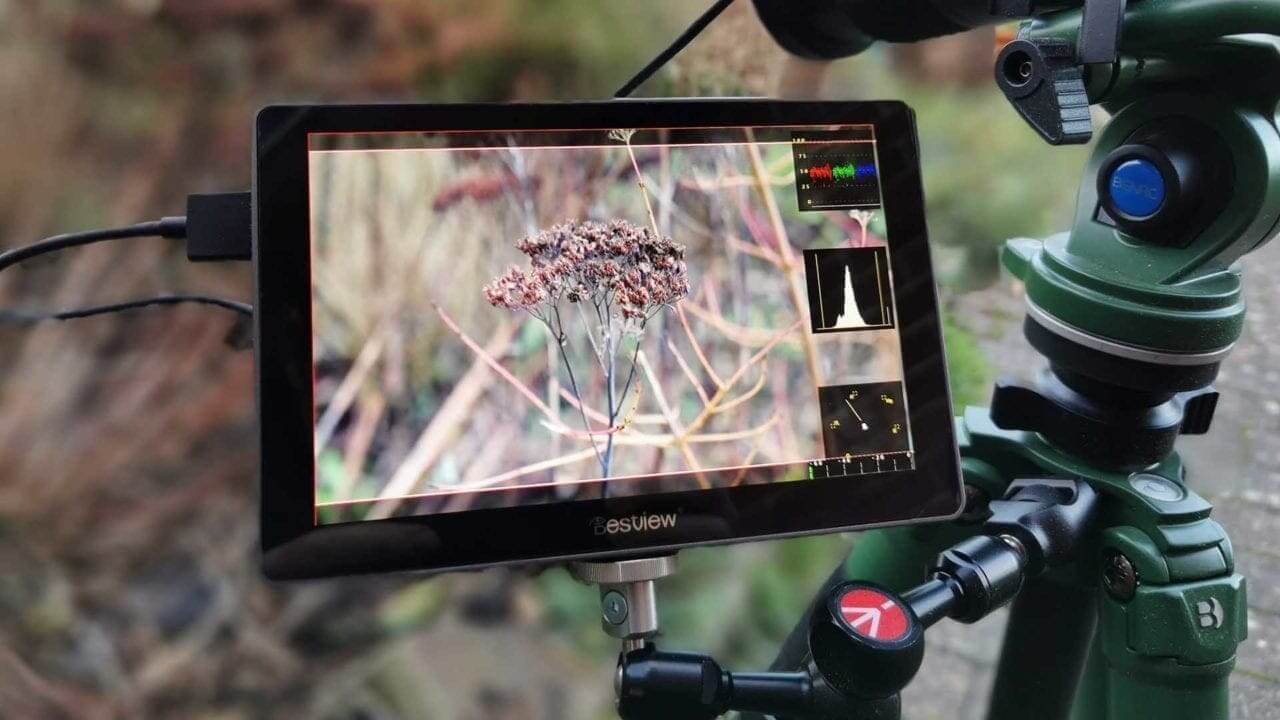
The quality of the display, with the volume of features at this price, is incredible. The 7-inch display is clear and crisp and shows a good representation of the footage that you are shooting.
Used with the Sony Alpha 7MK3, the Bestview R7 field monitor did precisely what it was designed to do, and there is little to fault. The build is solid even if the buttons feel a bit cheap, the display is excellent, and for £250 its an accessory you can afford not to own.
For
- Large 7-inch monitor
- Full HD Resolution
- Cheap
What is the Desview R7
Field monitors are an expensive essential for any videographers kit bag, but at less than £250 the R7 is a very attractive offering.
This field monitor is designed to take an HDMI feed from the camera so that you have a bigger, clearer picture of the scene before you.
Not only that, but it assists with your shooting settings, enabling exposure and focus overlays that will ensure you get the shot you want.
Info
Field Monitor / desview.cn / £249 / $259 at time of review
Intro
Atomos and Small HD might be the go-to field monitors for today’s videographers, but take a look at what else is available, and you’ll see that there are many other cheaper as well as far more expensive options.
The Desview R7 is relatively cheap for a 7-inch field monitor, and it is just a monitor, there’s no ability to capture the HDMI Feed on the device itself. Although there is an HDMI out that could feed into a recorder if you so wish.
As I’ve come to expect with field monitors the R7 is a touch screen which enables you to flick quickly through all the options and settings. To be honest, for the price, it seems like an incredible deal.
Features
The R7 connects through HDMI to your camera and handily you’ll find a selection of cables in the box. In this test, I used the R7 with the Sony Alpha 7 MK3.
The idea of a field monitor is to give you a display that’s bigger and better than the one on the back of your camera. Here the R7 supplies a large 7-inch OCR display with a 1920×1200 resolution and 16:10 aspect ratio.
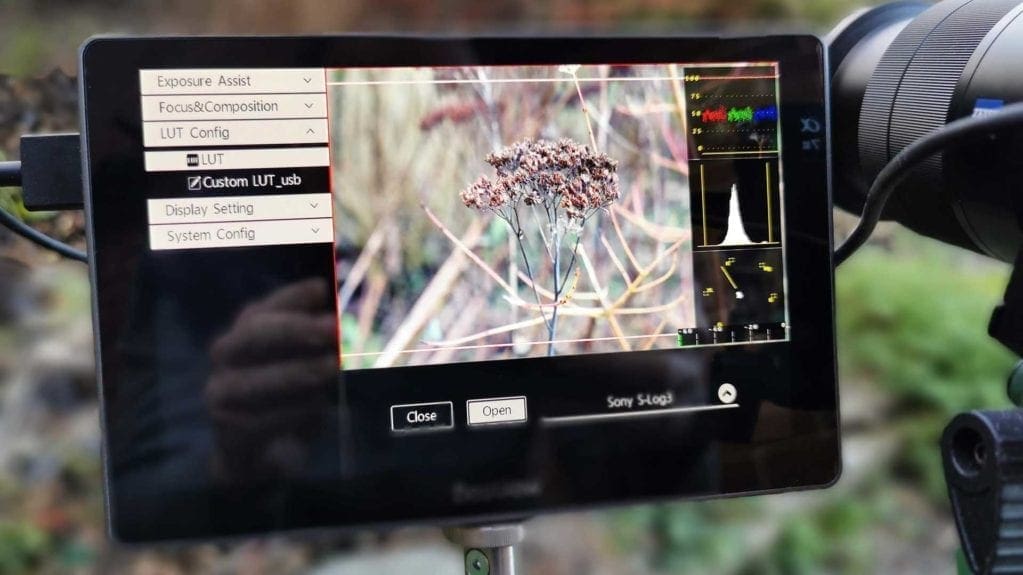
Input and output are through HDMI, which enables real-time monitoring. While the display itself is limited to 1920×1200 it supports input and output of 1920×1080 at 23.98, 24, 25, 29.97, 30, 50 and 59.94 60Hz and 3840×2160 at 24, 25 30hz and 4096×2160 at 24hz.
There’s also a 3.5mm headphone port, USB Upgrade port which also enables you to plug in and select LUTs, and a 1/4-inch thread to attach the monitor to a tripod or friction arm.
The full touch screen display is accessed by swiping across the screen and enables a considerable amount of adjustment over the monitor settings, including:
- Exposure Assist
- Focus and Composition
- Picture styles
- LUT
- Display settings
The monitor is fully compatible with a range of cameras from Canon, Nikon, Fujifilm, Sony, Panasonic and Blackmagic Design.
What makes this monitor stand out is the UI. It’s been well designed, and the visual assistance of false colour, Focus Peaking, Histogram, Zebra, Monochrome, Image flip and zoom are all powerful tools for the filmmaker.
The monitor is powered in one of two ways, either through a Sony NP-F battery type or DC.
Dimensions are nice and compact at 178x117x22.2mm and it all weighs in at 380g without the battery.
Build and Handling
The design and build of the Desview R7 is simple, and while it doesn’t feel cheap, it doesn’t have the build quality of Atomos or Small HD products.
It is what it is, a cheap field monitor, and as long as you care for it, there’s no reason that it won’t fare out in the field as well as it’s more expensive rivals.
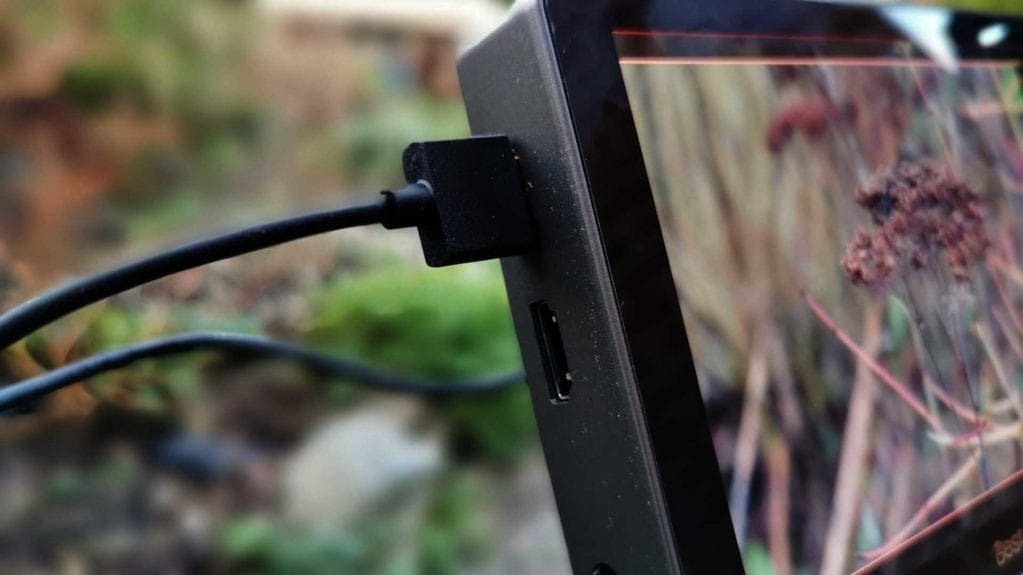
Once plugged in and powered up the user interface and control buttons are all intuitive enough. Video and audio are fed into the R7 through HDMI, and all adjustments to the feed can be made directly through the touch screen interface.
The interface itself is intuitive although it doesn’t have that high end feeling that you get with the Atomos screens, and sometimes the screen isn’t as responsive as you think it should be.
If this is the case, probably due to frozen hands, the physical buttons on the top of the R7 can be used instead. The small jog wheel actually makes navigating without the touch screen exceptionally easy.
Aesthetics aside the touch screen is generally fast to respond, and enables you to quickly navigate through settings such as choosing the correct LUT to display.
In the box is a USB key with a good selection of LUTs loaded. These can be selected and installed through the interface with the touch of a couple of buttons.
Once selected you can then capture your footage in S-Log in camera, while previewing exactly how it will look on the R7 screen with standard grading applied.
Likewise, there are crop guides that can be added to the preview so you can see exactly how the frame will be cropped at 16:9 or other ratios. There’s also the option to overlay general composition guides if you so wish.
Most importantly, the zebras to highlight overexposure, focus peaking and false colour are all easy to locate, use and adjust as needed.
Performance
I’ve been using field monitors for years, from a simple Sony screen that purely enabled me to see a larger preview, to a couple of Atomos Ninja V’s that I use daily.
The R7 is somewhere in between. It can’t record footage like the Ninja V, but when it comes to the assistant features almost everything that you could want is there.
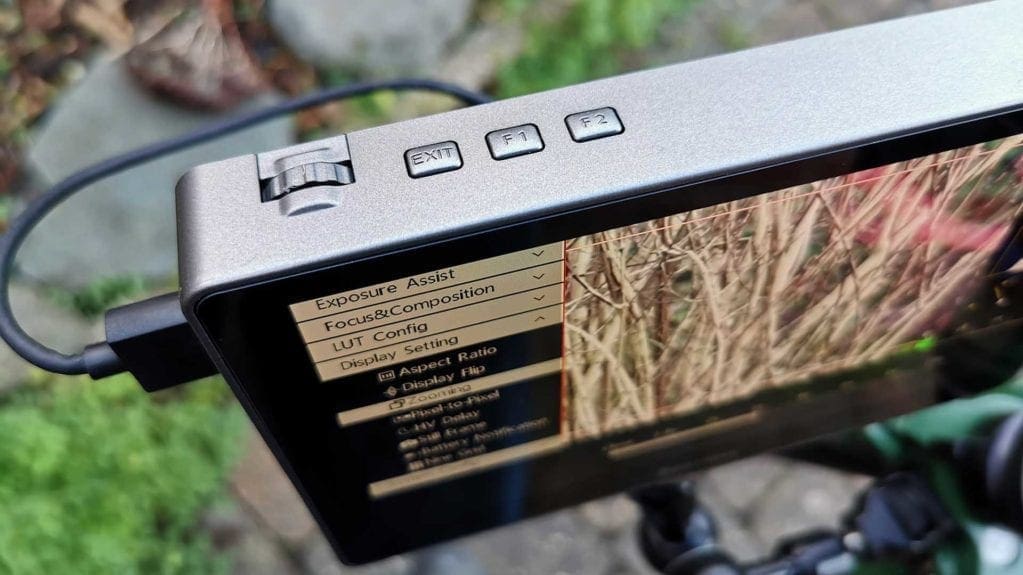
In use, the quality of the display is excellent with the colour, tone and brightness of the screen making it easy to see what’s going on and a far superior option compared with the back of the camera.
With everything connected and the camera in PP7 (S-Log2), it’s time to get the monitor to display with a suitable LUT applied.
How to set-up the Desview R7 for S-Log video
- Plug the supplied USB into the base of the monitor
- Swip right on the screen
- Tap LUT > Custom LUT_usb
- At the base of the screen tap Look USB
- Tap Log Conversions and select from the list of options to suite your camera
- Swipe right on the screen, select LUT and check the LUT is highlighted
- Tap back on the live view to exit the menu
Once done, you can then set the Exposure assist options such as Zebra stripes.
How to activate Zebra on the Desview R7
Swipe right on the screen
Tap Exposure Assist > Zebra
Adjust the slider to hightlight at what level the zebra will appear, 85%
Tap back on the liveView to close
The next important feature is focus peaking; again, this can be quickly switched on through the menu options. Once selected a further focus aid is the ability to change the colour of the focus peaking.
How to activate the focus peaking on the Desview R7
- Swipe right on the screen
- Select Focus and Composition
- Select Peaking
- Select the colour and strength
- Tap back on the liveview to exit the menu
Other options and features work in much the same way with a smooth, intuitive interface and workflow that makes option selection and changes straight forward.
In use, the monitor displays all the information and detail you need with the RGB display in the top right with the histogram below and vectorscope at the bottom. Of course, the position of all three can be adjusted in the menu.
Alongside these features, you can also dip into the display settings and adjust the zoom, which is handy if focusing is tricky. There’s also the ability to increase or decrease the display brightness and colour temperature if required.
Verdict
The quality of the display, with the volume of features at this price, is incredible. The 7-inch display is clear and crisp and shows a good representation of the footage that you are shooting.
While the display quality itself is excellent, the build quality, materials, buttons and top dial are all good, but not exceptional. They’re there solely as function and without frill.
While aesthetically the quality of the plastic used for the rear panel and slightly cheap-looking buttons have a negative effect on the overall device, you cannot argue with their actual function.
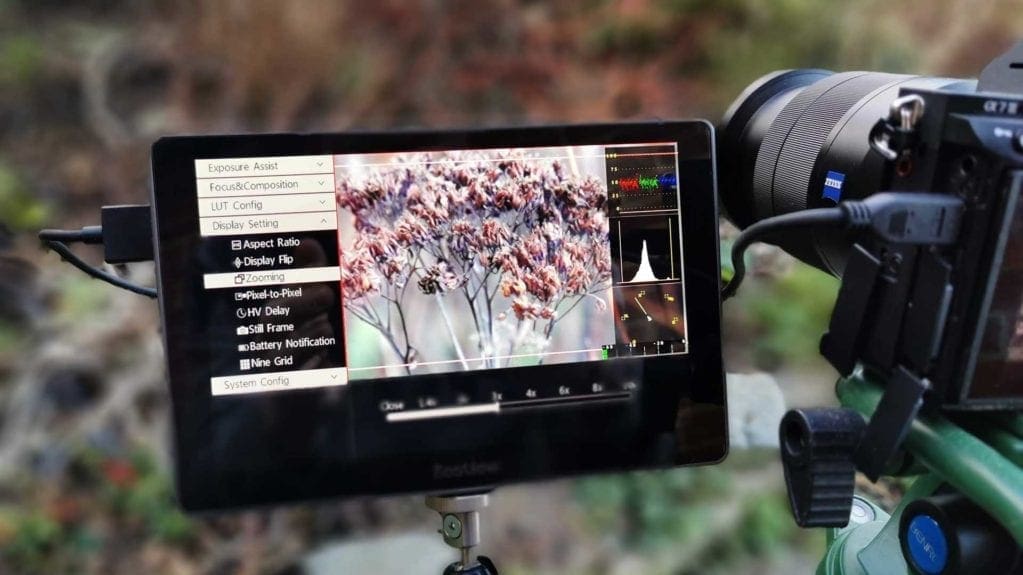
In use, you forget about the cheap feel of the buttons compared with its more expensive rivals, it just does the job.
Delving into settings and options and making changes is quick and easy. Most importantly, it fits into the everyday workflow quickly and without issue.
The overlays are where this field monitor shows the potential of this type of device. The focus peaking ensures that the parts of the image you need sharp are sharp, likewise the zebras with the exposure.
Used with the Sony Alpha 7MK3, the Desview R7 field monitor did precisely what it was designed to do, and there is little to fault. The build is solid even if the buttons feel a bit cheap, the display is excellent, and for £250 its an accessory you can afford not to own.

