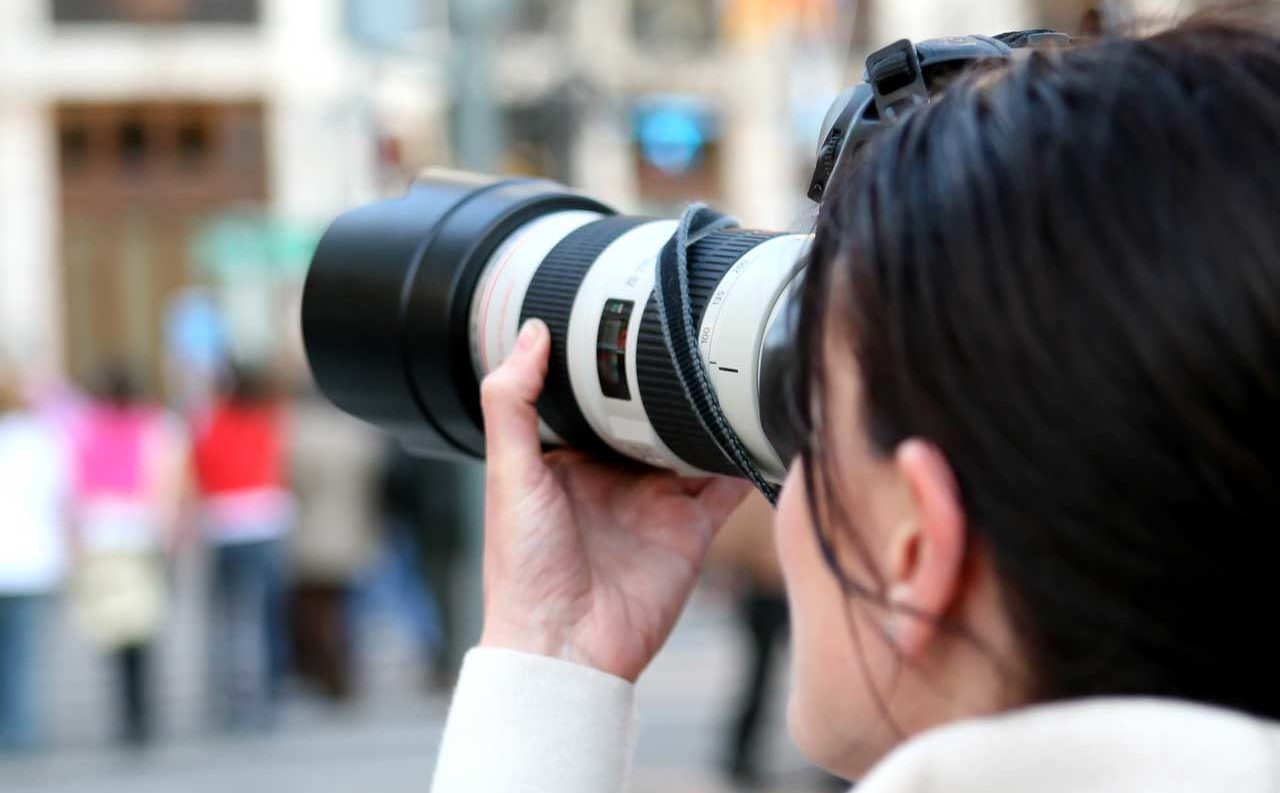


We’re certain you’ll make instant improvements to your photography with these 9 techniques. These are simple methods and time-savers you can incorporate into your daily routine that will soon become instinctual, making you a better, more confident photographer.
01 Rule of thirds
The Rule of Thirds is perhaps the first ‘rule’ of photography that any beginner photographer learns, and it’s one that you carry with you and use every day until the time you stop taking pictures. Which we hope never happens. But we bet that even if you did stop taking pictures, you’d still look at a scene and think of it in thirds.
You won’t use the Rule of Thirds with every composition, but for those instances (which are most of the time) when you can’t see how breaking the rule will improve an image, you can count on this composition technique to provide a pleasing image of just about any subject.
There will be times where framing your subject at the centre will provide a more striking result. But in most cases you’ll find that the Rule of Thirds allows you to align your elements more pleasingly within the frame.
Film photographers used to have to picture all of this in their head, but most cameras these days now allow you to set your LCD to a grid display which divides your frame into three equal vertical columns and three horizontal rows. Some viewfinders even offer this.
This makes composing for the Rule of Thirds even easier. Simply frame your horizon along one of the horizontal lines of the grid and then place your subject or key element at the intersection of the thirds (eg where horizontal and vertical lines cross).
While it’s called a rule, you don’t need to follow the rule of thirds slavishly. Some scenes call for a uniform composition for example, where the main subject is at the centre of the image instead of at the intersection of a third.
SEE MORE
6 photography composition techniques for more creative images
Photo composition ideas: how to add impact with unusual angles
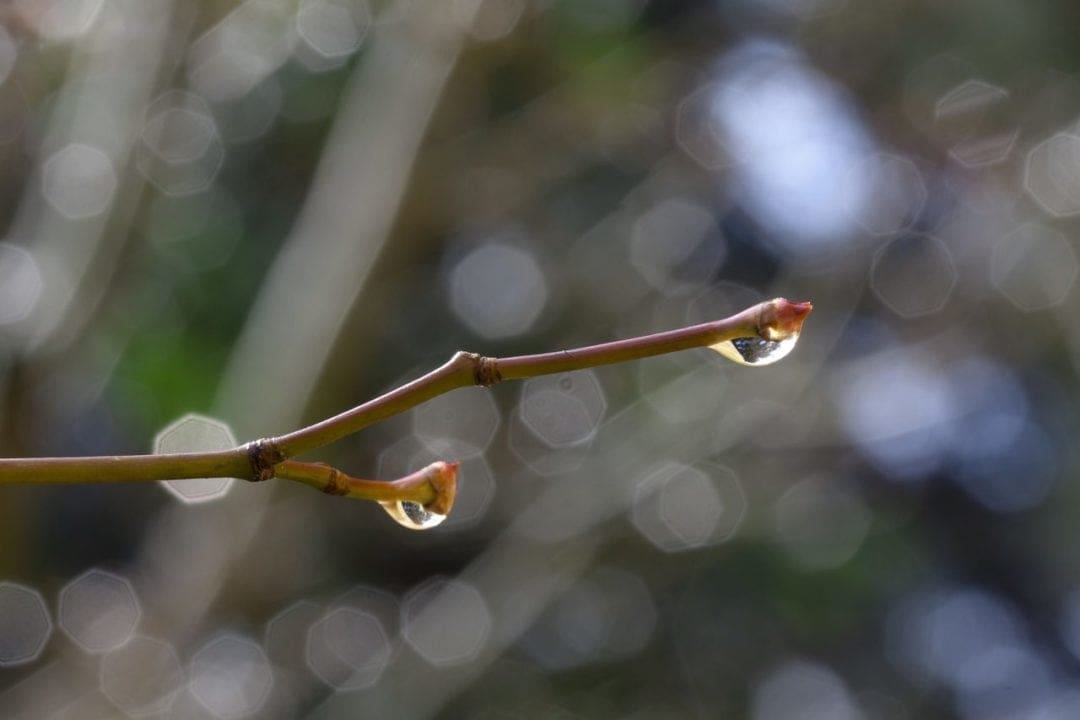
02 Control depth of field
After composition, deciding which aperture you should use is one of the most important steps in determining how an image will look.
The numbering system may seem counterintuitive at first, but a wide aperture such as f/2.8 will give your image a shallow depth of field (small area of the frame in focus), while a narrow aperture such as f/16 will give you wider depth of field – in other words, more of the frame will be in focus.
There are other ways to control depth of field, as well. Moving physically closer to a subject will reduce depth of field. So will using a longer lens and moving physically further away with a shorter focal length.
03 Use aspect ratio
Your camera probably uses a native aspect ratio of 3:2 or 4:3, and these will look perfectly fine to you and everyone else. But sometimes using an alternative aspect ration can produce a more dramatic result.
Think about a landscape. Let’s say you’re shooting a sunset from a mountain top and the amber light is illuminating the fields down below. An image at 4:3 will look just fine, but a 16:9 panoramic format might give the vista a more sweeping, dramatic feel.
It’s important when composing a scene to think about it carefully and decide which aspect ratio will include all of the important elements in the frame (or alternatively, exclude more of the unimportant ones).
Just about every camera will let you adjust your aspect ratio within the main menu system. However, if you shoot raw files your image will typically retain information from the whole sensor, which allows you to change your mind or crop further on your computer.
That said, we advise you to be wary of relying on constantly cropping photos.
SEE MORE: What is aspect ratio in photography
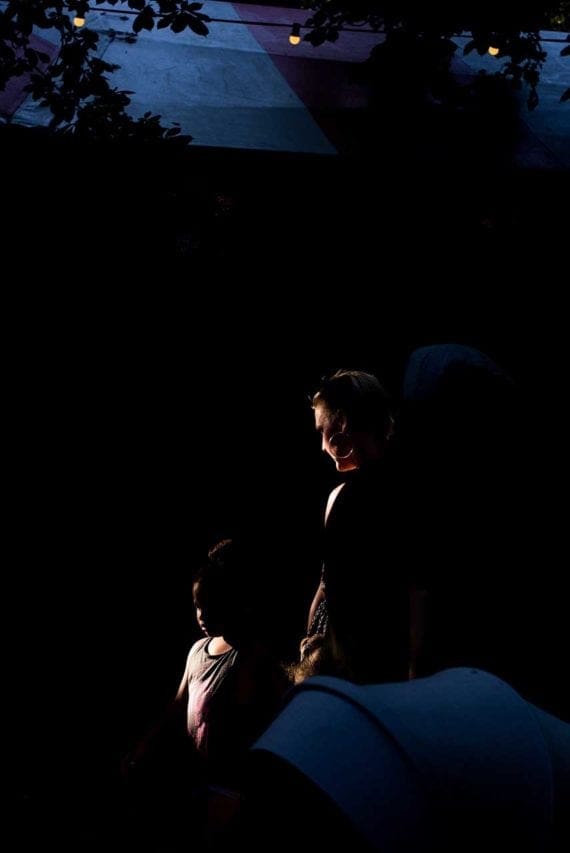
04 Spot metering
All modern digital cameras now offer a range of metering options. These metering systems are quite intuitive and their default multi-area settings will calculate an average the exposure across a number of zones across the whole of a scene. In most cases and they do a great job of delivering correctly exposed images.
However, sometimes in difficult lighting – such as a subject standing against a light or dark background, or shooting into the light – these metering systems can struggle and you need to take more control.
Your camera’s spot metering option is a godsend in these high-contrast conditions, as it allows you to record a reading of the light from a very small section of the scene and base your exposure on this.
Typically you’ll want to take a reading from a mid-tone area, such as your subject’s skin if shooting a portrait, and your camera will ignore the bright highlights or dark shadows and suggest exposure readings to produce an accurate exposure of that skin tone you selected.
We can’t recommend using your camera’s spot meter enough. Not only will it give you better exposures overall, but the more you use it the more you will understand how exposure works.
Finally, we recommend shooting raw files, as these ‘digital negatives’ will give you more leeway in your photo editing software to adjust those highlight and shadow areas.
05 Custom white balance
And speaking of raw files, though they allow you great freedom in making post-capture changes to tones, sometimes you’ll want to shoot JPEGs.
This might be at parties or family days out. And in these instances you’ll want to set a custom white balance if you want your JPEGs shot in artificial or mixed lighting to show accurate colours straight from the camera.
The method of setting a custom white balance setting differs depending on what camera you use, but in general the principle is the same: you need to photograph a grey card or something neutral in that vein under the same lighting conditions as the subject or scene you’re hoping to shoot.
When you enable a custom white balance and do this you are telling your camera that tone should now be its reference point for mid-tones. And then hopefully all your subsequent images should have accurate colours.
06 Using flash
Using flash can be intimidating to many photographers, whether it’s the built-in pop-up unit on top of your camera or a wireless, off-camera flashgun. However, once you can gain confidence with using it, you’ll notice a dramatic improvement in your images.
A good place to start is just learning how to use your camera’s pop-up flash. It might not create the ambience of an off-camera setup, but if used correctly you can fill in shadows or capture a catchlight in your subject’s eye and make an image a little extra special.
Same with a flashgun. Many flashguns will work alongside your camera’s metering system and open you up to a world of exposure opportunities.
Just try playing around with one. Shoot, check the results and try again. Once you start using it, you’ll enjoy the challenge and quickly find it to be a backbone of your workflow.
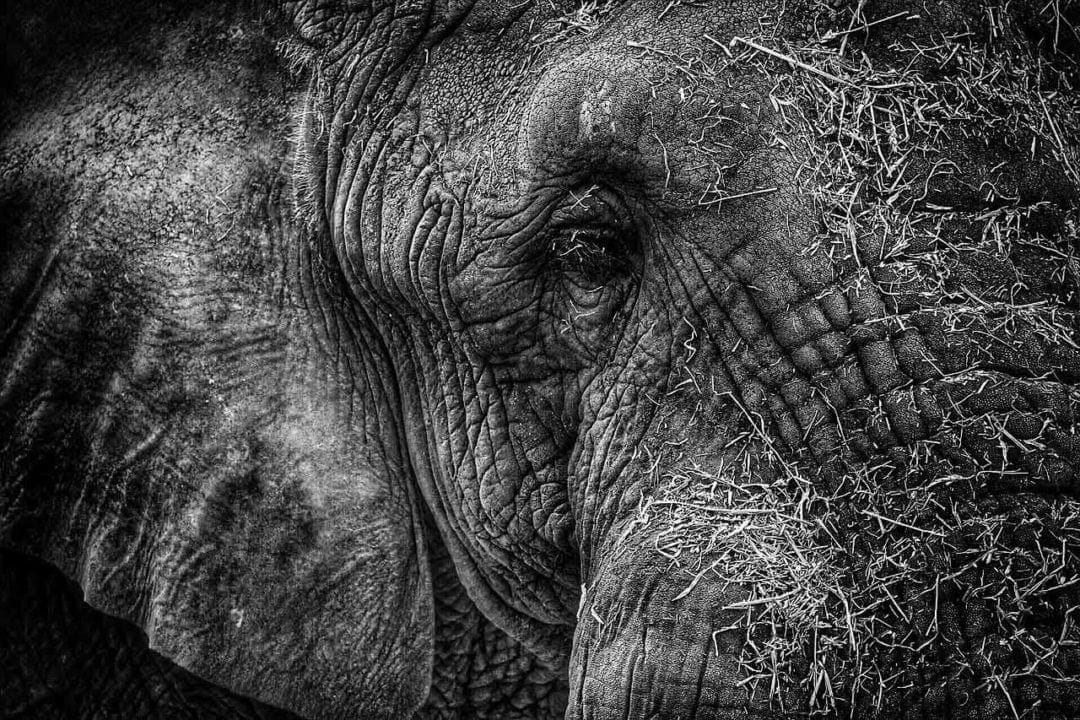
07 Shoot black and white
For many photographers, black and white becomes an after-thought, a way to add some creative flair to an otherwise drab image. But by far the most successful black and white photos are those that are captured with monochrome in mind.
This means thinking about what subjects work best in black and white. Subjects with strong patterns or textures, for instance. Or simple, graphical compositions.
Something I like to do to see what works and what doesn’t is to set my camera to record JPEG + Raw files. I can then select my Fuji X-Pro1’s film simulation mode. With the JPEG I get a sense of how the subject looks in monochrome, yet I have retained a raw file to give me more photo editing flexibility.
What’s more, the raw file will have all of the colour information so I can produce to versions if I want to.
SEE MORE: 10 quick black and white photography tips
08 Hyperfocal distance focusing
That’s quite a mouthful, isn’t it! Hyperfocal distance focusing sounds very technical and complex, but in practice it is simply a technique for getting the most depth of field at whatever aperture and focal length you’re using.
There are plenty of apps now that you can download to your smartphone that will help you calculate the ideal focus distance for any subject, aperture, focal length, even sensor size. However, failing that you can simply focus a about a third of the way into your scene and get equally pleasing results.
Focusing a third in will enable you to get as much of the foreground and background in focus as possible.
09 Look for shapes in your images
Simply put, if you try to distance yourself from all the other details and just think about the shapes your subject makes, this will go a long way towards developing your creative eye and helping you make more dynamic compositions.
Back when photographers used cameras that reproduced the scene upside down and laterally reversed this was how they saw their scenes and it forced them to develop an intuitive sense of composition based on lines and shapes rather than recognisable objects.
It’s hard to get in that mindset these days, but a great place to start is an urban landscape, with its angles and shadows. Try mastering it there and see how you can then apply it to subjects like portraiture or macro photography.
READ MORE
6 beginner photography techniques you can use forever
10 digital camera tips, tricks and truths you may not have known