


Shooting a GoPro Hero5 Session time lapse sequence can be hugely rewarding and capturing them on the GoPro Hero5 Session really couldn’t be easier. There are two ways to active and set the time-lapse options: either directly through the camera or using the GoPro Capture App. In this tutorial we’ll show you how to use the time-lapse feature and settings directly through the GoPro Hero5 Session.
The GoPro Hero5 Session might not have the large glossy screen of the GoPro Hero5 Black but it still features a compact LCD that enables you to quickly check the settings and options.
Setting up and controlling directly through the camera once you know how is quick and easy, however if you prefer to use app then all the same options are available to you and you also benefit from the live preview so you can check on composition.
Which ever technique you decide on here are a few simple steps to get you started.
How to shoot Time Lapse with the Hero5 Session
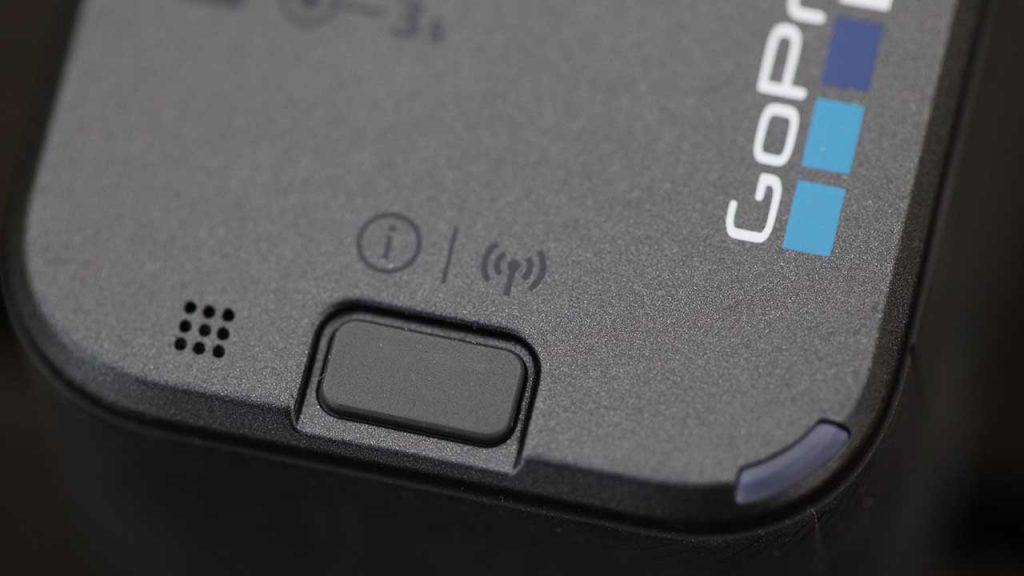
01 Press the Menu button and click again to get to ‘Camera Settings’ click the shutter button to confirm.
02 The mode icon will highlight, click the shutter button to change the mode to Time-lapse.
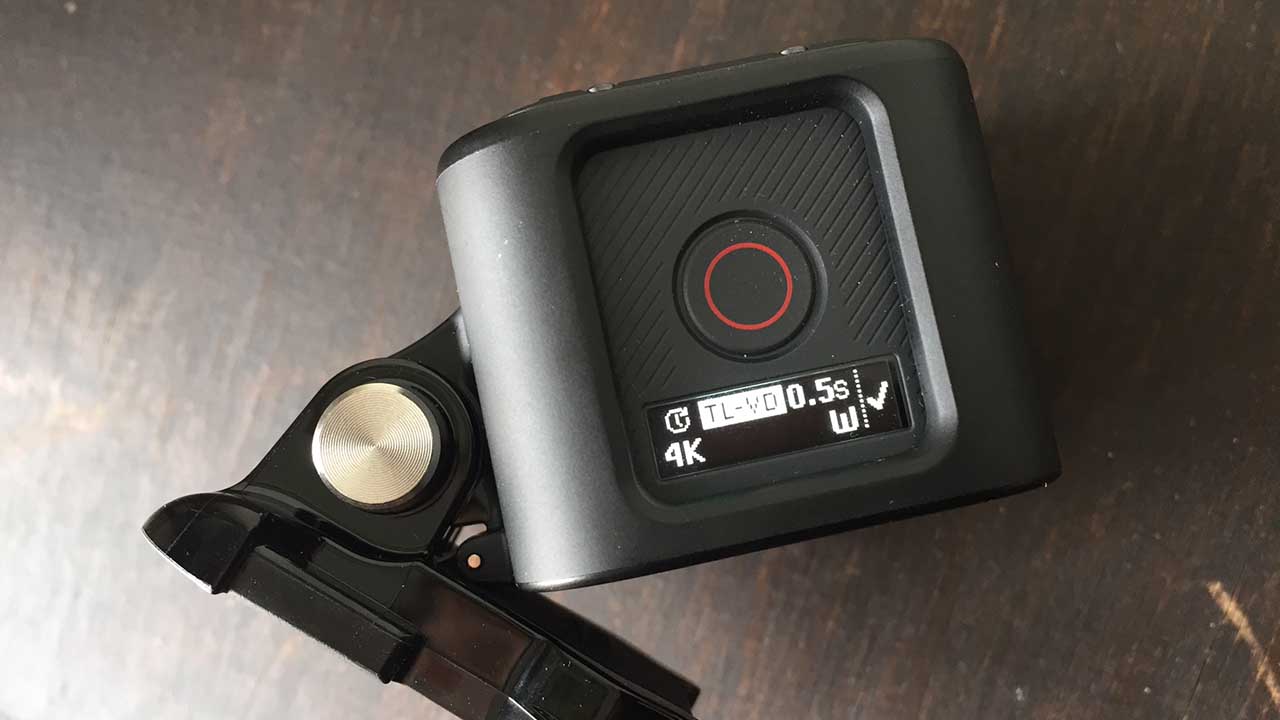
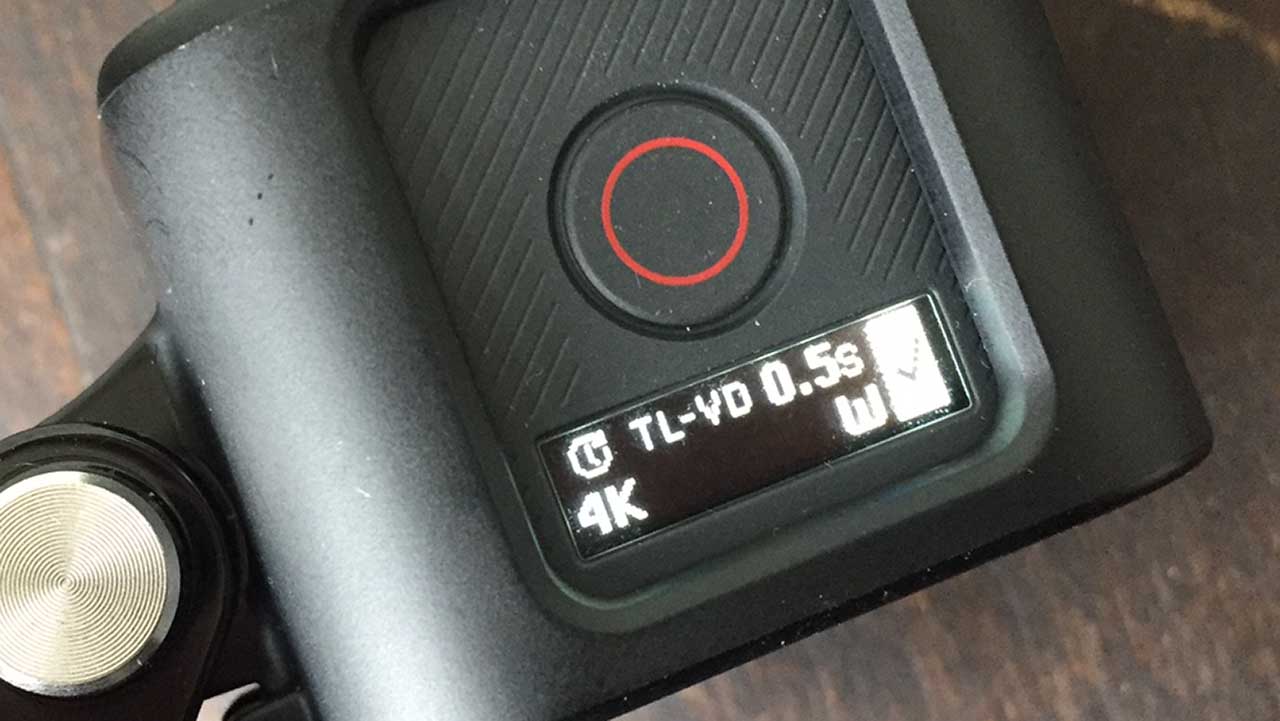
03 Click the Menu button to navigate through the other settings. The first click option is the time-lapse type, use the Shutter button to scroll through the options and select TL-VD.

04 Tap the Menu button to shift to the next option; the time between shots, and the shutter button to select your choice.
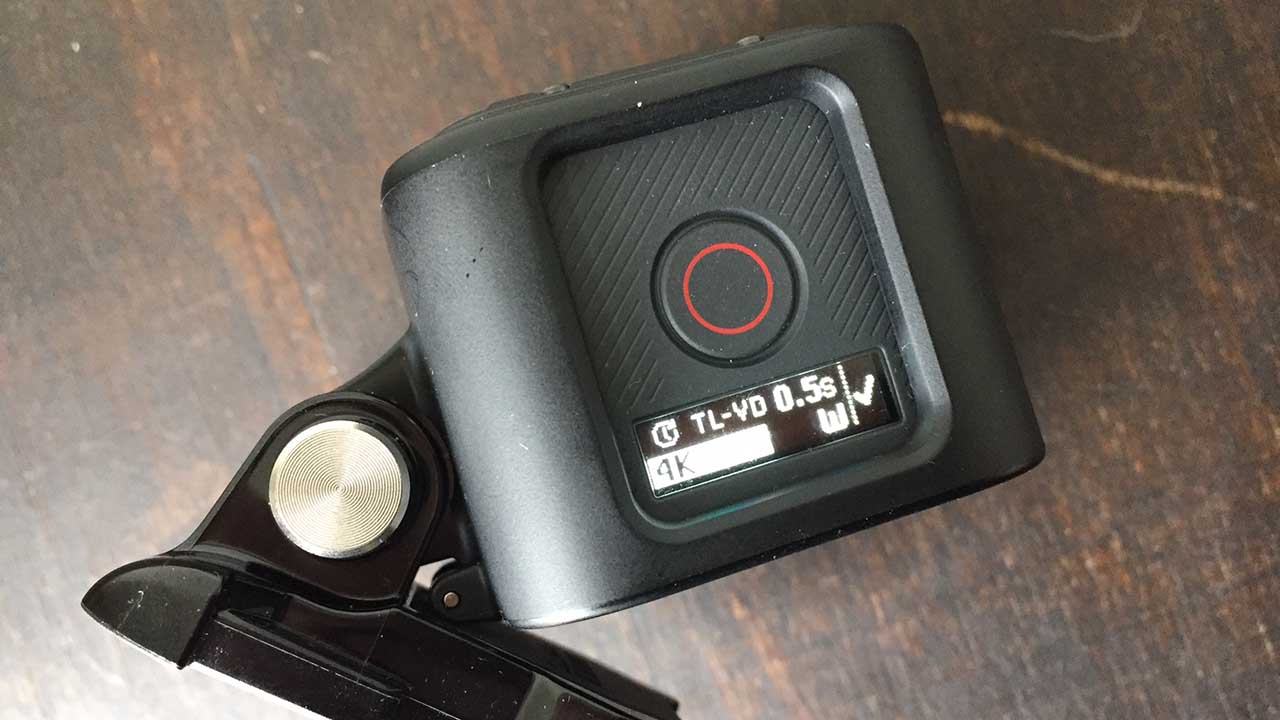
05 Tap the Menu button again to shift to the resolution and Shutter Button again to select your choice.
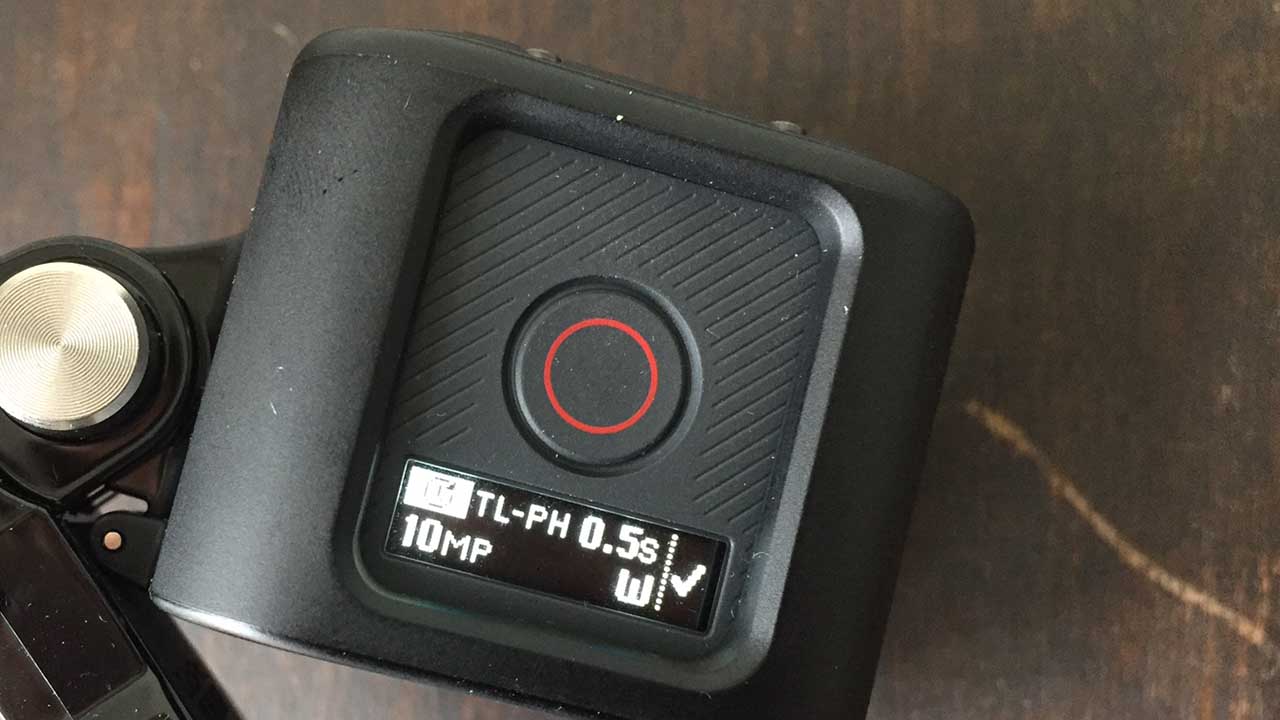
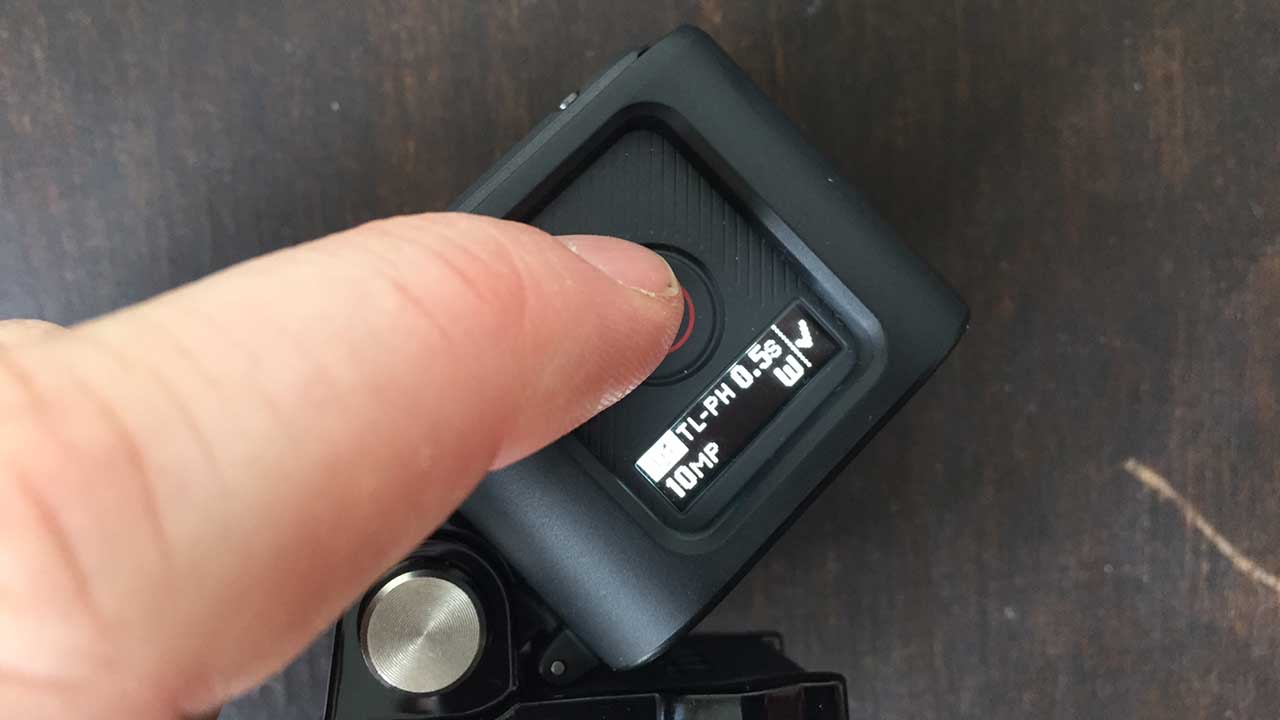
06 If you select a low resolution such as 10MP then clicking the Menu Button to select W will enable you to adjust the Field-of-view. This is set to W (Wide) for 4K.
07 Tap Menu Button to move the highlight to the tick and the Shutter Button to exit the options. Now hit the Shutter Button to start recording the video time-lapse.
GoPro Hero5 Session Time Lapse options
The GoPro Hero5 Session offers three different capture options TL-VD (Time-lapse Video), TL-PH (Time-Lapse Photo) and TL-NT (Time-Lapse Night Time)
TL-VD (Time Lapse Video) the option selected in this video creates a single movie file, TL-PH (Time-Lapse Photo) captures a series of still shots.
GoPro Hero5 Session Time Lapse Video Resolution
When shooting in TL-VD (Time-lapse Video) mode you have the option to shoot at 4k, 2.7k (4:3) and 1080.
GoPro Hero5 Session Time Lapse Stills Resolution
When shooting in TL-PH (Time-Lapse Photo) you can only shoot at 10mp
GoPro Hero5 Session Time Lapse Interval
The Hero5 Session offers a good selection of intervals between frames with 0.5, 1, 2, 5, 10, 30 and 60 seconds. When it comes to smooth video playback traditionally film makers aim for between 24 and 25fps. Taking this into consideration for a 10second movie the subject of your time-lapse would need to happen over the following times for a 10 second movie at 24fps.
0.5s interval = 2 Minutes
1s interval = 4 Minutes
2s interval = 8 Minutes
5s interval = 20 Minutes
10s interval = 40 Minutes
30s interval = 2 Hours
60s interval = 4 Hours
Using this simple chart you can see that a 0.5 – 2 second interval is good for capturing a quick activity of capturing crowds at events or in the street where motion within the scene is quick. Using 5-60 second intervals are better for capturing sunsets and slower moving motion.
Remember that the GoPro Hero5 Session’s battery life is limited.
GoPro Hero5 Session Time Lapse FOV
The FOV options during time-lapse change depending on the mode and resolution you have selected. Most modes will offer you W or Wide and using 4K or 2.7K time-lapse video mode this will be the only option on offer to you. Switch to 1080p and you then have the choice of W (Wide), M (Medium), L (Linear) and N (Narrow).
Wide is useful if you’re shooting a scene with lots of activity. You can crop the movies during editing if you like – there’s more flexibility to do this with 4K footage. The Medium options zooms in a little from the Wide field of view. In Linear FOV mode the camera crops in to remove the fish-eye distortion. The Narrow field of view crops in even further than Linear and is useful for shooting distant subjects at the centre of the frame.
GoPro Hero5 Session Time Lapse
This time lapse video was shot with the GoPro Hero5 Session at an interval of 5 seconds. Unfortunately no spectacular sunset this time!