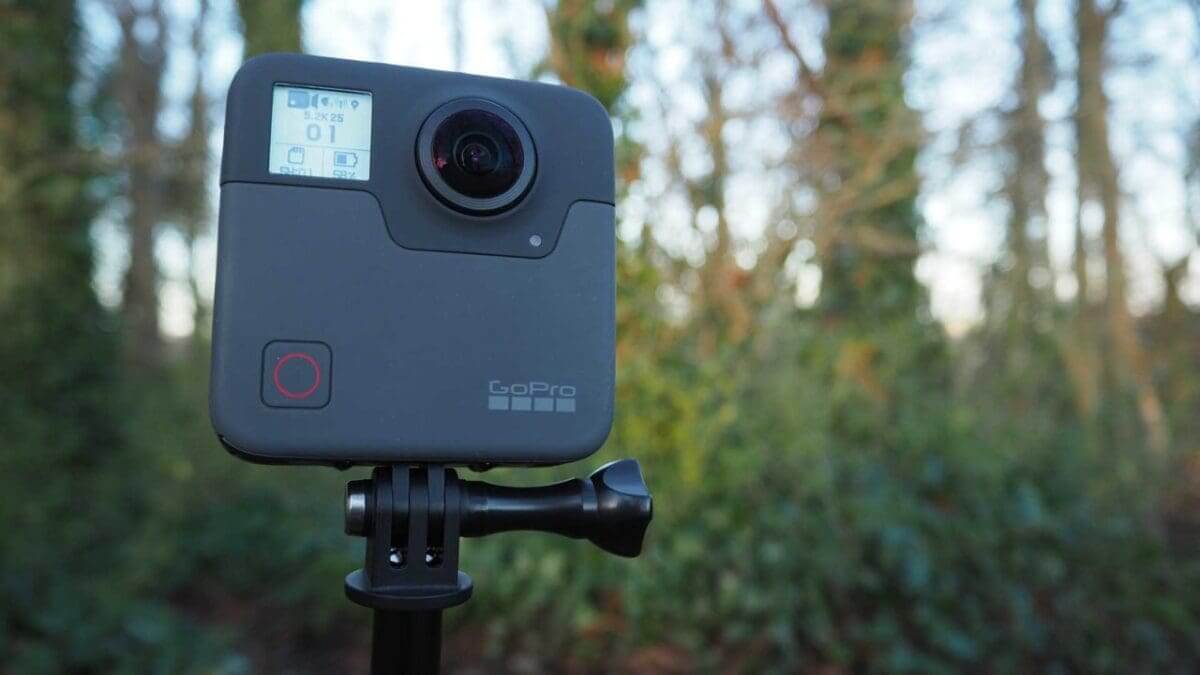


The long-awaited GoPro Fusion is now shipping – ours has arrived! – and for many who may be shooting 360 video and images for the first time might be wondering… how do I set up the Fusion to start shooting and sharing your 360 photos and video.
In this quick-start guide I’ll explain the best GoPro Fusion settings for video and still images.
But first, a couple navigational primers for those Fusion owners who may be new to the GoPro ecosystem…
Adjusting camera settings on the GoPro Fusion
The GoPro Fusion’s voice activation commands are the simplest way to navigate menus. Say ‘GoPro Photo Mode’, for instance, and the Fusion will change modes accordingly. Likewise for video, etc. You can then tell it to take a video, start recording.
Voice activation commands will really only help you cycle through the shooting modes, though. To make adjustments to specific settings, there are two ways to do it:
- Use the GoPro app. iOS users can download the app now to use the Fusion remotely. Android users, at the time of writing, will need to wait a few more weeks for GoPro to update its app.
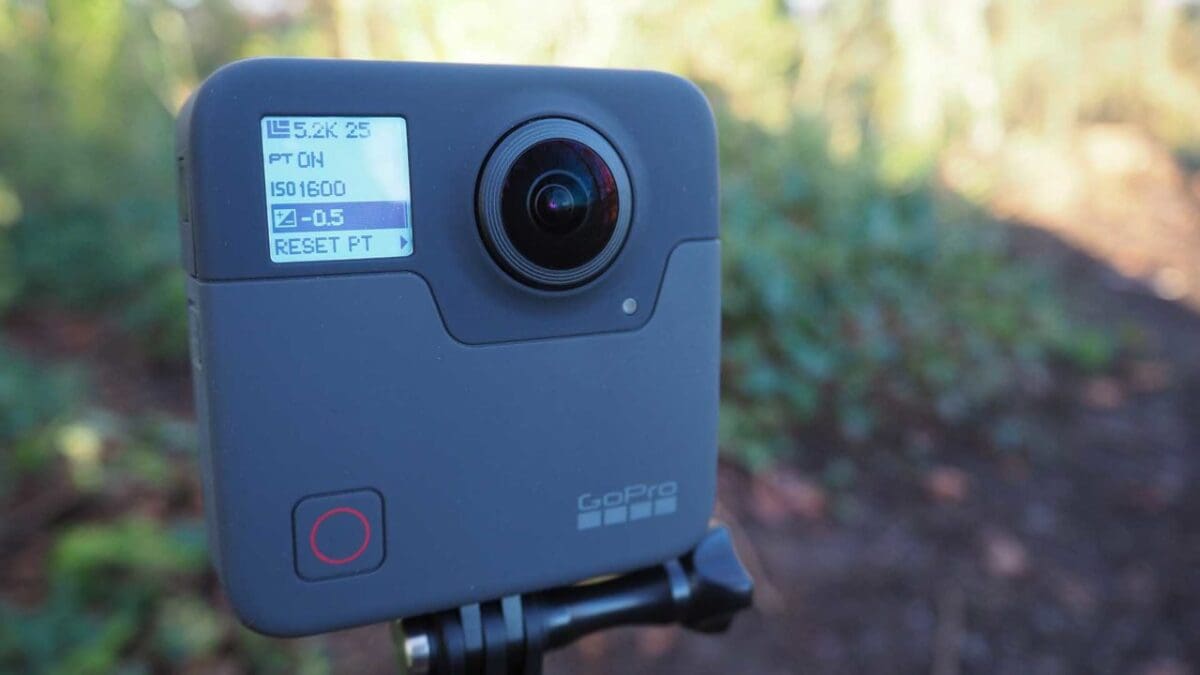
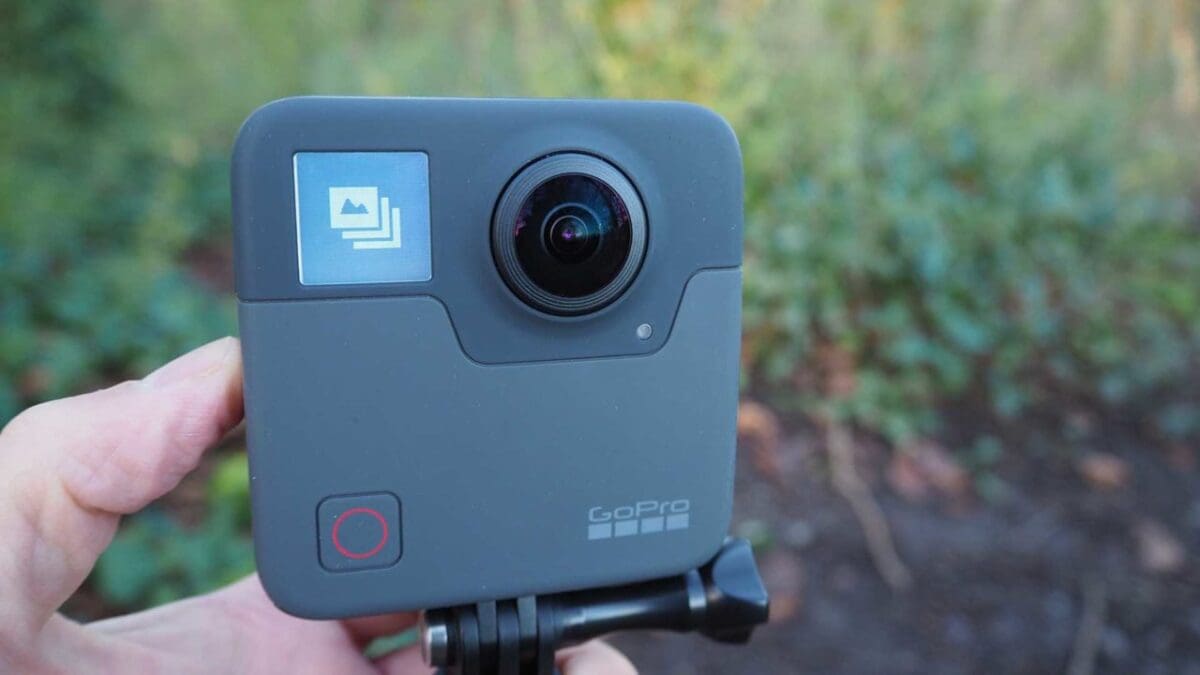
- On the camera body, press the Mode button to navigate through the shooting modes and Settings mode. Press the Shutter button (which serves as an Enter button) to access each mode’s menu. Again, press the Mode button to cycle down through the options, and Shutter to make an adjustment to one of these options, such as frame rate or self-timer length.
Now, let’s take a look at some of the ways you can set up the Fusion for different needs…
Setting up your Fusion for the very first time
If you’re setting up your GoPro Fusion for the first, fresh out of the box, there are a few basics you want to cover first, and these are all in your Settings menu.
Set the date and time
Within the Settings menu you’ll find a sub-menu to set the date and time for your camera. You’ll want to do this before you take any images or video.
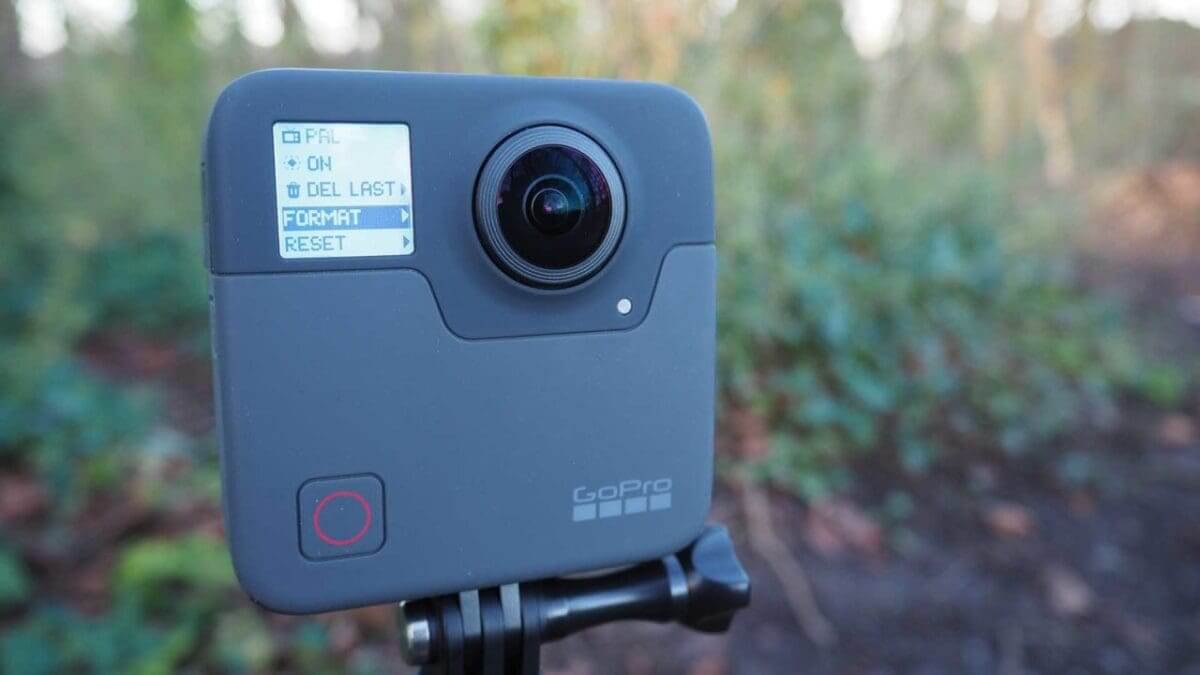
Format your memory cards
Your GoPro Fusion has dual memory card slots, and each microSD card is assigned to one of the Fusion’s lenses. For optimal performance you’ll want to format these cards via the menu option within the Settings menu. Again, do this before taking any images or video.
Enable your Fusion’s WiFi
You can use your GoPro remotely via the GoPro app, but before you can do this you need to set up the camera’s WiFi. This is also important for receiving firmware updates. Within the Settings menu you will see a sub-menu called Connect. Within this menu you can turn on the WiFi and display a screen that reveals the camera name and password you’ll need to log in. You’ll only need to do this once.
Pair your Fusion with the GoPro app
At the time of writing the app isn’t updated to support Fusion on Android. But GoPro tells me this will be resolved in the next couple weeks. iOS users are ready to go. To pair your camera with your device, you’ll find an option within that same Connect sub-menu. Launch the app and press the Shutter button. The two devices will start talking.
There are lots of other settings, such as language, setting videos to PAL or NTSC and further exposure controls, in your Settings menu, so it’s worth exploring this area a bit. But to get set up quickly and ready to start making 360 images and video, the above steps are your crucial, bare-minimum first steps!
Setting up the GoPro Fusion to shoot 360 video
The GoPro Fusion will record spherical video in two resolutions: 5.2K (5228×2624) at 30 (NTSC) / 25p (PAL) or in 3K (3000×1504) at 60 (NTSC) / 50p (PAL).
Why record 360 video in 5.2K?
On the GoPro Fusion when you record spherical video at 5.2K you’re not only using the camera to its full potential and getting the highest resolution possible, but you can also use GoPro’s OverCapture feature in Full HD.
OverCapture – which will be added to the Fusion via firmware in early 2018 – allows you to select a vantage point from anywhere in your 360 scene to follow and generate a standard format video in 1080p.
Why record 360 video in 3K?
It might seem counterintuitive to record video at the GoPro Fusion’s lower resolution, but the higher frame rate here allows you to capture smoother sequences if your scene involves action.
What’s more, the higher frame rate enables you to play back videos in slow motion.
You can also use OverCapture at this resolution, but videos are limited to 720p.
Setting up the GoPro Fusion to shoot 360 photos
The GoPro Fusion has three capture modes when you set it to its Photo mode. These are Single, Night and Burst.
Single capture is the default mode that will be active when you switch the Fusion to Photo mode.
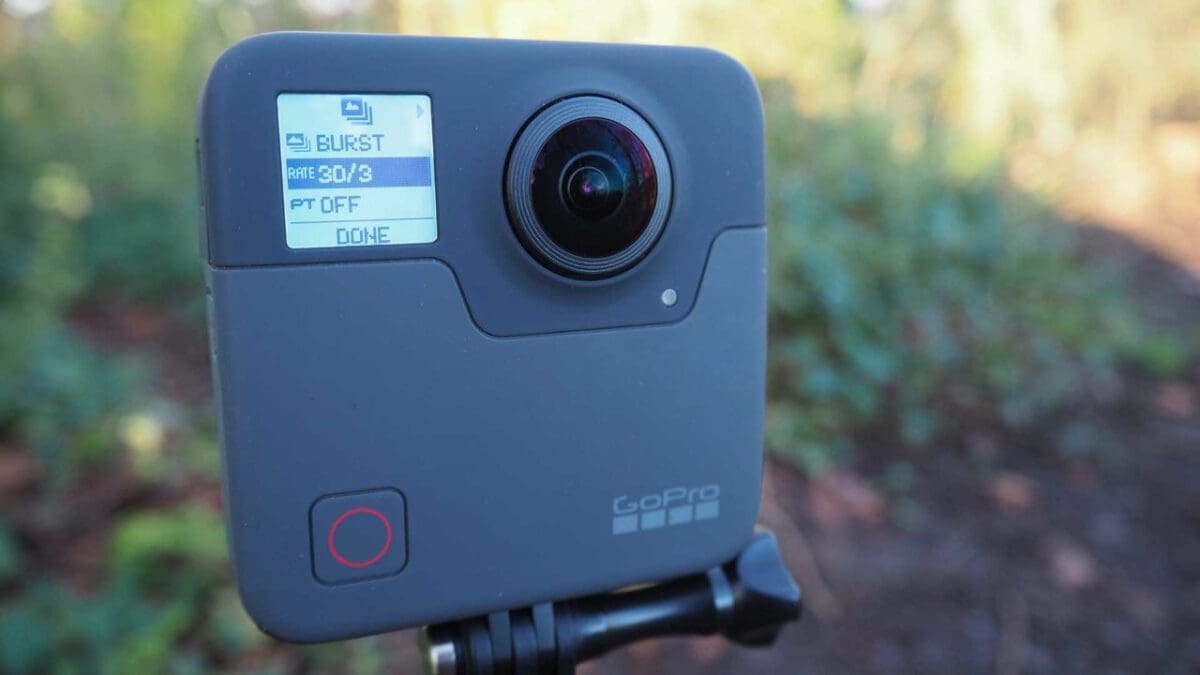
Using the GoPro Fusion’s Burst Mode
The GoPro Fusion, like the Hero Black cameras, offers a Burst mode where you can trigger the shutter repeatedly to capture action sequences. The GoPro Fusion can capture up to 30 frames a second in its Burst mode, and you can also adjust the length of time or number of frames. Available frame rates in the Fusion’s burst mode include:
- 30 frames at 1, 2, 3 or 6secs
- 10 frames at 1, 2 or 3secs
- 5 frames at 1sec
- 3 frames at 1sec
Burst mode is available within the Fusion’s Photo mode – of which it is one of three capture modes (along with single image and Night mode).
To shoot an action sequence in Burst mode the easiest way is to use the Fusion’s voice activation and say, “GoPro shoot burst,” and the Fusion will capture a sequence. Unless you change the rate, the default frame rate on the Fusion is 30 frames in 1 second.
You can also say “GoPro Burst Mode,” which changes the camera mode to Burst; however it does not trigger the shutter. Here you can adjust your frame rates if desired.
Other ways to shoot a burst are by physically pressing the Fusion’s shutter button or doing it remotely via the GoPro app.

Using the GoPro Fusion’s Night mode
In Night mode the GoPro Fusion will optimise itself to shoot in low-light conditions. Night mode basically sets a longer shutter speeds, so for best results you’ll want to mount the Fusion to something sturdy, even the selfie stick/tripod that comes with it.
Within Night mode you set the shutter to its Auto setting, which gives up to a 2secs exposure. Other Night shutter speed options include:
- 2secs
- 5secs
- 10secs
- 20secs
- 30secs
To set Night mode or Burst mode, navigate to your Settings Menu via the Mode button. In Settings, navigate to the Photo settings and press Shutter/Enter. Your top menu option will be a little camera icon. With that icon highlighted, press the shutter button to load the Night and Burst mode menus.
Setting up the GoPro Fusion to capture raw files
The GoPro Fusion is also capable of capturing spherical raw files, which gives you a lot of flexibility in editing.
When you enable the Fusion to shoot raw files it will actually capture a JPEG alongside your raw file so you can quickly review what you’ve shot within the GoPro app.
Your raw images are then saved as .gpr files, which are based on Adobe’s .dng format, meaning they can be opened in Adobe Camera Raw (version 9.7 or later), Lightroom CC and Lightroom 6.
Raw capture is only possible in Photo mode, and it’s simply a case of selecting On or Off within this mode’s settings menu.