So you’ve made the leap up from the world of camera phones and compact cameras and bought your first serious camera… now what? Whether you bought a DSLR camera or one of the many mirrorless cameras on the market, you’ll probably find that all those new features and controls are both liberating and intimidating. So what should you do first? Before you get shooting, we explain below how to set up a DSLR or CSC for the first time.
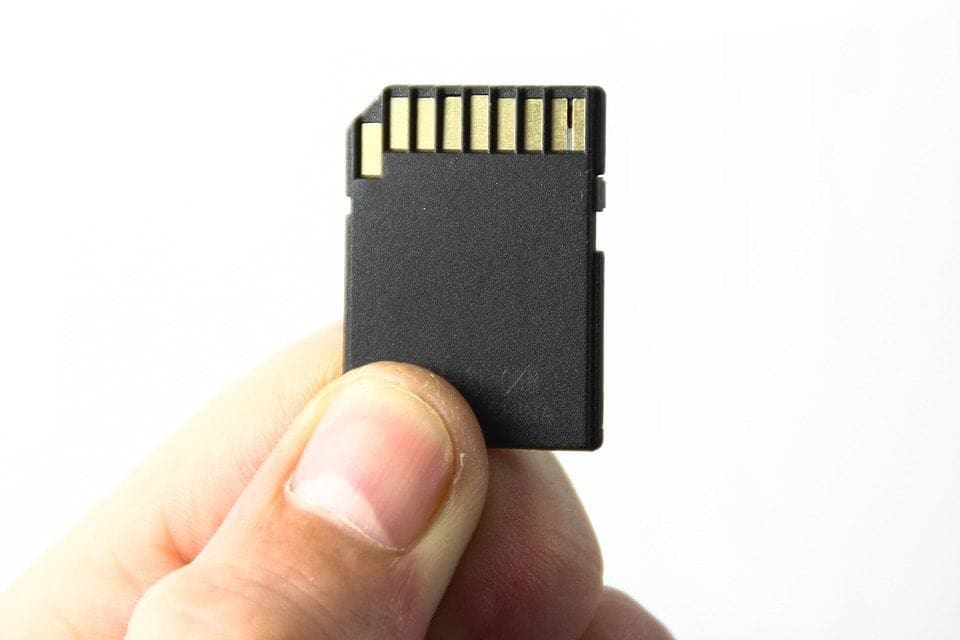
01 Format your memory card
When you open that memory card slot for the first time and feel that click as the camera accepts your card, it’s then a good time to format that card.
What will happen when you do this is your camera will delete any existing images from that memory card. So it’s a good idea to back those up before formatting. But formatting your card will improve its performance.
To do this, simply press your camera’s menu button, find the Format option and follow the on-screen directions.
02 Set the image quality and size
To get the very best image quality from your new camera you will want to next adjust the quality of images captured in your camera’s menu system. We suggest setting it to Extra Fine or Highest Quality JPEG. Then set the file size to Large.
Now, many of you are probably thinking, JPEG over raw files? It’s true, raw files do allow you much more editing flexibility and capture more data, but JPEGs are a good place to start when you’re still learning how to use your new camera.
If you do want to try your hand at processing raw files, however, you can set your camera to shoot Raw + JPEG images simultaneously. This might give you some flexibility later on once you develop your photo editing skills. But at this stage we’d recommend you don’t shoot exclusively raw files.
Your camera should also have come with the manufacturer’s raw conversion software. This will be compatible with your camera’s files and will allow you to convert your raw files into JPEGs should you wish to share them on social media or post them online.
You can also use software like Adobe Photoshop, Lightroom or Photoshop Elements – or any of the many Adobe alternatives out there – but you will need to check that your camera’s raw files are supported.
03 Sensitivity
Your camera’s sensitivity, or ISO, setting is what dictates how much light the camera needs to take a shot.
The higher the number on the ISO scale, such as ISO 6400, the better your camera will be able to perform in low light conditions. However, shooting at higher ISO settings can allow more noise to creep into your images.
Conversely, the lower the number on the ISO scale, such as ISO 100, the better your camera will perform in bright light. The lower the ISO you can shoot at, the better quality results your camera will produce. To shoot at the bottom of the scale, though, you need lots of light.
Rather than worry about setting the right ISO in these early stages, we suggest you set your camera’s sensitivity to its automatic setting and let the camera decide for you.
Get this Canon EOS 1300D + 18-55mm lens kit for just £299.99
Get this Nikon D3300 + 18-55mm lens kit for just $399.95
04 White balance
Your camera’s white balance tool is what helps your image sensor determine what’s white. This has knock-on effects for all the colours and tones in your images.
Starting out, we suggest using your automatic white balance setting as a starting point. This should produce images with natural colours and neutral tones in most conditions.
Once you grow more familiar with your camera and its settings you can experiment with manual white balance settings or even using the ‘wrong’ setting in certain conditions to get a creative colour cast in your photos.

05 Metering
Metering is your camera’s way of determining the best exposure settings for a scene. We suggest setting your camera to its Evaluative, Matrix or Multi-zone/segment metering mode. This is a good general-purpose mode that will suggest sensible exposure settings in most conditions.
06 Focus your camera
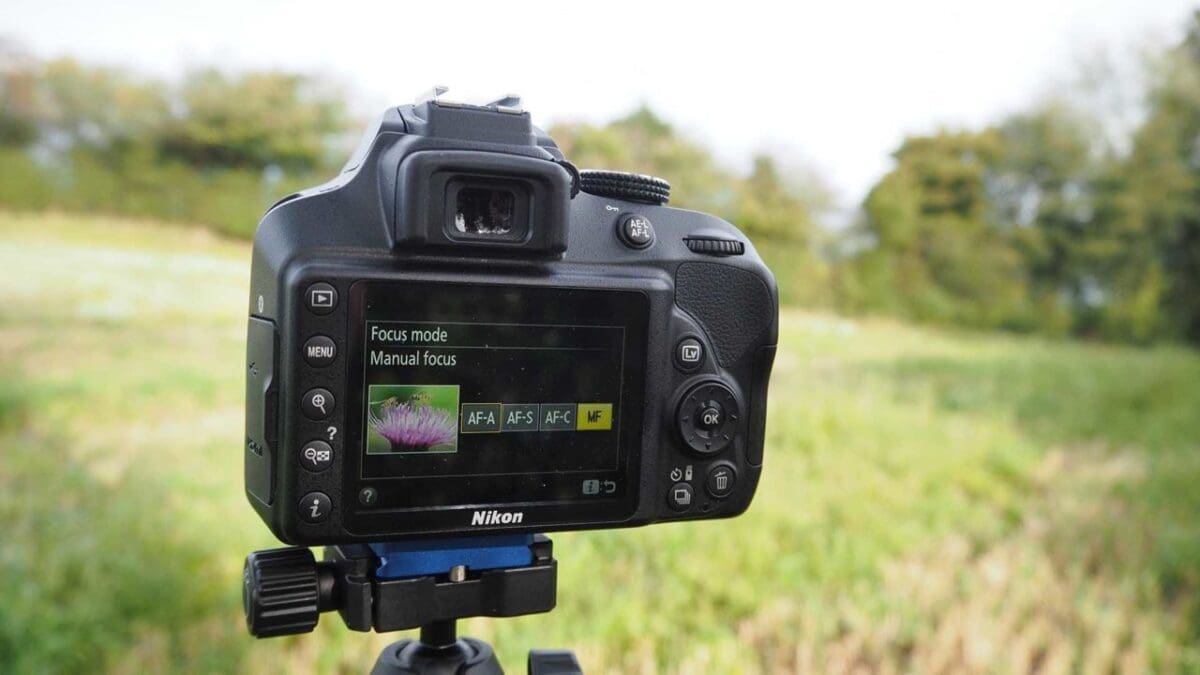
You can focus the lens on your camera automatically with its autofocus (AF) system. Or you can focus manually by rotating your lens’s focus ring with your hand.
When focusing your camera’s AF mode the camera will try to focus on whatever is under the selected AF point.
We suggest setting your camera to Single AF mode so the camera focuses when you press shutter release button halfway down.
It’s also worth using your camera’s Auto, which is sophisticated enough that it will switch to continuous AF mode if it detects that your subject is moving.
07 Drive mode
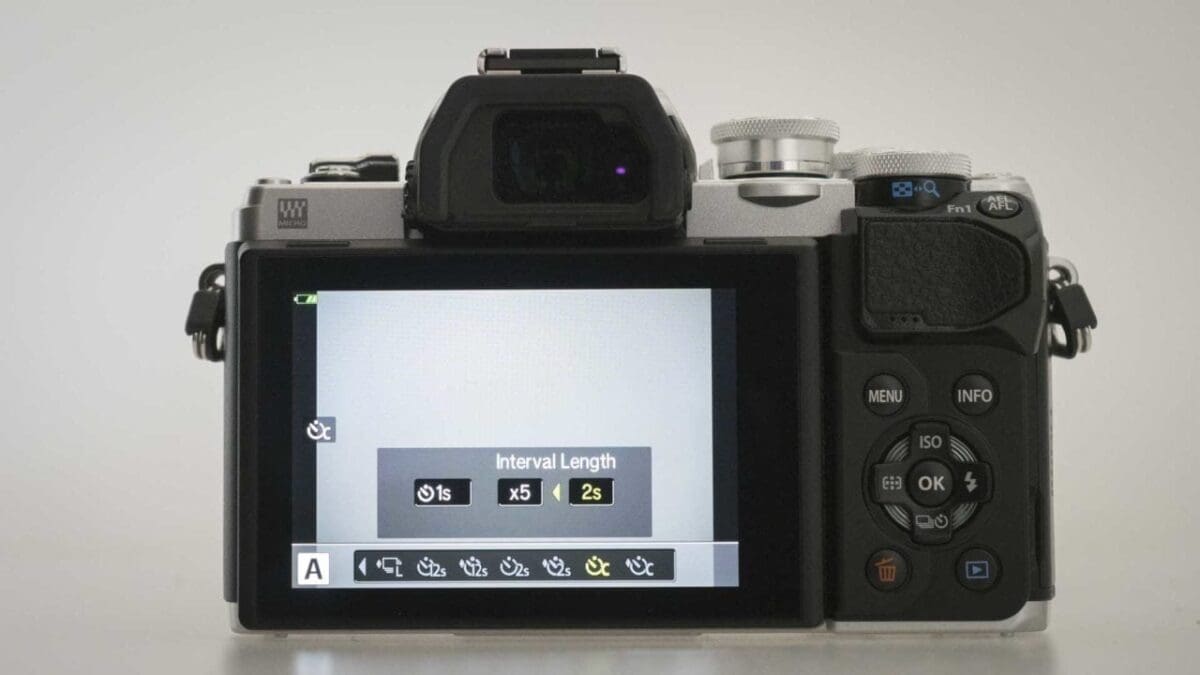
To take a sequence of images in quick succession, such as a race car or bird in flight, you’ll want to set your camera to its continuous shooting mode.
In continuous shooting mode your camera will fire the shutter for as long as you keep your finger down on the shutter release button (or until your memory card gets full!).
As an alternative, your camera’s Single-shot mode will record one image every time you press home the shutter button.
08 Exposure mode
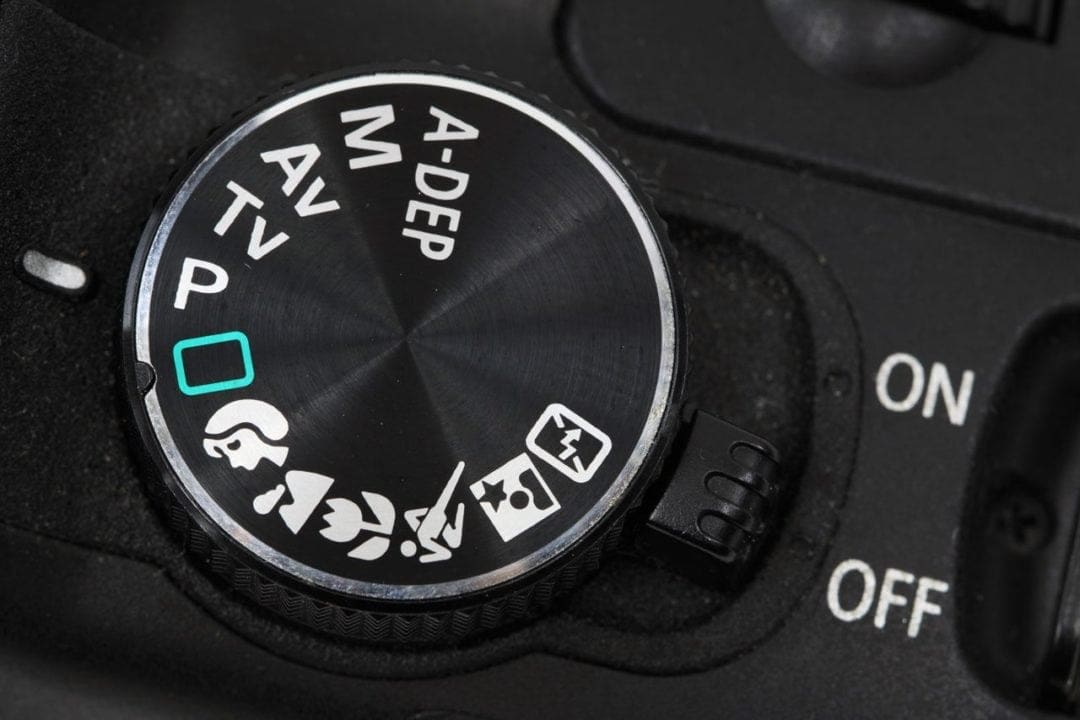
Your camera’s exposure mode settings give you all sorts of levels of control, from manual to shutter speed and aperture.
However, setting your camera to its Automatic or Program exposure mode tells it to decide which shutter speed and aperture settings are required based on the scene you’re trying to shoot, which gives you the flexibility to focus on the composition.
However, if you want to take a bit more control you could try using one of your camera’s Scene mode options – eg Portrait, Landscape – which adjust the exposure and colour settings to suit your subject.
As you gain confidence and experience you might find you want to take a bit more control over your exposure settings. This is where your aperture priority and shutter priority modes become valuable.
When you set your camera to its aperture priority mode you effectively set the aperture while the camera selects a shutter speed based on the light conditions, adjusting it to maintain the aperture you have set.
A small aperture (large f/number such as f/22) creates lots of depth of field so a lot of the image is in focus, while a large aperture (small f/number such as f/2.8) gives restricted depth of field so that only a small area of a photograph on either side of the focus point is sharp. This is called shallow depth of field.
Meanwhile, in shutter priority mode you get to set your desired shutter speed, and the camera sets an aperture in accordance.
In Manual exposure mode exposure mode you set both the shutter speed and aperture, using the camera’s meter indicator as a guide.
