Dolly zoom is one of the greatest manual video effects ever created and one that really demonstrates both photographic skill and theory. The dolly zoom technique was first used in the film Vertigo and you’ll hear people refer to it as either the Dolly Zoom or Vertigo technique, either is fine and recently I’ve heard others calling it something else.
Essentially, whatever you call it the outcome is the same. In this tutorial we’ll show you how to set up your camera to recreate the effect.
The dolly zoom effect creates an optical illusion and one that can only be created in camera. It works by using the optics to focus and zoom at the same time, but where the effect comes in is that the camera physically moves towards the subject at the same speed as the lens zooms out.
What happens is that the subject in the foreground stays at the same size while the background widens. In Vertigo, this was used to dizzying effect in the stairwell where the ground stayed the same size in the frame while the stairs distorted in the background.
Likewise in the film Jaws, as Roy Scheider playing Police Chief Martin Brody looks on in dismay as the infamous shark enjoys his lunch (before it’s raised in the comments, the shark is male in Peter Benchley book, un-gendered in the film), you can see the background distort behind him.
It’s a fantastic effect and great for adding dynamic interest and heightening tension, it’s also an effect that you can easily use with the latest cameras.
Traditionally it was a technique that was incredibly difficult to achieve, known as the dolly zoom because you needed a dolly. That’s just the first piece of kit you needed, you would also need to manually refocus, and zoom while moving the camera at the same time. In order to do this you needed a crew.
The first time I trialed the shot involved various bits of wire and string, along with a skateboard and the help of a couple of friends. My improvised rig used the skateboard as the dolly. I focused while two friends pulled the string to zoom the lens, and another pushed.
It wasn’t easy, but eventually it worked. Now the whole shot can be captured solo.
To make the Dolly Zoom effect there are three basic techniques all going on at the same time: focusing, moving towards the subject and zooming. Individually these are pretty simple techniques, but the challenge here is doing them all at the same time.
The latest cameras have several features that make this possible, such as built-in image stabilisation and continuous AF.
The stabilisation negates the need for a dolly, and your continuous AF handles the focus. So all you really need to do is worry about the size of the foreground subject in the frame.
How to shoot the dolly zoom effect
- Fit a zoom lens to your camera
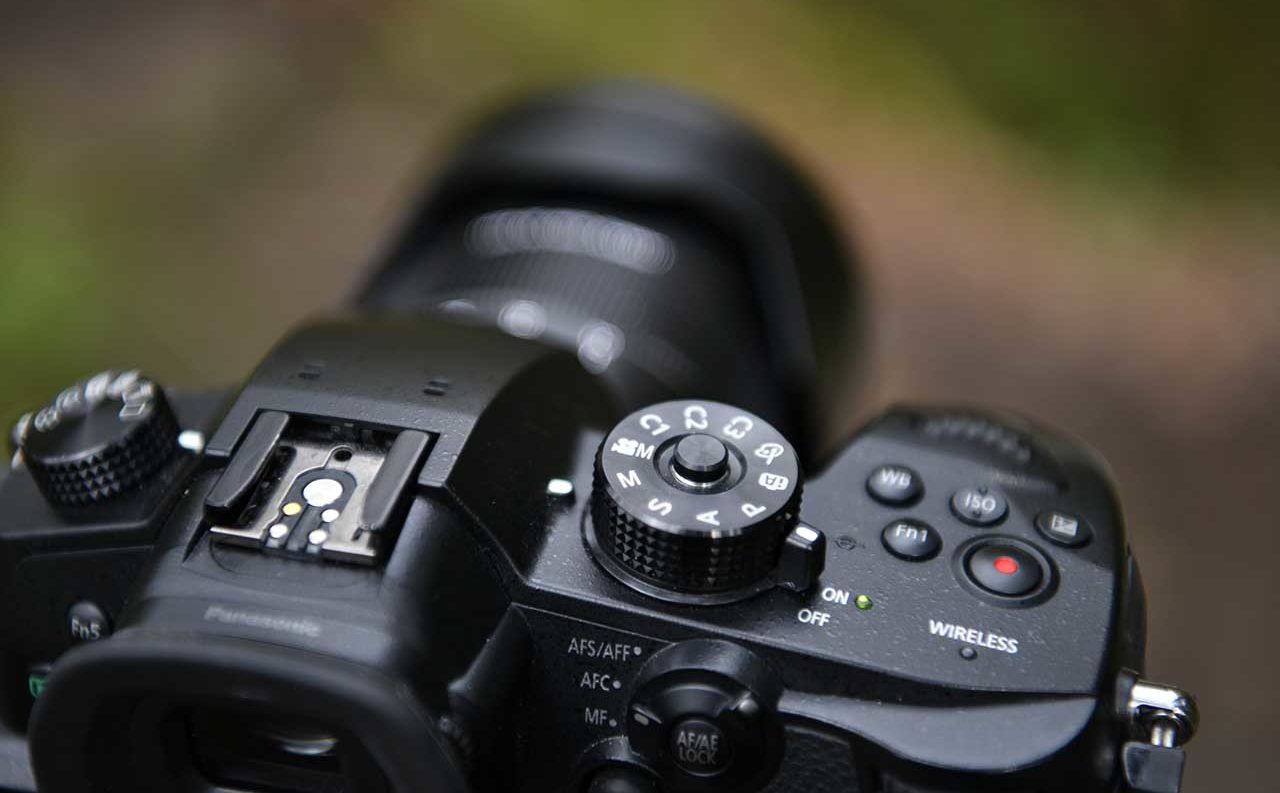
- Switch your camera to Movie mode
- Set the exposure with a medium to deep depth of field
- Set the AF mode of your camera to Continuous
- Set the AF point if not already to center
- Switch on Image Stabilisation
- Walk 4-5m away from your subject and focus
- Walk towards your subject slowly zoom out.
- Ensure the zoom matches your walking pace to keep the subject the same size in the frame.
- Review your footage.
Ok this takes some time to skill, but with the latest cameras this is a technique that you can’t afford to miss.


