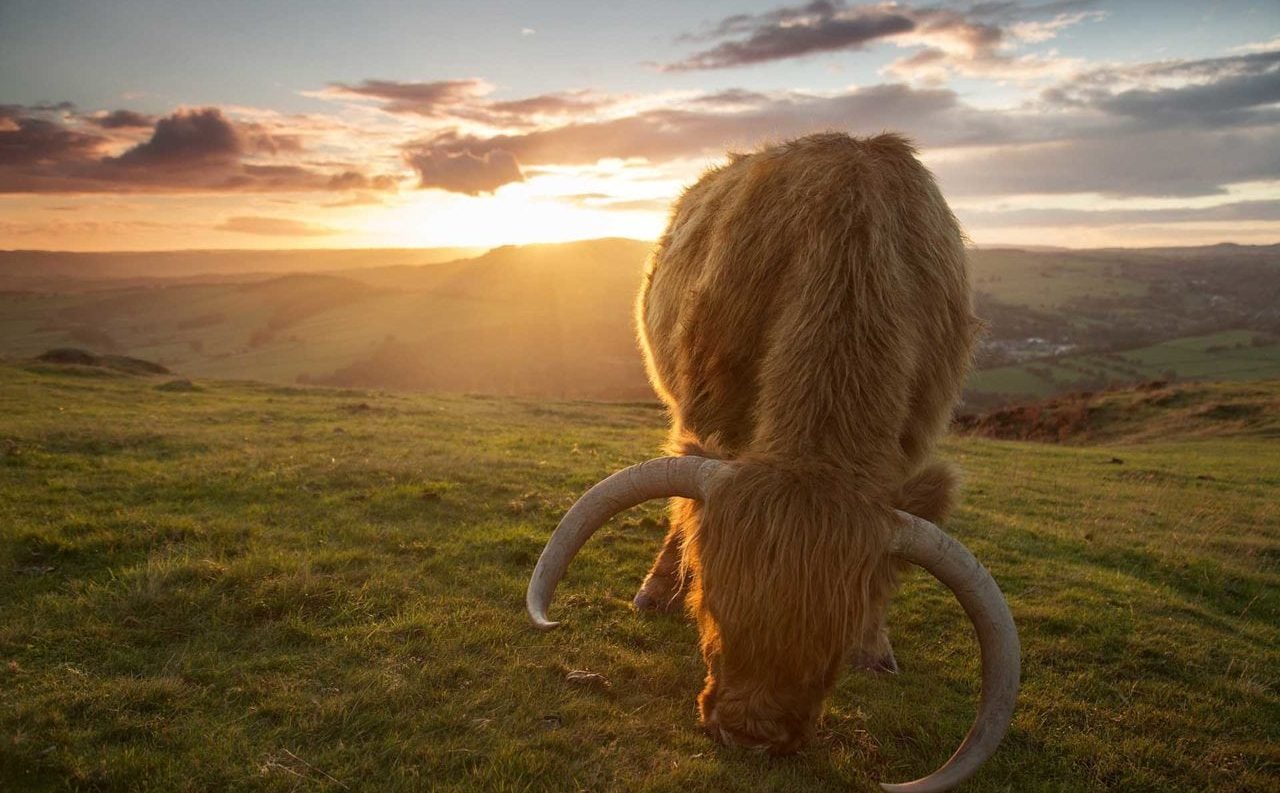
The phrase, ‘it’s all about the light’ couldn’t be more true than when you’re photographing wildlife. When used correctly light breathes life into your images and it’s never more true than when working with wildlife. In this article I explain how to make use of my favourite type of lighting: backlighting.
When starting out with photography, it may seem odd to shoot into the sun, with the subject perhaps looking too dark to capture anything worthwhile.
Many photography tutorials or tutors may advise that you ensure the sun is otherwise behind you, to ensure the subject is well lit for an appropriate exposure.
Backlighting can produce spectacular results if done right, but it’s not without it’s own challenges and it certainly doesn’t work on every occasion; sometimes autofocus can struggle to lock onto the subject, meaning manual focus or manual override can be essential to ensure you achieve that tack sharp final image. On top of this, you have to ensure you work with the light.
Backlighting tips: 01 Find the right angle
Shooting a backlit subject in the middle of the day may be quite a challenge, but during the ‘golden hour’ after sunrise and before sunset, you are much more likely to succeed in capturing this style of image.
Experiment with placing the sun directly behind your subject as well as to each side, but try to avoid capturing any sky in your image as the highlights are likely to blow out.
It can also help if you position yourself in the shade wherever possible, to reduce or remove any lens flare (that is of course if you don’t want it!)
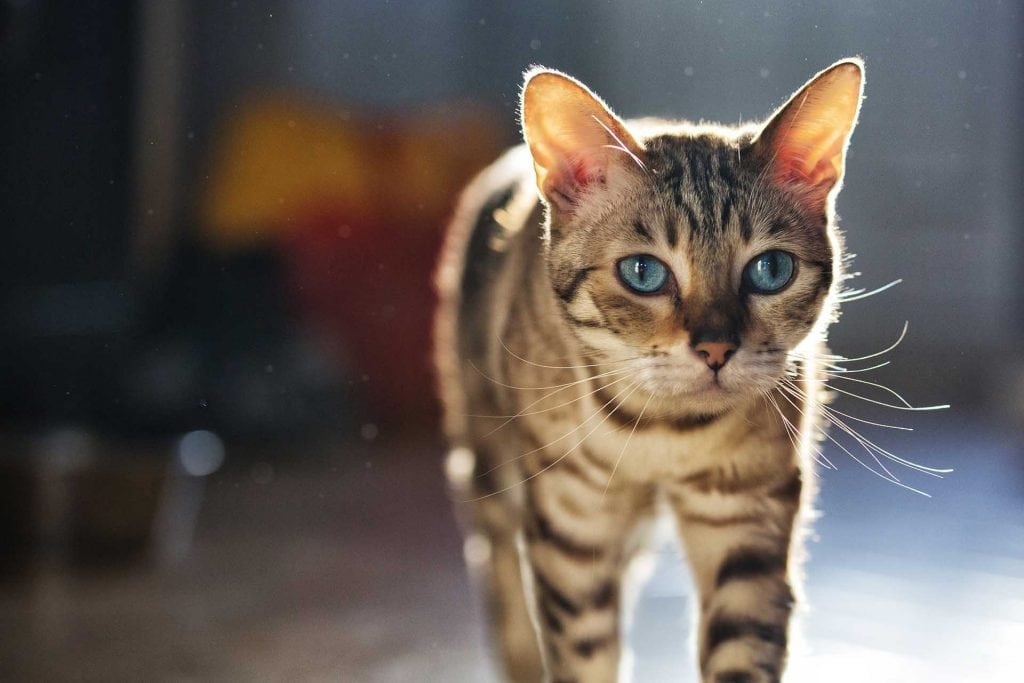
With the light streaming through a small window at the end of the hall, I was able to capture this image as my cat walked towards me. Canon 5D Mark III with the Sigma 105mm.
Backlighting tips: 02 Choose your subject wisely
Backlighting works well with many subjects, but some more than others. Animals with fine hair or translucent features such as feathers can pick up the fine contract and detail that would otherwise be missed if lit from behind you.
Backlighting tips: 03 Wait for the right light
Bright, harsh light can sometimes mean that backlighting and exposing your image correctly becomes extremely challenging. More muted light not only helps to expose your subject appropriately but also produces warmer tones and a more balanced image.
Find something to use between the light and yourself, such as hazy low clouds or trees to reduce the harshness of the light reaching you. Using a lens hood will also help but cutting down on flare.
SEE MORE: How to choose the best wildlife photography kit
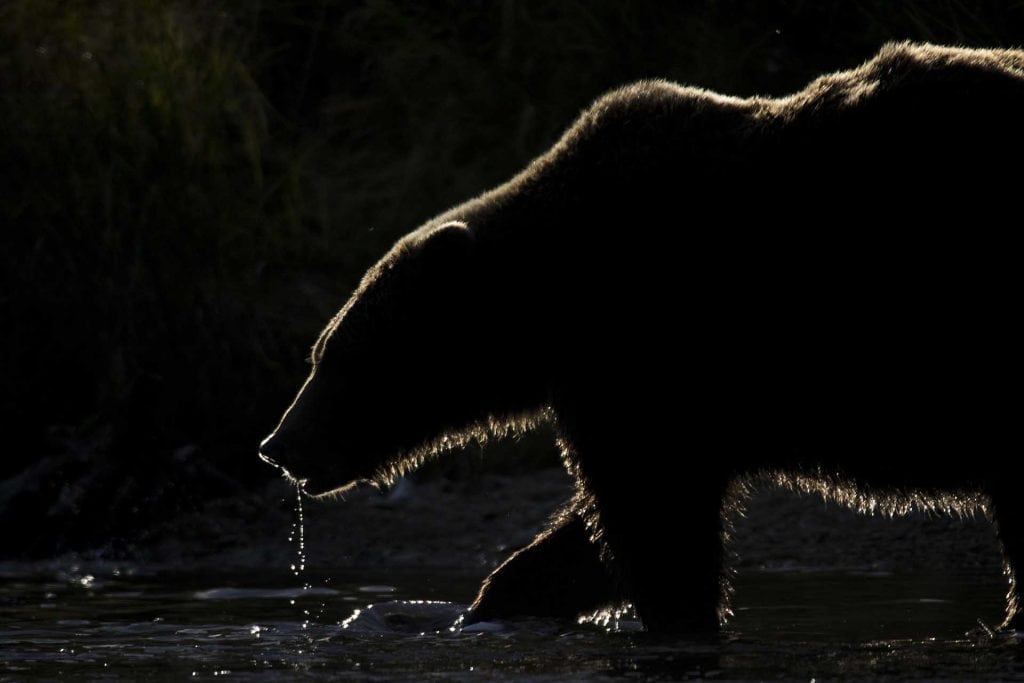
Having sought after this image for nearly two weeks whilst out in Alaska, the conditions finally rewarded me with a brief glimmer of sunlight before it set behind the mountains. By underexposing by 2 stops and timing the shot right, I was able to capture this female bear as she fished along the river. Canon 7M Mark II and Sigma 150-600mm S.
Backlighting tips: 04 Spot meter!
Although not essential, spot metering on your subject can help to achieve the appropriate exposure. Although not impossible, shooting a dark subject such as a Black Bear can be far more challenging than a Polar Bear, so ‘bear’ this in mind to avoid overexposing your background.
Shooting in raw is always advised in case you need to do some rescue work on your image for shadows or highlights.
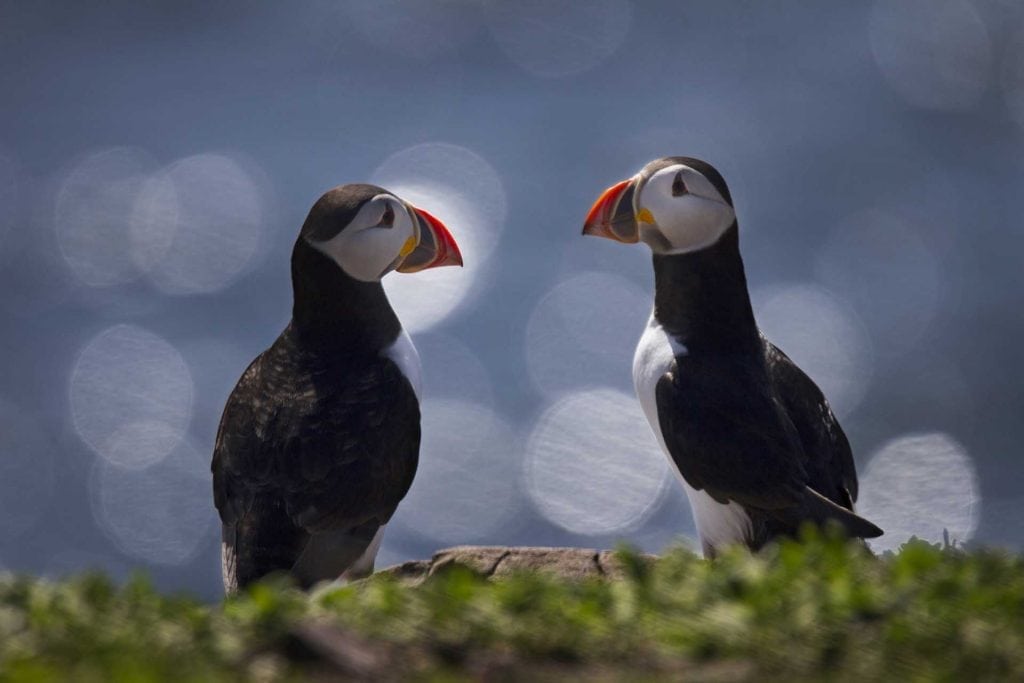
The sun was still quite high in the sky for this image, however this produced some attractive bokeh and lighting on the sea behind the puffins, creating a beautiful backdrop. I chose to use spot metering and to manually override the focus to achieve this image. Canon 7D and Sigma 150-600mm S.
Backlighting tips: 05 Bracket
Don’t be afraid to play with your exposure. Underexposing can produce unique lighting where overexposing can help if you’re struggling to expose correctly.
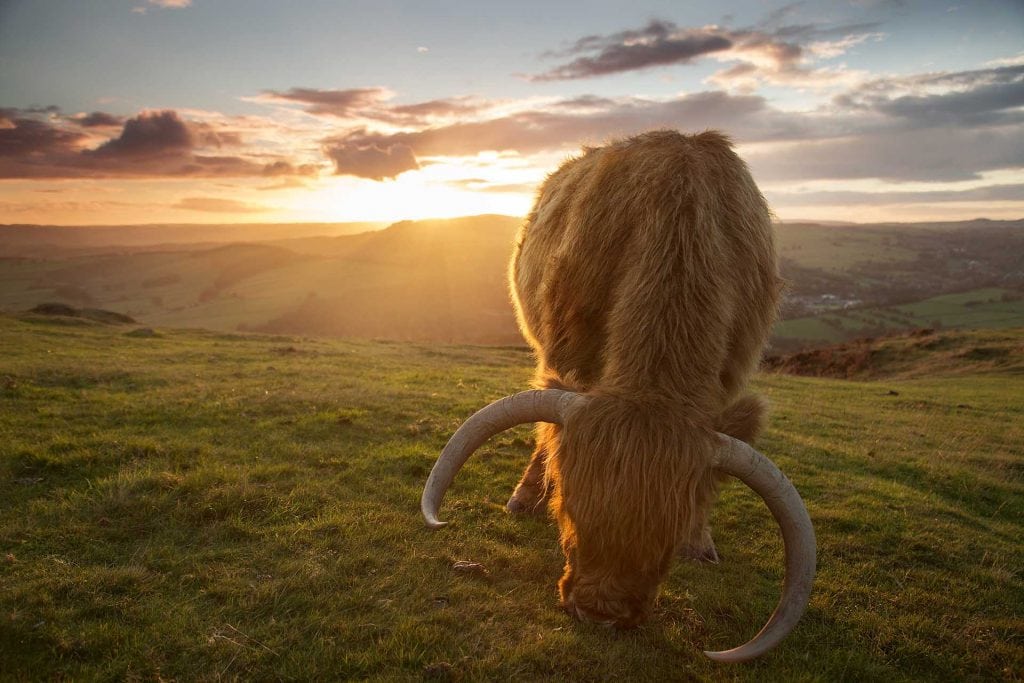
The clouds were filtered the light out just enough for me to be able to achieve a balanced exposure for this image. Canon 5D Mark II and Canon 24-105mm
READ MORE
Long exposures: photographing Antony Gormley’s Another Place at Crosby Beach, Liverpool
How to choose the best wildlife photography kit
