Compact, accurate light meter for photographers and videographers needing reliable lighting and colour measurements
What is the Datacolor Spyder LightColour Meter?
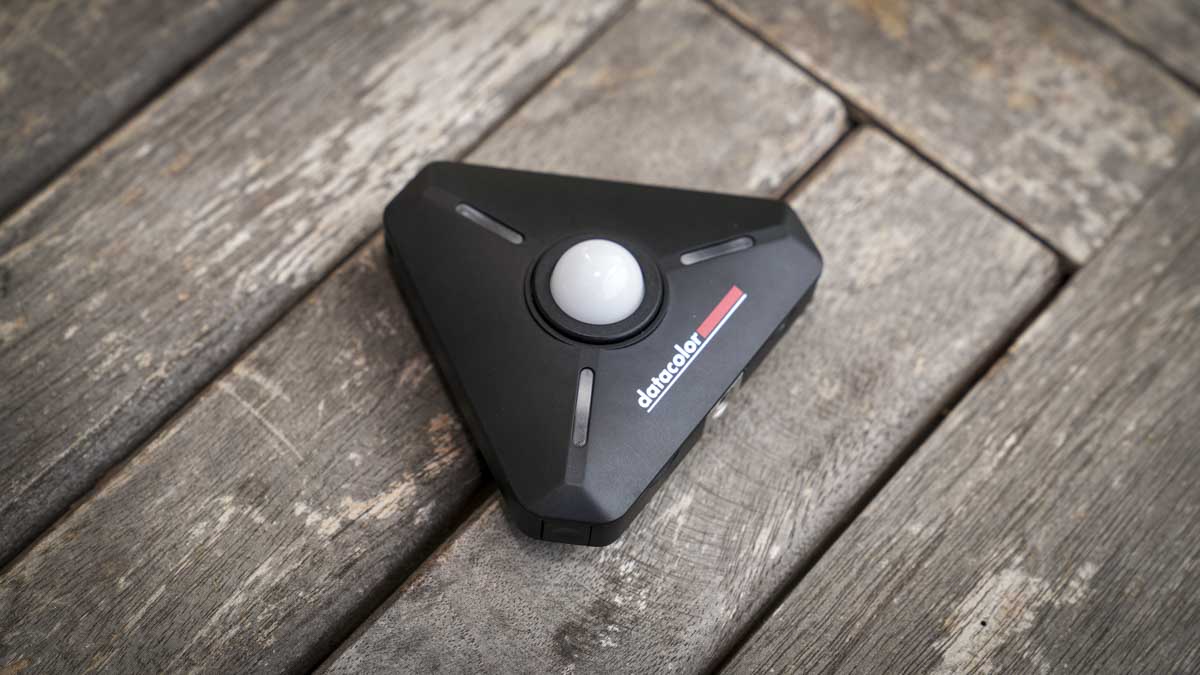
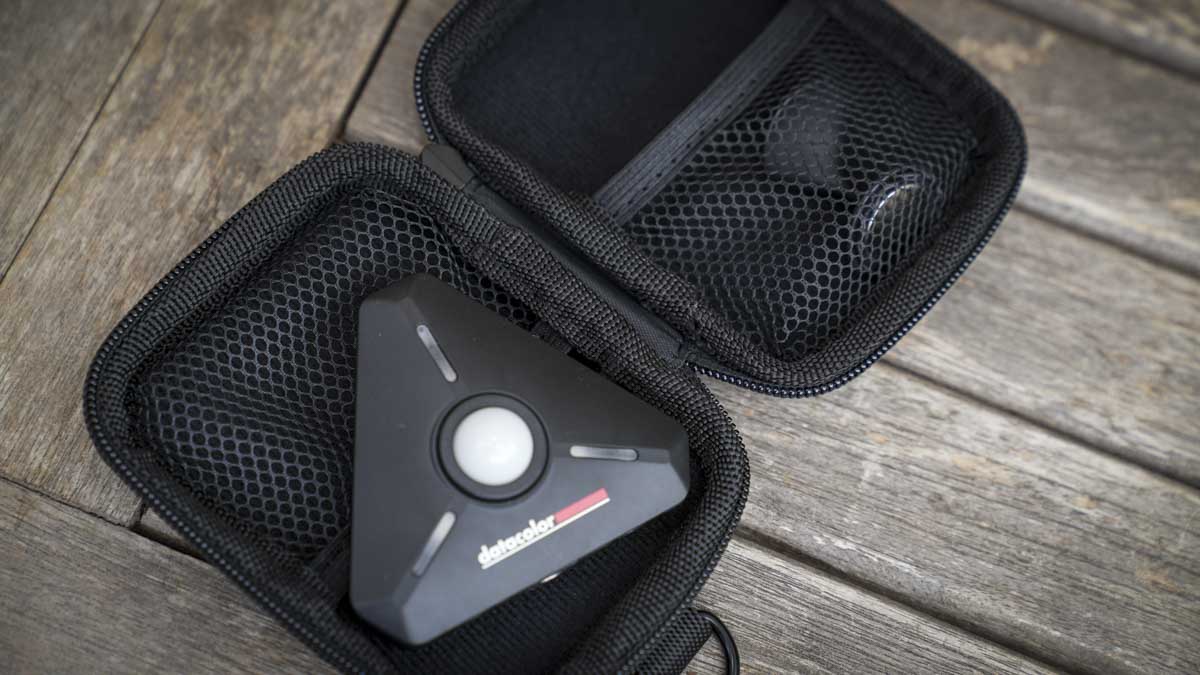
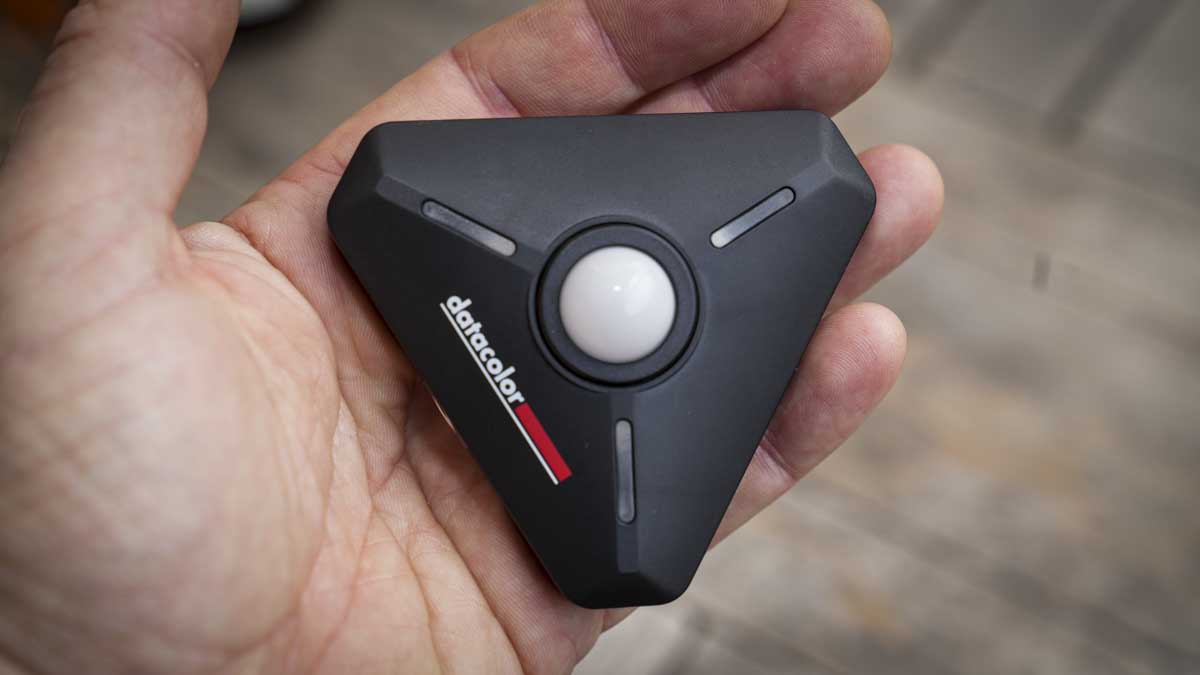
The Datacolor LightColour Meter is a photographic light meter and colourimeter in one. On the exterior, it looks to be an extremely simple device with a triangular shape and arriving in its own nice semi-protective case to keep it clean and protected.
It’s powered by 2 AAA batteries, which means that wherever you are, there’s no worry about the battery being drained when you arrive, and as AAA batteries are readily available from almost any shop, you can quickly replace them if they run out, something that, as a professional, really does give me peace of mind.
When it comes to what it does, it’s designed to measure light, the brightness and colour temperature in any area of any given scene.
Essentially, you place the Datacolor LightColour Meter into the scene, connect it to the companion app, and then it’ll give you all the information about how the light is falling on the scene at that particular moment.
When shooting video, this is extremely helpful. However, it does more than that; like a traditional light meter, you can also use it for flash. It’ll essentially tell you the exposure setting that you need for your camera, all very clearly and neatly laid out within the companion app.
If you’ve used a light meter in the past, you’ll know this is pretty much where these devices usually end. However, here, because of that integration with the companion app and Datacolor’s long history of producing calibration devices, it goes the extra step and will also measure colour temperature. In the same way that you measure the light, you can then measure the colour temperature, and this is instantly displayed in the companion app, allowing you to adjust your white balance settings accurately to match the scene. Obviously, this feature can also be used for a wealth of other applications.
The beauty of the Datacolor LightColour Meter is its pure simplicity, and it’s aimed at the high-end enthusiast and professional market as a device that can be used on site to quickly and easily evaluate both the available light, flash power, and colour temperature within the scene, and adjust your equipment accordingly to ensure that you capture the best possible image.
Specification
- Type:: Light and colour meter
- Connection:: iOS Lightning or USB-C
- Sensor:: Photodiode and colour sensor
- Readouts:: Lux, foot-candle, Kelvin (CCT)
- Size:: 80 x 70 x 28 mm
- Weight:: 52g, 77g with batteries installed
- Power:: 2 x AAA
- Mount:: 1/4-inch
- Compatibility:: iOS and Android devices with a dedicated app
Build and Handling
The design of the Datacolor LightColour Meter has been created to be as easily transportable and accessible as possible. Whilst it comes in a small semi-hard case that you can keep in your camera bag, so it’s always ready to go, it’s also highly pocketable. There is also a lanyard loop that enables you to attach a lanyard and hang it around your neck so it’s always on hand.
In the box, along with the light meter, there’s also a handy handheld mount that magnetises onto the back of the unit and then slips between your fingers, making it comfortable to hold. There is also a quarter-inch thread on the base, enabling you to quickly pop it onto a tripod or other mount so that you can take light readings anywhere with ease.
When it comes to size and weight, it measures roughly 60 x 70 x 28 mm and weighs 52g, or 77g with the batteries in place. In this test, I’ve used some Amazon basic batteries, and those seem to provide enough power for several weeks’ use.
In terms of design, the shape is triangular with a small light meter dome in the centre and three status lights surrounding it. On the back, you have the magnetic clasp that enables you to add the handheld support, a lanyard attachment at the top, and the quarter-inch thread on the base.
There’s also a 3.5mm jack cable for flash sync, which is extremely useful.
One thing that stands out is just how easy this is to use. Once you’ve installed the 2 AAA batteries and powered it on, the lights flicker to show that the device is active. You then have the dome, which can be pushed down or up depending on the type of reading you’re taking, and you can then go straight over to the LightColour app, click “Devices”, and it should almost instantly connect to the light meter. At that point, you get to the homepage that has all of the different options laid out.
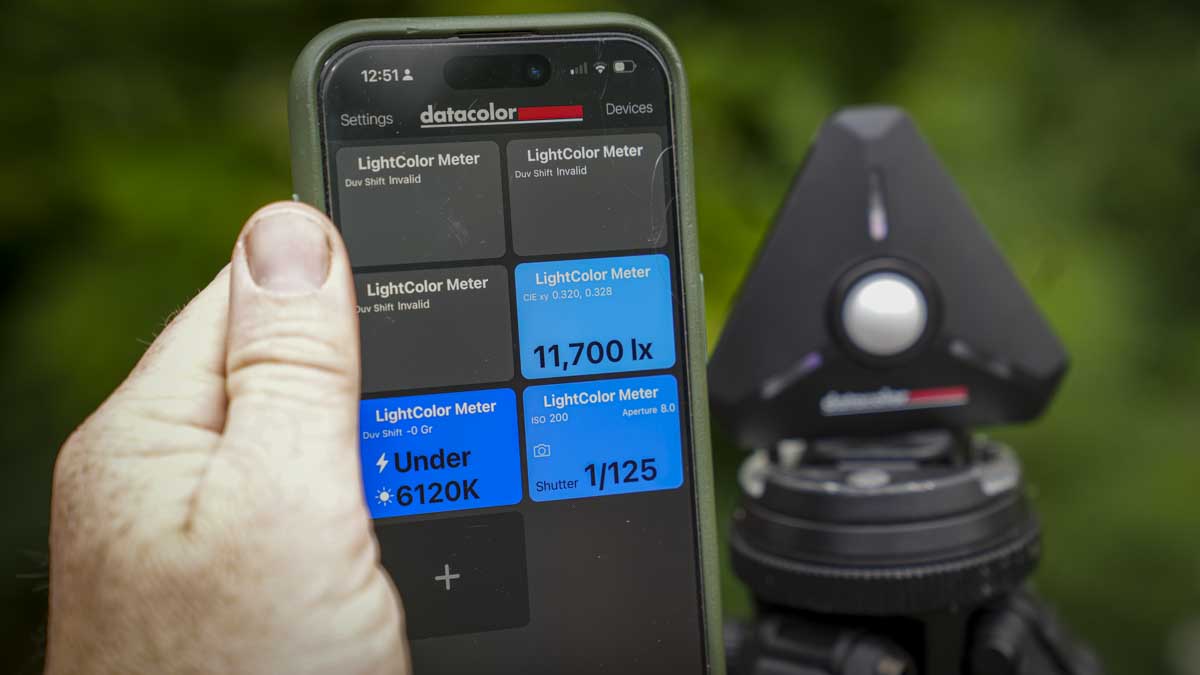
On my homepage, I have the LightColour Meter showing the ambient colour temperature, the ambient light, and the camera exposure settings based on available light at ISO 200.
Through this companion app, which is available for iOS and Android devices, you get full access to the range of features, and as you delve into the app, everything is intuitively laid out. You can customise it to your exact needs, depending on whether you’re a videographer or photographer.
Features
Light and colour meters are generally relatively simple-looking devices, despite the sophisticated measurement electronics hidden within. If you have a quick check online, you’ll see just how expensive many of these units can be. So, when you start to look through the feature set of the Datacolor LightColour Meter, the first thing that strikes you is that whilst that $300 price does initially seem expensive, compared to more traditional rivals, it’s positively cheap.
The other major feature of the Datacolor LightColour Meter is the fact that it does the job of two devices in one; it’s both a light meter and a colour meter, which is quite unusual. It’s able to measure both the brightness in lux and the colour temperature in Kelvin (CCT).
Datacolor has kept the device really simple. There’s no LCD or display built into the design of the main unit; it’s purely the meter, with all information sent directly to the compatible iOS or Android companion app.

Once the app is open, it’s very quick and easy to connect the devices via Bluetooth. Once you’re in, you have a range of settings, including some really useful “how-to” guides showing the applications this light meter can be used for. You can also adjust a lot of the options and settings, including the units (lux to foot-candles), and adjust the exposure steps from 1/10 to 1/3. There are also options for colour shift units, video shutter modes, and the ability to add your own user data, including logging the settings you’re using so you can review them later.
Essentially, if you have a studio environment that you set up and use with the same lighting, this is a quick and easy way to log those within the app so that you can recall them later, speeding up the setup for your next photo shoot or video interview.
Through the app, you can click into the main section, which starts off with the Light and Colour Meter exposure settings. This can be used for either photo or video, with an option for each. It’s interesting that whilst the interface remains much the same, it actually adapts to its intended audience, for example, “shutter speed” for photographers changes to “angle” for videographers. There’s also the option to input ND filter values if you are a videographer, giving a clearer picture of how the sensor is seeing the exposure.
There are also features such as “Simple Colour” that show you the ambient colour temperature and colour shift, which, for videographers, is especially important. One thing I found during testing was that I was able to double-check the colour temperature of all my lights in an interview situation to make sure they matched perfectly.
Mixed lighting situations can still cause issues, of course, but at least with the lights you can adjust, you can get the vast majority of your lighting to match, and then set your camera’s white balance correctly to minimise the effect of troublesome mixed lighting. There are also options to see the colour balance, colour graph and chromaticity, all useful, including the ability to monitor either ambient light or flash light, which is essential for photographers.
With the flash sync cable, you can ensure that the light meter is reading the flash rather than the ambient light, which is extremely useful and essential for any studio photographer.
Ultimately, when it comes to the features, this is a true next-generation light and colour meter that brings all the features and functionality of more traditional units into one simple, small, lightweight device, ready to be used via the companion app.
Performance
Getting started with the Datacolor LightColour Meter really couldn’t be easier. You simply pop 2 AAA batteries into the unit, then pop the top back on, with it all securing in place with a magnetic clasp that holds it tightly. This also means there’s no faffing around with tools if batteries need to be replaced.
One of the things I really liked about the LightColour Meter was the fact that it takes AAA batteries. As you can pick these up from almost any supermarket or shop, there’s never any worry about forgetting to charge them before you leave for a job; you can always grab additional batteries on the way.
With battery life, I’ve been using this for a few months now to test how good it is, and it’s reached the point where it’s just a general piece of kit rather than something I’m consciously testing for review. This did unfortunately delay me posting this review because it simply became something I used day-to-day, and I forgot there was a time when I didn’t have it.
So, with batteries installed, the case back on, we’re all set and ready to go. The next part is to connect to the Datacolor app, simply called “LightColour”, which is available on both iOS and Android. Once that’s downloaded, a quick push of the power button on one of the edges switches the device on, the LED lights flash to show it’s ready to connect, then back over to the app, we click “Devices” in the top right, connect, and it should recognise the device without issue.
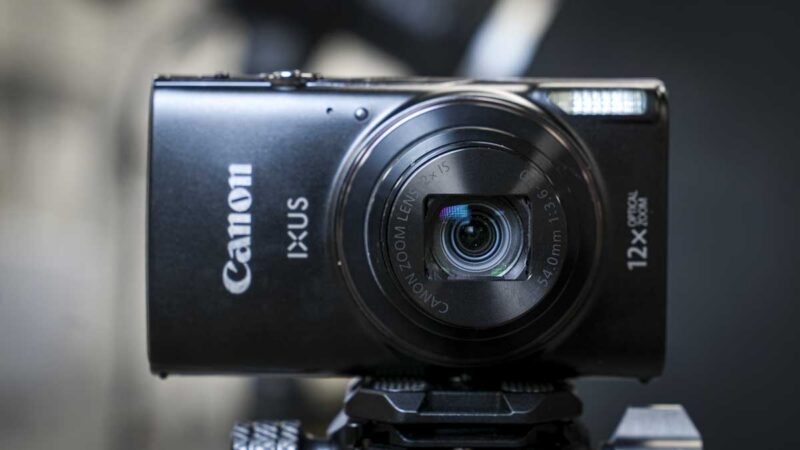
With setup complete, if we just want to take a light meter reading, we look at the main screen. By default, it will display the light reading, the colour temperature, and the recommended exposure settings. As I sit here now writing this review, the ambient light is 583 lux, the colour temperature is 4,880 Kelvin, and if I were to use my camera to take a photo right now at ISO 200 with an aperture of f/8, the shutter speed would be 1/6 of a second.
I double-checked with my Sony A7 IV using those exact settings to take a photograph of the Light and Colour Meter sat on the desk next to me, and the image was perfectly exposed.
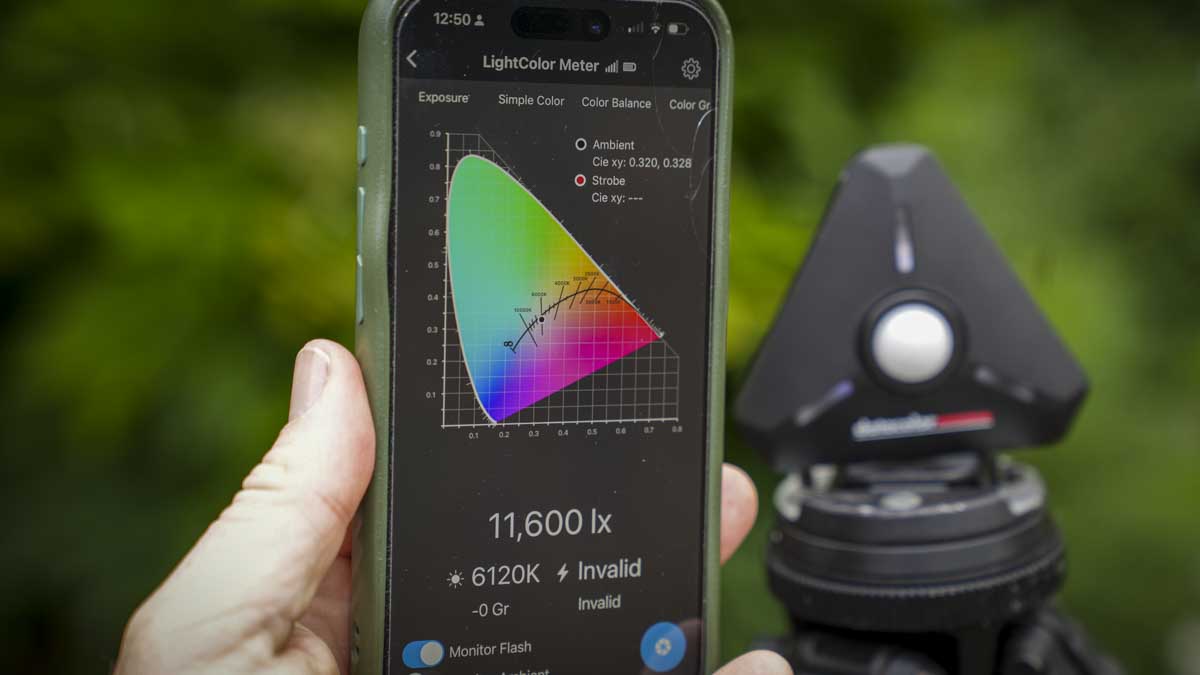
If I tap into one of those sections, it takes me directly to either the exposure meter or colour information. For example, tapping on brightness gives me the colour chart showing where I am on the spectrum, the brightness reading, and the option to monitor flash or ambient light with two simple sliders. If I set it to monitor flash, using a Godox V100 at full power bounced off the ceiling, it returned a result of ISO 100 with the aperture set to f/8 and shutter speed at 1/200, which was spot-on.
In a studio situation, everything comes together nicely. With a three-light setup for a standard portrait, holding the light meter over to the subject, I can quickly test different areas for illumination and adjust exposure accordingly. The results from the app are absolutely correct and very quickly enable me to get the right settings for the flash without guesswork.
If I want to kill highlights on skin, I can get the subject to place the light meter over that area, take a quick reading, adjust, and shoot again. It’s a fast way to work.

Switching to video and interviews, because the device is so small, I can get the interview subject to hold it for a few seconds to read the ambient lighting. Once I have everything set, I can adjust brightness to minimise camera noise and speed up the setup process.
In general, for day-to-day studio and flash work, the Datacolor LightColour Meter is about as good as it gets, giving you quick, accurate feedback you can apply straight from your phone. Because you can pinpoint the position of the meter over the subject, it’s more accurate than in-camera metering.
For video work, I didn’t initially realise how useful it would be. I started using it to balance exposure, but then in a three-light interview setup with a grid and large diffusion panel plus a backlight for separation, I was able to set exactly the three-stop difference I wanted between each side of the face.
In one interview, the ambient light in the room couldn’t be turned off or adjusted. I took a reading of that ambient light’s colour temperature, matched it with my Nanlite lamps, then double-checked that they were producing the correct temperature. Monitoring the feed on the Atomos Ninja V, I was genuinely surprised at the improvement in image quality from taking that extra step.
Across several commercial video projects and camera gear reviews, I’ve been impressed at how quick and easy the Datacolor LightColour Meter is to use. It’s small and light, easy to position in a scene or hand to a subject, and the data goes straight into the app for instant use.
While I’m being positive here, I do have a couple of small things I’d like to see added. First, the ability to save presets, for example, my studio portrait setup is fairly consistent, and it would be great if I could store those readings in the app so that someone else could set up exactly how I like it. Second, a way to list out different equipment, for example, I have a mix of Rotolight, Godox, Nanlite, and other lights, and “5600K” on one isn’t always the same on another. Being able to store tested readings for each would elevate the workflow further.
Otherwise, considering it’s such a small, simple-looking device, what it enables you to do for both photo and video setup is outstanding. While light meters are aimed at high-end enthusiasts and professionals, and many of their functions have been taken over by modern cameras, this product adds real value by enhancing what cameras can do and filling in gaps that were previously left to guesswork or cumbersome processes.
Final Thoughts
For me, the Datacolor LightColour Meter is one of the most essential pieces of photographic kit I’ve ever reviewed. It’s small, lightweight, and easily portable. I have one in my bag all the time and, if for some reason the AAA batteries do run down, I can just nip to a shop and pop new ones in, although battery life is consistently excellent.
On-site at several photo and video shoots, this small device really stands out. Even with Digital photography, where you would think that it has limited functionality due to today’s digital cameras having such accurate light metering, it still comes in use. For subject-critical images where colour is crucial, or where lighting needs to be absolutely spot-on, being able to spot meter the shot using the Light and Colour Meter offers a huge benefit.
An example of this was during a product shoot where the subject was in front of a background, and trying to balance the exposure was proving tricky. For one reason or another, we couldn’t figure out why. Popping the light meter into the problem area revealed that the exposure was about five stops greater than just a few centimetres to the left. Looking closer, we realised part of the blinds was open. While the difference wasn’t obvious to the eye, it was enough to cause a blowout. A quick adjustment to the setup solved the problem and allowed us to capture the images we wanted.
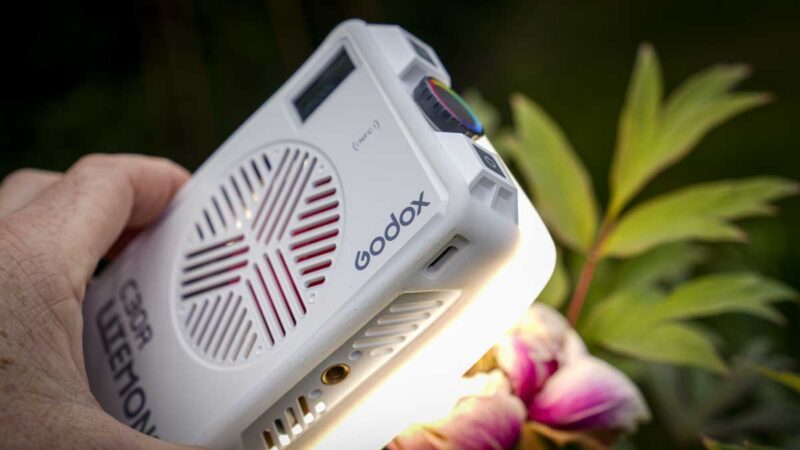
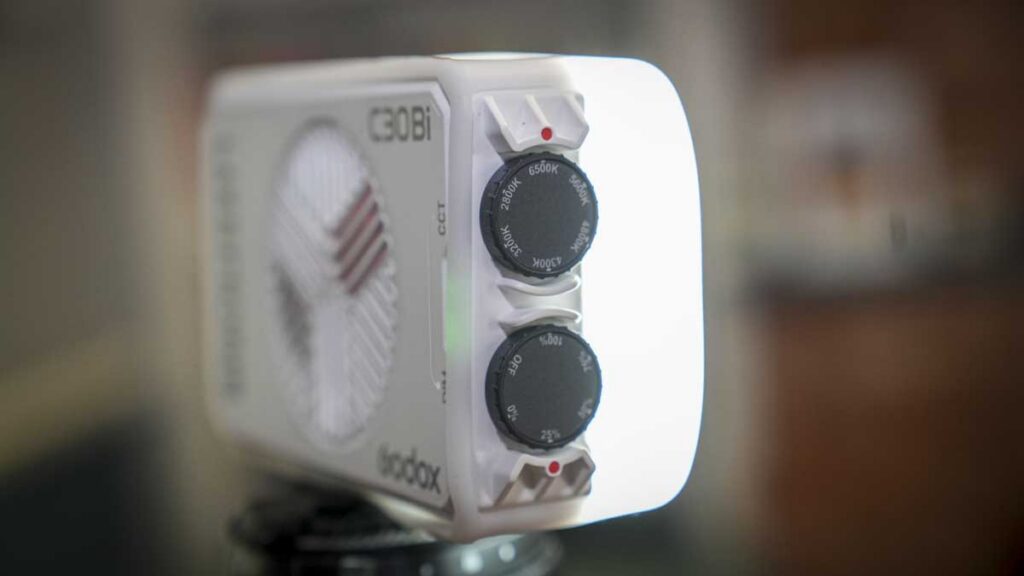
Likewise, at another shoot photographing products for a local shop where colour accuracy was important for their online presence, I was able to use a Datacolor chart and then check the lighting to ensure everything was correct and that all lights were the same colour temperature.
Interestingly, although all the lights were from the same manufacturer, the light they produced wasn’t the same temperature at different power settings. Thankfully, the lights had temperature control, and we were able to adjust all three lamps so that the colour temperature at 25%, 50%, and 75% power was identical. Using the Light and Colour Meter made this quick and easy, without needing to open Photoshop and colour-pick from images.
The more you use the LightColour Meter, with its ability to read both light and colour, the more you realise how useful it is, and how wide its applications are for both photography and video.
As a camera accessory, if you’re seriously into photography or video, this is an absolute must. It’s one of the most ingenious and useful photography tools I’ve used and has finally replaced my old Gossen light and colour meters.