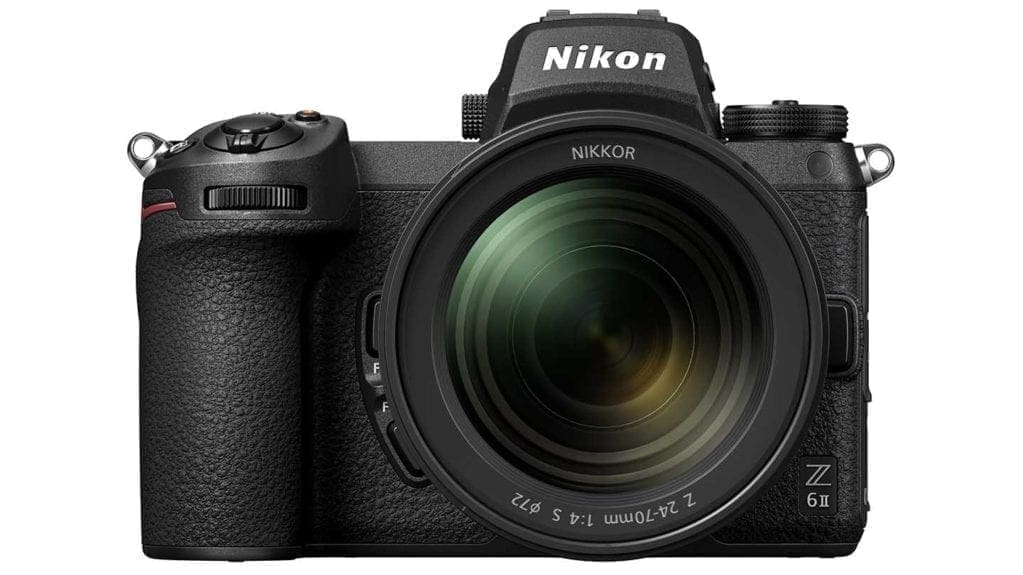
As the Z6II has the same sensor as the Z6, it’s no surprise that it produces near-identical images. However, the autofocus improvements and faster continuous shooting rates have a positive impact.
As the all-rounder of the two new cameras, the Z6II has a lower resolution than the Z7II, which means each pixel gathers more light. As well as benefiting image quality, this plays a part in the autofocus performance.
I found both the Z6 and Z7 were capable of shooting sport, but the Z6 copes just a fraction better. The Z6II makes another step up again. It’s not a huge difference, but the Z6 II is a bit more responsive and snappy.
Nikon Z6 II Image Quality
While some photographers may wish for the 45-million-pixel count of the Z7II, it’s worth remembering that the Z6II images are 6048 x 4024 pixels. That means that at 300ppi they are 51.2 x 34cm or 20.2×13.4inches in size. That’s plenty big enough for most photographers.
The Z6 II also controls noise is very well. Even images shot at ISO 3200 only have a suggestion of noise when they’re viewed at 100% on-screen.
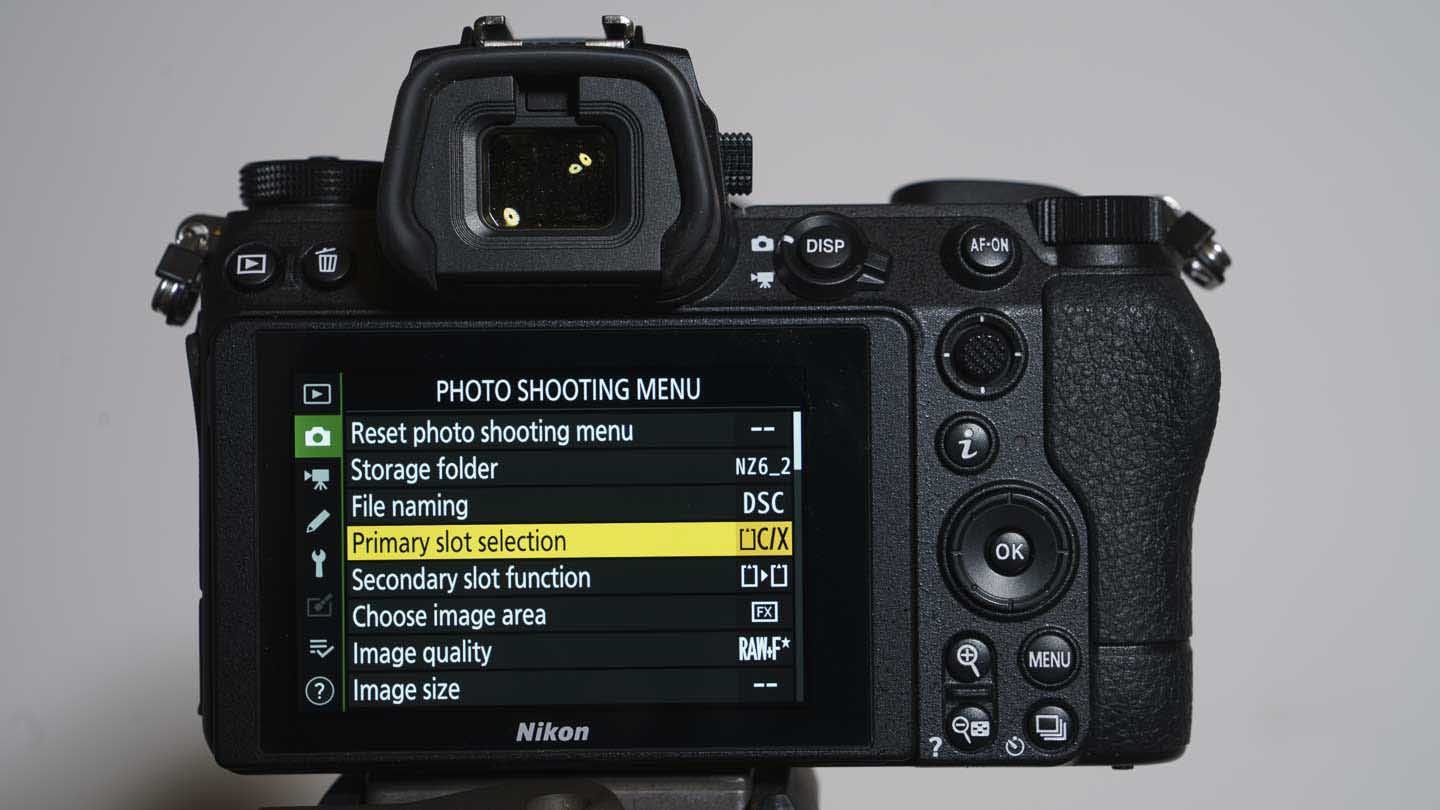
Adobe has still to update Camera Raw and Lightroom to be compatible with the Nikon Z6 II, so at the moment the only way to process its raw files is to use Capture NX-D that is free to download from Nikon. That doesn’t have the most sophisticated noise reduction controls, you’re just able to switch between the camera settings (High, Normal, Low and Off). Generally, I find using the Low setting produces the best compromise between noise and detail visibility with high-ISO raw files.
I’d aim to make ISO 25,600 the maximum value I use with the Z6 II. Going above that value results in some loss of fine detail and the Jpegs can look a bit mushy in places.
Exposure
One of the best things about using a mirrorless camera is that you can preview the exposure with the camera settings applied in the viewfinder or on the screen. This means that you rarely need to switch away from the default matrix metering system.
With Nikon Z-series cameras, I like to set the manual focus or control ring on the Z lenses to adjust exposure compensation. This enables me to get the images looking just as I want it with a twist of the lens ring.
As I mentioned earlier, in most instances, the Z6 II delivers a well-exposed result as a result of the settings I selected based on my view in the viewfinder. There are a few images that are a little bit darker than I’d like, but on the whole, they’re good.
Colour
Generally, Nikon’s Standard Picture Control mode is a good default setting, and it works well combined with one of the many Auto white balance options. However, Nikon offers an extensive array of Picture Controls and I enjoy using some of the creative options to get the Jpegs looking as I want it at the shooting stage. This dovetails nicely with having an electronic viewfinder because you can scroll through the options until you find one that does what you want.
Helpfully, if there isn’t a Picture Control that does exactly what you want, you can create it.
Dynamic range
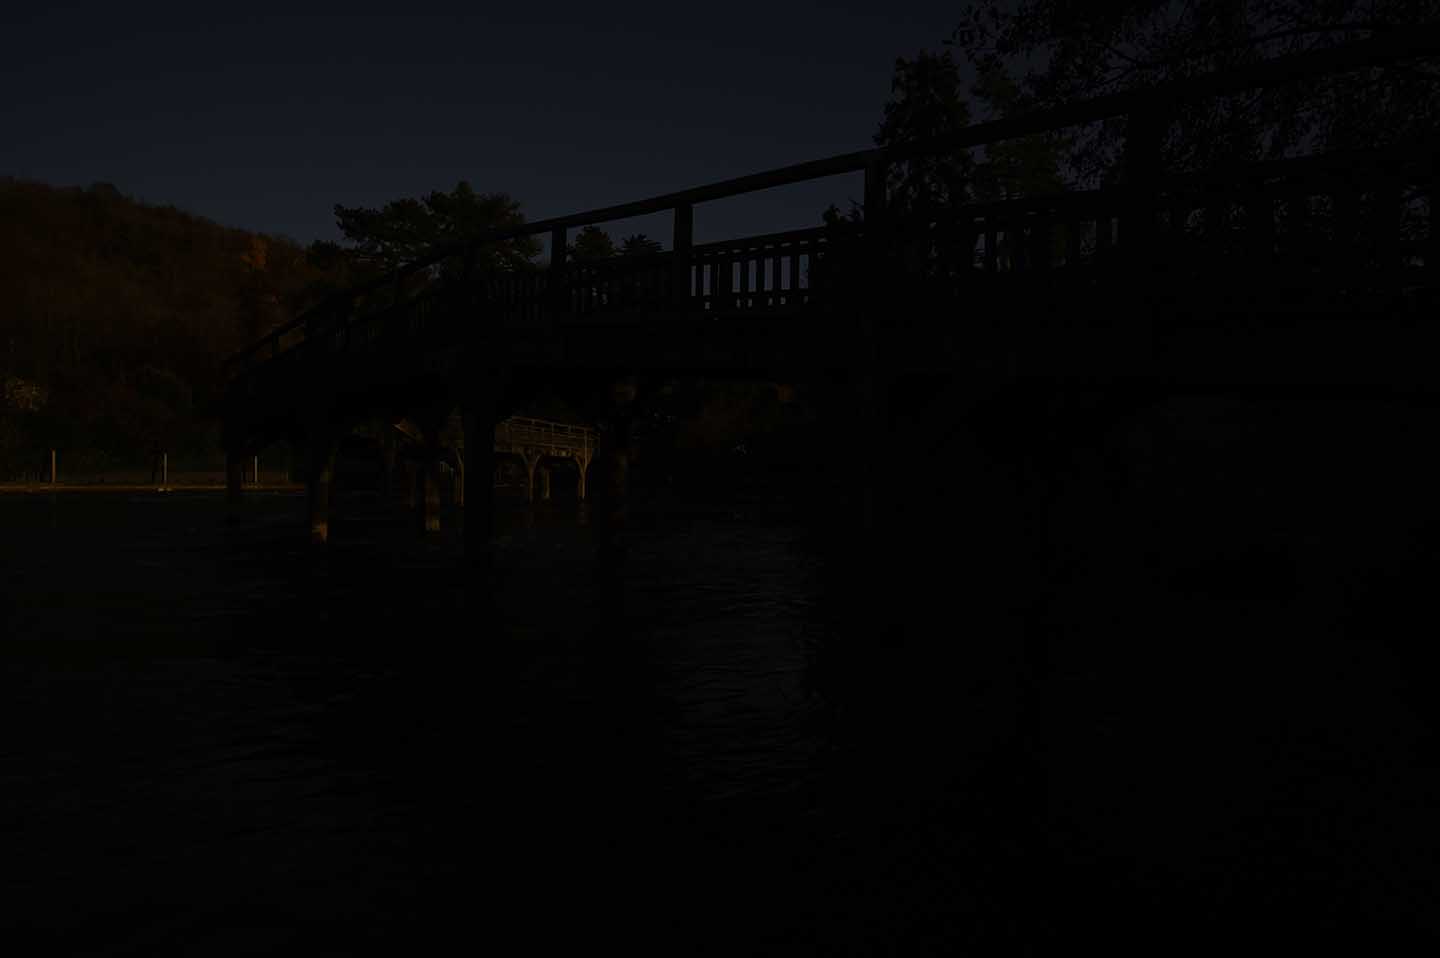
Like the Z6, the Z6 II’s ability to capture a wide range of tones and withstand post-capture adjustment is impressive. I have found that it’s possible to brighten a low-sensitivity raw file by as much as 5EV and get a very acceptable result. That’s an adjustment that’s outside the range offered by the average graduated neutral density filter.
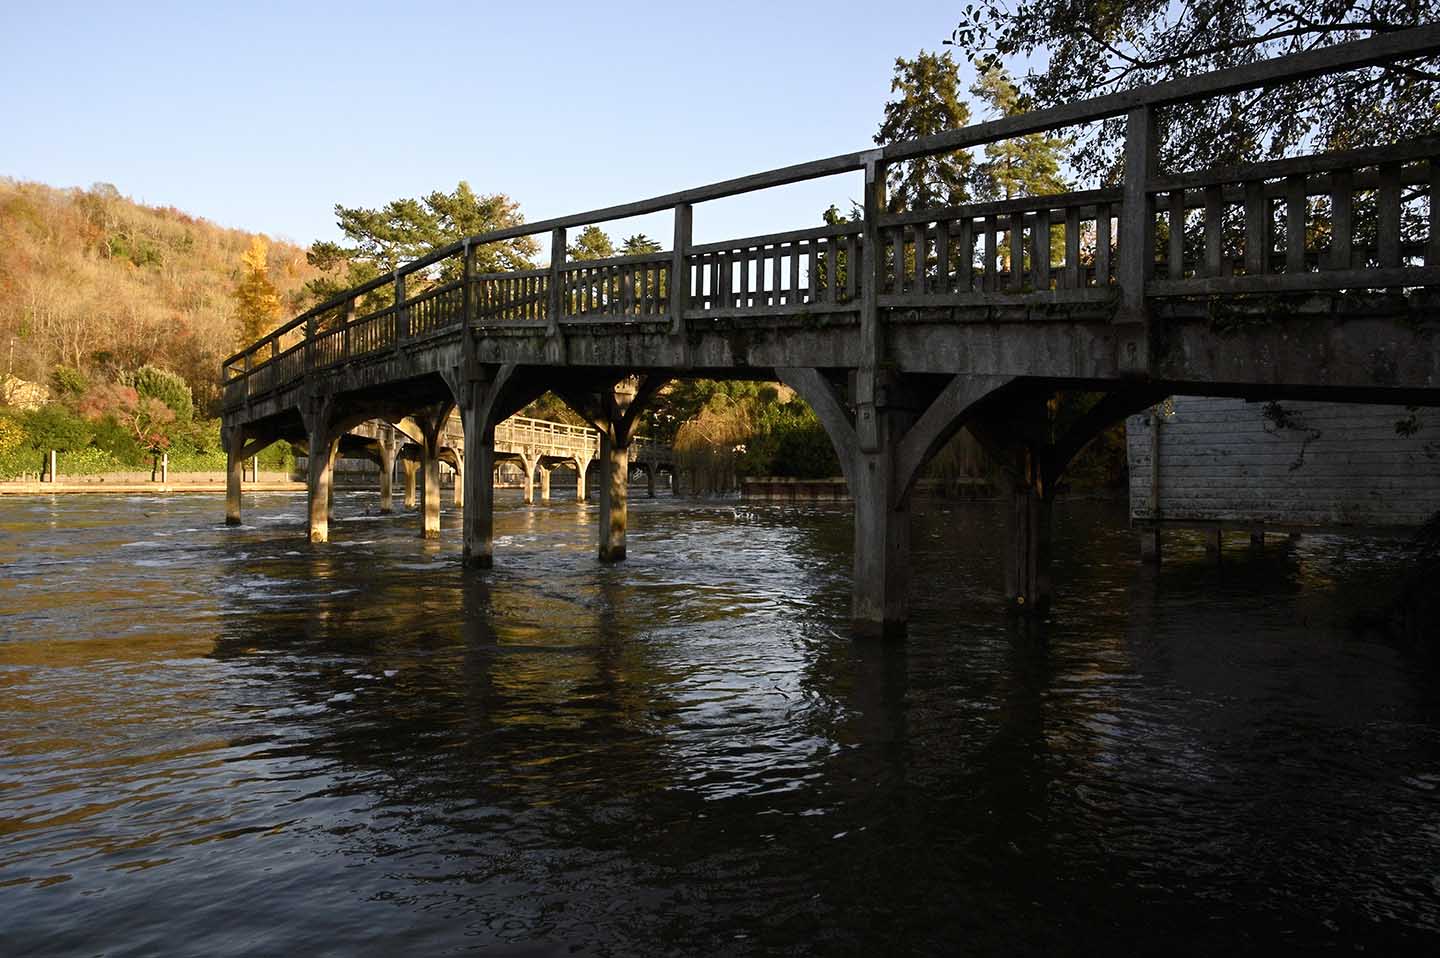
Scrutinising the shadows of a deliberately underexposed ISO 100 raw file that I brightened by 5EV in Capture NX-D (see below) ), I can see a slight hint of granular texture in some areas at 100% on-screen, but there’s no banding or chroma noise and the colours look great. It’s an impressive result.
-
-
Original
-
-
Brightened by 5EV
Nikon Z6 II Autofocus Performance
As usual, my first subject for our Nikon Z6 II review was Otto, my dog. That’s especially relevant as Nikon has been working on its Eye AF technology for the new Z6II and Z7II.
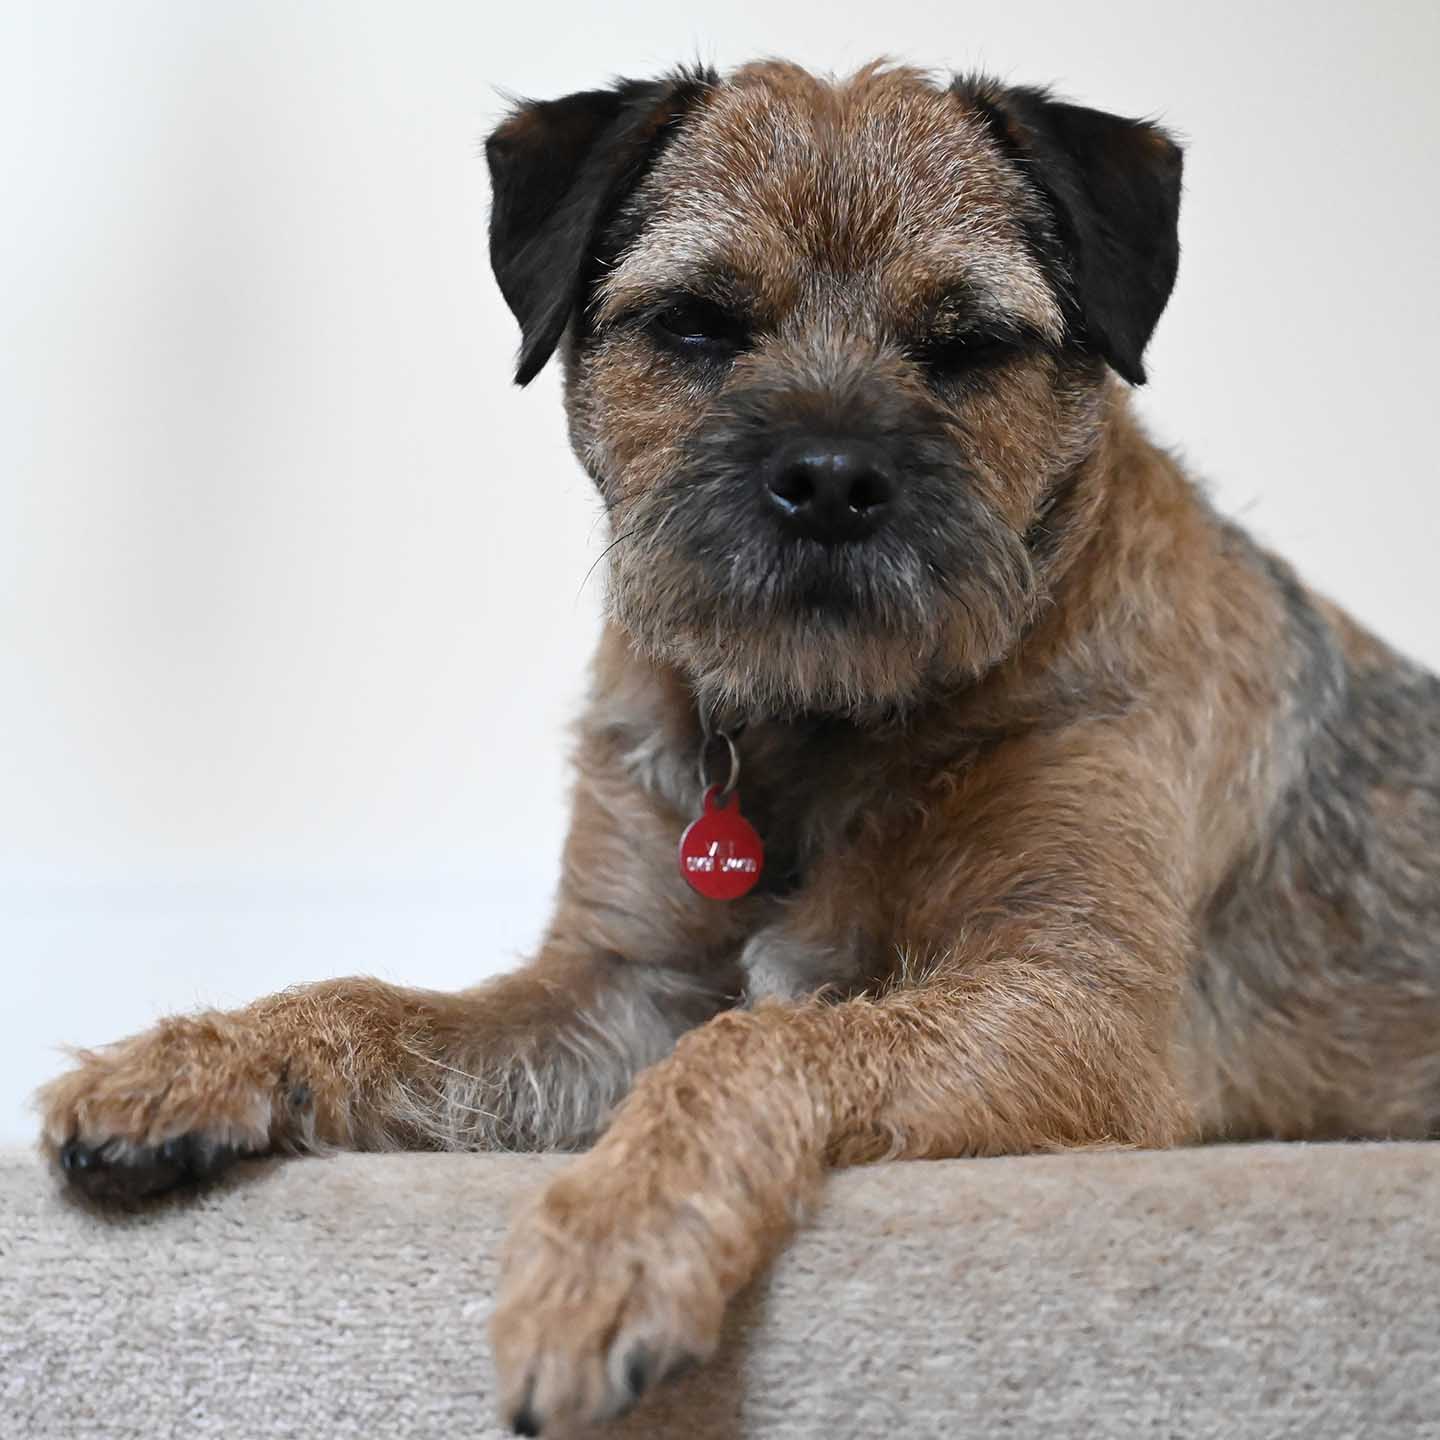
As this first shoot took place at around 4pm in November in the UK, the light was pretty low and the sensitivity, which was set to Auto, varied between ISO 2800 and ISO 36,000. As you can see from the image above, Ott’s eyes are dark and surrounded by dark fur and bushy eyebrows.
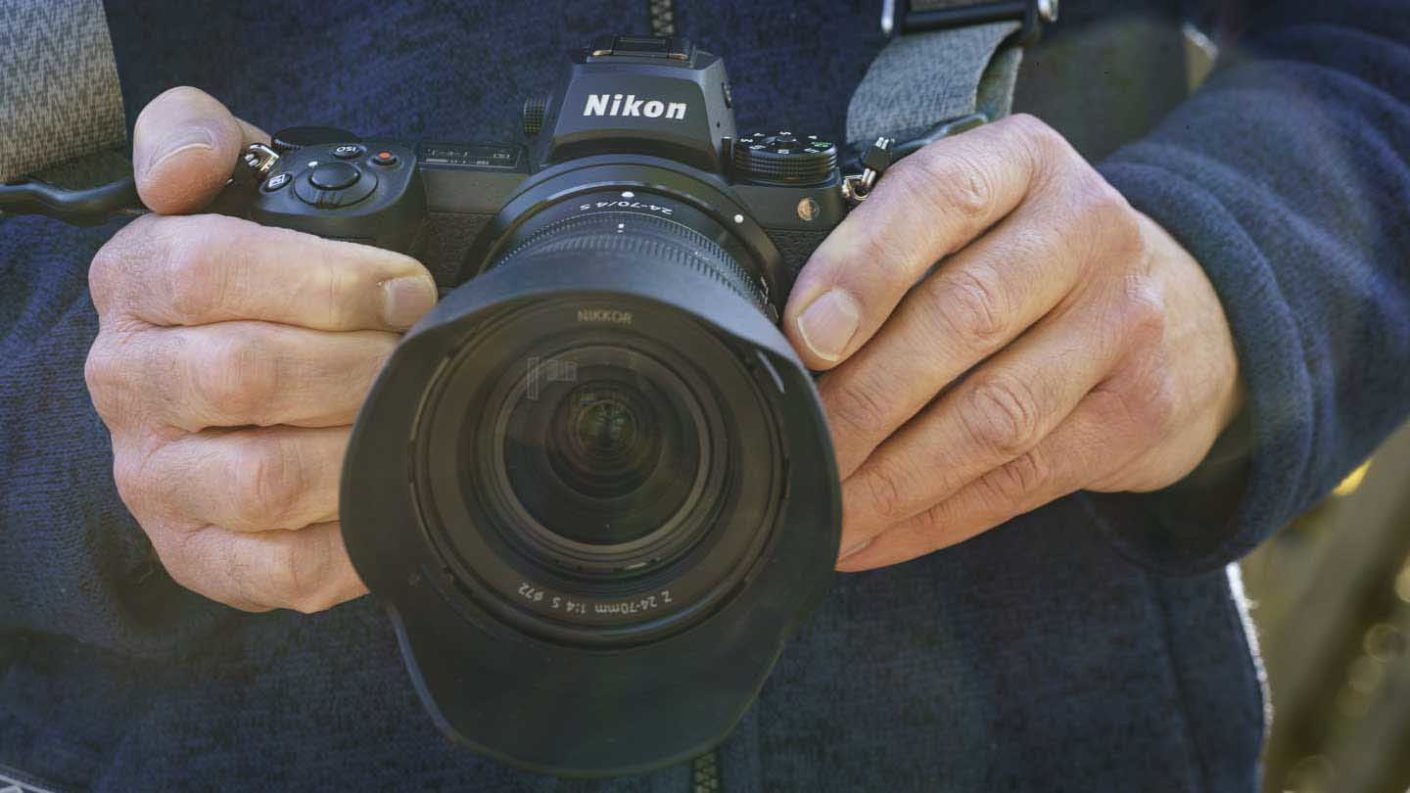
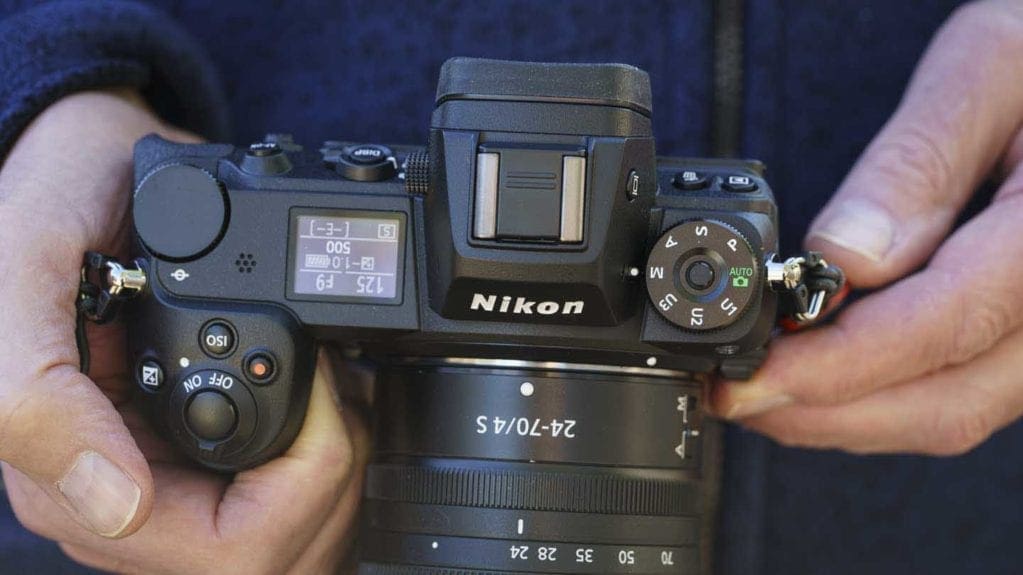
I was shooting with the Nikkor Z 24-70mm f/4 S at f/4 and mainly at the 70mm end to limit the depth of field.
It immediately became apparent that the autofocus system is more responsive than the original Z6’s. The Z6II quickly spotted Otto’s eyes and highlighted them for focusing.
Interestingly, the yellow AF box that the camera uses to highlight the eyes sometimes appeared a bit high on Otto’s head, as if the Z6II was spotting his eyebrows rather than his eyes. However, when I inspected all the images at 100%, it’s clear that the camera has focused on his eyes rather than his eyebrows.
Otto’s face was square on to me for most of this first shoot and, as I mentioned, the Nikon Z6 II spotted both his eyes very quickly. When the camera spots more than one eye, it displays an arrow on one side of each box it puts around each eye.
You can choose which eye to focus on using the joystick on the back of the camera, however, by default the camera opts for the nearest eye. As Otto’s eyes were both the same distance from the camera for much of the shoot, the Z6 II jumped around a bit from one eye to the other. It’s not possible to lock it to just one eye, so if you want to swap eye for some reason, you have to use the joystick.
This is less of an issue when the animal’s face is at an angle and it’s designed to ensure that one eye is in focus.
Shooting at a faster pace as Otto raced for a ball proved a bit more problematic for the Nikon Z6 II’s Eye detection system. Sometimes it didn’t spot his eyes, some times it did and didn’t focus on one and other times it delivered a sharp shot with the focus on one of his eyes.
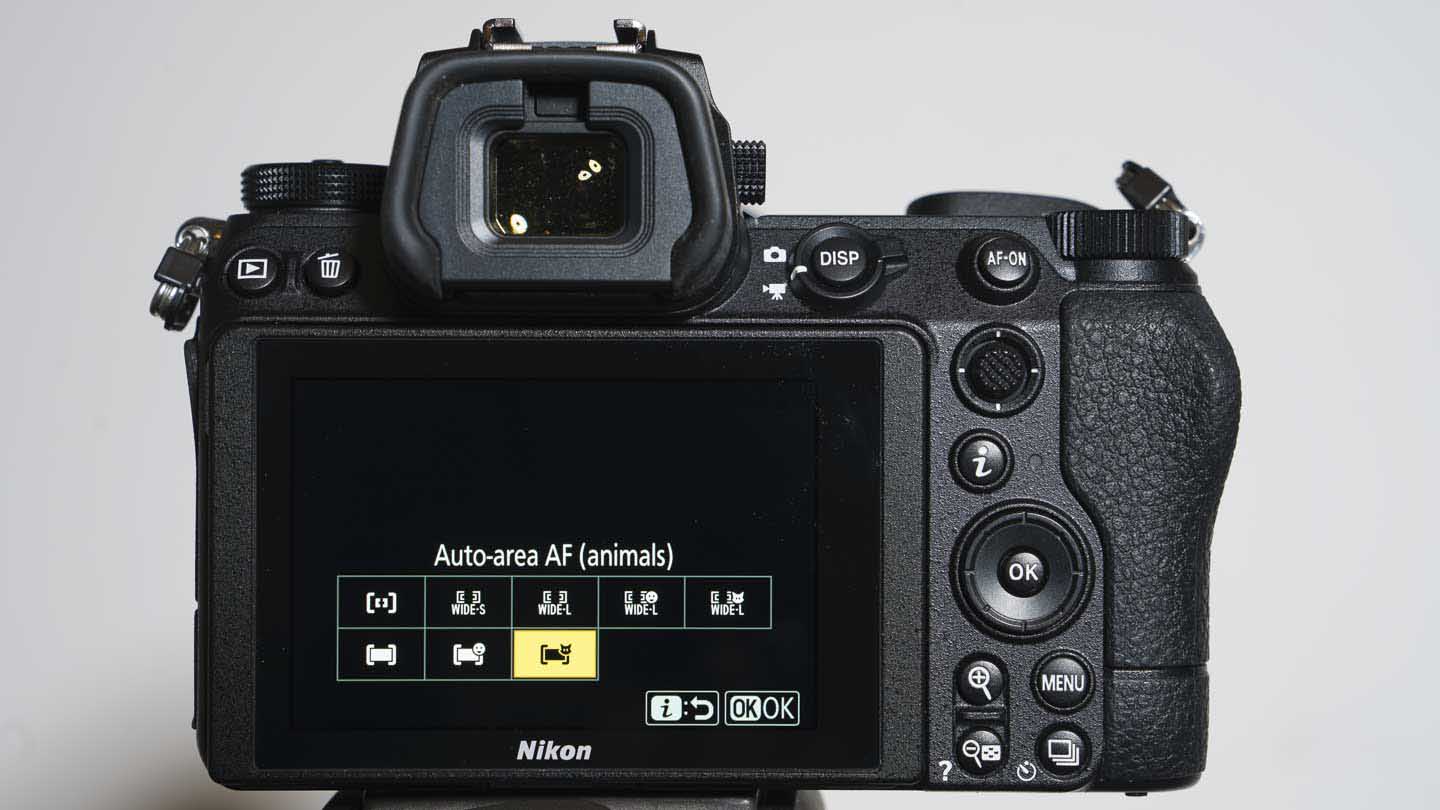
The alternative for photographing a fast-moving subject like Otto is to use Auto Area AF with the Subject Tracking engaged or Wide-area AF (S) or Dynamic-area AF to target him in the frame. When one of these options is selected, The Z6 II does a good job of keeping him sharp as he runs around.
Using Wide-area AF and Dynamic-area AF means you have to keep the active area over your subject and the camera responds quickly to movement.
I also used the Z6 II in Auto-area AF mode to photograph gulls flying around me. It quickly became apparent that the Z6 II is better at tracking the birds in flight than me. There were a few instances when the camera failed to focus quickly enough to get a sharp shot, but on the whole, it works well.
Nikon Z6 II Video Performance
We can’t test the Z6 II in 4K 60p mode until the firmware upgrade comes out next year but the results in 4K 30p are very good, mirroring the quality of the stills. Some of the finer details of foliage in a winter woodland look a little mushy at ISO 16,000, but overall, I’m impressed.
Naturally, I was keen to test the Eye detection for video and the results here are a bit more mixed. Generally, the Z6 II gets the subject sharp when it’s set to Auto-area AF, either human or animal, but the eyes need to be quite large in the frame to spot them. As you walk towards a human subject the camera switches from Face detection to Eye detection once they are about 3/4 length in the frame. It also does a decent job of keeping the eyes sharp, but it’s best to make smooth, steady movements.
When it’s set the Auto-area AF (animal), the Z6 II spots and focuses on my dog’s eyes when he’s still or slow-moving. If he’s moving, it will keep his eyes sharp if the camera moves at a similar pace.
I shot a few clips of video of him trotting towards and past me, the Eye detection squares usually flashed up just as he left the frame.
Eye detection for in video is a useful addition, but it’s not as impressive as the Canon EOS R6 and EOS R5 Eye AF.
Sony hasn’t implemented Animal Eye AF for video yet, only Human Eye AF, so in some respects, the Nikon Z6 II trumps that, but Sony’s Eye AF is more sensitive and dependable.
Meanwhile, the Nikon Z6 II’s Tracking AF works very well in video and still mode, keeping with the subject as it moves around the frame and towards or away from the camera.
Scroll down to see some videos demonstrating the autofocus performance.