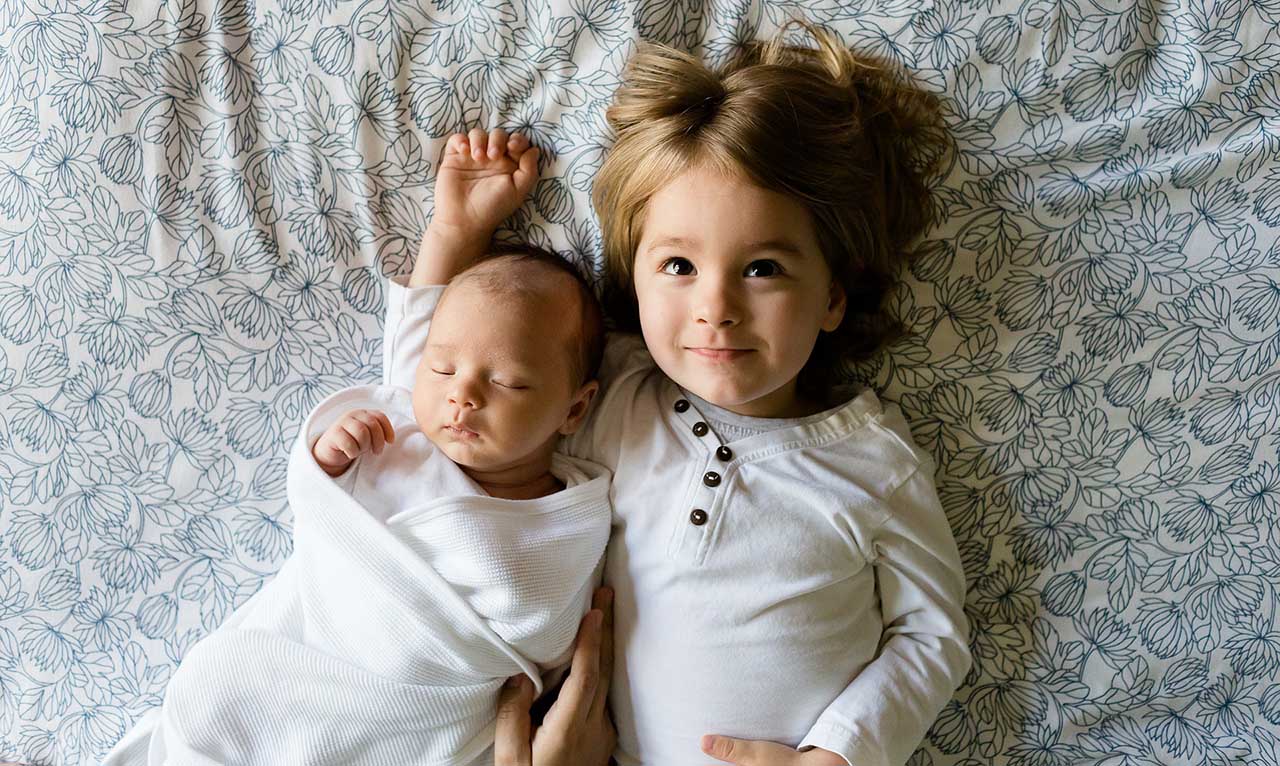
Babies are notoriously difficult subjects to photograph, and because there are only so many ways in which you can photograph them, many baby photos can look samey.
Baby photography is such a crowded market because every parent wants nice images of their child. These days, being technically superb isn’t enough. You need to be unique.
In this quick tutorial we’ll show you some simple ways to give your baby photos added impact to help them stand out from the crowd.
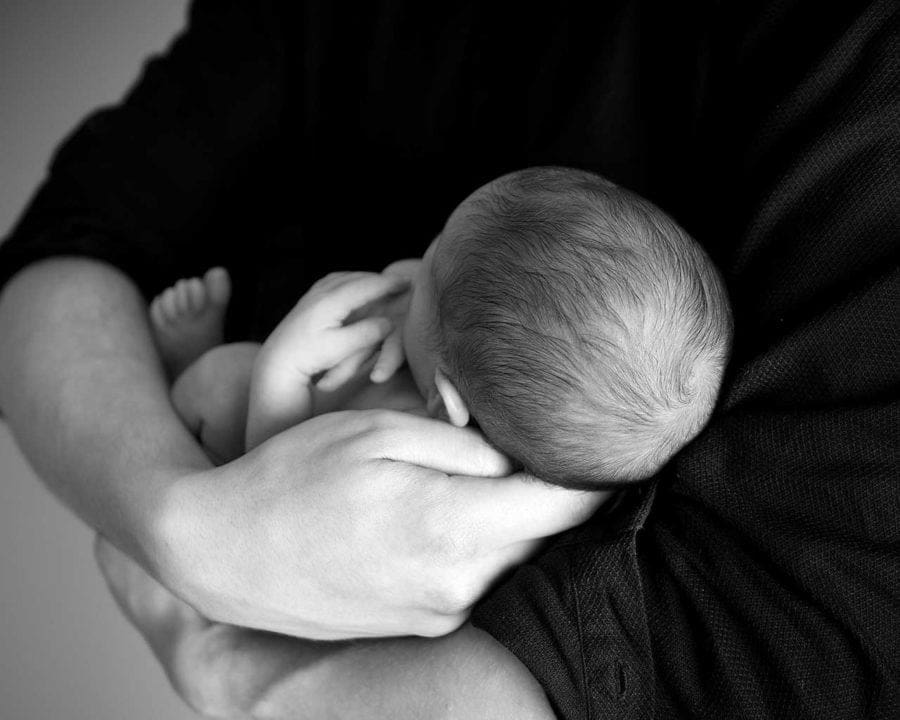
01 Convert to black and white
Classic looks are highly sought after in baby photography. One way to achieve this is to convert your photos to Mono.
This is easy to do in your photo editing software. Try upping the contrast for a more striking look.
02 Use the spot heal tool
While the thought of airbrushing a baby doesn’t seem quite right, the fact is that high resolution images can augment blemishes that may not be noticeable in real life.
With a baby, this can be anything from a bump or a scratch to a mark left from tight clothing. A quick run with the Spot Heal tool can help remove these imperfections without compromising the overall look of the baby.
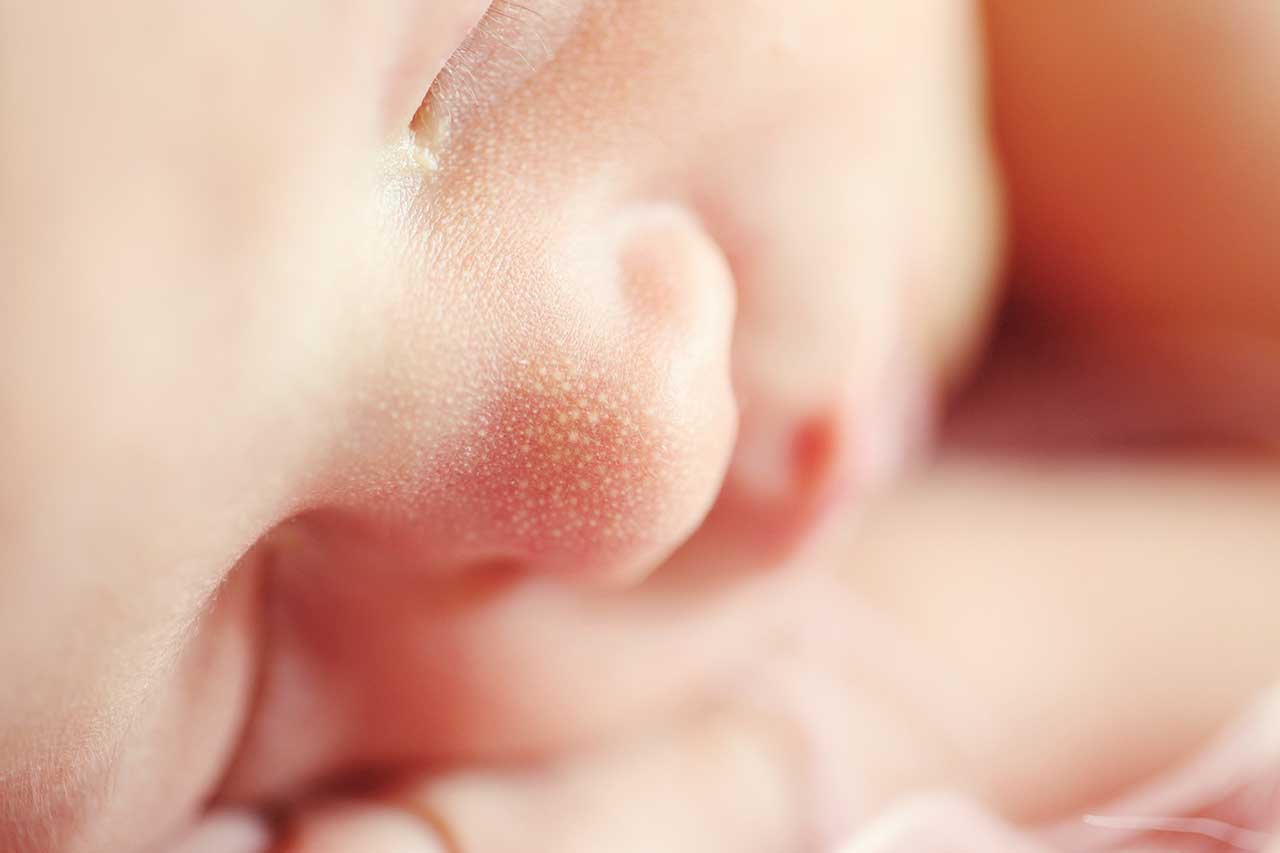
03 Go for a high key effect
Baby portraits in particular look striking with Photoshop’s glowing high key effect. High key portraits appear rather minimalist with bright highlights.
This effect is perfect for the smooth, clean lines of a baby’s face. Shoot with wide apertures and dial in some exposure compensation for this technique. Then, use curves in your photo editing software to bring up the highlights.
04 Be organised
Try your best to stay organised when it comes to photographing your own baby. You’ll most likely be snapping photos around the clock, so this can be a challenge!
Use your computer to organise photos by age, date, place or event. You might find that organising by age is a bit more convenient, as it allows you a quick way to reference photos of your child at a later date.
05 Print your best shots
Once you’ve organised your images, print some off. This may sound like obvious advice, but so many of us have folder after folder of images on our hard drive that never see the light of day.
Print your best shots for framing or photo books. Choose milestones such as your child’s first birthday or holiday.
