As we enter the age of 8K video, you’ve probably heard professionals talk about downsampling their 8K video to get better quality 4K footage. And you might be thinking to yourself, ‘What is downsampling, and why would I reduce the quality of my footage?’ It’s a logical question to ask! Before we discuss the why, let’s first get to grips with the concept.
What is downsampling?
Downsampling in video is the process of reducing the size of a digital video file by lowering its resolution and number of frames. Downsampling is often used to reduce the size of a video file and make it easier to manage. For example, someone might film a video in 8K and downsample their footage to 4K in order to make it more manageable to store, stream and share.
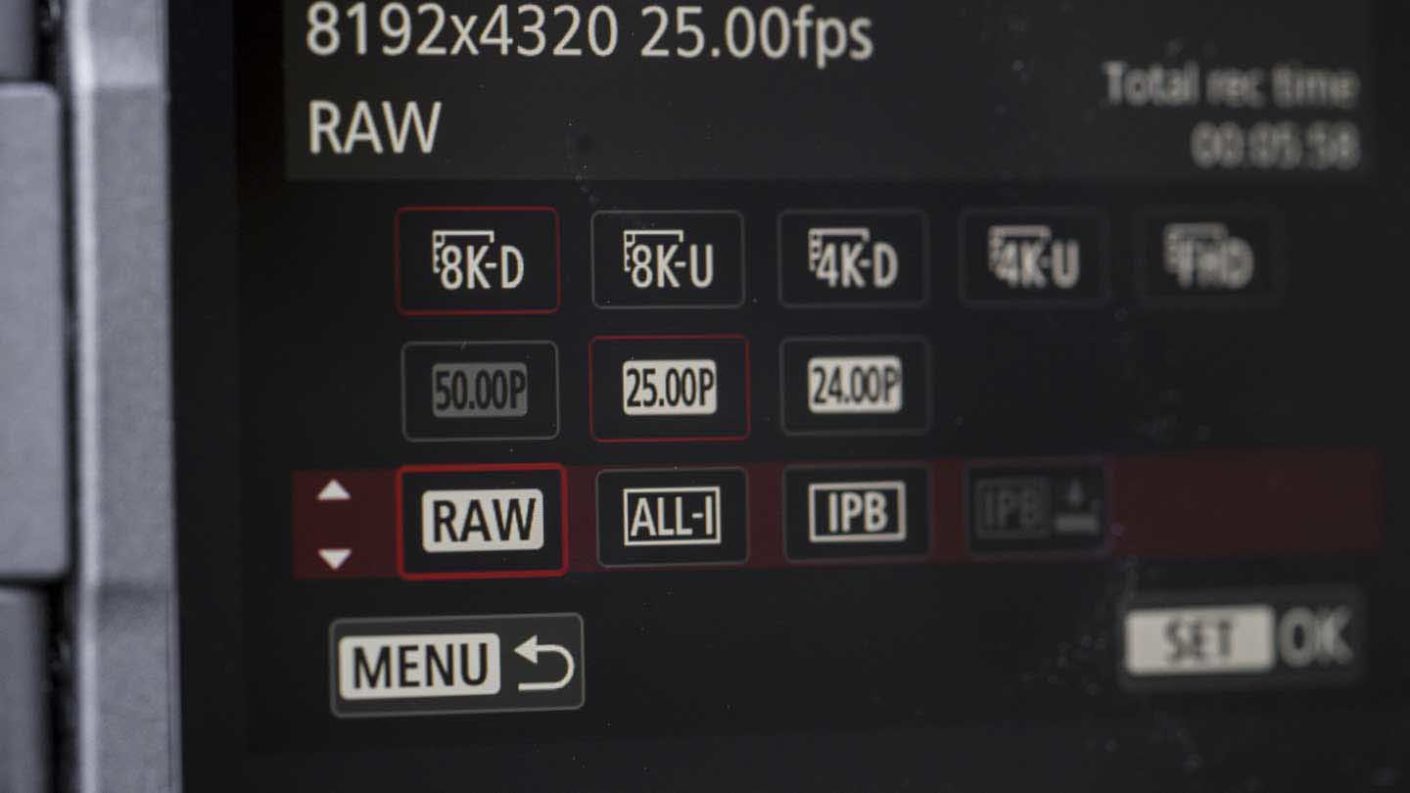
Another reason why someone might film video in 8K and downsample their footage to 4K is because 8K video has a higher resolution than 4K video and, thus, has better image quality. 8K video has a resolution of 7680×4320, while 4K video has a resolution of 3840×2160. This means that 8K video contains four times more pixels than 4K video.
Therefore, when someone downsamples 8K video to create a 4K version, they are able to create a version of the video that has a higher image quality than the original 4K version. This means that, even though the resolution is lower, the video will still look better than the original 4K video because it will contain more fine detail.
What are the advantages of downsampling video?
- Reducing the size of the video file, which makes it easier to store, stream, and share.
- Increasing the video’s playback speed, which can improve the viewing experience.
- Improving compatibility with different devices and platforms by reducing the size of the file.
The disadvantages of downsampling video?
- Loss of detail in the video due to the removal of redundant data.
- Loss of color and contrast due to the removal of redundant data.
- Loss of quality due to the resolution decrease.
How to downsample video
Downsampling video is relatively simple and can be done in a few steps.
- First, open the video file in a video editing application.
- Next, select the video clip that you want to downsample in the timeline.
- Then, access the settings for the clip and select a lower resolution for it.
- Finally, export the video in the new resolution.
It is important to keep in mind that downsampling a video can result in a loss of quality, as the resolution is being reduced. Therefore, it is important to choose the right resolution for the video. The best resolution to choose will depend on a variety of factors, such as the viewing platform (e.g. TV, computer screen, etc.) and the desired level of detail.
Overall, though, downsampling is a useful exercise for reducing the size of a video file without compromising too much on quality. By filming in 8K and downsampling to 4K, someone can create a version of the video that has a higher image quality than if the original version was filmed in 4K. The same holds true for filming in 4K and downsampling to Full HD compared to filming originally in Full HD.
Can you downsample images?
It is also possible to downsample still images. The same advantages and disadvantages apply as with videos. However, downsampling still images is often not necessary since they usually have a much smaller file size than videos.


Leave a Reply
You must be logged in to post a comment.