There’s just no arguing with the fact that smartphones are incredible imaging devices, and they’ve revolutionised how we take pictures; they are, after all, the camera that is always with us. Therefore, your smartphone camera will always be with you and will enable you to capture that stunning spur-of-the-moment image. The saying, the best camera is the one you have, is never truer than but then there’s far more to capturing stunning images than just that spur-of-the-moment shot.
In this series, I intend to introduce you to your camera and photography, not just the snapshot or technology behind it, but the thought process and personal development of your image-taking.
Photography is far more than just the image you see on your phone, screen or print. For many of the great photographs captured by the press, art, fashion and most enthusiast and professional photographers, there’s far more to the image than the simple spur-of-the-moment press of the shutter.
Even within photography professions where you would think that the image is captured on the spur of the moment, such as sports and events, a time before the shoot will often have been spent before the occasion, scoping out the venue and testing settings and equipment.
Smartphones do a great deal of work behind the scenes to enable you to take great pictures, but a common comment from smartphone users is that they have difficulty reproducing those great results. This is where a more traditional camera comes into play. With a DSLR or Mirrorless camera, you can take that next step on your photography journey, discover how to improve your photography for your enjoyment and stretch your abilities and understanding so that you can develop a photographic style or even cheekily mimic others.
At the heart of photography is fun; the more you advance with the understanding of your camera, the more fun and success you’ll have with it. That journey will start with truly understanding your camera and what all the dials and buttons do.
This guide is to help get you started, but if you have any questions, please ask them in the comments below, and I’ll be able to feedback and direct your journey.
Getting to know your camera.
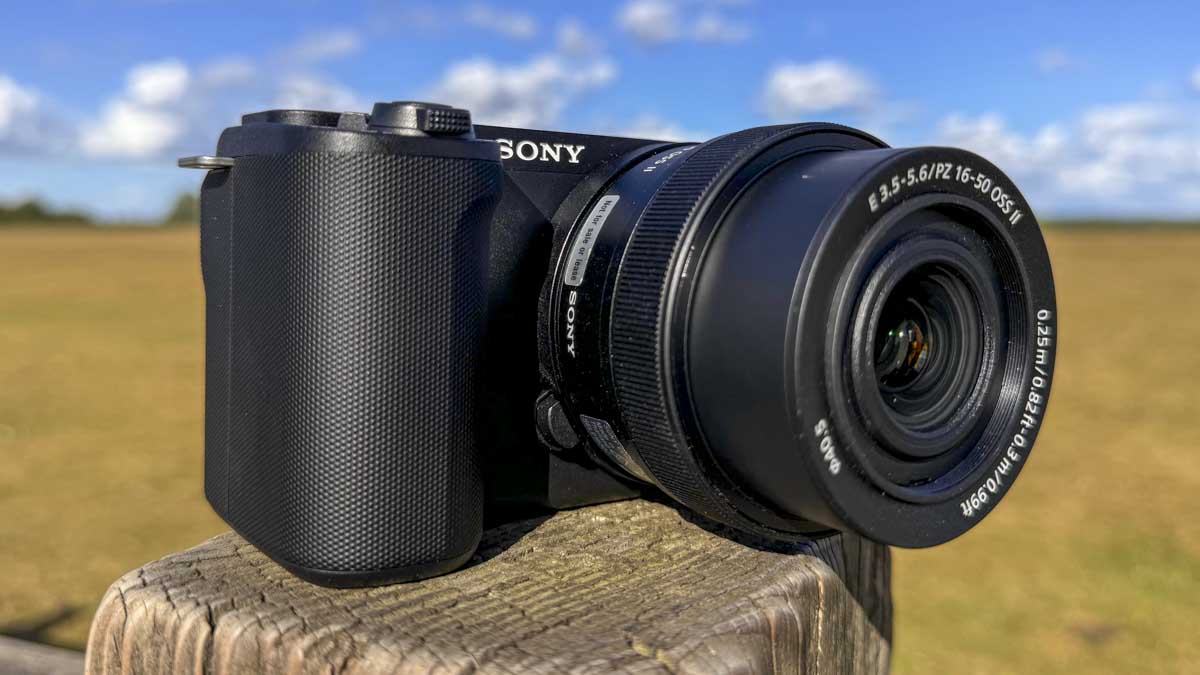
In this first guide, I will look at the camera and break down the parts. For many of you, this will be obvious. Still, for others who have been given a camera or are completely new to DSLR and Mirrorless cameras, the anatomy of a camera will not be so obvious.
WhetherWhether you have brought your camera new or second hand there are several things to check before you get started. The first is to remove the packaging and attach the lens to the camera body.
CAMERA TERMINOLOGY:
Body: In-camera hardware terms, this is the camera; the camera body is the bit that contains the electronics.
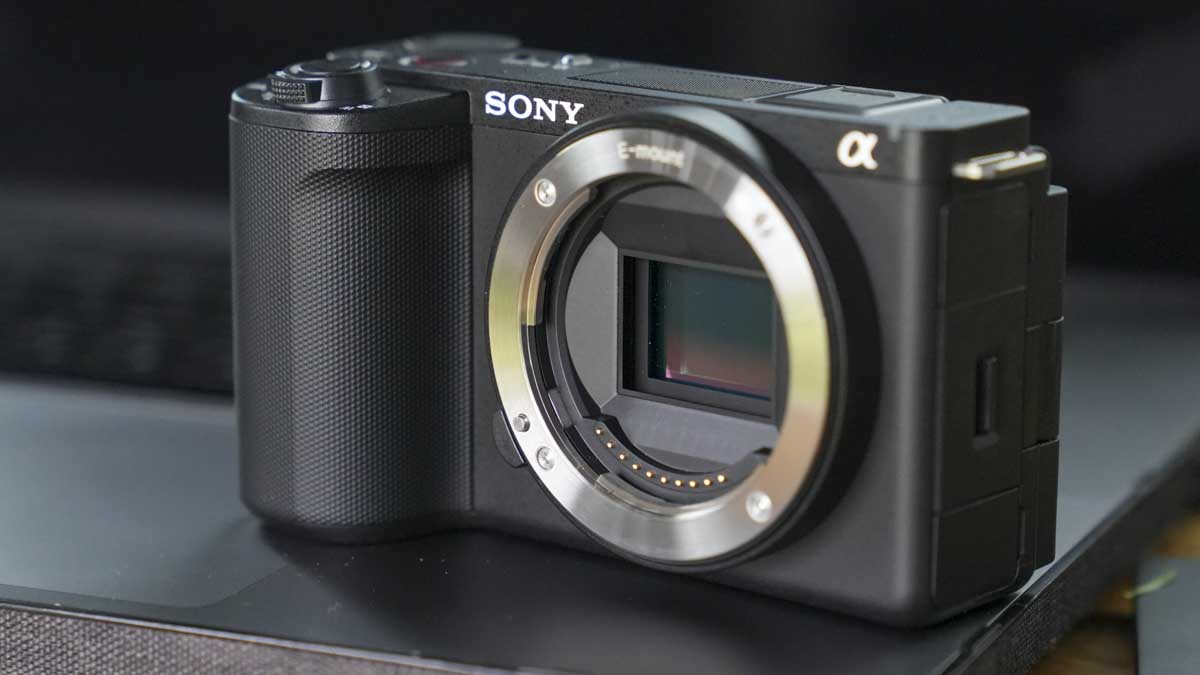
Body Cap: This is the cap that screws onto the front of the camera and covers either the sensor or shutter. We’ll cover that in more depth in a later tutorial.
Lens: Lenses attach to the front of the camera and enable focused light to pass through into the camera.
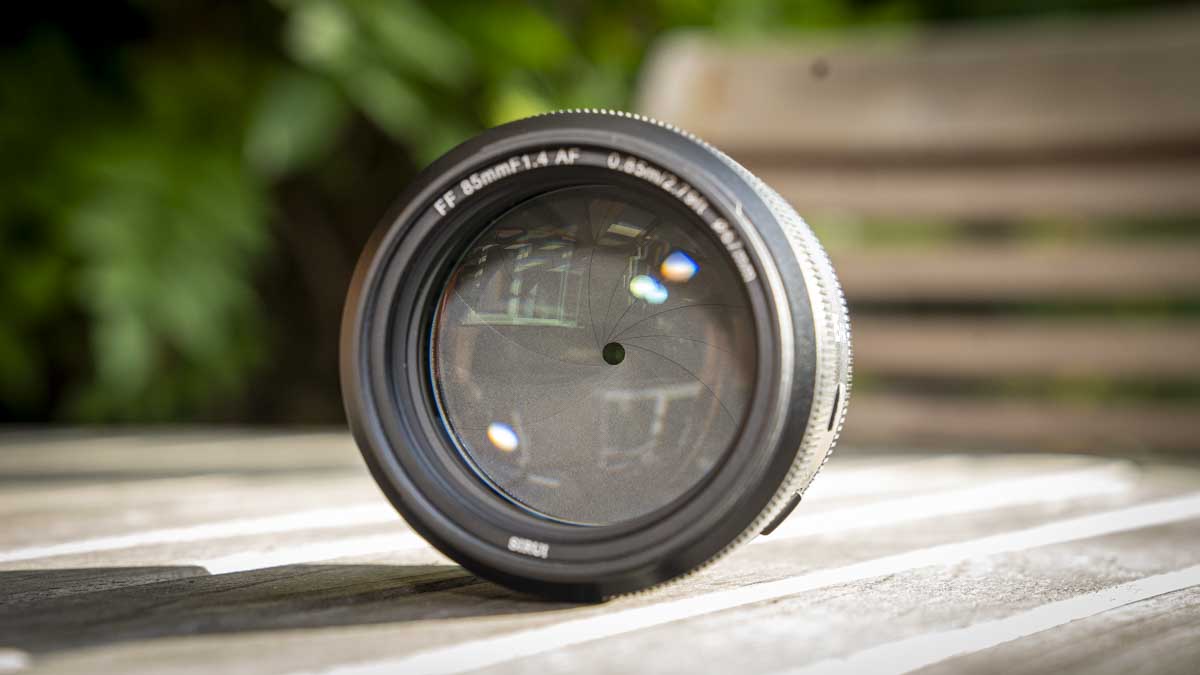
Lens Cap: This is the cap that covers the lens elements, you generally have a screw in one at the connector that fixes to the camera and another covering the front of the lens.
You’ll see the body cap at the front of the camera where the lens should be. Next to the body cap on either the left or right is a small button; push this in or move it to the side and then rotate the cap left or right to remove it. Once removed, release the button.
Note: The position of the lens release and the direction in the body cap of the lens rotates to remove it will differ depending on the manufacturer and model.
If your camera already has the lens attached, follow the procedure above to remove the lens. Behind the body cap or lens, you will see the camera’s shutter or sensor, be aware that both of these components are delicate, so don’t put your fingers or anything else near it for that matter.
Note: Don’t leave the shutter or sensor exposed to the elements for too long; once you’ve had a look, pop the lens or body cap back onto the camera body.
CAMERA TERMINOLOGY:
Shutter: In traditional cameras, you have a mechanical shutter, but now you also get an electronic one. The shutter opens and closes to let the light that passes through the lens onto the sensor.
Sensor: The sensor captures the focused light that passes through the lens to create the image. The amount of light that hits the sensor is controlled by the shutter.
Make sure that your lens is attached to the body; you’ll also see that there should be a lens cap on the end of the lens. Always make sure that this is replaced after taking a picture.
You have now been introduced to the two main components of your camera. However, you need two other essential parts before taking the picture.
Understanding Batteries
Your camera will come with a battery which will either insert into the camera’s base or the side. The battery your camera takes will usually be specific to your camera brand, and if you’ve looked at alternatives, you’ll see that they can be incredibly expensive. However, for the most part, one battery these days will be more than enough for a day’s fun with your camera; you’ll be able to take 100’s images on a single battery without the need for a change, as long as it’s charged.
If you want a second, third or even fourth battery for your camera, look at a good after-market brand such as Hahnel or SmallRig.
Charging your batteries
To charge your camera’s battery, your camera will either come with a charger, in which case, pop the battery out of the camera and into the charger, all very easy.
Alternatively, the battery may charge through the camera. If this is the case, there will probably be a USB cable plugged into the camera and then into the main through a USB plug. Either way, it will charge your camera’s battery. If you’re unsure, then refer to your camera’s manual.
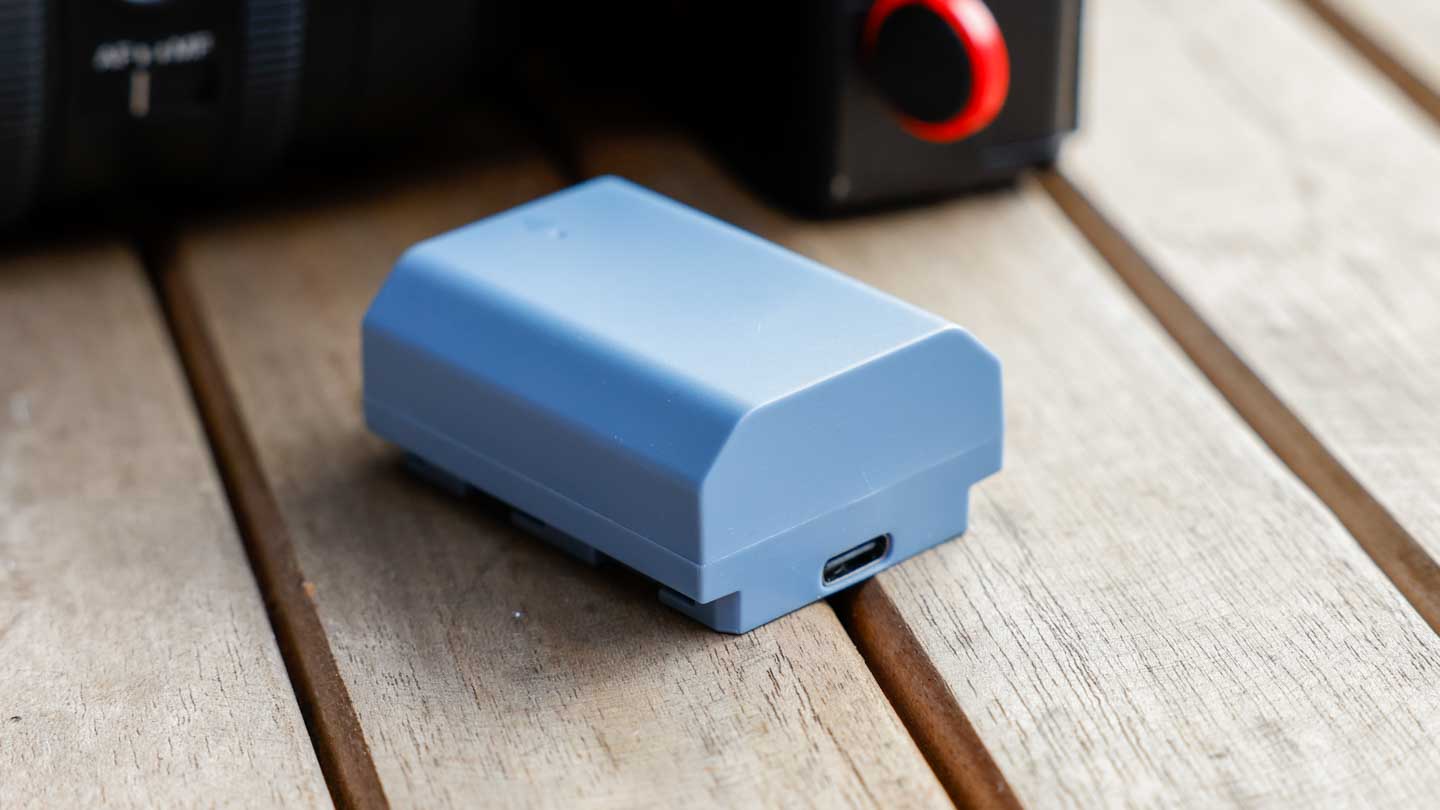
Note: While you may charge your battery fully before storing the camera away, you may find that the battery is only half-charged when you come to use the camera. This is due to the battery losing charge to protect itself while in storage. Before using your camera, whether it has been stored or not, make sure you give the battery a charge.
Note: When storing your camera, it’s a good idea to run the battery down to about 40%; this will maximise the battery’s health if stored for long, long periods. Also, remove it from the camera rather than leaving it inside – if something untoward happens, this can save a messy cleanup of battery gook.
Understanding Camera memory cards
The final component is the memory card. This is essentially the storage media that holds the picture, modern-day film. Memory cards come in many forms, the most popular at present being SD or CFexpress type A or B. Before buying a memory card, check what cards are recommended for your camera.
If your camera takes CFexpress, the present crop of cards has transfer speeds that are more than adequate for stills photography. The only time you may need a speed boost is if you’re shooting video, and even then, it’s unlikely that you’ll need the speeds offered by the likes of the Lexar Profession CFexpress Diamond series. The Lexar CFexpress Gold cards are well-priced and available for Type A and B.
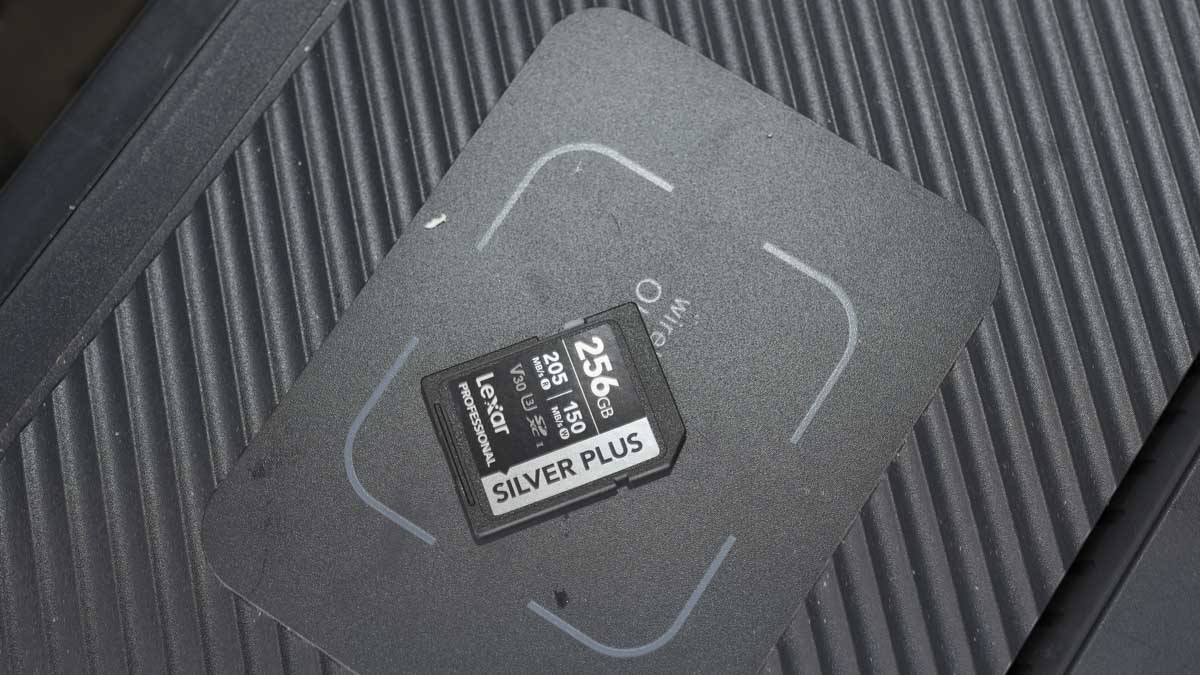
The SD card format has been around for much longer than CFexpress, so the card speeds are somewhat slower. However, when shooting stills, you can usually get away with almost any speed rating of an SD card; however, you need to be a little more selective regarding the video.
An SD card with 64GB of storage and a speed rating of V30 or above is a good place to start. You’ll see other card identifiers such as UHS-I and UHS-II as well as U30 C10 etc. There’s more on SD cards and speed ratings that you can read in the following article https://camerajabber.com/uhs-i-or-uhs-ii-which-memory-card-is-best/.
CAMERA TERMINOLOGY:
Transfer speed/rates: This refers to the speed at which files from the camera can be transferred to or off the card. We refer to files being transferred to the card as being written, a file being accessed on the card we term to read. On many cards, you’ll see the read and write speeds quoted. For cameras, it’s the write speed that is most important.
Speed ratings: So that we know just how fast a card is or how quickly image files can be transferred to or from a card, manufacturers have come up with standards shown through various symbols. These ratings are Class, which was replaced by U and now V or video class. Again more on the subject can be read at UHS-I or UHS-II: which memory card is best for you?
Now that we have looked at the camera’s basics, including the body, lens, battery and memory card, you’re ready to get out and start taking pictures.
If you’re a completely new set, your mode dial on top of the camera to P or Auto and get out there and start having fun.
In the next part, I’ll be taking a look at how to get familiar with the handling of your camera.

Leave a Reply