Nvme SSD hard drives have been around for a while, but they’re only just becoming mainstream. If you haven’t come across them before, then don’t worry; they’re just a form of storage, like a traditional hard drive, just many, many times faster and with a different connector.
While the latest computers containing these drives boast about groundbreaking speeds, Mac users have taken advantage of these lightning-fast hard drives for years. The Mac Pro (Late 2013) was one of the first commercially available machines to feature the new style of SSD, albeit an early version.
Since 2013 SSD technology has advanced, and while the technology has changed, the Mac Pro (Late 2013) can be updated to work with specific new drives such as the OWC Aura Pro X2. https://eshop.macsales.com/item/OWC/S3DAPT4MP10P/
This SSD will boost both the capacity, from 256GB to 1TB and the internal drive transfer speeds. Essentially, you’ll be able to edit 4K video and high-resolution images with the speed and efficiency of the latest machines.
To put the speed into perspective, a traditional optical hard drive could offer transfer speeds of around 40MB/s; this was relatively good, then SSD’s arrived, and speeds accelerated to 80MB/s, vastly improving performance.
But then NVme SSD arrived with transfer speeds in excess of 1000MB/s, and when the Mac Pro (Late 2013) launched, those sorts of speeds were unheard of; even now, this is fast.
While the speeds were fantastic, the hard drive sizes were small, 256GB being standard.
One of these original Apple SSD’s languishes within our test Mac and checking out the speed with the benchmarking tools comes up with the following results.
RESULTS
Original PCIe SSD
Read: 903.7MB/s
Write: 727.6MB/s
Not bad for an eight-year-old Mac, but with the new SSD, we should see a performance as well as a storage capacity boost.
With the benchmarks done, it’s time to install the new drive and check the results. Like the RAM update, the HD upgrade is relatively straightforward.
At least for most users, the upgrade should be easy; however, for a small minority, there may be an issue where the new drive isn’t recognised. If this is the case for you then scroll to the bottom of this article for instructions on how to update the Mac Pro (Late 2013) EFI so you can install a new SSD.
Then the following steps will enable you to install the new SSD.
01 Remove the case
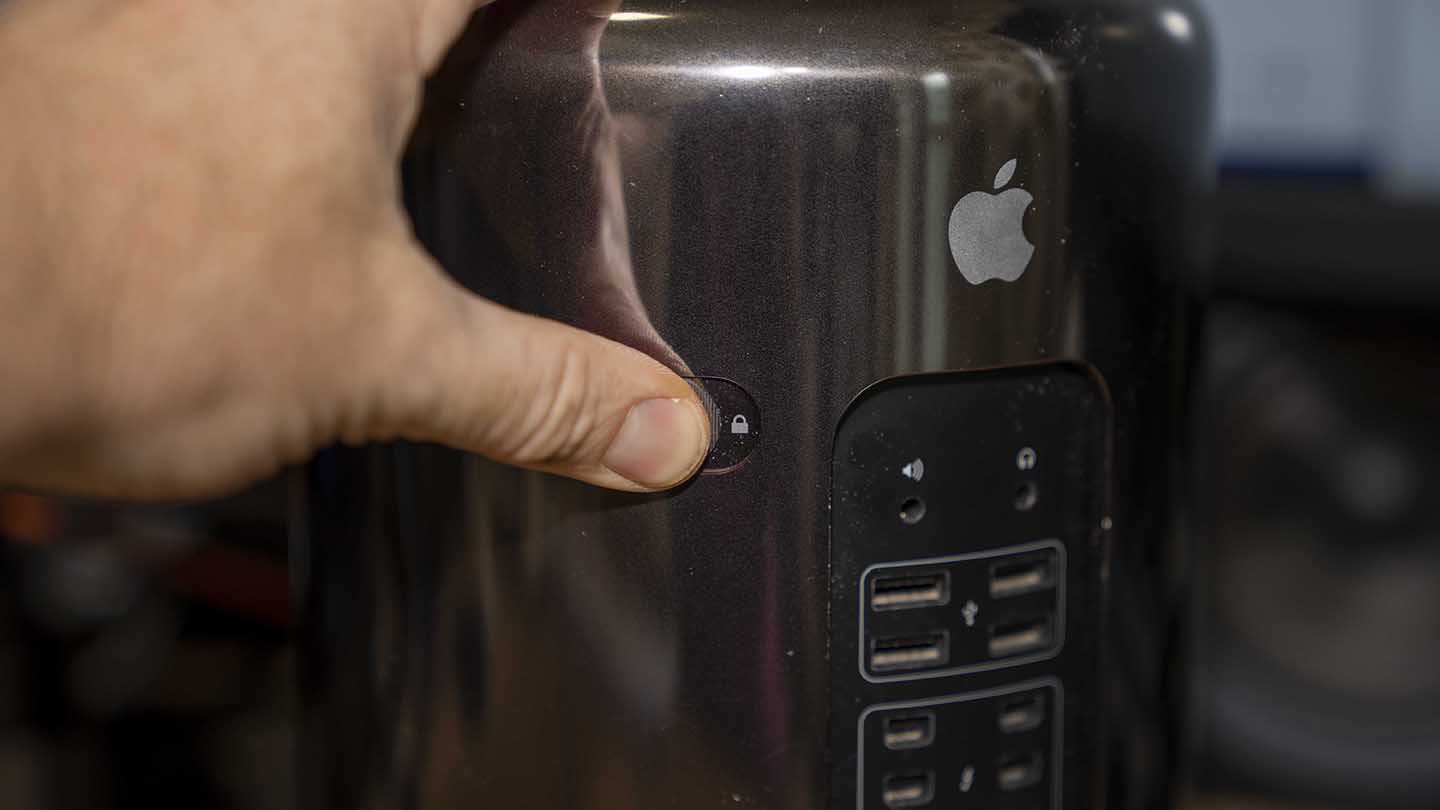 Make sure you’ve unplugged all the cables, then slide the lock button and lift the case clear of the machine.Make sure you’ve unplugged all the cables, then slide the lock button and lift the case clear of the machine.
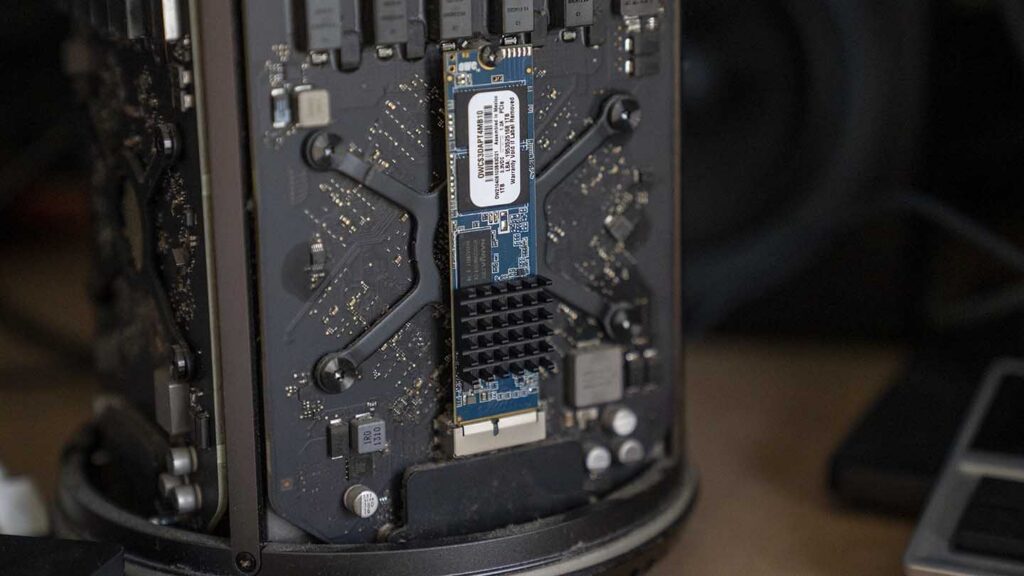
02 Unscrew the SSD
 The Nvme M.2 is held in place vertically on one of the side panels. Use a small Philips srew driver to undo the screw that holds it in place. Make sure you support the drive with your finger, don’t let it fall forwards as this can damage the contacts.
03 Lift out the drive
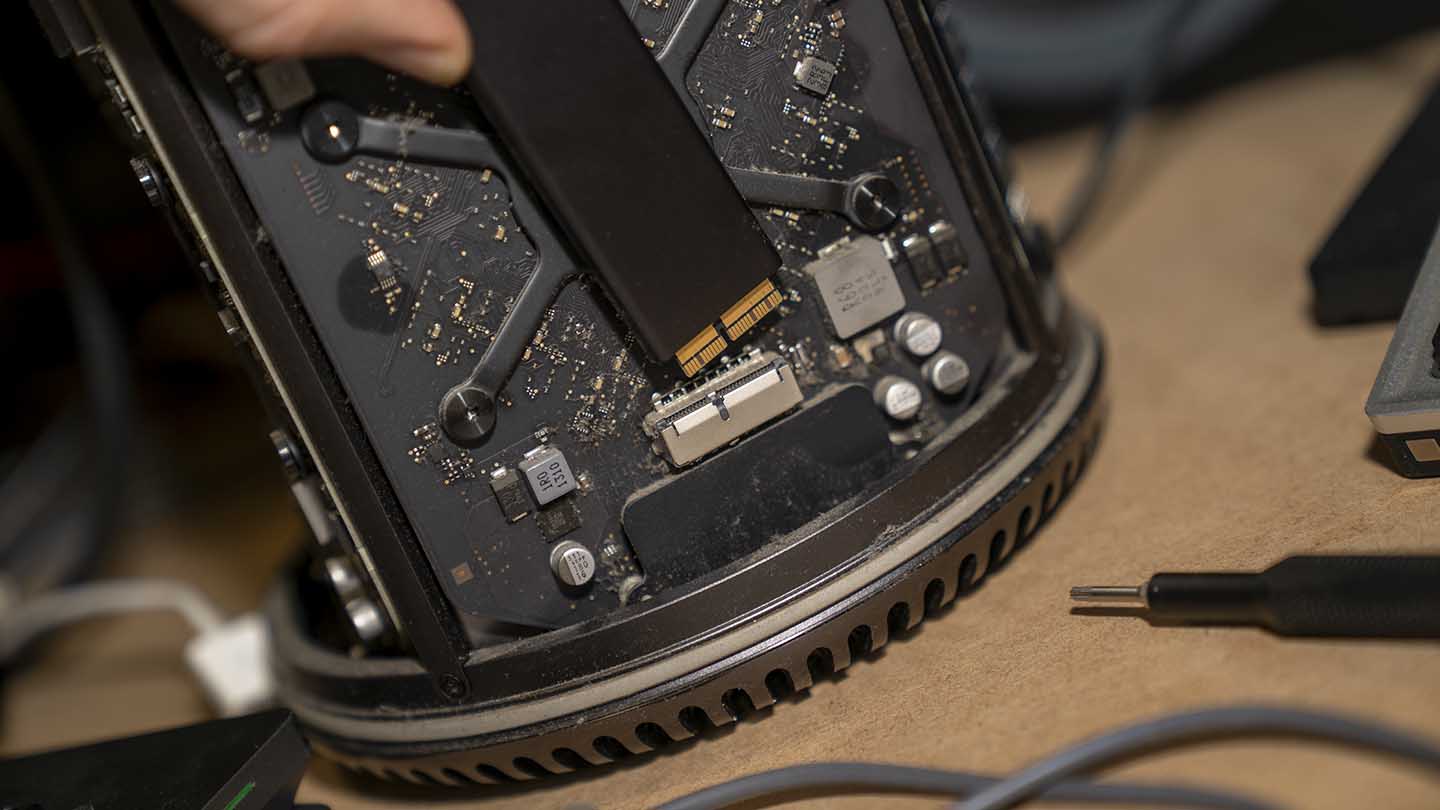 Once the screw is fully removed, hold the top of the drive and pull up to release the drive from the slot. You may have to wiggle the drive a little, but be gentle, and it should release without too much issue.
04 Insert the new drive
Take the new drive and insert it into the slot. You’ll need to push down slightly to make sure that it is fully inserted. Once in place, do up the screw so that the drive is secure. 
05 Replace the case
Pop the case back over the base and relock. Plugin the cables making sure you’ve plugged in a keyboard and mouse. 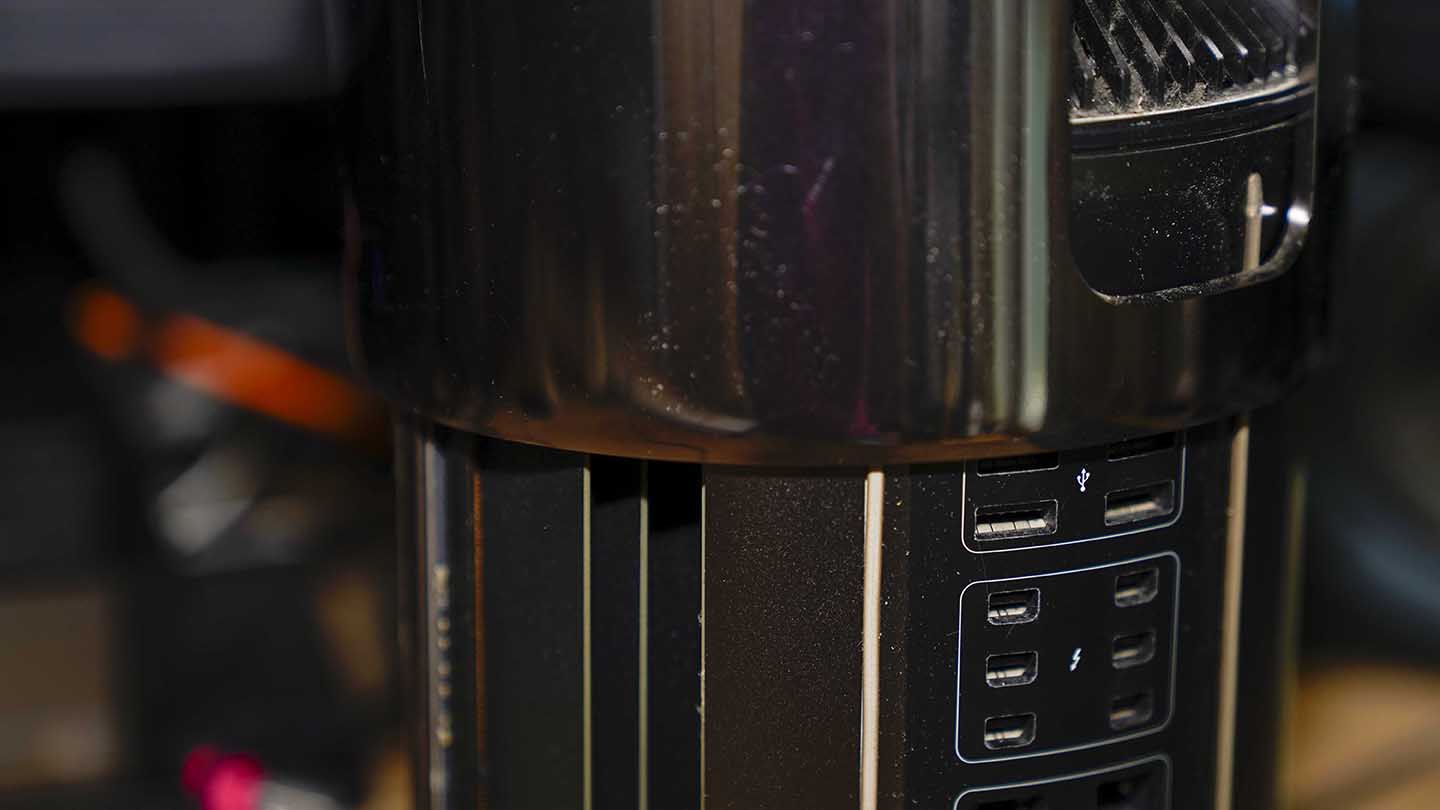
06 Install the OS
As this is a new drive, you’ll need to re-install the OS completely. Reboot the machine and hold down Command (⌘)-R. When the screen appears, select Reinstall macOS from the utilities and follow the instructions.
Once the new drive is installed, it’s time to check out the difference in performance. This performance boost comes in one of two forms; firstly, the capacity has increased from 256GB to 1TB, which gives far more scope for applications and gives the machine far more scope for editing video.
But more noticeably, both Final Cut Pro and Photoshop seem to have a big power boost.
Render times for Final Cut Pro are faster, and working with Layers in Photoshop is handled far better with less lag.
Upgrade results after Mac Pro (Late 2013) SSD upgrade
Read: 1303MB/s
Write: 1202MB/s
Original PCIe SSD scores for comparison
Read: 903.7MB/s
Write: 727.6MB/s
Both transfer results are impressive, with a 30% boost in reading and a 39% increase in writing speeds. These both make a considerable difference to the feel of the machine and its usability editing the latest 4K video.
It’s surprising that this machine suddenly feels fresh and speedy with the SSD and RAM both boosted.
NOTE:
Installing the new hard drive should be simple. Pop the new drive in and then use Opt, R to boot into startup recovery and select to install the latest version of Mac OS, at present Big Sur.
However, when the Mac Pro (Late 2013) was released, the Mac OS was Mavericks, and the firmware for the machine was designed for the first generation of the SSD storage that we’re about to upgrade. This used a PCIe 2.0 x4 interface – for our newer Nvme drive to be recognised by the Mac it requires something known as an EFI update.
Normally you shouldn’t have to worry about this EFI update as it should have been installed as your Mac Pro (2013) was updated. The critical EFI update that we need for the new SSD should have been implimented with the installation of the High Sierra MacOS. However, this EFI update doesn’t always happen, and it may be a case that you need to follow a few more steps to instal the new drive.
01 Back-up your disk
Start by backing up your original apple SSD onto an external drive or online service. iCloud makes this very easy; once the back-up is complete and you’re 100% sure you have everything safe, switch off your machine.
02 Network recovery
Switch on your machine and instantly press Shift, Ctrl, Opt, R; after a few seconds, you’ll see a globe rather than the apple appear. Wait for the recovery screen to appear and click re-install Mac OS.
03 Update your Mac
Once the install of Mavericks has been completed, click the apple icon > App Store. Search for Big Sur and click to install. This takes some time but once installed; the EFI should now be updated.
04 Installing the new drive
Once the installation has been completed, shut down the machine and check out the SSD installation steps above. If you’re still finding issues, then post your comments below.