A computer’s CPU is a component that’s somewhat shrouded in mystery, especially when it comes to Apple. It’s essentially the part of the computer that does the computing; it’s also one of the smallest and most expensive components.
When the Mac Pro (Late 2013), or Mac Pro 6,1, launched, it hit the streets with several CPU options, 4, 6, 8 and 12-Core, all Intel Xenon chips, with each upgrade commanding a huge additional expense for the purchaser. As with the previous generation of MacPro, Apple included enterprise-level processors in their machines which partly explained the price, $6499 in October 2013, and longevity of the machines.
To purchase the OWC 12-Core CPU for Mac Pro (Late 2013) please check out eshop.macsales.com/item/OWC/DIDMP13X2697/
The same basic model was on sale for six years, which has to be a testament to just how good these machines were.
The performance difference with each CPU model was quite a leap, and while RAM and storage will give the machine a boost, the CPU is the real driving force behind the processing.
Our test machine is a standard 6-core, and upgrading the hard drive and RAM has already boosted the real-world speed.
While not showing a huge performance difference when it came to benchmarks, the RAM upgrade showed a huge real-world performance boost. The MacPro (Late 2013) went from only running one or two power-hungry applications at a time to happily running Premiere Pro and Photoshop without issue.
The CPU upgrade will hopefully boost the overall performance further. It should make the apps run faster and give an added boost to some of the new OWC hardware already added, mainly the RAM and SSD.
Replacing a CPU, however, is a little more complex.
Adding a new OWC Aura Pro X2 to this MacPro (Late 2013) should have been straightforward, but as none of the Apple firmware updates had been applied through OS upgrades, it proved to be a bit of a challenge.
The OWC 128 RAM kit, however, couldn’t have been easier. The actual hardware swap was easy, taking no more than five minutes to complete in both cases. The CPU for the MacPro (Late 2013) is hidden away inside the heart of the machine, which means to get to it, I have to take the thing apart, locate the old CPU and replace it without breaking anything.
Looking at the process online and the OWC tutorial, it all looks simple enough: undo a few bolts, lift out the old CPU, place in the OWC replacement, and you’re done. In reality, the whole process took a little longer than expected but was ultimately not that challenging. My Mac Pro (Late 2013) once again proved to be just slightly different from any video or tutorial I found online.
The basic directions are the same for all MacPro (Late 2013)’s, with the only difference being that for some, the CPU clamp features two screws that clamp the CPU holder rather than bypassing it onto the backing plate.
If your Mac Pro has this type of screw system, you need to be a little more careful when unbolting the assembly.
Essentially to replace the CPU on the MacPro (Late 2013), you need to do the following:
01 Uninstall the RAM
Start by powering down the Mac Pro and removing all the cables. Then remove the case and pop out the sticks of RAM, and set aside. Then undo the Torx screws around the top of the machine and lift the top. Be careful. There’s a ribbon connecting the top to the main machine. 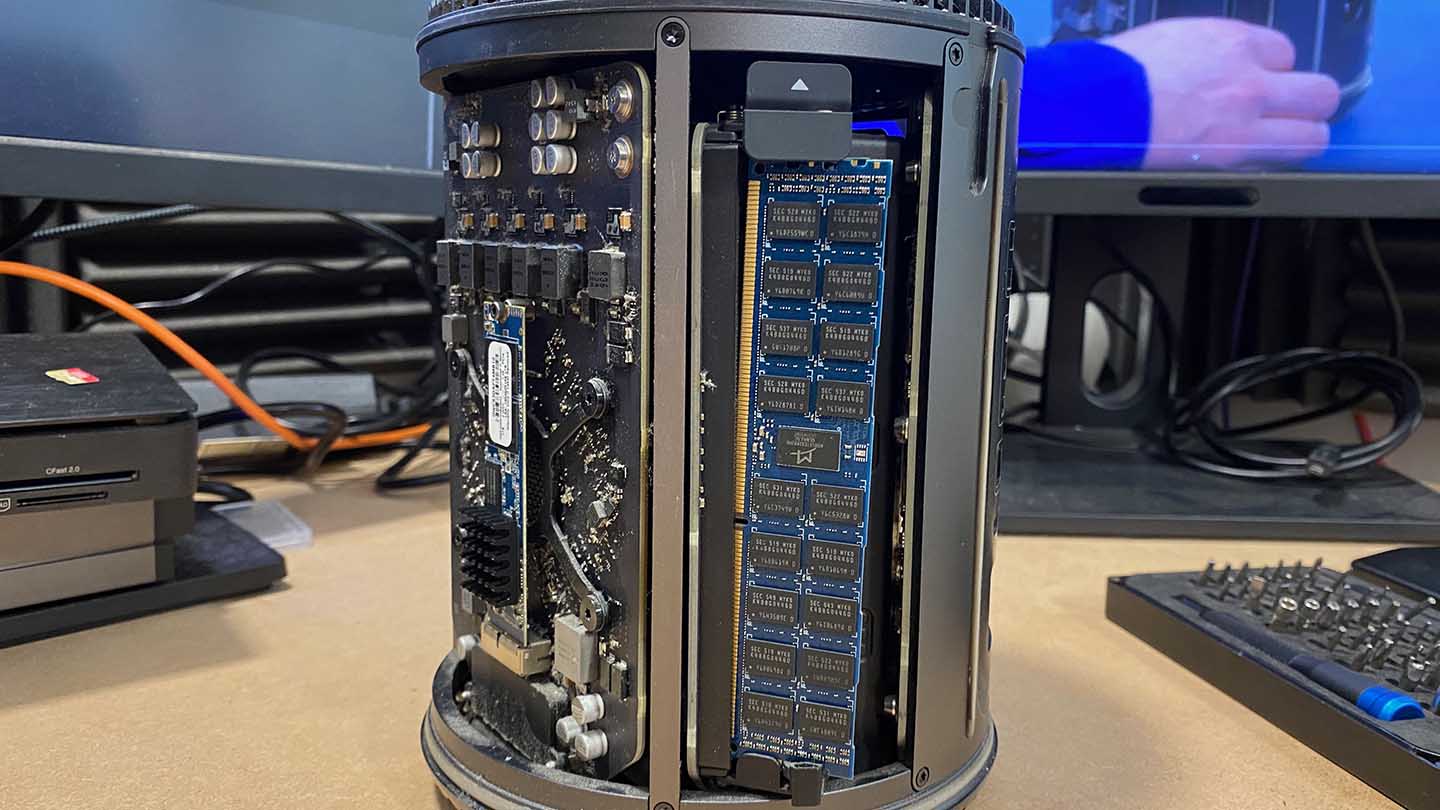
02 Removing the top
Remove the cable clamp, pop out the cable, disconnect the WiFi cable, and set the top aside. Now undo. The bolts around the base of the MacPro, turn the Mac over and remove the base. You’ll see three large ribbon cables on two sides; disconnect the two that are easy to access. 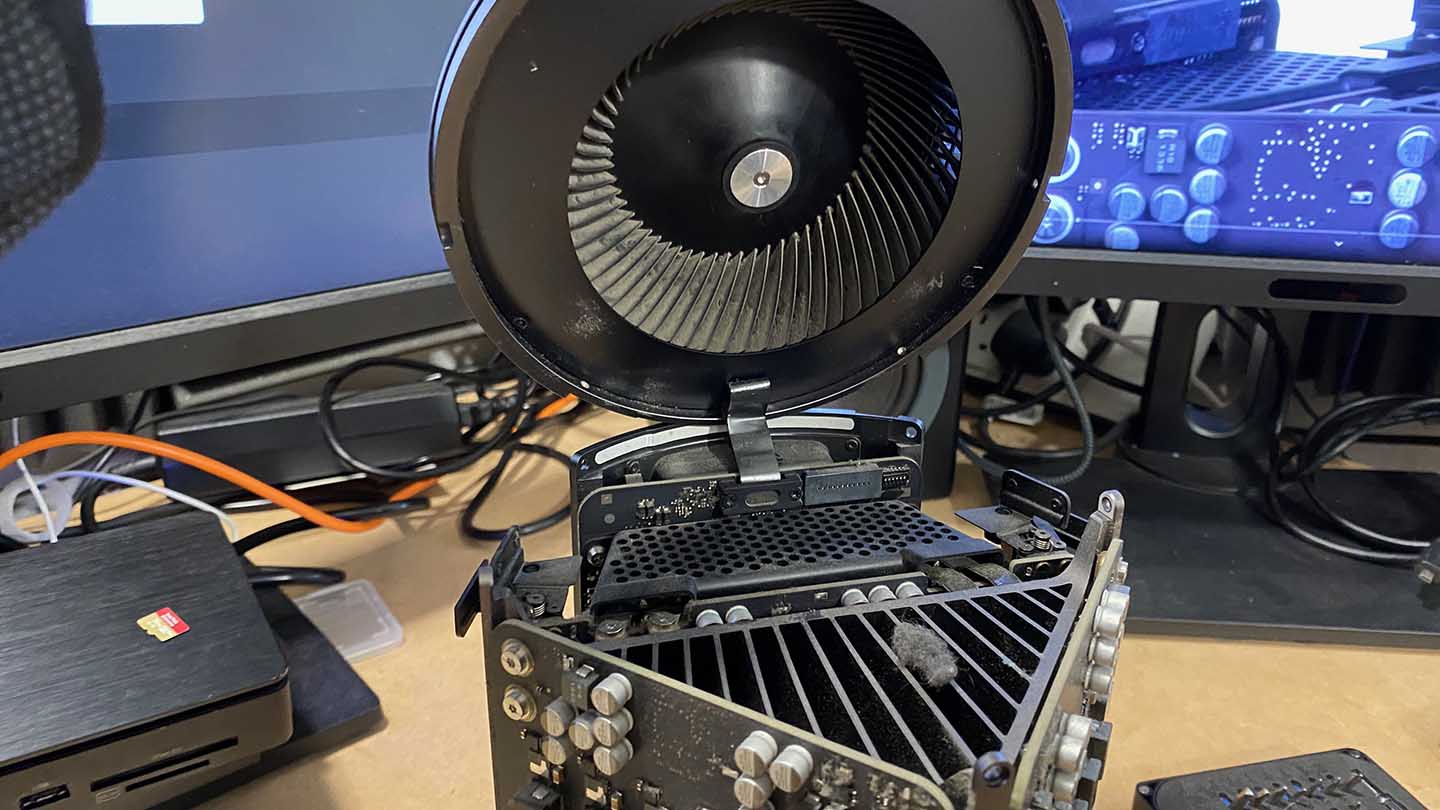
03 Getting inside
Undo the two screws in the base, then wiggle the base up to disconnect the board from the connector. You can now disconnect the third cable and set the board aside. It will probably need dust. Set the assembly back in the base. 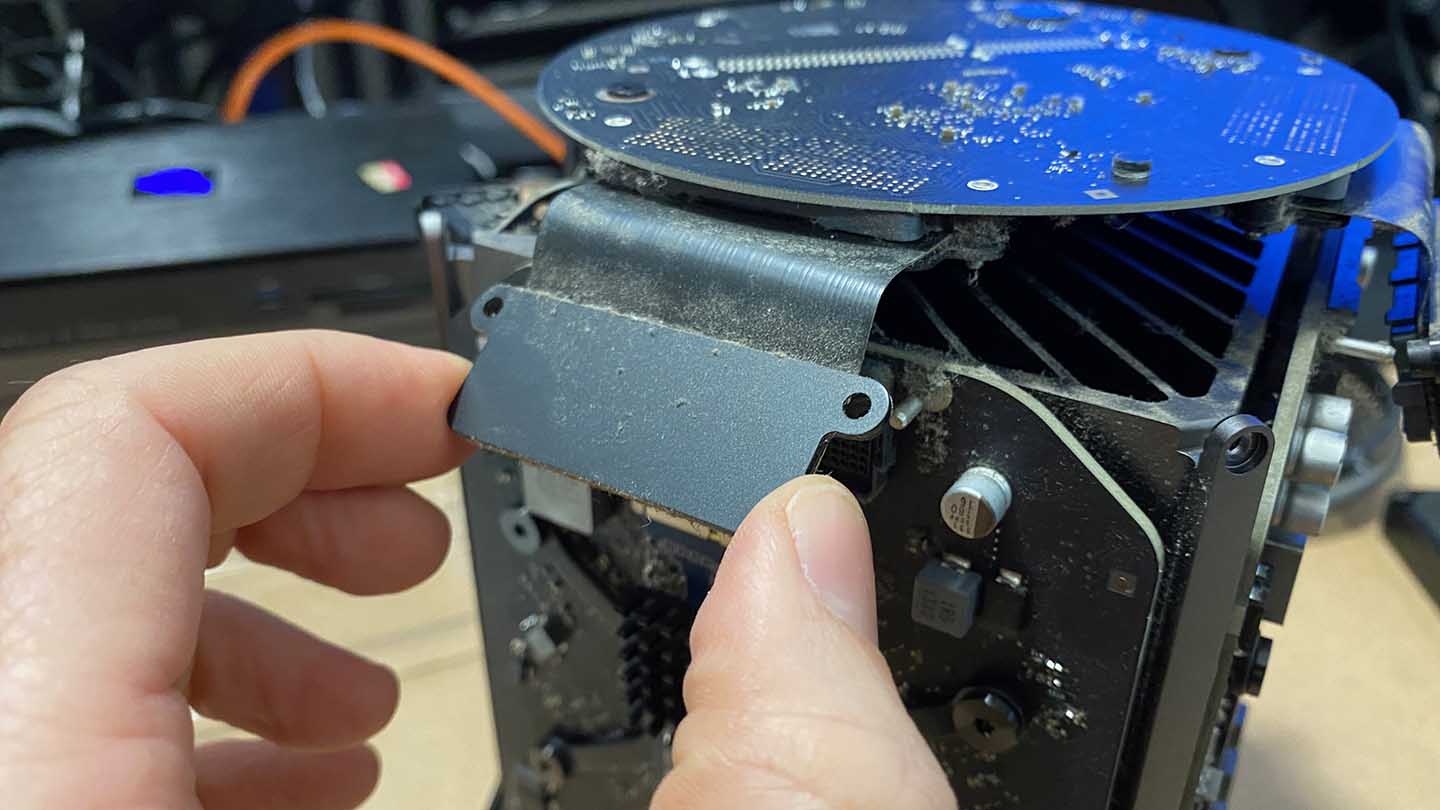
0
04 Remove the power
Undo the two tiny screws on the side of the grate and remove the grate. Undo the six silver screws then the power supply should lift easily away. Set the main assembly down on its side, the clamp held in place by eight screws holds the CPU.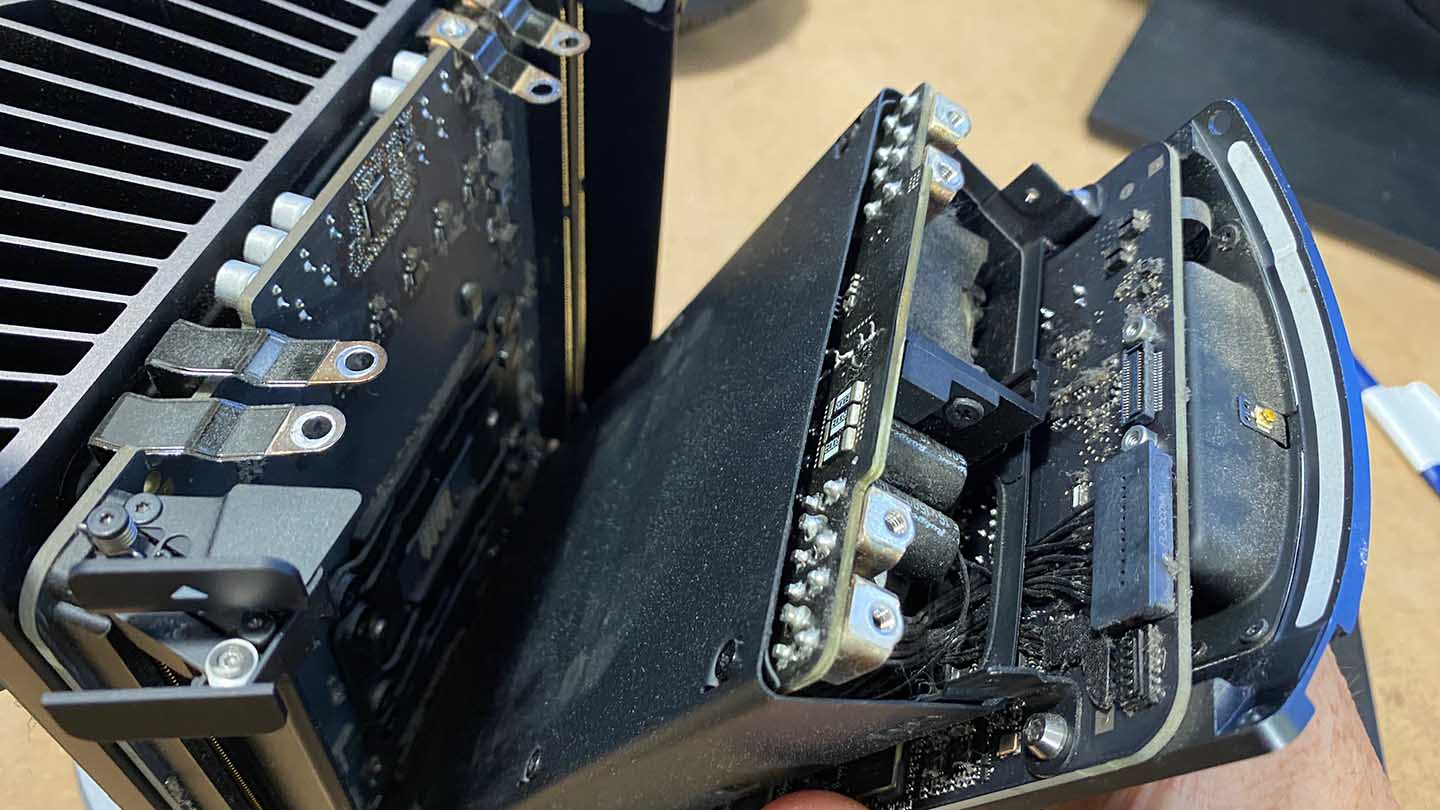
05 Unscrew carefully
Unscrew the eight screws in a star shape, unscrewing one side and then another on the other side. Take it slowly, so you don’t put pressure on the CPU. Lift the CPU from the backing plate. Use a 99Unscrew the eight screws in a star shape, unscrewing one side and then another on the other side. Take it slowly, so you don’t put pressure on the CPU. Lift the CPU from the backing plate. Use a 99% alcohol wipe to clean the top of the CPU and copper plate of the heat sink of thermal CPU paste.% alcohol wipe to clean the top of the CPU and copper plate of the heat sink of thermal CPU paste.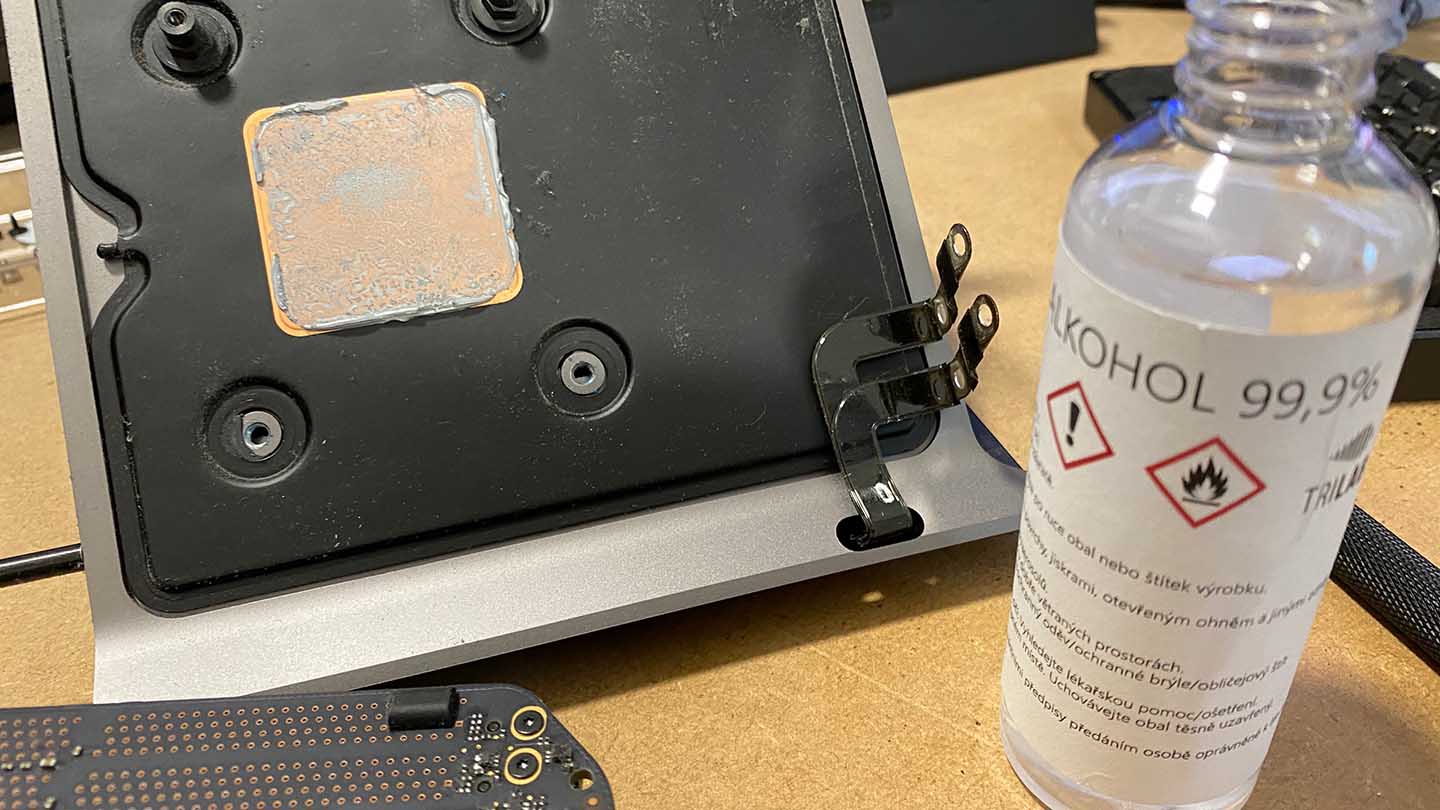
06 Replace the CPU
For most machines, you should be able to remove the CPU clamp and lift out the CPU. For some with the other clamp system, you’ll need to carefully jig things around to free the clamp before lifting out the CPU. Once done, pop in the new OWC CPU and carefully clamp things back in place. 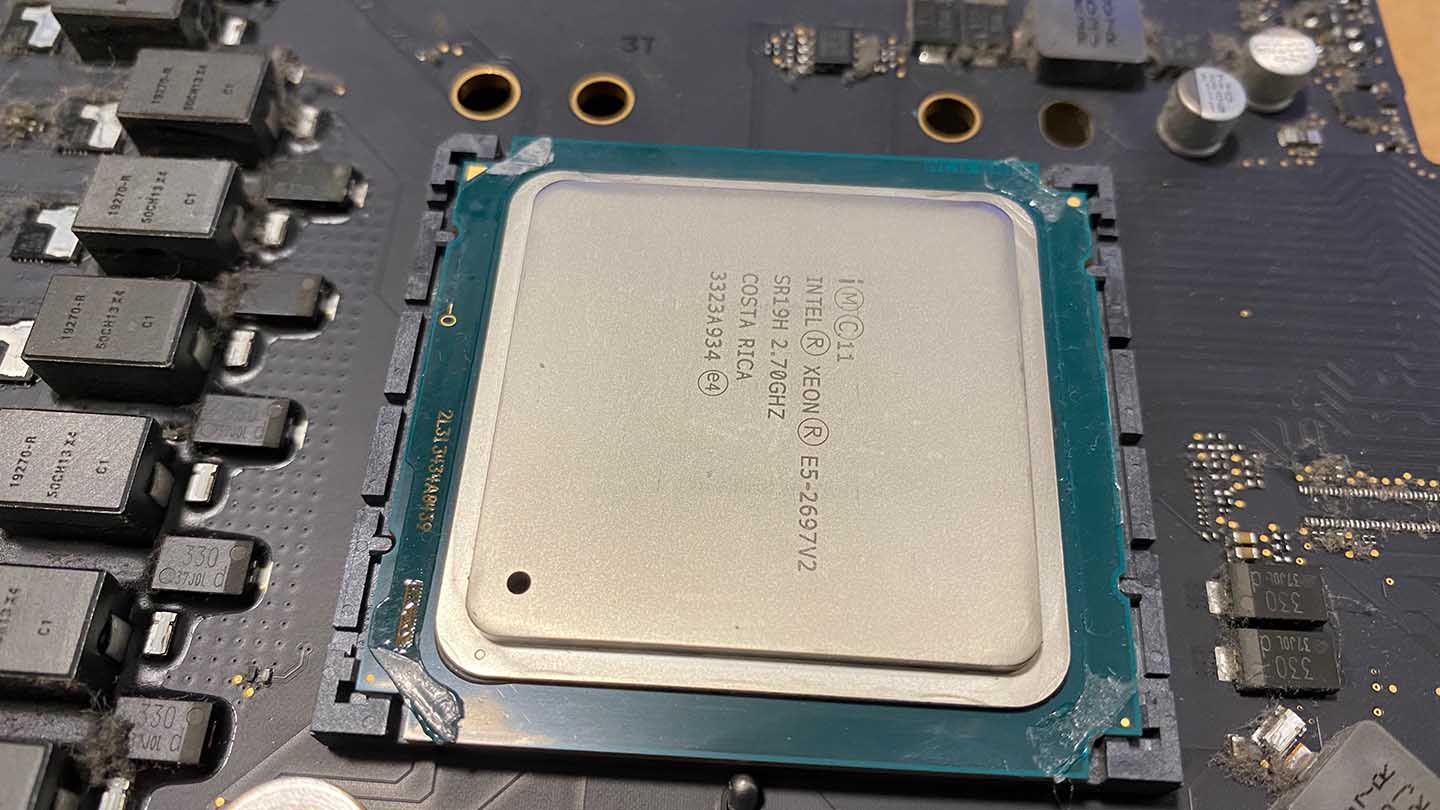
07 Working the CPU Clamp
Getting the clamp back in place can be difficult. The best way to do this is to lightly place the two inner screws on one edge the using your thumb push the one prong from the other side down and loosely fit the next screw, then repeat for the remaining screw. Tighten the first four-part way, then go back and place in the remaining four screws; take your time. 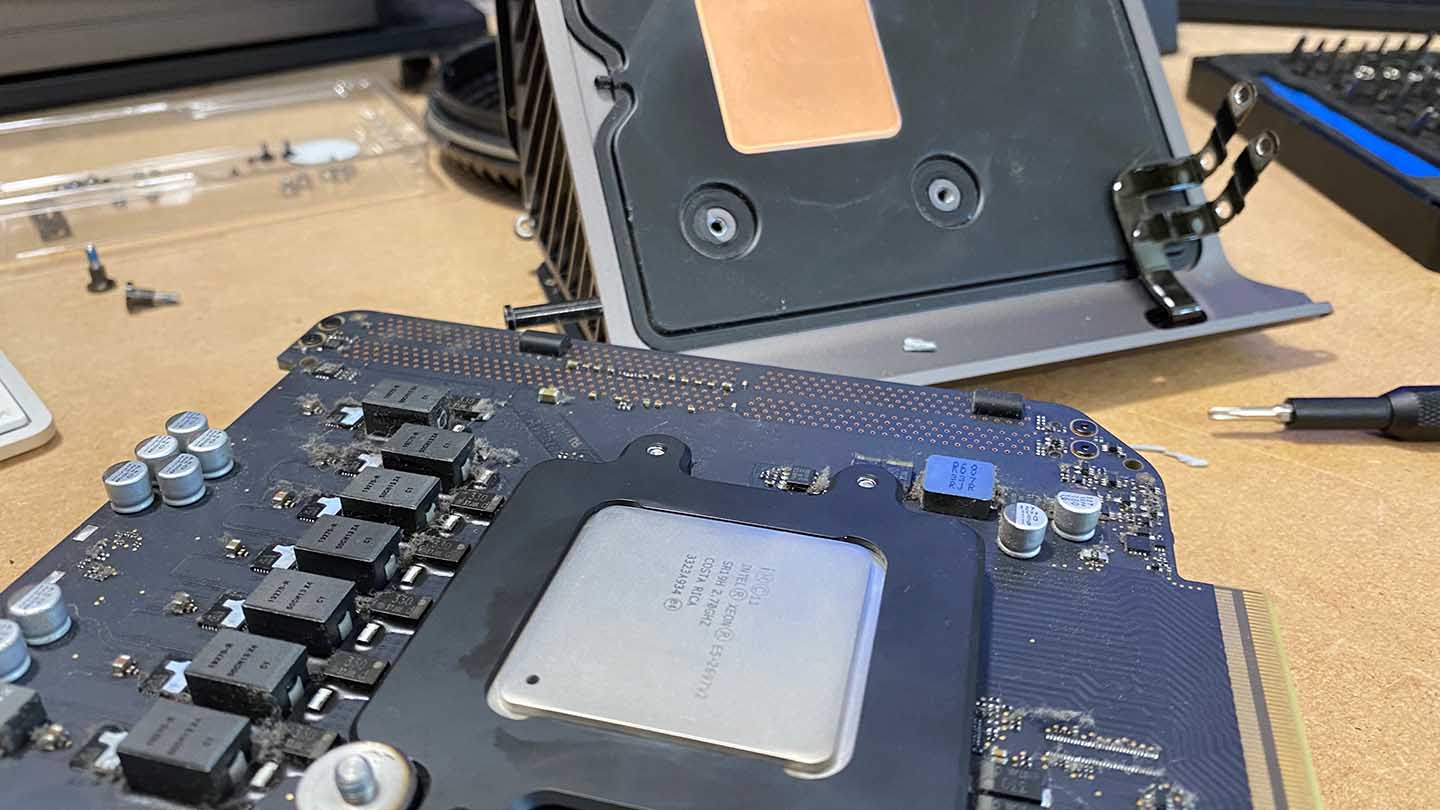
08 Heat compound
Before reassembling, you need to add some thermal paste to the top of the CPU; this helps transfer the heat away from the CPU. Apply a thin layer, and then make sure it’s evenly spread. Once done, the steps can be followed in reverse to reassemble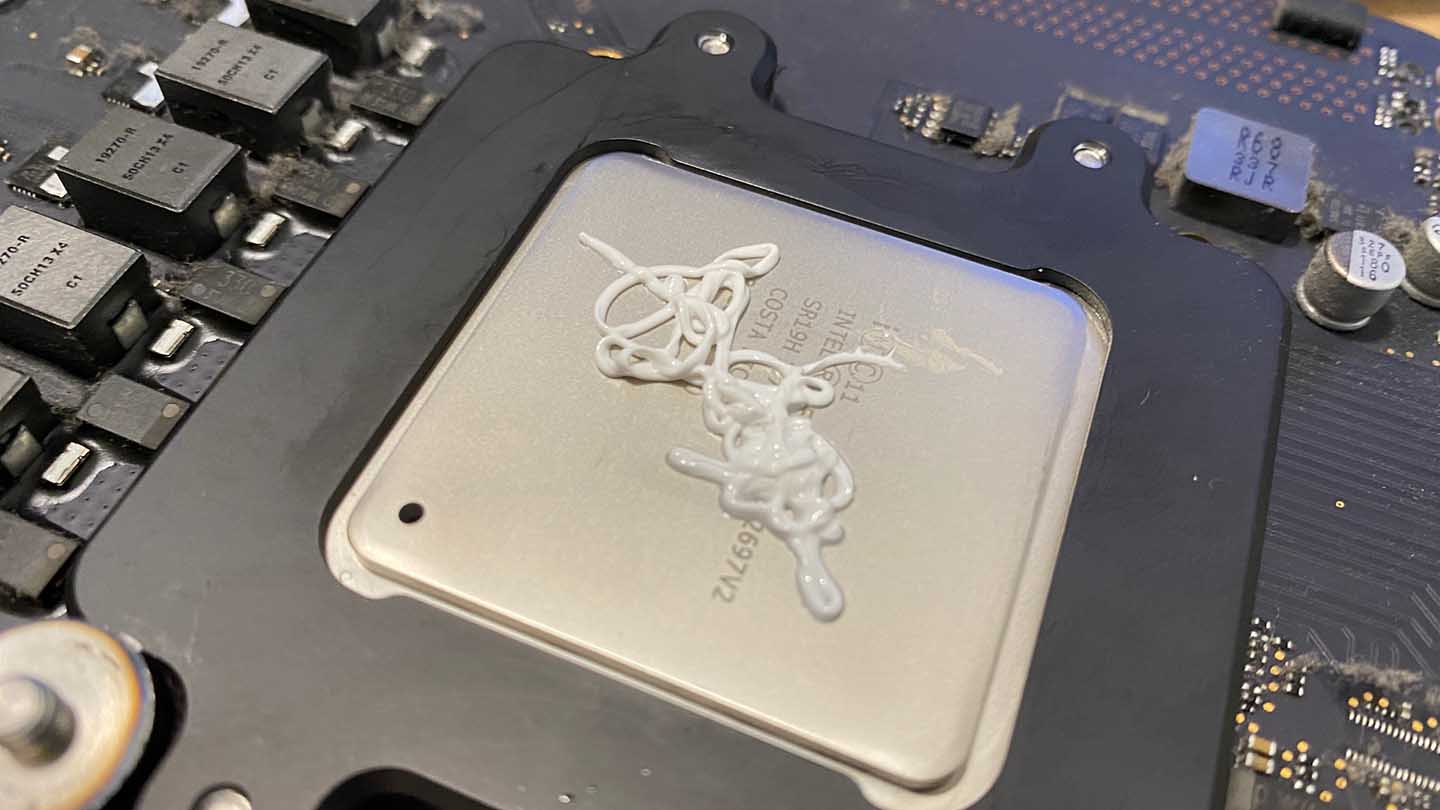
The entire process took around 30 minutes to complete, and while it looked like quite a daunting job once I got into the flow, it wasn’t that difficult.
The hardest part was the CPU clamp that differed from the one shown in the instructional video. A little bit of fiddling around was required before the clamp lifted off successfully, but otherwise, all straightforward.
After the MacPro (Later 2013) was reassembled, it thankfully booted the first time and a week of use proved that it was all working soundly.
Now for the test.
Before the test, the Geekbench results showed:
Single Core: 788
Multi-Core: 4353
After the upgrade
Single Core: 745
Multi-Core: 7799
That’s quite a leap for the multiprocessor results.
Loading up FinalCut Pro and I was keen to see the difference in performance. The difference is stark.
The new CPU gives FinalCut Pro a major boost in speed and power. The machine has had a massive boost. The combination of the RAM, SSD and CPU has brought the machine bang up to date.
Each component has pushed the machine’s abilities a step closer to what’s possible with the latest MacBook Pro’s and to be honest, the Mac Pro (Late 2013) is now outstripping the MacBook Pro 16-inch i9 2019 when it comes to rendering.
The newer MacBook Pro still beats the Mac Pro when it comes to rendering speed for short sequences and editing. But anything above 4K and five minutes in length, it’s back to the Mac Pro.
The OWC CPU upgrade tops the first stage of the upgrade process, and the increase in real-world performance is dramatic.
Some benchmark tests only show slight performance increases, but once you put the machine under strain, the real benefits of what’s now possible become apparent.
Before you spend the money on a new Mac Pro, it’s well worth considering the OWC Mac Pro (Late 2013) upgrade process.
For more information visit eshop.macsales.com/item/OWC/DIDMP13X2697/