Where do you start when it comes to landscape photography? Isn’t it a pastime plagued by 4am starts, lonely hikes and 20-second windows in the weather? Wrong! Well, partially right, anyway. If you’ve never taken a landscape photo in your life, don’t worry. We can help you get started. Below are our best landscape photography tips for beginners that should make your first steps into scenics that bit easier…
For more help in your photographic journey, check out our Photography for Beginners page, which has links to many of our tutorials to help you get started.
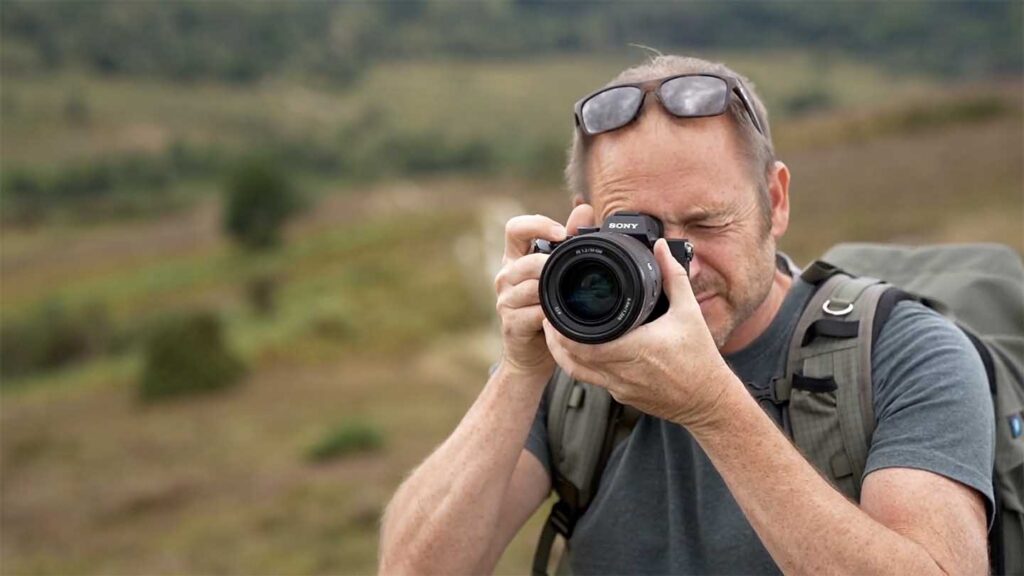
01 You don’t need a wide-angle lens
You can shoot landscape photos with any lens, whether it’s a wide-angle, a standard or a telephoto.
Although an ultra-wide lens can help you squeeze more into the picture, it can make composition challenging and there’s a risk that everything will look too small in the frame. The trick with an ultra-wide angle lens is to get close to detail in the foreground, although there is a risk that this detail will start to look distorted if you’re too close.
Standard lenses give a distortion-free image, although you’ll need to work harder to make more exciting picture. Why not try shooting a panorama? Although specialist tripod heads can make this easier, software solutions such as Photoshop’s Photomerge feature can produce fantastic panoramas from pictures taken using everyday photo equipment.
They key is to make sure you provide enough of an overlap when you shoot each frame. Position the camera vertically too, as this will give you a much larger panoramic photograph and more freedom to crop the image if necessary.
Telephoto lenses enable you to pick out details in the landscape. The compression effect offered by these types of lenses is also a useful trick for adding drama to scenic photos. Making the foreground, middle ground and background appear closer together than they are in reality is a technique that landscape photographers use to make hills, mountains and forests appear to stretch almost endlessly into the distance.
02 Time of day matters
Landscape photography tips usually include a reference to the ‘golden hours’ – and with good reason. The warm light at dawn and dusk adds a beautiful quality to pictures. The low sun also helps to reveal texture in the landscape.
Don’t pack up when the sun dips below the horizon either. The soft hues at twilight can add an extra dimension to landscapes, while the inky-blue sky of early evening works much better for low-light landscapes than the pitch-black of night.
03 Use Aperture Priority mode
Your camera’s mode dial may offer a Landscape scene mode, but this is a fully automatic option best reserved for snaps. You may not agree with the camera’s choice of aperture or the way in which it increases saturation and sharpening, but you can’t manually override these settings.
This is why Aperture Priority is often a better choice for landscape photography. This semi-automatic mode enables you to change the aperture while the camera adjusts the shutter speed in order to maintain a consistent exposure. You’re also free to tweak the colours, sharpening, ISO and other camera settings.
Altering the aperture in Aperture Priority mode won’t make the picture brighter or darker. To do that, you’ll need to use your camera’s Exposure Compensation control.
04 What is the best aperture for landscapes?
To get everything sharp from the foreground to the horizon requires the use of a fairly small aperture and careful focusing.
Small apertures provide more depth of field – the amount of front-to-back sharpness in a photo. But very small apertures actually lead to softer pictures thanks to the effects of ‘diffraction’.
The aperture at which diffraction starts to outweigh the benefits of increased depth of field varies between lenses, but many landscape photographers favour apertures in the f/8-f/16 range.
To maximise the depth of field and get the sharpest landscapes at these apertures, try manually focusing roughly a third of the way into the scene. Playback the image and magnify areas to ensure the key features are sharp, adjusting the focus point and retaking the photo as necessary.
05 Use a sturdy tripod
Hackneyed photography advice it may be, but it’s one of the best landscape photography tips for beginners. When it comes to scenics and outdoor photography, a sturdy tripod is a wise investment.
The combination of soft light, small apertures and low ISO settings that are typically used for landscape pictures produce long exposure times. It’s unlikely you’ll get a sharp handheld photo in these conditions, even with an image stabilised lens or camera.
A tripod also has the added benefit of slowing you down and making you consider the composition before setting the camera up.
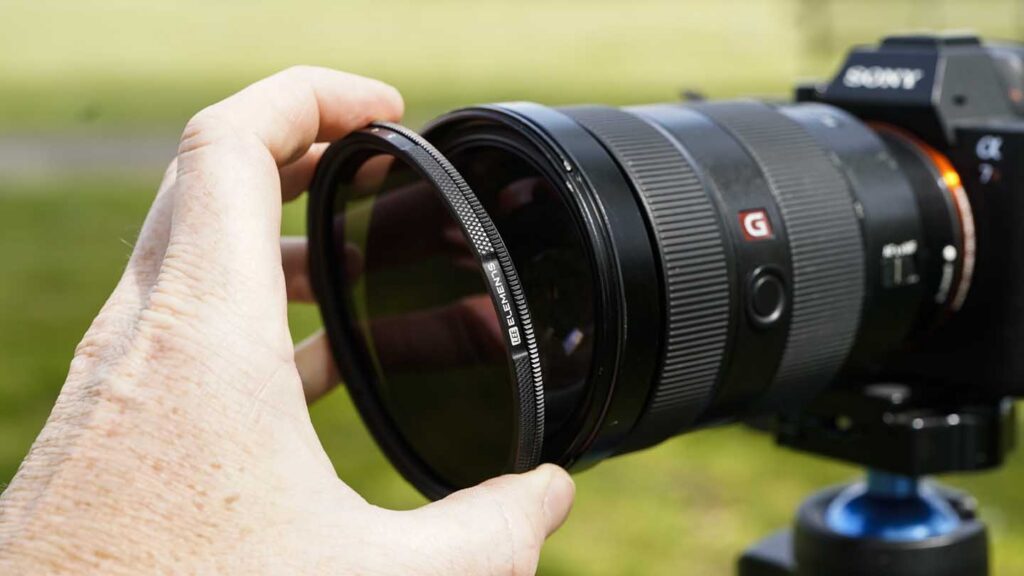
06 Filters can improve your landscapes
There are three types of camera filters that are made for landscape photography: a polarising filter, graduated Neutral density filters (a.k.a. ND grads) and standard Neutral Density filters.
Polarising filters or simply ‘polarisers’ enable you to remove glare from foliage and the surface of water, and boost the contrast between clouds and a blue sky.
Standard Neutral Density filters are dark filters that reduce the amount of light let in through the lens. They enable you to use slow shutter speeds in bright conditions, producing the classic ‘milky water’ waterfalls and rivers.
Graduated Neutral Density filters feature a dark area and a clear area. By positioning the dark area over the sky, you can bring the exposure of the sky and the landscape closer together, allowing you to record detail in both areas in a single photo. Without an ND grad filter, you may end up with a sky that’s too bright (if you expose for the landscape) or a landscape that’s too dark (if you expose for the sky).
Rather than use traditional ND Grads, many landscape photographers now prefer to take multiple photos of a scene, varying the exposure between each frame. These photos are then combined in software to produce a single well-exposed image.
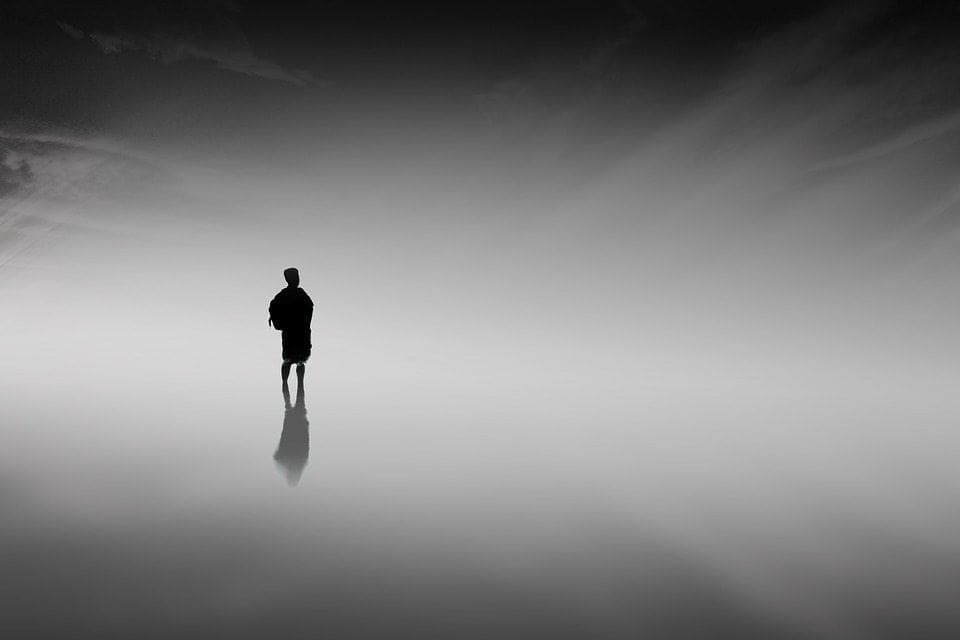
07 Find a focal point for your composition
Scenic shots that lack a focal point are usually less successful because a viewer’s eye is left to wander around the photo, with nothing to latch onto.
Whether it’s a building, a tree or even the position of a cloud in the sky, try and find an ‘entry point’ into your picture for a viewer.
Again, it may sound obvious, but this is one of the best landscape photography tips for beginners to remember.
08 Use lines to lead viewers through your image
If you want to draw a viewer’s attention to the focal point of the photo, look for lines in the landscape – whether it’s an obvious line formed by a river, a road or a fence, or an implied line created by a series of rolling hills or clouds.
Diagonal lines that lead from roughly the corner of the picture to the focal point tend to create more dramatic pictures, but avoid lines that lead from one edge of the picture to the other – these will simply direct a viewer out of the picture.
09 Fill the foreground
Think about your landscape photos in terms of foreground, middle ground and background. The focal point may sit in the middle ground and the background may be filled by a brooding sky, but don’t neglect the foreground.
It doesn’t have to be dramatic: frost-covered grass or the sky reflected in a puddle can work just as well as the edge of a cliff or an ancient monument.
10 Don’t run the horizon straight through the middle of the photo
You might think that putting the line of the horizon in the centre of a landscape photo will make the picture look more balanced, but that’s a shortcut to boring pictures. More interesting scenics are usually had when the horizon is placed off-centre.
There are no hard-and-fast rules for where to place the horizon, although the Rule of Thirds is a good place to start.
Activate the grid display on your camera’s Live View screen and place the horizon along one of the off-centre horizontal lines. Some camera viewfinders also offer this grid function.
Alternatively, use the autofocus points as a guide, lining up the horizon with the tops of bottoms of the off-centre AF points.
If the land is where the action is, give that the larger portion of the photo. If the sky is more dramatic, do the reverse. The one time when running the horizon dead-centre usually proves to be the best option is when you’re photographing a mirror-like reflection of the landscape in a lake or pond.