The demands on today’s photographers have rapidly increased. It’s no longer a case of us just shooting stills; usually, a short video is bundled into the days shoot.
For information on all offers for the Datacolor SpyderX check out the website at https://www.datacolor.com
Switching between stills and video in-camera is a doddle, just use the cameras mode dial to switch from one shooting mode to another. The camera handles the intricacies of the different formats and colour profiles.
But what if you care about colour, what profiles should you be using for stills and or video?
When it comes to stills AdobeRGB rather than RGB is the photographer’s default. Shooting in this colour profile ensure that your images capture as wide a colour space as possible and this will give you plenty of flexibility when editing.
If you’re shooting video, then things get a little more tricky. The standard for broadcast is Rec. 709. However maybe a little old hat, and of course, we’re not all watching our video through broadcast mediums and TV. However, it’s still a good default for standard HD and using Rec. 709 is an excellent go-to.
More up to date is the P3 and Rec. 2020 profiles. P3 is closer to the present standard with a far wider colour space than Rec. 709.
Then there’s Rec. 2020 which is HDR, it’s unlikely that you’re monitor will show Rec. 2020 in all its glory, but it’s worth knowing about as it will extend the dynamic range that your camera can capture video.
The issue is that working out what these colour modes are on your camera can be a real issue. For instance, on a Sony Alpha camera, you’ll need to delve into the Picture Settings.
Select PP3 or PP4 for Rec. 709 options and select PP10 for the BT. 2020 profile.
When it comes to video selecting the right profile is just as crucial as stills and will ensure the best colour, tone and contrast. It’s also important that you understand what and where the footage your shooting and editing is going to be played back.
It’s no use shooting Rec. 2020 if the playback is Rec. 709 you’re going to lose a tonne of tonal information. The way around this is to convert Rec. 2020 to Rec. 709 using LUT, but that’s a whole other feature.
While we’re all well aware of the benefits of choosing the right camera settings, all that care and attention is often forgotten once we transfer those images and video to our computers.
Working in the correct space ensures that the colours of the video or stills you’re editing on screen are accurate. Many dedicated photography and video monitors have colour spaces built-in, and these can be accessed through the OSD (On Screen Display).
Likewise the same for stills, with RGB, AdobeRGB and P3 profiles that can be quickly selected and changed to suit the project you’re working on.
However, these colour spaces are configured in ideal factory locations and while they might be correct at the point of manufacturer, once in your home or office the colours displayed may be off.
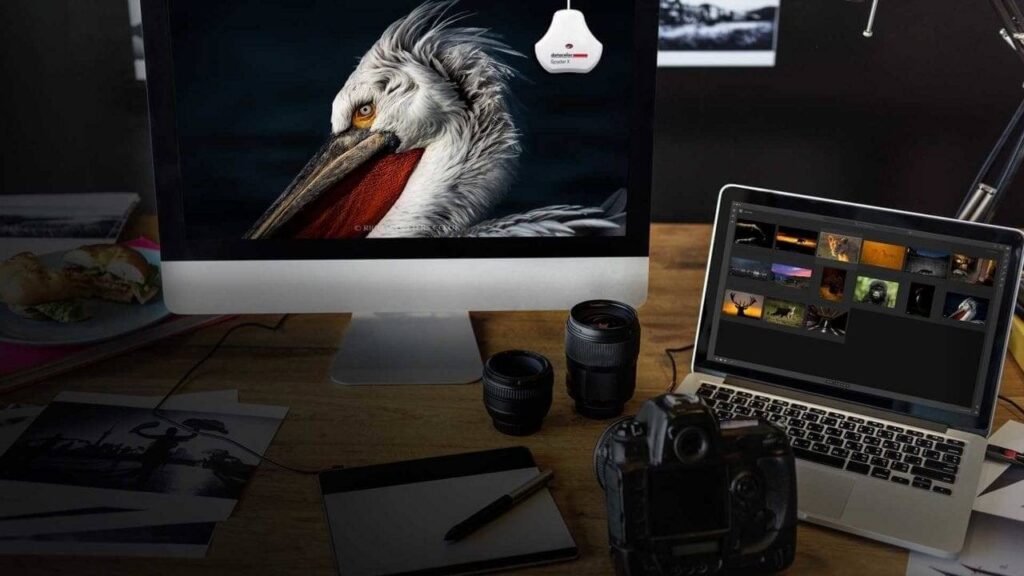
As ever the only way to check the quality of your display’s output is with a monitor calibration device such as the SpyderX.
Let’s take a look at how to do this for both photography stills in Adobe RGB and for video with Rec. 709, DCI P3 or Rec. 2020.
Before you start, make sure that your monitor can display the colour space that you’re after. For instance, the Dell U2715H will only display RGB while the BenQ 270C will display full AdobeRGB, and the EIZO CG319X will display a significant amount of Rec. 2020.
Calibrate the Adobe RGB Colour space
- Connect the SpyderX to your computer
- Ensure you have the monitor data cable connected to your monitor
- Open SpyderX and run the Full Calibration
- Once complete Open Profile Management
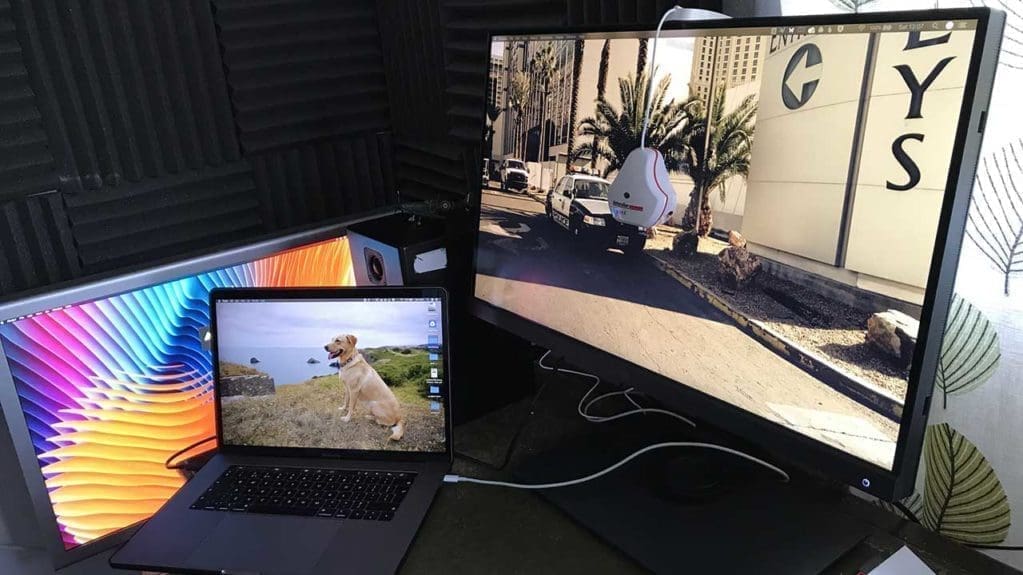
- If using a dual monitor setup move the window to the monitor you want to update
- Click Refresh and select AdobeRGB and click Set as Display Profile
- Close Datacolor Profile Management
Calibrate the Rec. 709, P3 or Rec. 2020 Colour space
- Start by connecting the SpyderX and monitor data cable
- Run the Full Calibration
- Open Profile Management
- If using a dual monitor setup move the window to the monitor you want to update.
- Click Refresh and select Rec. 709, P3 or Rec. 2020 and click Set as Display Profile
- Close Datacolor Profile Management
One of the most important steps in the process is to ensure that data cable is connected to your computer, alongside the DP, HDMI, USB-C, or whatever the connection your computer uses. This data feed to the monitor will be required by the Datacolor SpyderX software to adjust the profile.
Once you have your monitor correctly calibrated with the SpyderX you can then pop back to Profile Management at any point to change the profile; Rec. 709, DCI P3 or even Rec. 2020 if you have an especially high-end monitor like the EIZO CG319X.
Making sure you’re using the right profile for your video or images is incredibly important and utilising monitor calibration such as the SpyderX ensures that those colours are always spot on.
For information on all offers for the Datacolor SpyderX check out the website at https://www.datacolor.com