If you’ve just bought a GoPro camera, or perhaps there’s one under the tree for you, and you’re wondering how to get started on your journey, we can help. Whether you have a GoPro Hero9 Black, GoPro Max, Hero8, Hero7, Hero6 or Hero5 Black, the process of setting up your action camera is largely the same.
In this tutorial, we’ll show you how to set up your GoPro camera for the first time, from taking it out of the box and formatting your memory card to selecting resolution and frame rates.
We used a GoPro Hero9 Black for this tutorial, but the same process applies to models going back to at least the Hero5 Black. Some of the features and resolution options have changed over the years, but rest assured this guide will give you the base knowledge you need to get up and running with your GoPro.
How to set up your GoPro
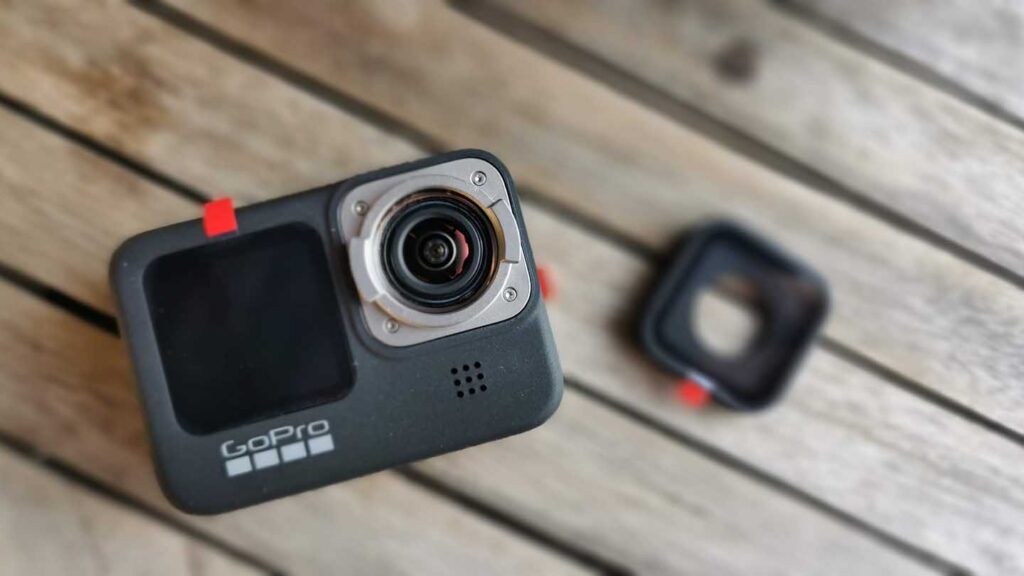
01 Take off screen protectors
This seems like an obvious one, but your GoPro camera – if you’ve bought it new – will have transparent screen protectors on the lens and LCD. It’s easy to miss these in a rush, and if you shoot a video or take a photo it might come out dark and blurry due to this sticker.
02 Insert the battery and charge the camera
Another seemingly obvious tip, but in your excitement to get started it’s easy to forget to charge your battery. If you haven’t bought GoPro’s separately sold battery charger, stick the battery in your camera, lining up the connection points. Next to the battery terminal is a USB C port. Plug it in and it should reach full charge in a couple hours.
03 Format your memory card and insert
GoPro cameras use microSD memory cards. If you have the SanDisk card that comes with some GoPro bundles, or if you’ve bought a new microSD card, stick it in the camera and you’re good to go.
If you’re using a card you’ve already shot with in other devices you’ll want to format that memory card before using it in your new GoPro.
It’s worth reformatting your card on a regular basis to ensure optimum performance. However, remember that doing so will erase the card so ensure you back everything up you want to keep.
On one side of your GoPro is a compartment door. Slide the switch and pull to open the door, and this is where you insert the battery and memory card.
When inserting the microSD card, the label should be facing the battery. Close the door and lock the switch, and you’re now ready to get started.
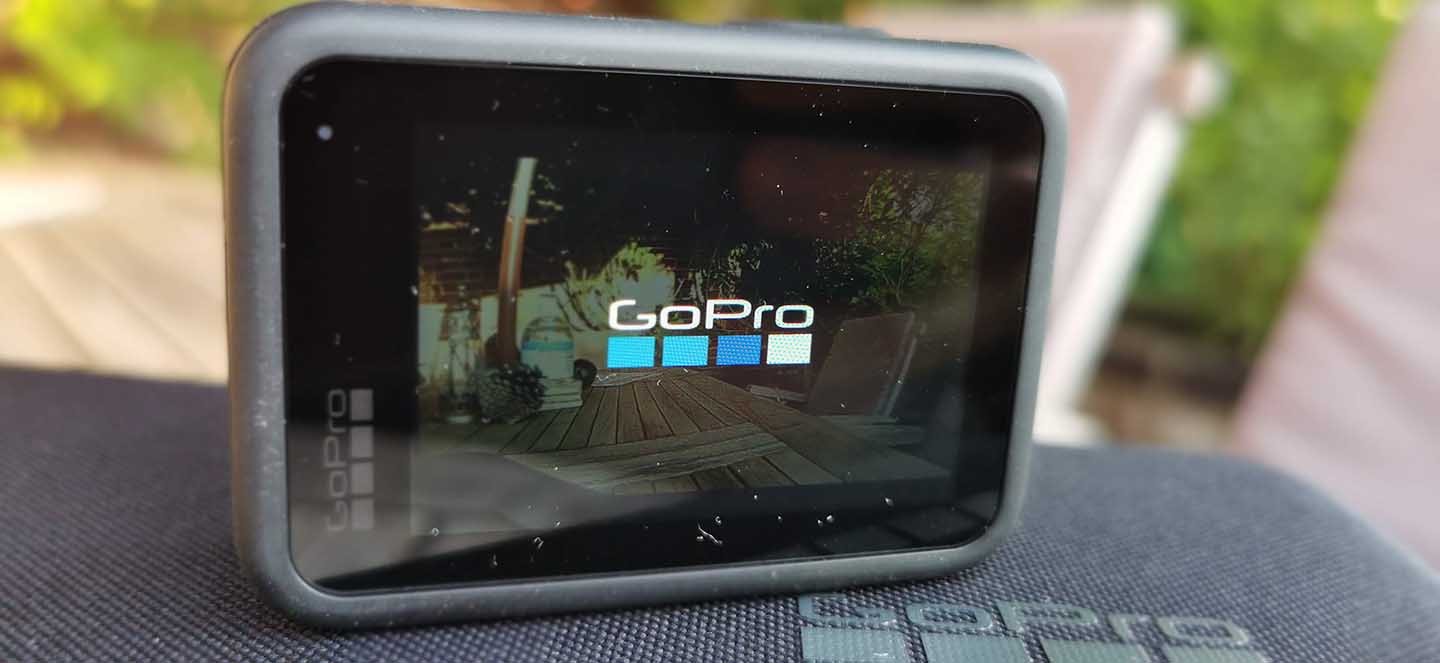
04 Turn on and select your language
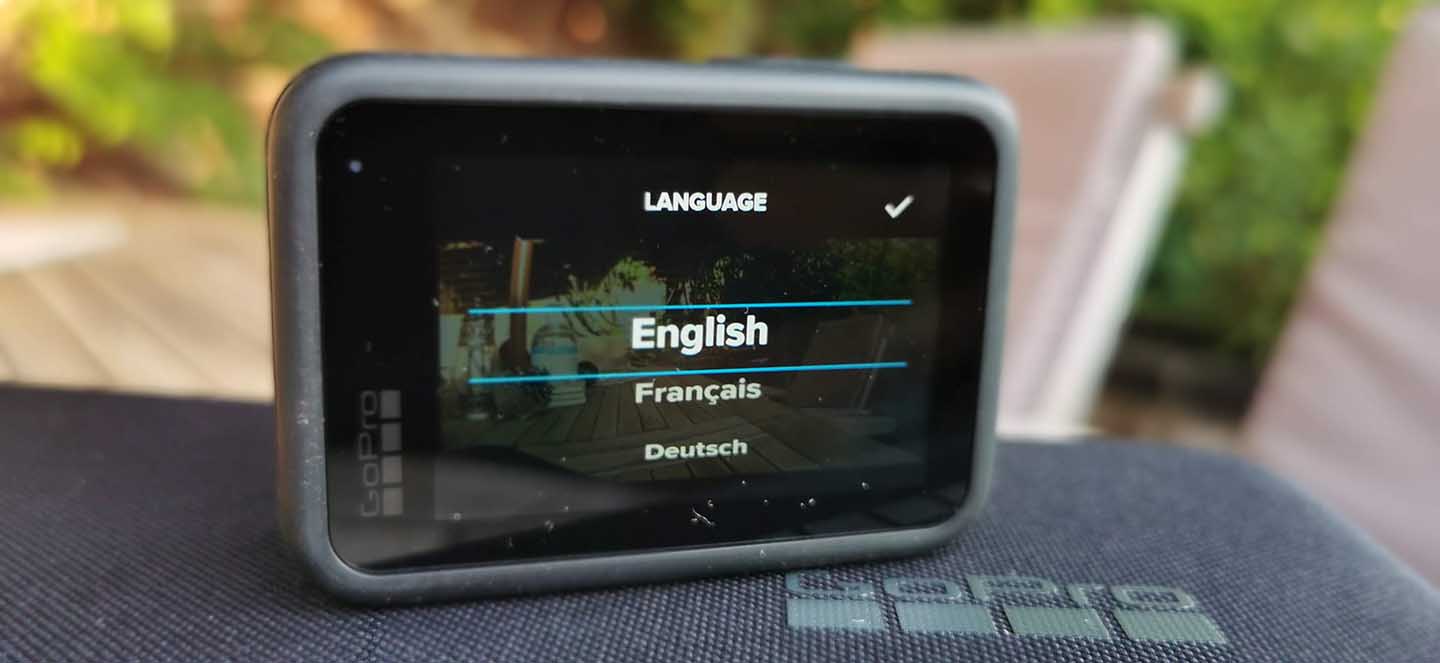
When you turn on your GoPro for the first time you may be prompted to update your firmware, depending on when your GoPro was produced. Next you’ll be prompted to select your language. Unless you speak Klingon or Esperanto, you’ll find your option by scrolling down.
05 Accept terms
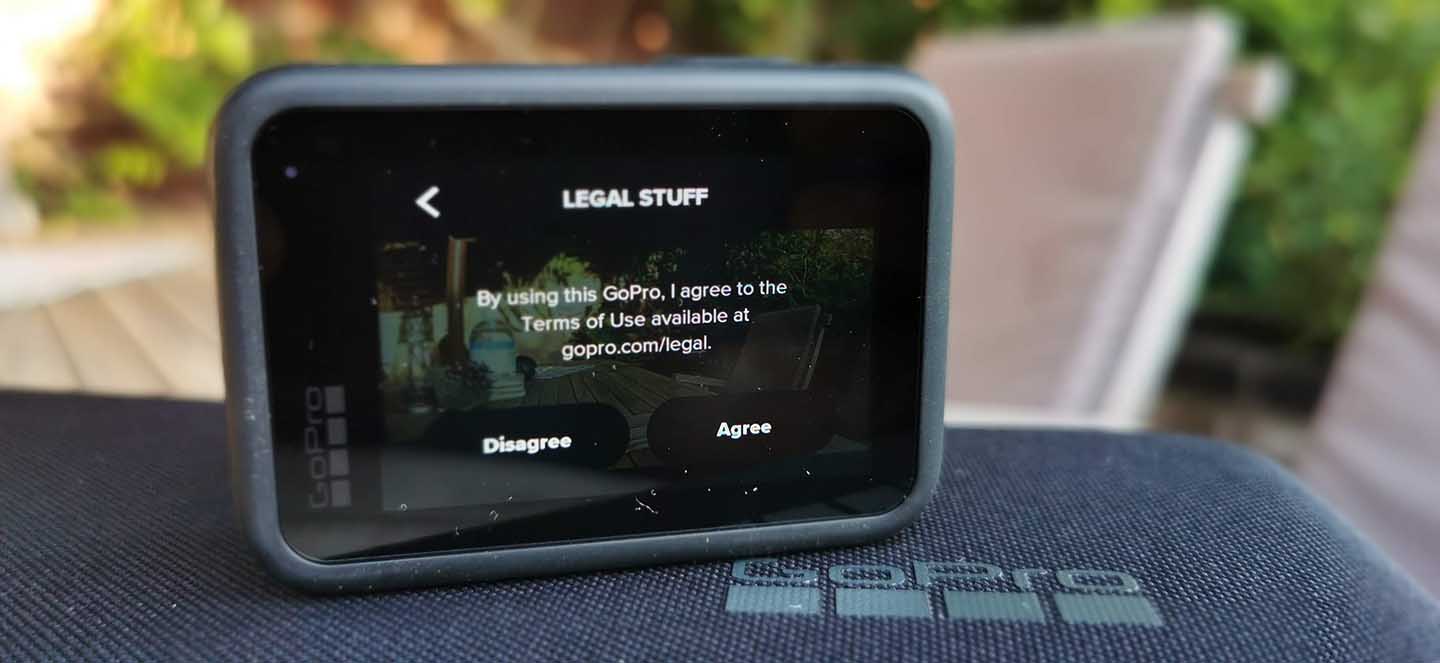
The next screen will prompt you to accept GoPro’s terms of use. You can read these if you like, otherwise click Agree and move on.
06 Turn on GPS
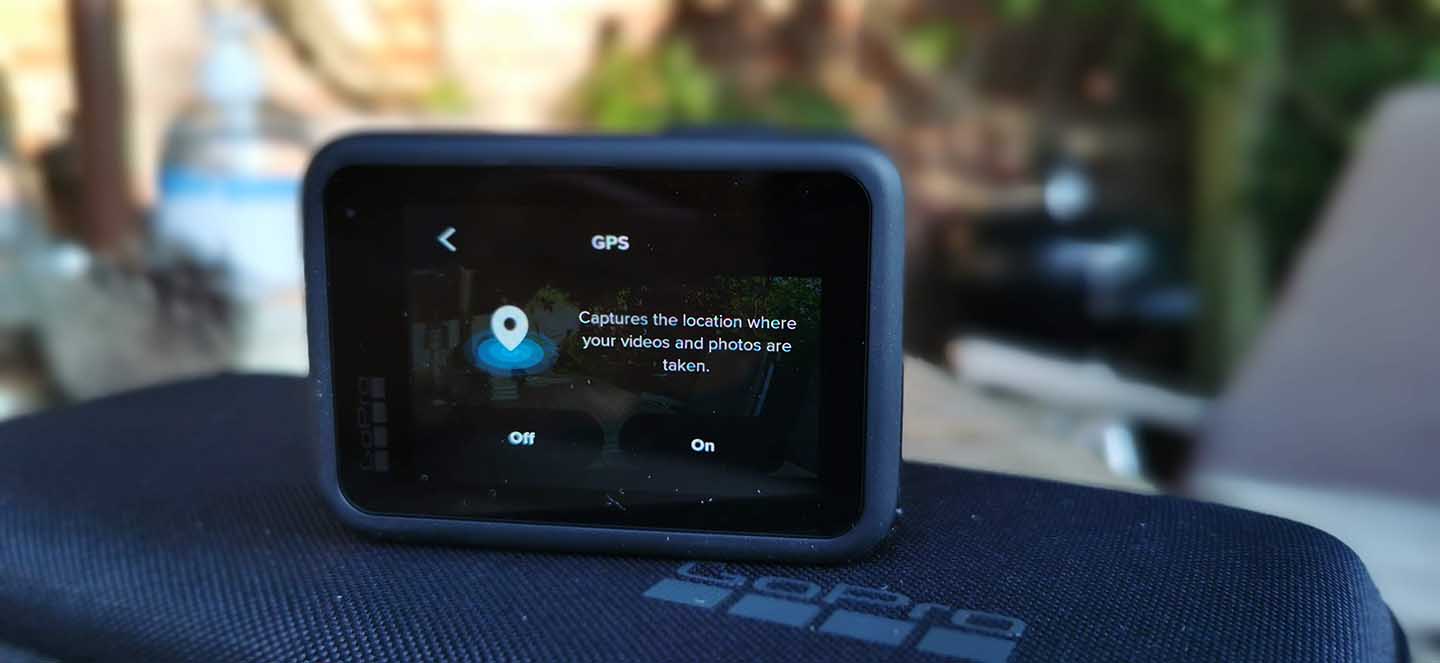
GoPro will next prompt you to turn on your GPS. These days, giving big tech access to your data can seem scary, but allowing GoPro to access your GPS lets you stamp your photos and videos with data on where you went, your speed, elevation and more.
07 Download the GoPro App
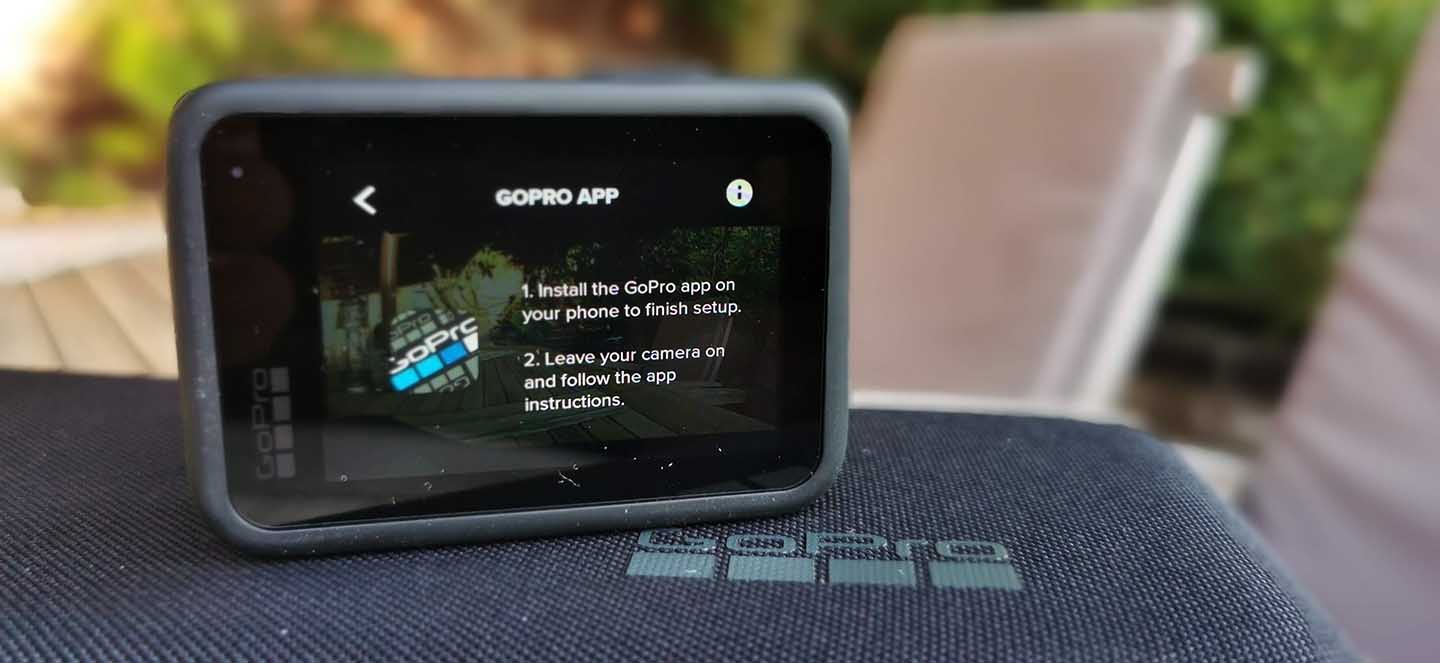
Download the GoPro App from the Play and App Stores and go through the steps connect the camera to your phone. In the GoPro App press the + symbol and search for your camera. Once it finds your GoPro camera, it will ask you if you want to rename it or stick with the default name.
08 Control your GoPro with the app & direct controls
Once the app is set up and your camera is found you’ll have the option to control your GoPro within the app. This lets you use your smartphone as a live view screen and preview images and video, and apply all the settings you can do in-camera.
In Photo mode you can choose your ‘lens’, or angle of view, the self-timer, zoom options and what type of photo you want to output – options include raw, standard, HDR or super-photo.
In Video mode you can again select the lens, slow motion options, Boost and zoom. At the bottom of the screen is the resolution and frame rate control.
Tap this to access Standard, Activity, Cinematic and Slo-Mo video modes, then tap the pencil icon next to each to select the available resolutions and frame rates in each mode. Note that some of the resolution options require support for HEVC on your computer or smartphone.
In the video mode options, too, you can also select HyperSmooth stabilization, scheduled captures, timers, Zoom, filming duration and HindSight option to film when the shutter button is pressed.
Again, we used a Hero9 Black for our tutorial, but the process is the same for older GoPro cameras. A Hero5 Black, for instance, will have a similar interface in video mode, except resolution and frame rate options will be different and HyperSmooth wasn’t introduced until later models.
09 Set your preferences
At the top of the preview screen in the app, tap the spanner icon to access the Camera Preferences. Here you can set the voice control language and wake with voice settings.
Here you can also enable QuikCapture, GPS, video compression, LCD brightness, set the date and time and more. You can also check the status of your SD card and battery.