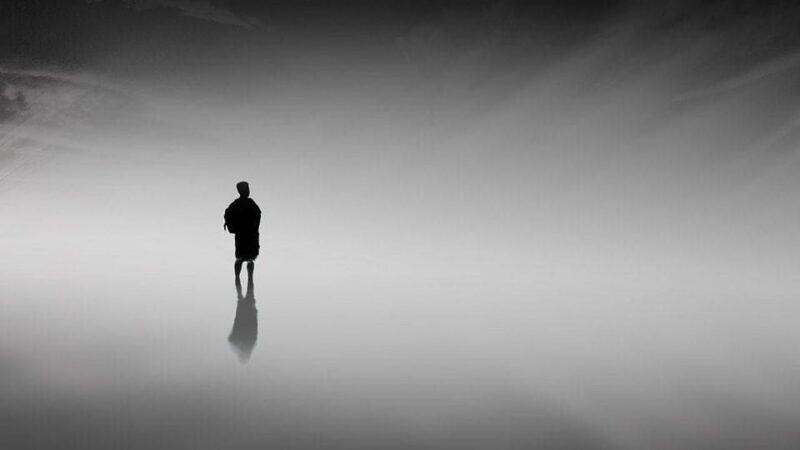
If you’re heading out tonight to photograph the Lyrid meteor shower, you don’t need expensive or highly specialised gear to get started. Meteor photography is one of the most accessible forms of astrophotography, and it rewards a simple, well-prepared approach far more than having the latest equipment. What really matters is finding dark skies, giving yourself enough time, and having a solid understanding of your camera settings so you can react confidently in low-light conditions.
In many ways, it’s about working with the fundamentals—balancing exposure, keeping your camera steady, and letting it run long enough to capture something unpredictable. That balance between simplicity and uncertainty is exactly what makes meteor showers so appealing to photograph. You’re never quite sure when a meteor will appear, but when it does and your settings are right, the result can feel genuinely rewarding.
Best Locations in the UK for Meteor Photography
Your success when photographing the Lyrid meteor shower will depend far more on where you shoot than the equipment you bring. Even the best camera setup will struggle under bright, light-polluted skies, while a basic kit can produce great results in the right location.
If you’re near Salisbury, Old Sarum is a convenient place to start and offers relatively open views of the sky. However, if you’re able to travel a little farther, heading towards the New Forest—particularly around Godshill—will give you access to much darker skies and noticeably better conditions for meteor photography.
Across the UK, the same principle applies: avoid artificial light wherever possible. Streetlights, traffic and the general glow from towns and cities will reduce contrast, wash out fainter stars and make meteors harder to capture. The darker your surroundings, the more detail—and more meteors—you’re likely to see.
Across the UK, the rule is simple: avoid artificial light wherever possible. Streetlights, traffic and urban glow will reduce contrast and make meteors harder to capture.
Camera Setup for the Lyrid Meteor Shower
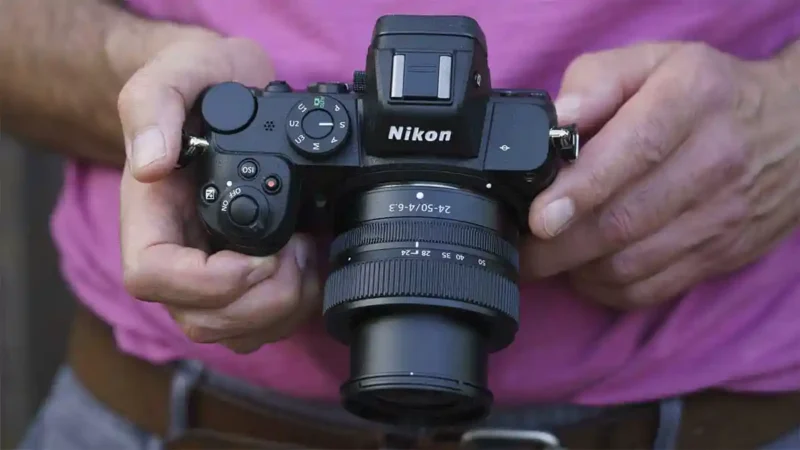
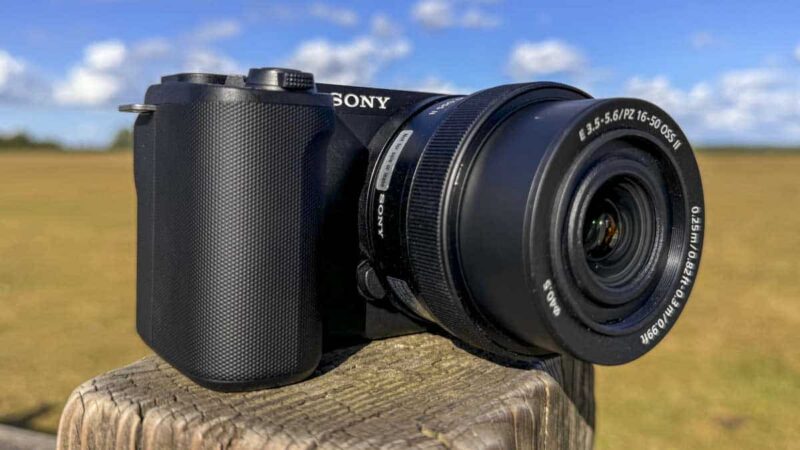
Keep your setup simple and reliable. You don’t need a huge amount of gear to photograph a meteor shower effectively—just the essentials that allow you to work confidently in low light and keep your camera steady over long periods.
- Camera with manual controls
- Wide-angle lens
- Sturdy tripod
- Fully charged batteries (spares recommended)
A camera with manual controls is key, as it gives you full control over exposure. Pair this with a wide-angle lens to capture as much of the night sky as possible, and mount everything securely on a sturdy tripod to avoid any movement during long exposures. Make sure your batteries are fully charged, and bring spares if you can—cold night conditions can drain power faster than expected.
A remote shutter release can be useful for minimising camera shake, but it’s not essential. Most modern cameras include an interval timer, which works just as well for shooting continuously.
The goal is to keep your camera running, capturing frame after frame, so you maximise your chances of catching a meteor as it streaks across the sky.
Best Camera Settings for Meteor Showers
Meteor photography is all about balancing exposure—using aperture, shutter speed and ISO together to gather enough light while keeping the sky looking natural rather than overexposed. Getting this balance right is key, especially in low-light conditions where small adjustments can make a big difference.
Start with:
- Focal length: 14–24mm (full-frame)
- Aperture: f/2.8 or wider
- ISO: 1600–3200
- Shutter speed: 10–20 seconds
A good starting point is to use a wide-angle focal length, typically around 14–24mm on a full-frame camera, which allows you to capture a large portion of the sky. Set your aperture as wide as possible, ideally f/2.8 or wider, to let in maximum light. From there, use an ISO between 1600 and 3200 and a shutter speed of around 10 to 20 seconds.
These settings are a reliable baseline, helping you record stars clearly while keeping star movement to a minimum. If your images look too bright, reduce the ISO or shorten the exposure slightly. If they’re too dark, increase the ISO to boost sensitivity and bring out more detail in the night sky.
How to Focus for Night Sky Photography
Autofocus won’t work reliably in low light, so switch to manual focus.
- Focus on a bright star
- Use magnified live view if available
- Lock focus and avoid touching the lens
Accurate focus is critical—slight softness will ruin an otherwise perfect meteor shot.
Composition Tips for Better Meteor Photos
Autofocus won’t work reliably in low-light conditions, so it’s best to switch to manual focus before you begin shooting. Night skies simply don’t provide enough contrast for most autofocus systems to lock on accurately, which can lead to soft or missed focus.
Using Cranborne Chase as an example, this could be:
- Rolling countryside
- Historic ridgelines
- Trees or silhouettes
Instead, find a bright star or distant light source and use that as your reference point. If your camera has magnified live view, zoom in digitally on the star to fine-tune your focus as precisely as possible. Once you’ve achieved sharp focus, leave it set—avoid touching the focus ring or switching lenses, as even a slight adjustment can throw things off.
Accurate focus is absolutely critical in meteor photography. Even a small amount of softness can reduce the impact of your image, especially when you’re trying to capture fine details like stars or a sharp meteor streak across the sky.
Shooting Strategy: Capture More, Wait Less
Meteor photography is very much a numbers game. Unlike other types of photography where you can carefully time a shot, meteors are unpredictable—you never quite know when or where one will appear. It’s completely normal to take hundreds of images and only capture a handful of meteors, or sometimes just one good frame.
To improve your chances:
- Use interval shooting mode
- Shoot continuously
- Avoid checking every frame
To improve your chances, the key is consistency. Set your camera to interval shooting mode or continuous shooting so it keeps taking images without interruption. This way, you’re not relying on your reaction time, which is often too slow to catch a sudden meteor streak.
It’s also important to resist the temptation to check every shot on the back of your camera. Doing so interrupts your shooting flow and reduces your chances of capturing something. Instead, let the camera run steadily while you watch the sky and enjoy the experience.
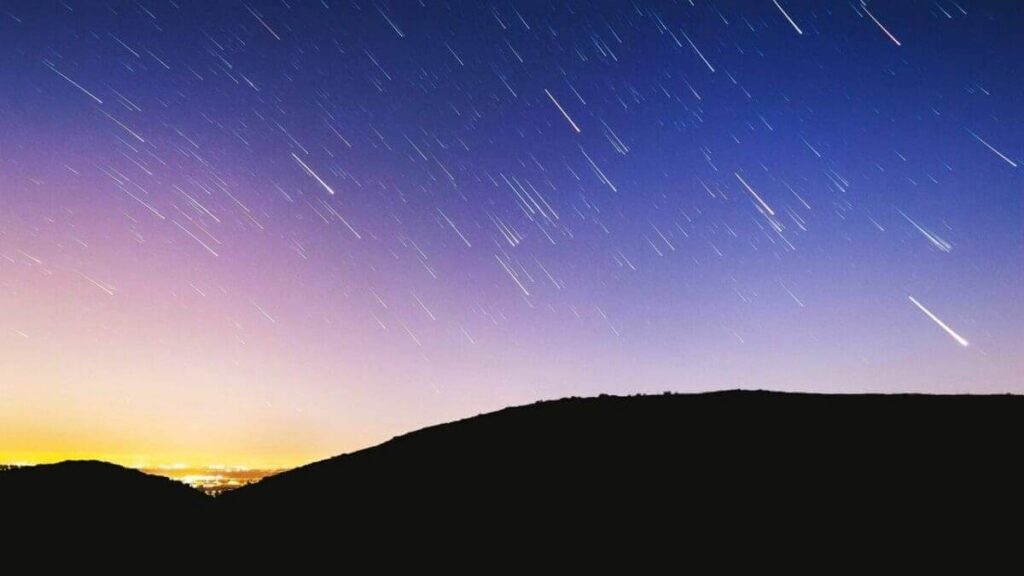
What to Expect from the Lyrids
The Lyrid meteor shower isn’t typically known for intense, continuous activity—especially from UK locations. Instead of constant streaks across the sky, it tends to deliver occasional bright meteors, often separated by long quiet periods. That’s part of the challenge, but also part of the appeal.
Because of this, success comes down to a few key factors. Time is one of the most important—spending longer shooting simply increases your chances of capturing that moment when a meteor appears. Clear skies are equally crucial, as even light cloud cover can obscure visibility. Finally, consistent technique matters. Keeping your settings steady, your focus sharp and your camera shooting continuously will put you in the best possible position when a meteor does pass through your frame.
This means your success comes down to:
- Time spent shooting
- Clear skies
- Consistent technique
Essential Kit Checklist
- Tripod
- Spare batteries
- Warm clothing
- Torch (preferably red light)
- Clear weather forecast
Cost and Accessibility
There’s no cost to photograph the Lyrid meteor shower—no tickets or bookings required.
Your only expense is travel, depending on how far you go to find darker skies. Whether you stay local at Old Sarum or head out to the New Forest, the key is simply finding the darkest safe location available.
Further Reading and Gear Inspiration
For more night photography techniques, Camera Jabber has a useful guide on meteor showers and low-light shooting:
You may also want to explore their night photography and astrophotography content for additional tips and gear ideas .