Launched to bring awareness about the importance of data backup, World Backup day is especially important to us as photographers.
Whether you take pictures for fun or professionally, the devastating impact of losing your images is the same. You could lose years of work, memories and experience. Backing up sounds obvious, but it’s incredible how many photographers I speak to who still only have a single copy of their photographic data.
World backup day sets forward a 3-2-1 backup strategy. This strategy states that you should have one copy of your files on your computer, one on an external drive and another offsite in a cloud or similar storage solution.
However, due to image and video data size, this backup solution can be challenging as the costs can be huge. However, there’s no rule to say you must have three, just do as much as you can to protect your data, even if that’s just having one on-site and one offsite. If that solution fits your budget, then do it; just don’t leave your valuable images vulnerable.

In this feature, I’ll take a practical look at data backup, adhering to the 3-2-1 strategy where I can but adding a little more to attune the backup procedure to those of us taking pictures and video. I’ll look at the complete journey from memory card to archiving your images for years to come.
Let’s start with the memory cards.
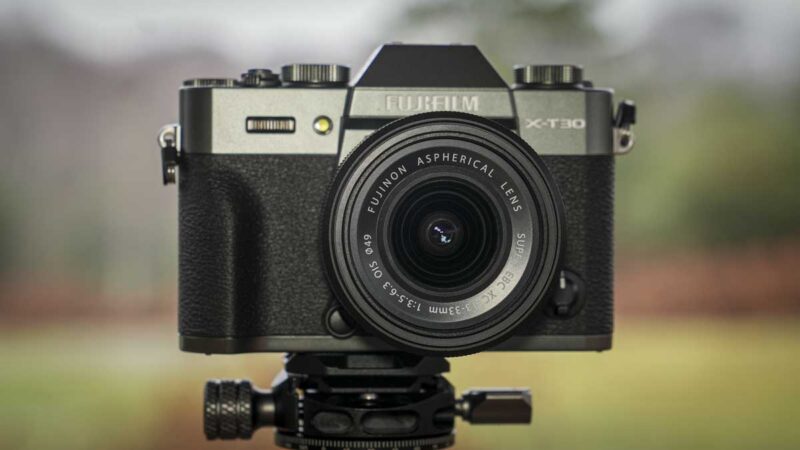
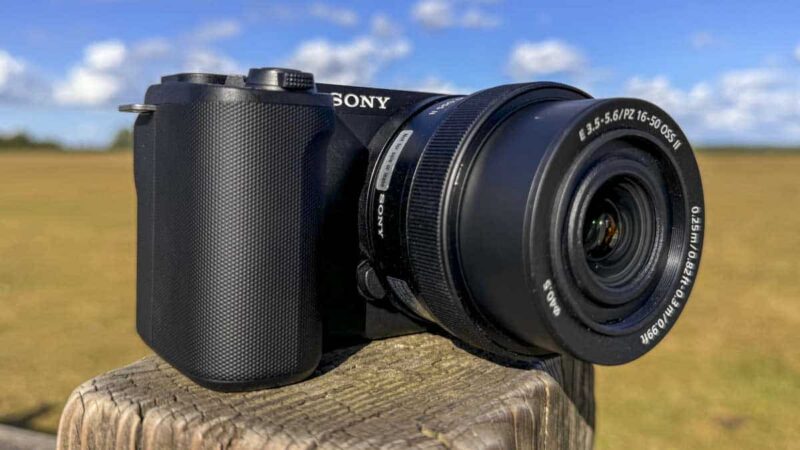
Not all cards are the same and when you select the card for your camera, be that SD, CFExpress or other, it’s worth going for a brand you know and a reputable retailer. Some of the lesser-known brands are absolutely fine and as good as their big brand rivals but do a bit of research and if you’re unsure about the name of a memory card manufacturer, drop us a line, and we’ll approach the company for a review sample.
There can be a huge difference in the performance of cards and their reliability, but for the most part, as long as you stick with SanDisk, Lexar, PNY, Verbatim, Delkin, Kingston or other big names, you should be fine.
Then there are the different speed ratings and classes, as well as card types, you can read more about those in the Best memory cards for video in 2022 article, so I won’t cover that here. What we’re covering here is how to ensure you don’t lose your images.
If you’re looking for maximum security for your images, then a dual card setup is the best approach. It can slow some things down, such as the shooting speed of some cameras, but ultimately unless you tether the camera, it’s the safest approach for ensuring your image files stay safe, at least while you’re out on a shoot.
There are various ways that most dual slot cameras enable you to organise the use of the two cards, but if security is what you’re after, then a direct mirror of the two cards is the way to go.
A quick recommendation for SD cards from us would be the SanDisk Extreme Pro UHS-II or Lexar Professional 1800x SDXC UHS-II Card GOLD Series. You can check out the reviews here.
When it comes to CFExpress
https://camerajabber.com/reviews/lexar-128gb-cfexpress/
While the two-card setup does offer security memory cards, especially UHS-II and CFExpress, they can be expensive. In this case, a portable storage solution that enables you to copy the card’s contents across to robust storage can be a great idea.
One option is the WD Passport wireless; this enables you to download images and video directly to a secure hard drive. There are two versions of the wireless passport. You can check out the full review of the standard and SSD versions here.
These two drives also let you link up to an iOS or Android device so you can check that the download has been completed.
Taking this approach is a great way to back up away from home and is something that I tend to do. While this isn’t part of the 3-2-1 strategy having a backup of the content of your memory cards does give you peace of mind.
1/ The first file backup
So you arrive back from a shoot, and once you’ve thrown your bags down in the living room, kitchen and hallway, made a cuppa and listened to the family trip over your kit, it’s time to download the day’s files.
Now, those image and video files can be transferred directly from the camera’s memory cards or the WD Passport wireless to your working drive.
I tend to use a large capacity drive such as the G-Drive 12TB, as this has plenty of capacity and enables me to access my files quickly. I keep my files away from my computer’s hard drive.
When editing image and video files, I copy the files from G-Drive across to a working drive. At present, that’s the 1TB OWC envoy Pro FX with transfer speeds of 1500MB/s; this is fast, maybe not quite the 2500MB/s of the internal drive, but fast enough for anything up to 4K video editing and more than enough for all image editing.
Check out the reviews.
https://camerajabber.com/tag/portable-hard-drives/
I now have my first backup of data on the G-Drive and a separate copy of that data on the working drive. This work drive data will be changed, adjusted, enhanced, and eventually copied to the G-Drive and popped into a Processed folder for images and a Production folder for video.
We’ll focus on the original data stored on the G-Drive, as this is the data that we need to ensure is backed up.
The next step is to back up to an on-site and an offsite backup solution.
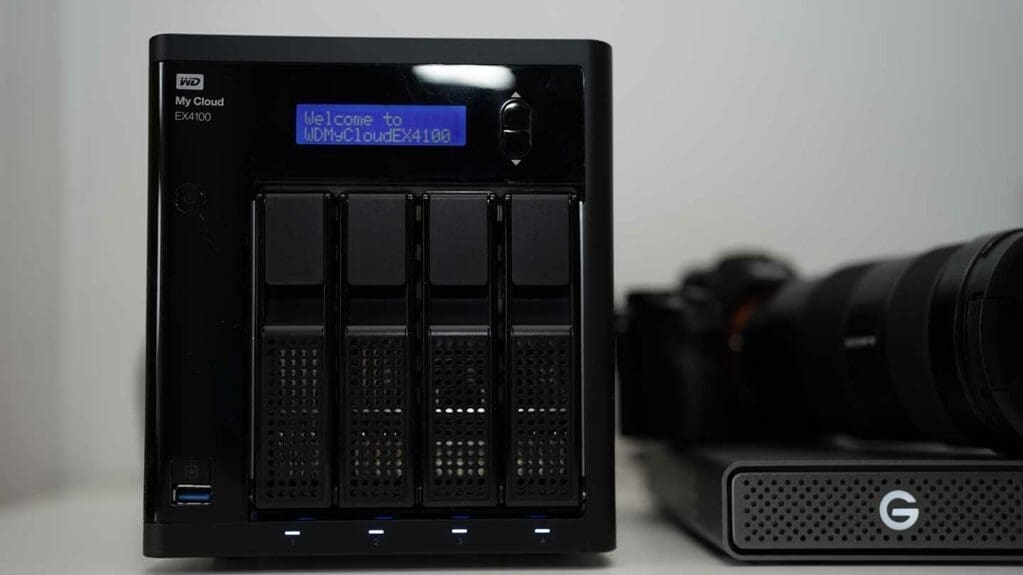
2/ On-site backup for photos and video
I use a WD EX4100 24TB; this is connected to the network and essentially uses a time machine on the Mac to backup data. On the Intel Nuc 9 Extreme, I use Windows Back and Restore feature.
One thing to note with a Time Machine and Backup and Restore backup is that it will only back up your machine’s hard drive by default. On Windows, the Backup and Restore process easily enables you to select the external drives you wish to backup. On the Mac, this feature isn’t so obvious.
Change the Time Machine preferences.
1/ Click on Time Machine and select “Open Time Machine Preferences.”
2/ Click Options
3/ Click the name of the external drive and click the – icon
4/ Click Save and close the window.
Now the connected drives will also be backed up by a time machine.
In the WD MyCloud settings, make sure that TimeMachine backup is activated, and the software will do the rest.
The WD EX4100 is one of the easiest solutions for the mass backup of your data, it can be a little tricky to understand as it’s network-attached Storage NAS rather than a standard USB connection, but for this type of use, it’s a far better solution.
3/ Offsite backup for your image and video files.
Finally, theres’ the offsite backup, which can be a service you can purchase through Amazon, Elephant or Backblaze. The first two can be activated through the WD My Cloud interface, whereas Backblaze is external.
Like the WD Ex4100, these offsite backup solutions enable you to select the drives you want to back up and store those files securely offsite.
This essentially leaves us without a main 12TB G-Drive that connects directly to the computer; this is then backed up to the WD EX4100, which is connected to the network and can be easily accessed if needed, and this, in turn, is connected to an offsite backup service such as Backblaze.
If you’re backing up directly from the WD EX4100, you can subscribe directly to Elephant or AWS, making things very easy.
When it comes to working files, these are downloaded onto a working drive and then re-uploaded to the storage drive once the project is complete.
One of the nice features of BackBlaze and Time Machine is that you can select the working drive as an additional backup. So if something does go wrong with your smaller external drive, then there should be a backup of that with your files safe.
However, be aware that once you delete files from your main storage drive, in my case, the 12TB G-Drive, this deletion will be synced with your backups, and those files will be deleted from them.
Backing up for all time.
Obviously, there comes a time when you just want to back up the files you have. Here it would help if you were a little ruthless with the editing; otherwise, you’ll have all those blurred and repetitive images and video clips that you don’t need.
The first stage of any long term storage solution is to edit, cut out what you don’t need and leave only the good stuff.
Once you’ve done that, images can be printed, like in the old days, and videos can be transferred to DVD.
You can then store the digital data on archival CDs, DVDs or tape. If you use hard drives of any type, duplicate the content on several drives and make sure you check them at relatively regular intervals. Even flash memory SSD degrade over time.
Keeping files safe for a long period digitally is challenging, and at present, the best way to ensure your digital data longevity is to use online storage and resources.
Check out Amazon Photos, Google Photos, or another online service for photos. If you want to archive video, then look at Vimeo or even YouTube as a possible way to achieve your work. But, remember, all of these online services are open to change, so while they may be easy, accessible and free now, they could change in the future.
In summary, on this world backup day, simply make sure you have your three backups, one connected to your computer, one on-site such as a NAS and one offsite with a service such as BackBlaze.