The photos and videos that you take on your camera or smartphone consume storage at a rapid pace, whilst we can leave those images in situ it’s best to keep cards and phone storage clear for future use.
A question for many is where to store your photos once they have been taken, do you keep them on the card or phone? In the case of a camera’s memory card, once they’re full do you just store them in the same way as traditional film and buy another, or is there a better way?
In this feature, I’m going to look at different storage solutions from capturing the images with your camera, to downloading ready to editing in Photoshop or your application of choice, and then archiving those image files for the future. Whatever storage solution your camera device uses, the process from the moment after you take that photograph through to processing and then backing up the files is the same.
It starts with your camera’s storage
The journey begins with your camera’s memory card or internal storage, at present, the most common in-camera storage types are SD or CFExpress for DSLR and Mirrorless cameras or your Camera Smartphone’s internal storage which can often be complemented by a MicroSD card.
SD Cards have been around for many years and are probably one of the most popular formats of camera storage at present. There are many varieties with symbols and numbers dictating the card’s speed and capacity. When looking to buy an SD card for our cameras the minimum specification that we should be looking at on the SD card packaging is class 10, U1, this simply means that the card has a minimum write speed of 10MB/s, more than enough for most mid-range cameras.
You can read more about which type of SD card is suitable for your camera in the following article. This covers both UHS-I and UHS-II cards.
The next type of memory card that is becoming popular with the latest cameras is CFExpress. Again like SD cards, these are available in different types with CFExpress A, CFExpress B and CFExpress C. Your camera’s manual will highlight which CFExpress is compatible with your camera. The most common is Type B, the other two types just have different form factors.
The advantage of CFExpress over SD is the more modern technology offers faster transfer speeds. Transfer speeds relate to the speeds at which files are written and read from the card. CFExpress cards are considerably faster than SD and this makes CFExpress, in all forms, far more suitable for the latest generation of high-resolution cameras that can shoot at high frame rates and capture high-resolution video such as the Canon EOS R5.
The final type of storage is found in smartphones and this is generally not replaceable, so once it’s full it’s full. Therefore it is important that if you’re shooting high-resolution imagery you download those pictures to a larger form of storage so your phone continues to work properly and so you’ll be able to take more pictures.
When it comes to the type of SD card that is suitable for your camera as a general rule if your camera takes an SD card, make sure that you buy an SD card that is above class 10. Check to see if your car camera is UHS-I or UHS-II card compatible and buy a card with the capacity that you want, I would suggest anything from 16 GB and above.
If your camera takes CFExpress then you’re pretty safe to buy any capacity available, just check the type of CFExpress your camera takes.
If you’re using a smartphone then you’re probably going to have to rely on the camera’s internal storage. However, if your camera does have a MicroSD card expansion slot then you can opt to use this as storage.
Downloading your image files ready for organising in Adobe Bridge
With both of the memory card types that insert into your camera, downloading the image files is a relatively straightforward process. The two most common ways of downloading your files are to connect a cable, usually USB, directly from the camera to your computer and then download the files directly. The other option is to remove the card from your camera and then pop it into a memory card reader which is connected to your computer. You can then download the files.
If you’re looking for a card reader then check out our best card readers feature.
When it comes to a smartphone the image files can again be downloaded directly to your computer, and you can do this through cable, Wi-Fi, online image storage services such as Google Photos or Amazon photos or even Apple photos. You can read more about Amazon Photos here
There are several ways to download your image files. You can download them manually and organise them or use an application such as Adobe Bridge. Either way you’ll need a storage solution. Before I go into working photo storage let’s take a look at options for downloading and organising the files.
The following article details how to do this process manually by creating your own folders on your computer and organising the files into folders that you’ll understand.
The above technique is fine if it’s just you sorting through and organising your photos. However, if this all seems like too much effort or you’re working as part of a team or share images with your family then there is another approach using software such as Adobe bridge.
Adobe Bridge isn’t the only software out there that enables you to sort, organise and rate your images, but it is one of the most popular and easiest to understand. So when you arrive home connect your memory card or smartphone to your computer you can then let Adobe Bridge handle the transfer of files.
I’ve popped a link below to a detailed tutorial on how to download and organise your images in Adobe Bridge, and then how to rate and manage those files once they’re stored on your machine.
The important thing here is that using Adobe bridge is going to ask you to store your files in a storage location, this is where we need to look at the next step of a storage journey.
How should I store photos ready for organising and enhancing?
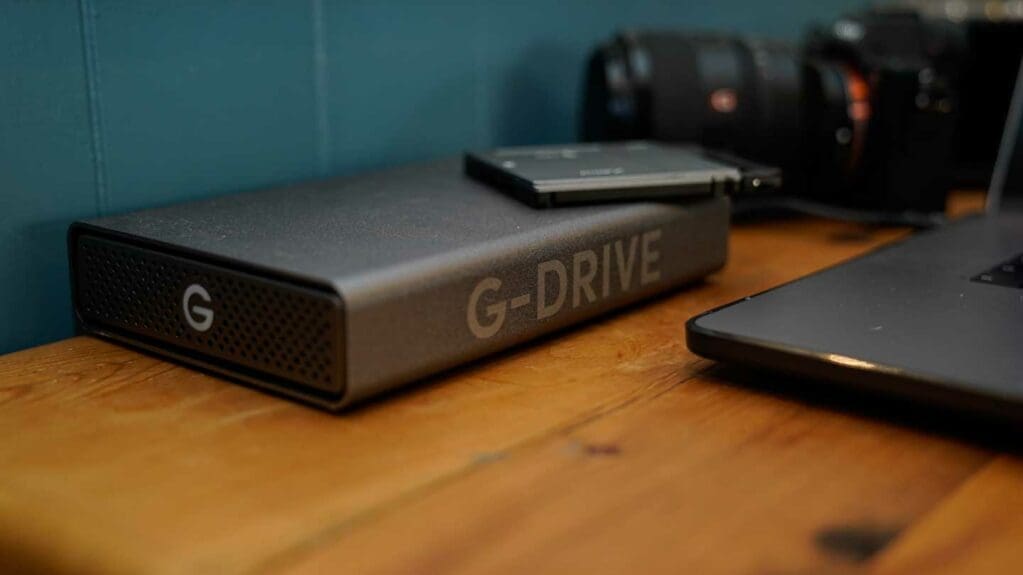
Through the process of organising sorting and hopefully deleting some of the unwanted images, we’re going to need some pretty fast data transfer speeds for our intended storage destination. While we could use our computer’s main hard drive, it is better to practice to use a dedicated external drive, known as a working drive. A good example is the G-Drive Desktop Pro.
What makes this drive a good solution is that it mixes huge capacity with fast transfer speeds.
Using the External drive as your working storage solution means that once you downloaded all of your images from your memory card, you then have two copies of your images; one on your memory card and the other on your desktop hard drive. At this point, you can delete the files on the memory card, as hopefully they’ll be backed up and safe on your desktop hard drive. However, I like to keep hold of them on the SD card until I’ve made sure that all of those files are backed up, to a backup drive as well. There’s more about backup drives below and also how they can be used to safely back up all of your digital photographs safely.
The working Drive is probably the most important drive in the process as this is what’s going to enable Adobe Bridge to access your files quickly ready for reviewing and editing.
What to look for in a working drive for photography
1/ Capacity – this will often be shown on the drive packaging in gigabytes or GB or terabytes TB. Really for photography, you should be looking at a drive with at least one terabyte capacity, this will be more than enough to save thousands of images and several hours’ worth of video.
Realistically with today’s high-resolution cameras 24 megapixels and above you should really be looking at 6 TB or above, so the G drive desktop pro at 12 TB is a good solution.
2/ Speed – speed is often referred to as transfer speed which is a combination of the Read and Write speed.
Checking out the transfer speed of a hard drive is really important when it comes to using Adobe Bridge and Adobe Photoshop as both applications require a fast transfer speed in order to provide a smooth workflow for your computer.
When you start to look at hard drives you will find high-capacity hard drives that would seem ideal as a working hard drive for your images and video files, however, you may find that they have slow transfer speeds and are actually really designed for long-term archiving such as the WD4100 or are simply a very cheap high capacity storage solution.
Because of the type of use you need your photo working drive to undertake, you need an external desktop hard drive that is both fast and reliable. While most desktop hard drives are USB it is worth looking at the generation of USB connection, anything below USB 3.1 should not be used as a photo working drive.
Ideally, look for an external hard drive for working with your photography files with a transfer rate above 100 MB per second.
Just as a note there are three major types of hard drive out there; the first is the traditional optical drive that has a spinning disc within, these drives offer the highest capacity storage as well as the best value for money. The G-Drive Desktop Pro with this USB Type-C connection is one of the best solutions out there.
You will also see SSD external hard drives these drives are again fast and many offer high capacity, but because they use more modern flash memory they are far more expensive.
The final form of Storage that you see in the shops is NVME SSD this is the most recent form of storage and the capacities are generally far smaller. The major advantage of this type of storage is the transfer speeds are incredibly fast making them ideal when working with high-resolution images or video. As you can imagine, the cost of a relatively small capacity 1TB NVme drive can be more than a 12 TB optical drive.
The importance of a backup drive
At present we have downloaded all of our images from our memory card or smartphone to our external desktop hard drive. We now have two copies of our files, so we could open up Adobe Bridge 2022 and select the files that we want to start editing in Photoshop. However, at this point, it’s a really good idea to make sure that all of those raw files are being backed up to another form of storage.
Both Mac and PC systems offer you an automated backup solution and it’s worth discovering more on how these work. There are also online solutions such as Backblaze that enable you to select an external hard drive and automatically backs that up. Then if anything goes wrong or you lose that external drive then you have another copy of all of your files.
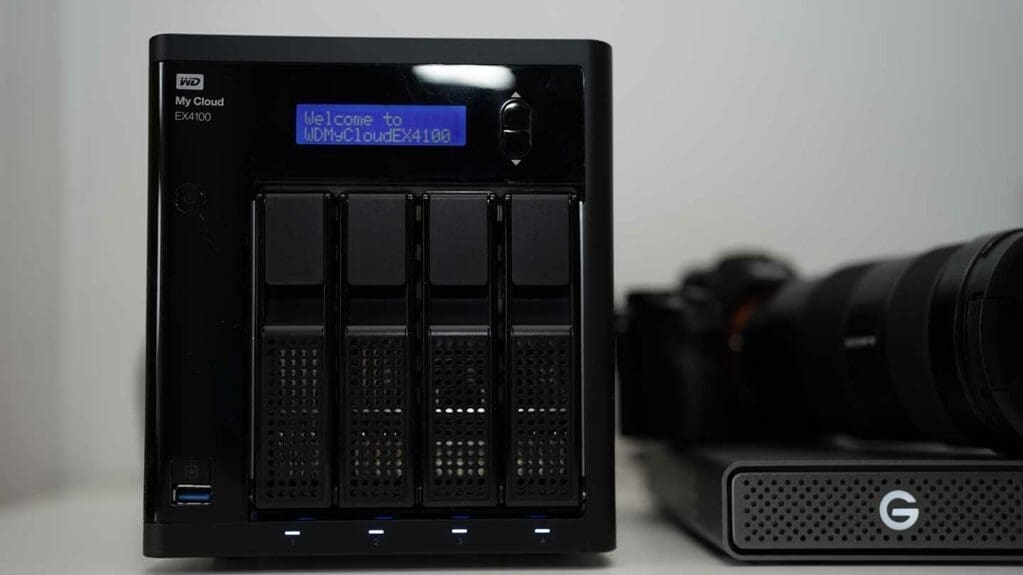
A backup solution that I use is the WD EX4100 this is a network-connected drive that automatically backs up my external hard drives as soon as they’re plugged in. I also, use an online backup service called Backblaze, and this again automatically backs up my files as soon as an external drive is plugged in.
You can read more here on how to back up your digital photographs safely https://camerajabber.com/tutorials/how-to-backup-your-digital-photographs-safely/
The photographic storage journey
When it comes to choosing the right storage solution for you, you need to think about each stage of your photographic journey. From the memory card in your camera, to your working hard drive for Adobe Bridge and Photoshop to backing up your image files for the future.
Storage is very dependent on you and your camera, so let’s break it down into a storage checklist.
1/ What memory card for my camera
Check out the manual and see what is recommended. It's not worth buying a UHS-II card such as the SanDisk https://camerajabber.com/reviews/sandisk-extreme-pro-sdxc-uhs-ii/ if the UHS-I version will do.
2/ What hard drive do I use with Adobe Photoshop
Download your photos from your memory card to an external hard drive with a high capacity, above 1TB preferably above 6TB, and with a transfer speed of 100MB/s or greater. The G-Drive Desktop Pro is a good example and is well priced.
3/ How should I back up my photos
Backing up should start from the moment you start to download the images from your memory card. As they transfer to the working drive they should also be transferred to a backup drive such as the WD EX4100. It’s also worth looking at an online backup solution such as BackBlaze.
If this article has raised any questions for you or if you’d like to know any more information or get buying advice about what Storage you should buy please contact us and of course, you can leave comments in the question box below.