In this tutorial we’ll show you how to set up continuous shooting mode on your camera so that you can fire off frames quickly to capture fast-moving subjects.
Capturing a single moment within an action sequence is always a challenge, whether you are shooting extreme sports or just photographing your kids as they play at the park. Thankfully your camera has a tool that makes this challenge easier: its continuous shooting mode.
Most of the time photographers use the singe-frame shooting mode on their camera, but when capturing action you will want to adjust your drive mode to continuous, or burst mode.
Your continuous shooting mode allows the camera’s shutter to keep firing off frames for as long as you keep your finger down on the shutter button. While it may seem like overkill in terms of how many pictures you’re taking, shooting in burst mode increases your chance of capturing that split-second defining moment.
When to use burst mode on your camera?
Continuous shooting mode is best used when you are shooting movement. This doesn’t necessarily mean it’s only best used with fast-moving subjects like race cars, though. Sometimes burst mode can be effective when shooting slower – or even static – subjects, as well.
For instance, I like to shoot portraits of my kids using continuous shooting mode. Even though they’re being mostly still, firing off that sequence of frames sometimes catches nuances or fleeting expressions I may not capture with single-frame shooting.
Burst mode can also be useful in low, or when trying to shoot handheld at slow shutter speeds. It’s not foolproof, but you can reduce camera shake shooting this way because your finger is rested on the shutter button rather than jabbing it as you do in single-frame mode.
How to set continuous shooting mode on your camera
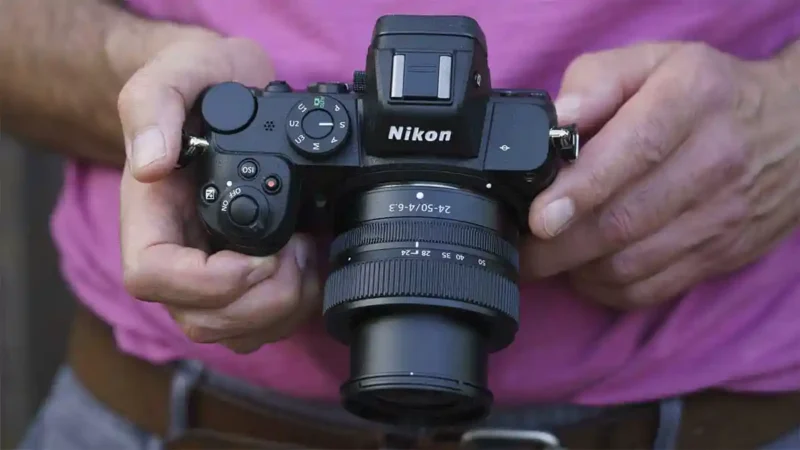
01 Locate your camera’s drive modes
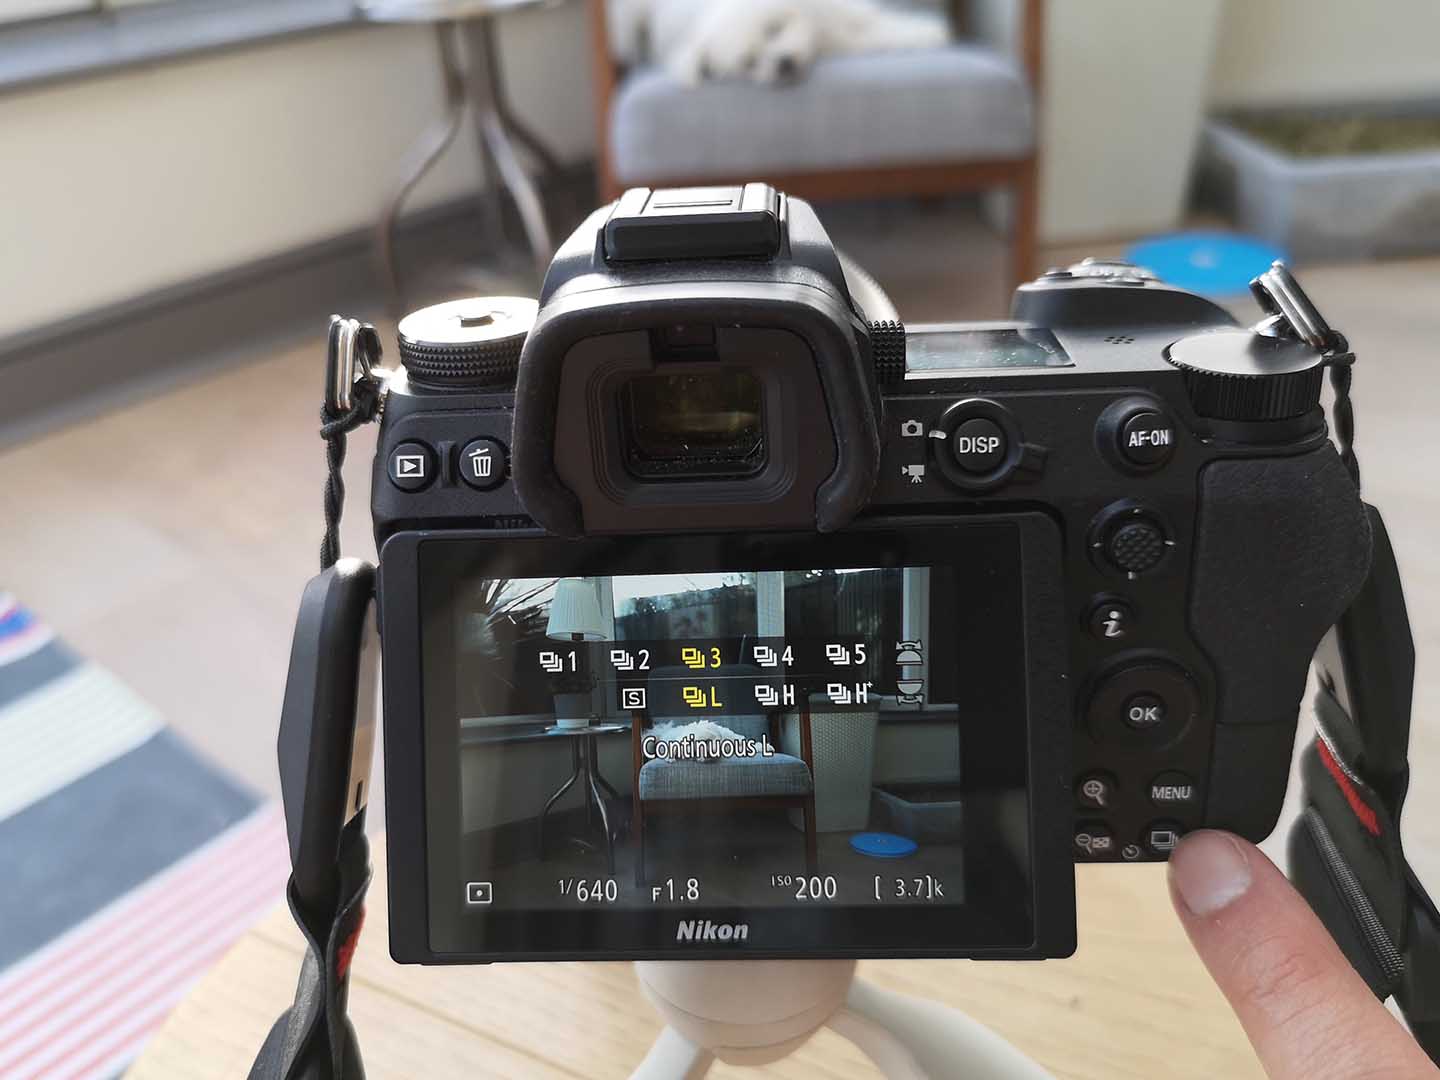
Most likely your camera will have a dedicated mode dial or button you can use to access your different drive modes.
Alternatively, you may have a drive mode option on your camera’s live view screen. And every camera will have a drive mode adjustment line in its menu options.
Find out where your drive modes can be accessed and then switch the setting from single frame to continuous shooting.
02 Adjust your frames per second
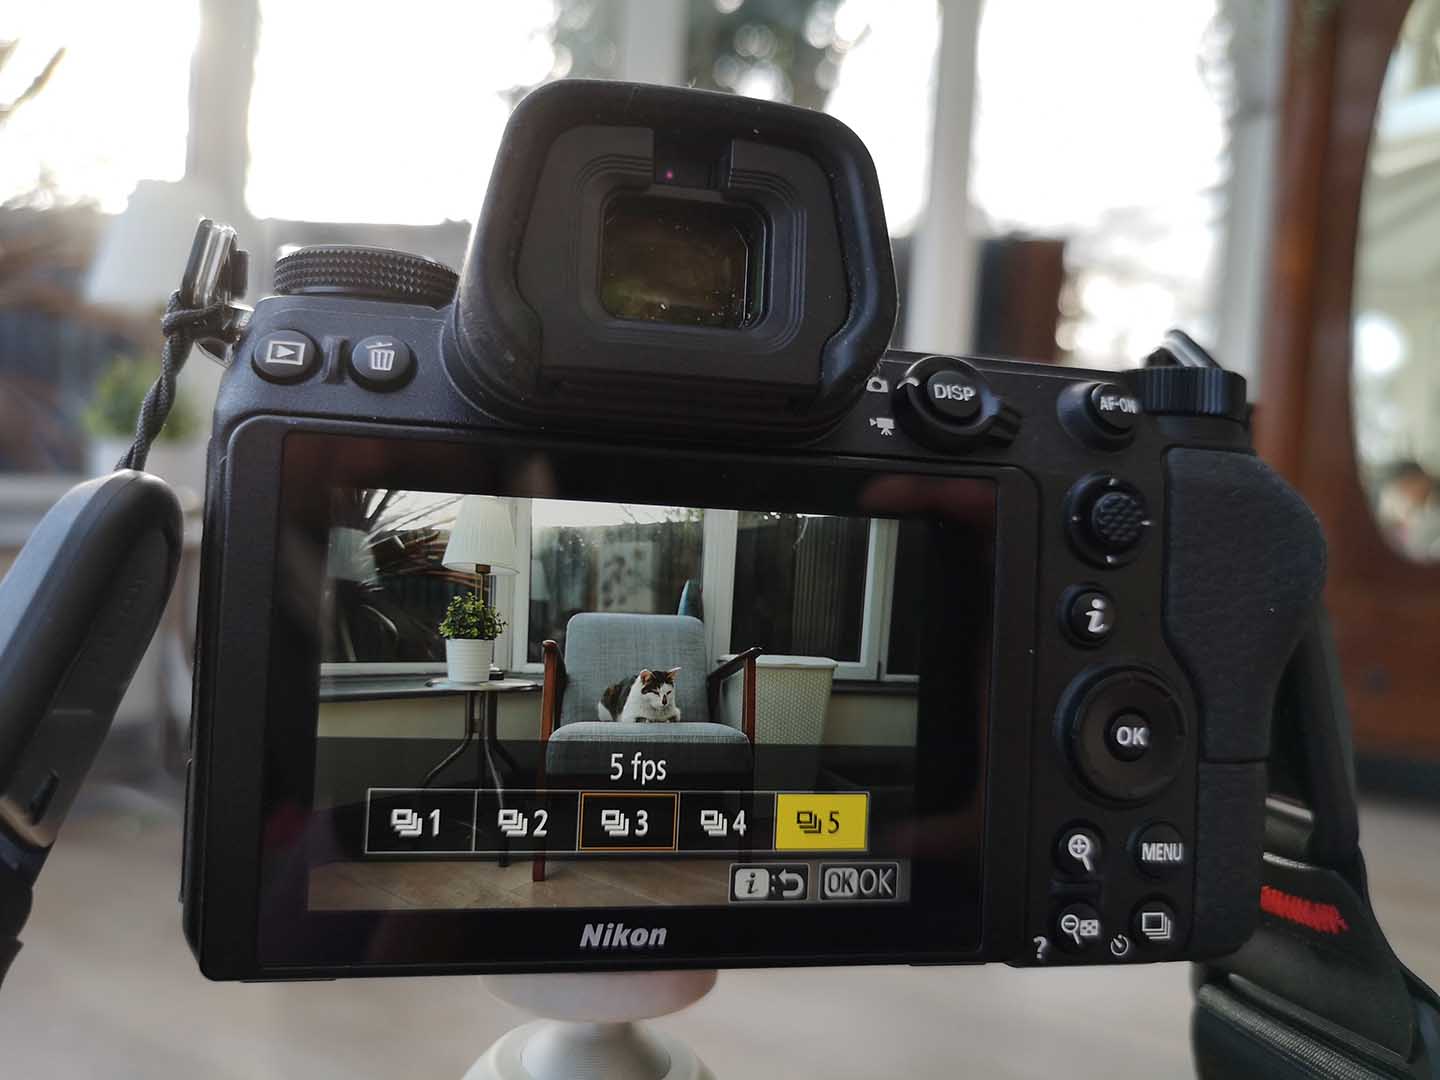
Some cameras let you customise the continuous shooting frame rate. If you’re shooting high-speed action you’ll probably want to set your fps to the maximum rate. However, in some cases this may mean that the can fixed the focus at the start of the sequence. If you need to focus continually, you may have to drop the shooting rate a little.
For more general photography, such as shooting your kids or pets, you might want to dial in a slower rate to help conserve space on your memory card.
03 Set a fast shutter speed
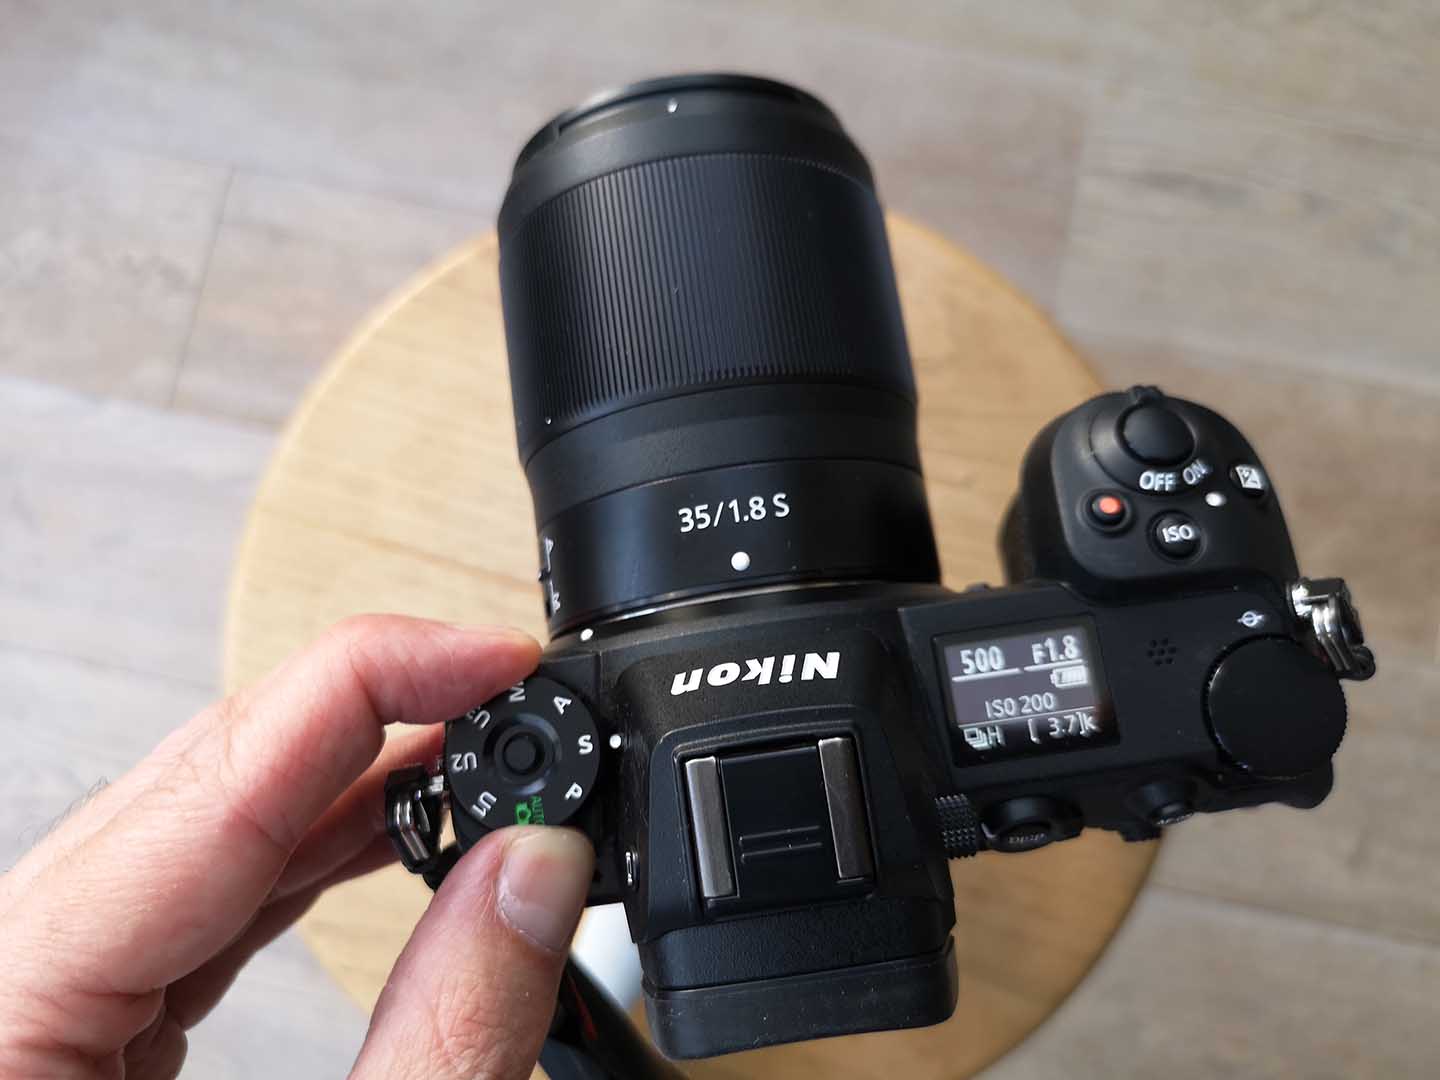
Next you’ll want to set your exposure mode. Shutter Priority mode will let you guarantee a fast shutter speed for shooting action, while adjusting your ISO and aperture accordingly to preserve it.
If you’re shooting fast action sequences, aim for about 1/500sec. For general photography, 1/60sec should be fine.