You’ll often hear photographers say that you should avoid taking pictures in the middle of the day when the sun is overhead and the light is at its strongest. But we all know that sometimes it’s unavoidable. Busy schedules don’t give us much flexibility these days, and your lunch hour might be your only time for photography all week. In this tutorial we explain how to take photos in strong light by sharing six tricks and techniques you can use to soften that midday sun.
01 Work with it
Bit obvious, we know, but you’d be surprised how many people don’t! If you try and work with strong sunlight rather than against it, you’ll be surprised at how many creative pictures you can achieve.
The key here is to think about what the light is doing to your subject and consider how you can use it to your creative advantage.
For instance, at midday the sun will be at it’s highest point in the sky. This means that even though the shadows will be very strong, they’ll also be quite short.
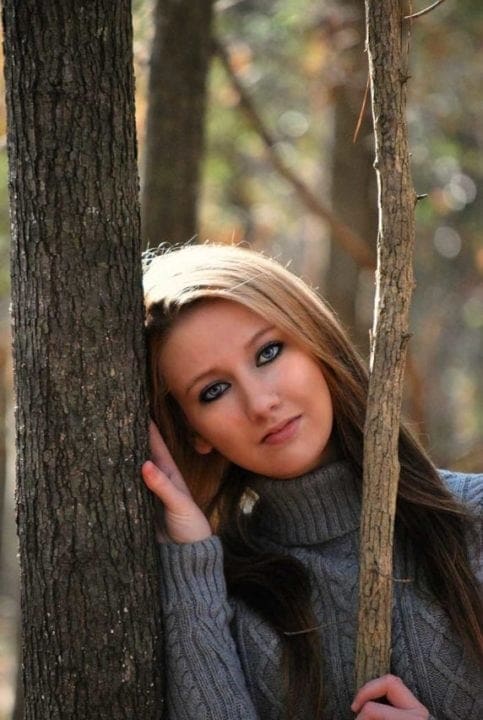
So you probably wouldn’t want to shoot a tradition portrait in this situation where the subject is looking straight at your camera. The overhead sun will give you dark, unflattering shadows under your subject’s eyebrows and nose.
But if your subject tilts her head back and looks in the direction of the sun, these shadows will disappear. This, of course, will cause your model to squint, which is never nice in a portrait. But simply ask her to close her eyes. It will look natural and might even give your portrait some extra impact.
It’s also worth thinking about black and white in these bright conditions. The strong contrast, particularly in a city environment, can look really nice in monochrome.
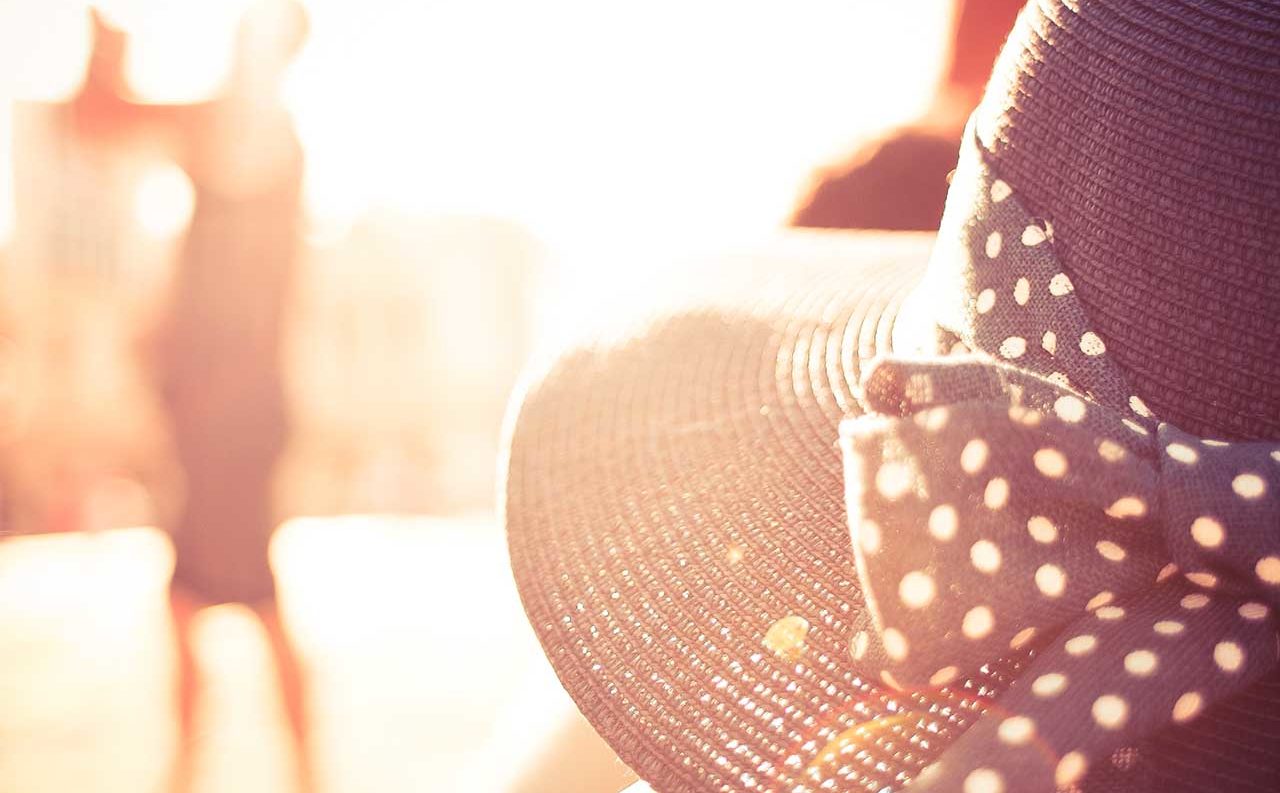
Also, if there is a park nearby, flowers and leaves that are backlit by strong direction light can really emphasise their delicate structures and give punch to their colour.
02 Find some shade
An even more obvious way to keep taking photos in harsh light is to simply get out of it and find some shade!
Wedding photographers do this all the time. It’s one of the first techniques they learn.
By positioning your subject in the shade you can avoid those unattractive shadows and your subject won’t have to squint. And a short burst of fill flash (see No. 6 below) will help lift the exposure so they look as bright as the surroundings beyond the shady area.
03 Use a diffuser
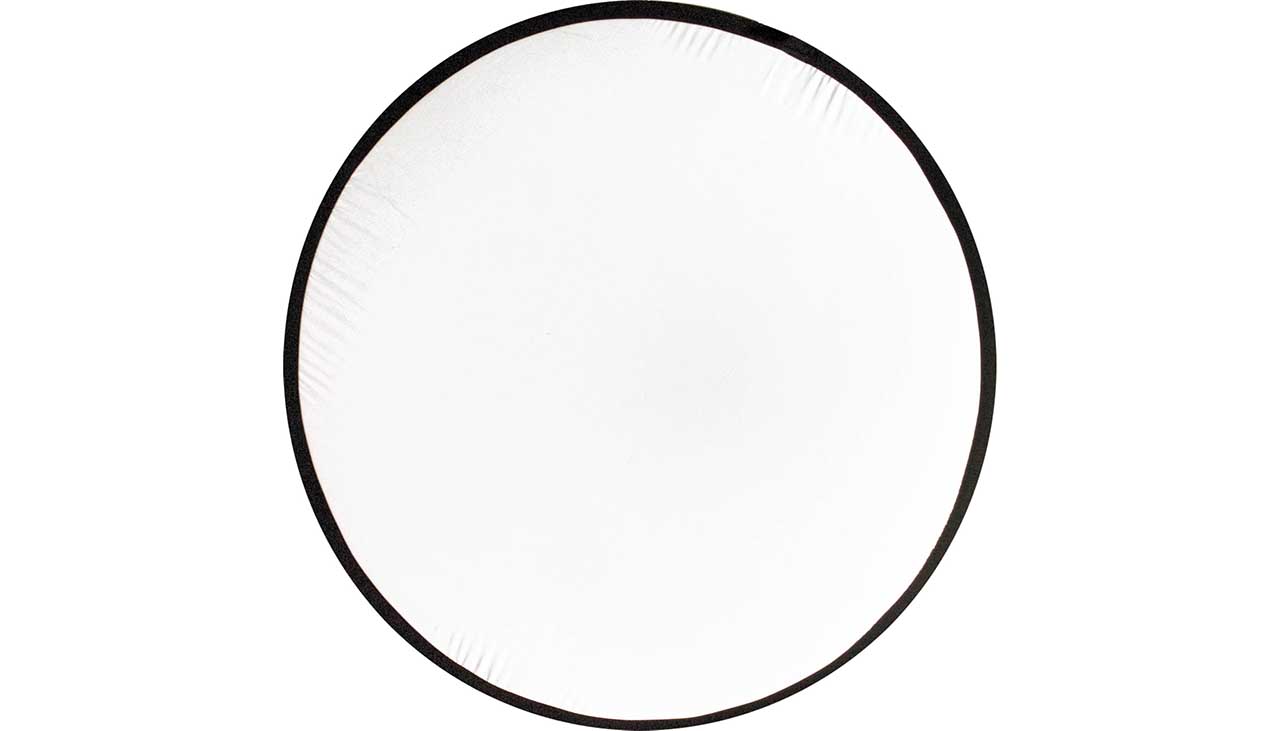
Of course you can always try to soften the light. A diffuser is a really handy accessory for your camera which, when held between your light source and subject can greatly reduce the harshness of that light. A diffuser will reduce contrast so dramatically that you can recover detail from those dark shadow areas, as well as highlights, which are common problems when taking photos in harsh light.
Diffusers don’t cost all that much, and there are plenty to choose from on the market. Most fold down and are quite portable. Some you can even fit into your camera bag, yet pop-up large enough to diffuse light on your subject when shooting a portrait.
You’ll have to find a way to hold the diffuser, though. If you can bring a friend along, perfect. However this isn’t always possible so the easiest way to set up a diffuser on your own is to hold it yourself and mount your camera on a tripod. You’ll also probably need to trigger the shutter via a remote release.
Another option is to buy a clamp, such as the Wimberley Plamp II, which you can use to secure your diffuser to a tripod or other support.
04 Use a reflector
‘But a reflector adds light!’ you’re probably thinking. True, it does, but a reflector is invaluable in harsh light for filling those dark shadow areas with light, allowing you to capture more detail.
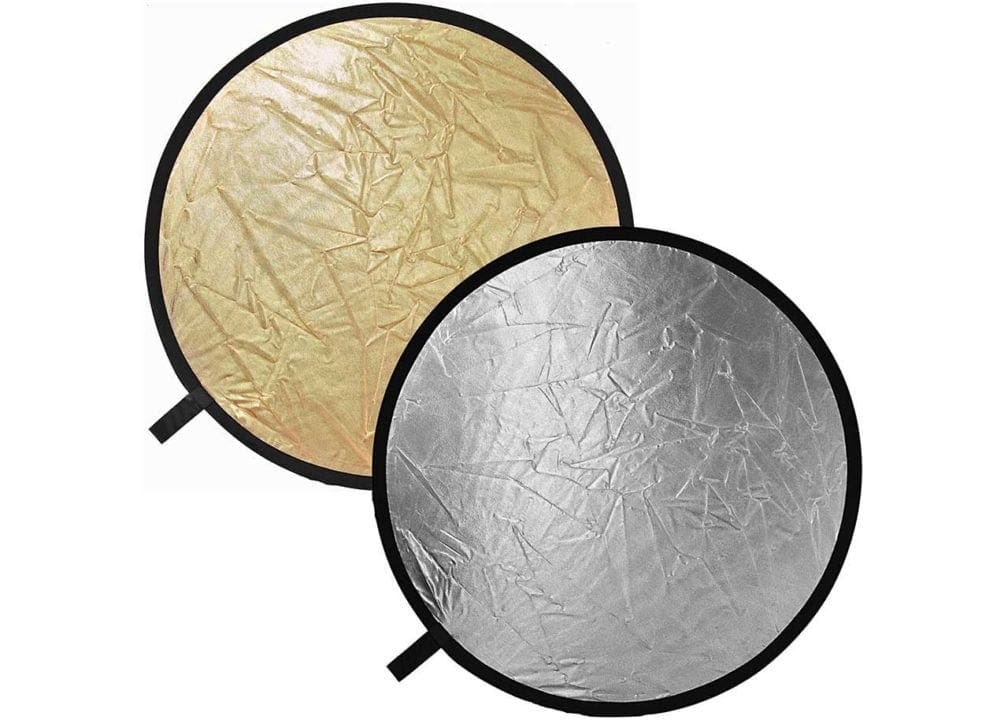
Reflectors look a lot like diffusers, except one side of them is silver, gold or white in order to bounce light back into your scene. The different coloured reflectors produce different hues.
It’s worth noting that some manufacturers make diffusers that come with covers that can be slipped on to transform your diffuser into a reflector.
In a pinch, you can also use piece of white card, even paper, as a DIY reflector for extra light. I’ve even used a scrunched up piece of aluminium foil that’s been smoothed-out (it’s easier to handle if it’s wrapped over some cardboard).
You can also find reflective surfaces within your scene that will also do the job: water, sand, even white buildings. You might need to try a few shots to get the angle right, but these will do the job just fine!
05 Use backlighting
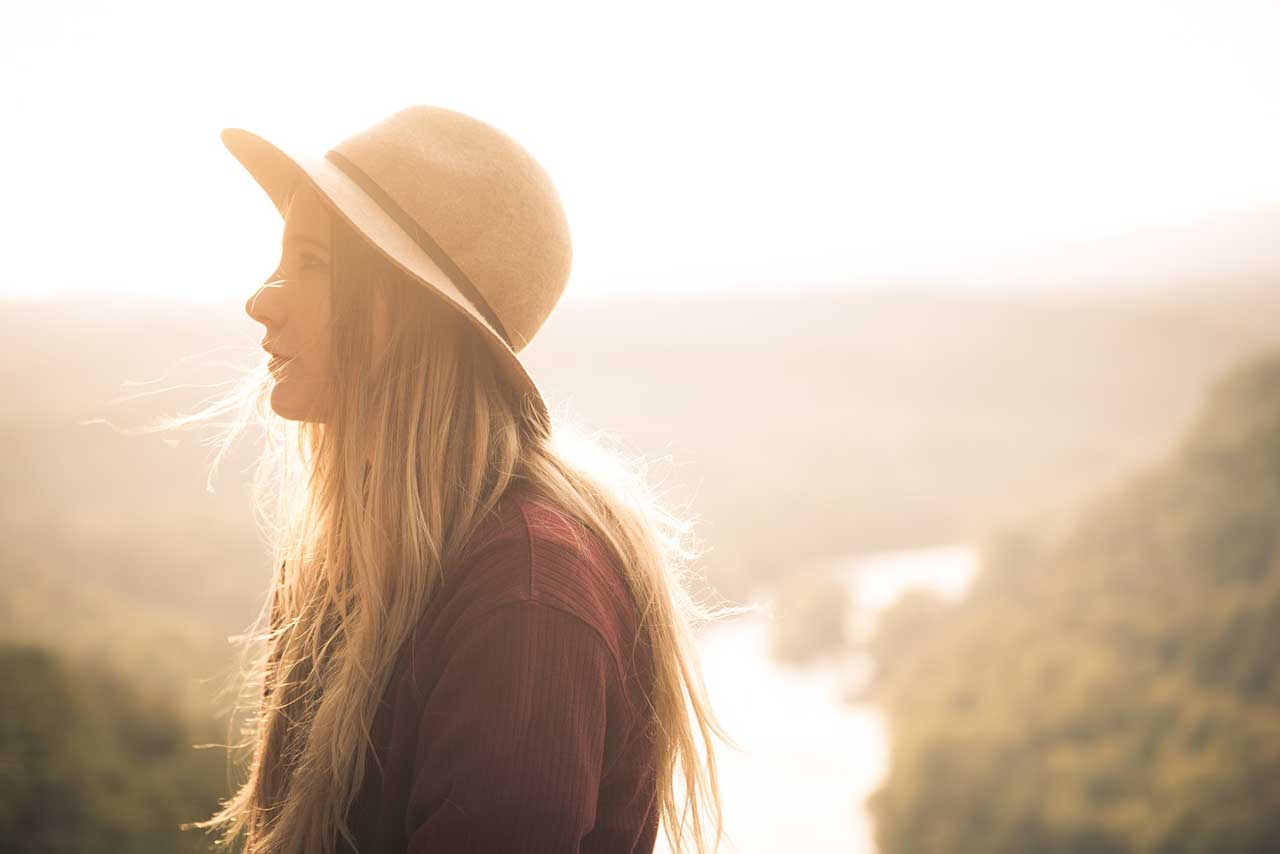
Above I suggested shooting back-lit flowers and leaves in your local park. The truth is, backlighting works well across so many subjects and it’s one of my favourite techniques to use when shooting on a bright, sunny day.
Back-lit portraits, for instance, can look very stunning if you get the exposure right. The key to shooting a back-lit subject is to set the exposure for your subject and not the background.
To do this, set your camera to its spot metering mode (indicated by a small dot within your metering mode options). Then you’ll want to make sure that the ‘spot’ (usually your active AF point, though sometimes the centre of your frame) is over your subject when you set the exposure.
If you do this, your image should set a perfectly exposed subject against a bright background. And you can push it a little further for a more high-key look by increasing the exposure on your subject.
06 Fill-in flash
Like the reflector, the thinking here is that a short burst of flash, ideally from an off-camera flashgun, will fill your shadows with light and reduce the contrast of a harshly lit scene.
For a more natural look, try softening your flash with a diffuser positioned towards the opposite side of the subject to the ambient light source so that the shadows receive light.
Modern TTL (through the lens) flash metering systems do all the hard work for you, but you can adjust the brightness of the flash output using the flash exposure compensation controls on the gun or camera.
