Auto White balance is a standard feature on all mainstream digital cameras, and although we rarely give it a thought, it’s an incredible feature. It’s designed to ensure the correct colour temperature for the scene you’re shooting.
So why should you worry about custom white balance, what’s it for and when should you use it?
In many situations, the auto white balance setting is fantastic, and it can produce a spot on result, but it doesn’t always give the correct colour results that we, as photographers, strive for.
A custom white balance setting has its place in both stills and video shooting, and it’s worthwhile knowing how to set and use it.
I use the Custom White balance control when shooting landscapes, as quite often the Auto White Balance option can overcompensate and neutralise warmth and vibrancy.
Custom white balance is quick to set-up
Every DSLR and Mirrorless camera has the ability to set a custom white balance, and in this tutorial, I’m going to quickly run through exactly how to do set custom white balance on the Panasonic GH5S.
But before we start, I’d like to highlight one essential piece of kit that I would highly recommend picking up – the X-Rite ColorChecker Passport.
This compact colour chart is the size of a passport and will slip into any bag or pocket.
It features series of colour charts including two colour reference targets for creating profiles and a white balance target which I’ll use here.
The ColorChecker Passport is relatively expensive and while it’s an ideal and good long-term solution, for the short-term a sheet of white paper will do an OK job.
Locating the white balance options
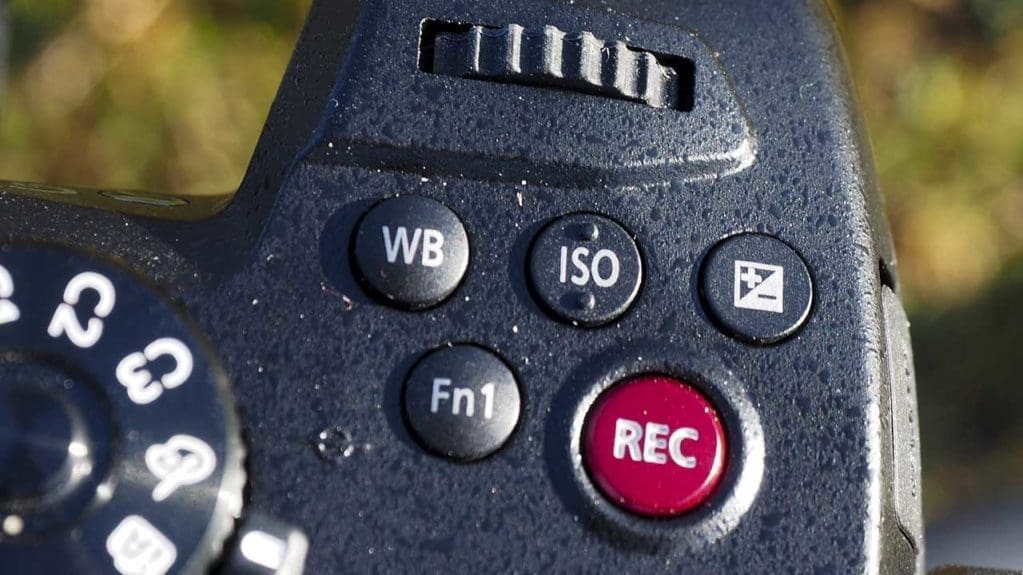
The first step is to locate the white balance options on your camera. On the Panasonic GH5S, the white balance (WB) options are easy to find as there is a dedicated button on top of the camera. Push this button, and the options will appear on the screen or in the viewfinder.

Now I can rotate the dial on the back of the camera to scroll through the options. These include all the usual options – AWB, Tungsten, Cloudy etc – at the end of the preset option you’ll see the Custom White Balance options.
There are quite a few of these, so you can set a Custom White Balance for studio or outdoor lighting and then quickly flip between them as needed.
To set Custom White Balance on the Panasonic GH5S
-
- Make sure you have the screen flipped so you can see it
- Push the WB button on the top of the GH5S
- Scroll through the options until you reach Custom “1”
- Click up on the navigation control, you’ll see the screen change to White Set
- Open the ColorChecker Passport so it shows the Greycard
- Place the Greycard in front of the lens so the box on the LCD is filled
- Click Menu/Set and you’re done, the Custom White Balance is set on the Panasonic GH5S
Once completed you’re ready to use the custom white balance to take photographs.


