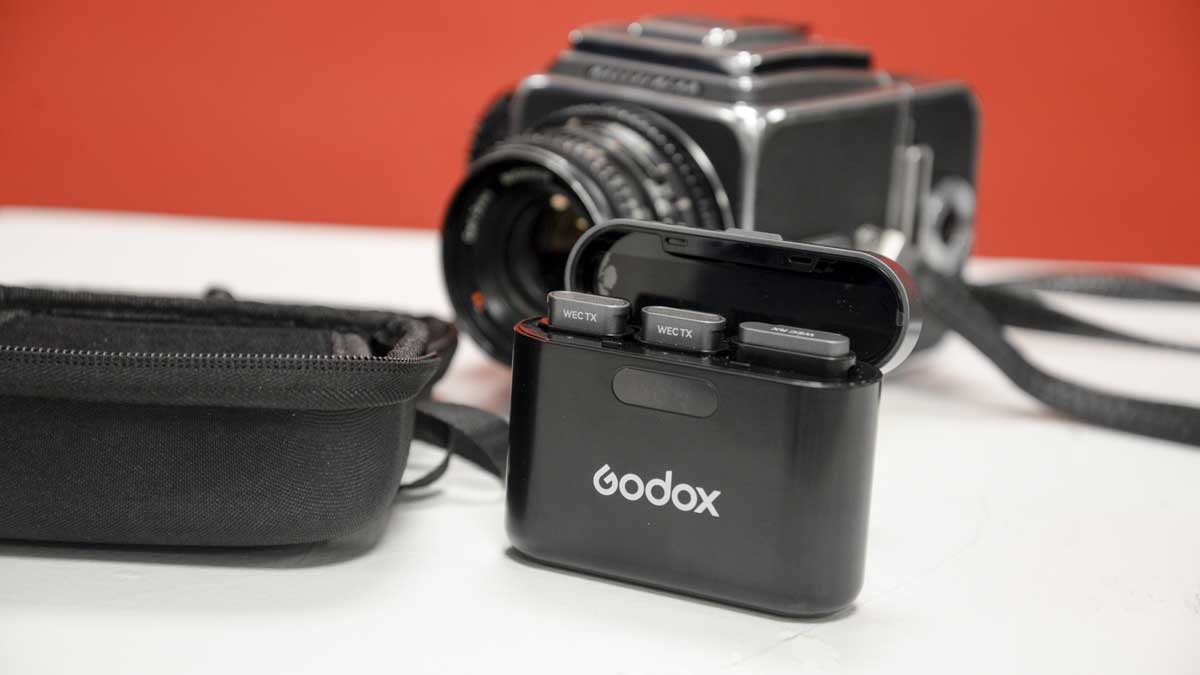
In use, the units are as easy as you would hope for a wireless mic system at this price. To get started, the charging case can be connected directly to a USB Type-C port on a computer or wall charger to charge up, which takes roughly 2 hours. In this review, I coupled the mics with the Bluetti AC60 when in the field, enabling a direct charge and making things nice and easy.
Once fully charged, I then didn’t actually have to top up the charge for the extent of the shoot and really just left both the mics and the receiver on and in place once removed from the charging case.
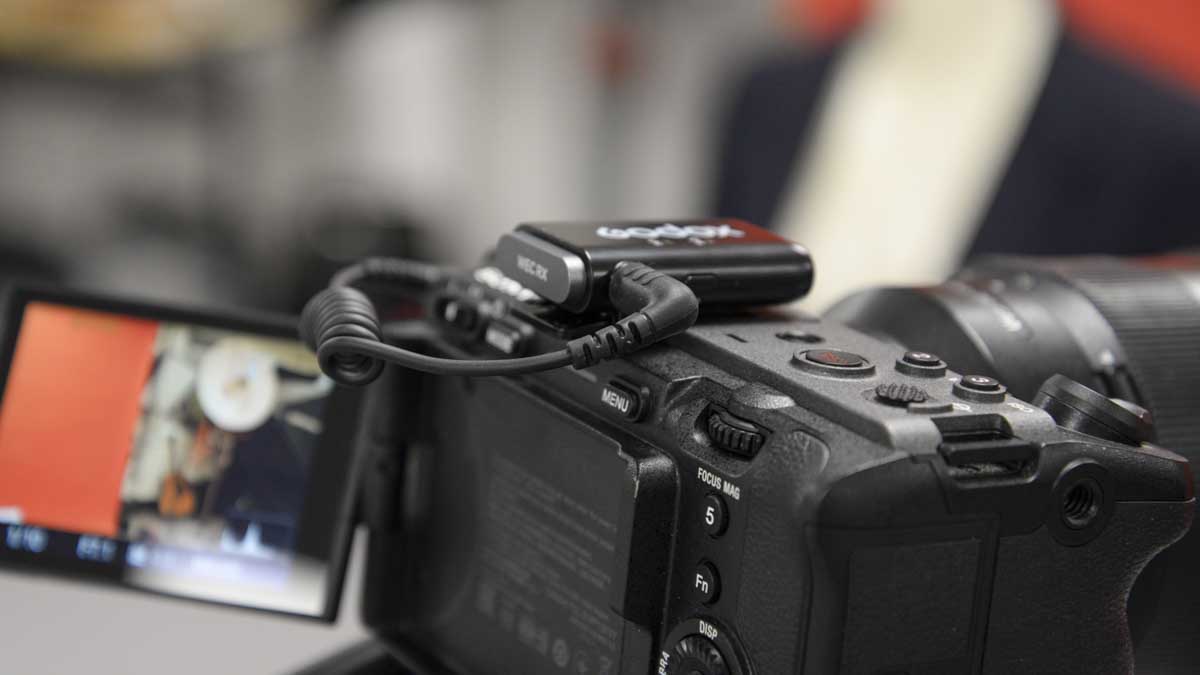
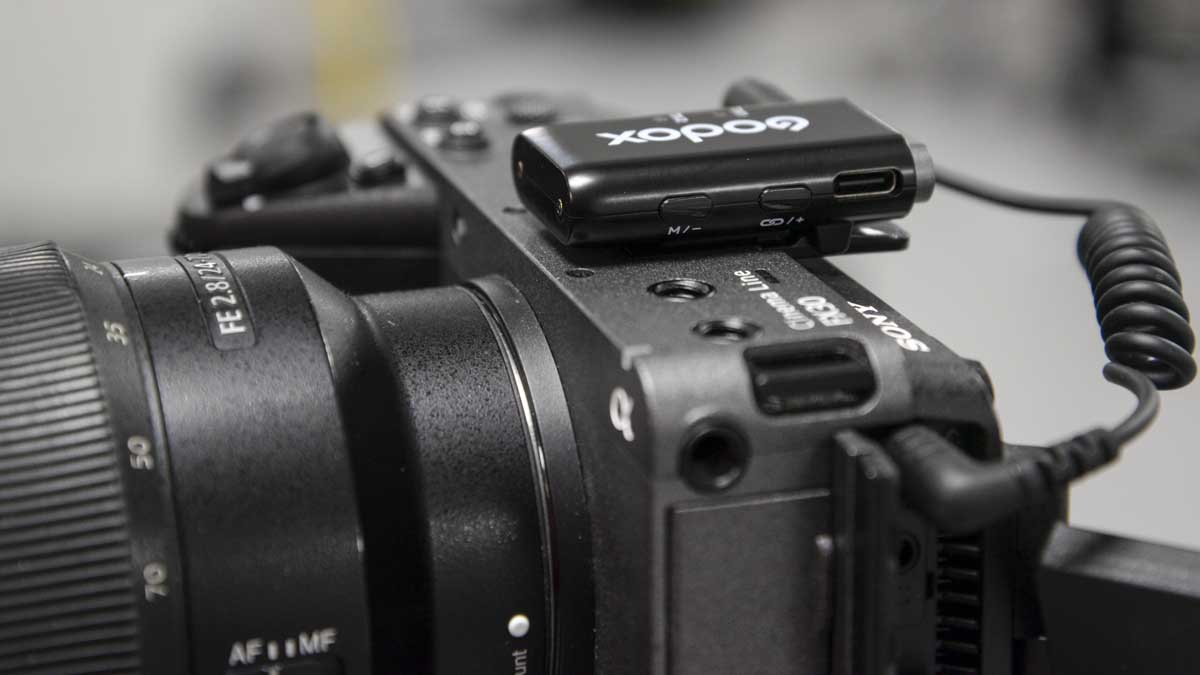
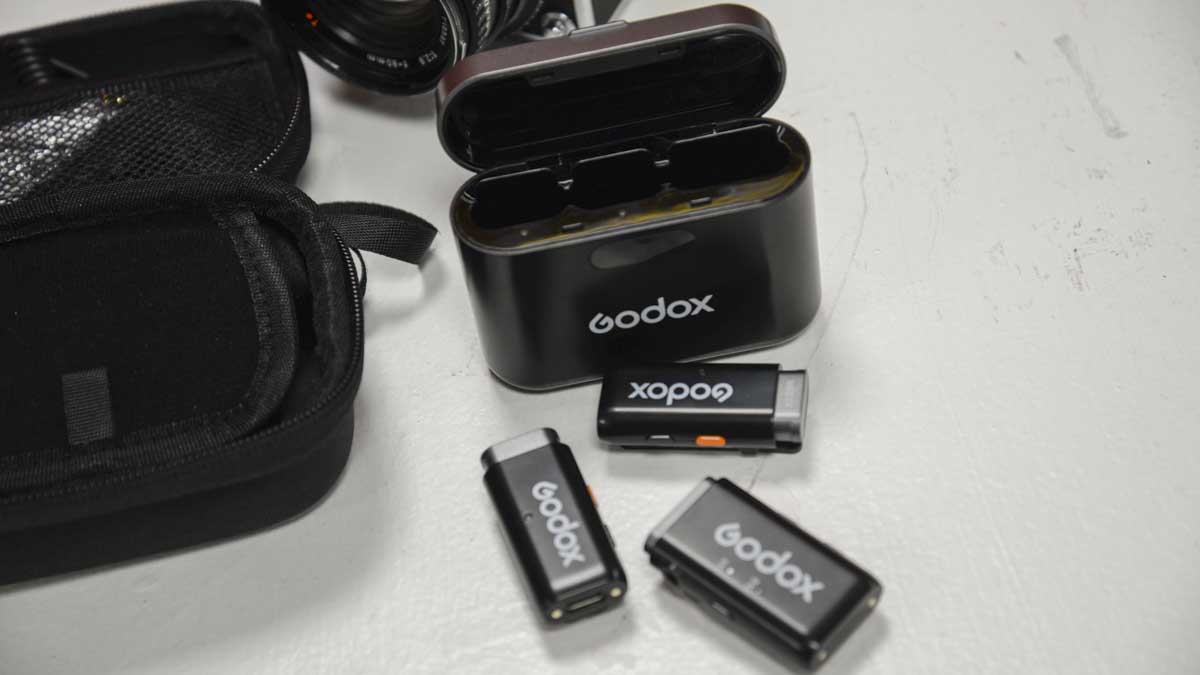
In the initial test, I used both mics for a piece to camera, first using mono and then stereo. The receiver was mounted onto the SmallRig Rhino cage on the Sony A7 IV and connected with the standard TRS cable. Once done, the mic and receiver instantly paired, and as standard, were in the mono mode that records both mics to both left and right channels simultaneously.
For the first test, I started with one mic in mono mode and recorded a piece to camera first with and then without the noise reduction on. The results with the noise reduction switched on were good but there was that slight over-processing with traffic and the sound of leaves. However, for more consistent background noise such as air conditioning, the quality was excellent. Switching off the noise reduction, the sound quality was good, albeit a little tinny compared with the depth of more expensive units. However, considering the price, this is not at all bad.
One aspect that really stands out is the ability to adjust the input volume directly on the receiver into the camera with the + or – buttons, essentially adjusting the mic sensitivity. As the sensitivity is lowered, you do need to move the mics as close as possible to your mouth and boost the in-camera audio, but it does help to reduce the ambient sound that is picked up.
Switching to two mics, and again using the mic in mono but mounting the second mic away from me to pick up the ambient sound of the surroundings, worked well and helped better position me in the location, creating quite a nice effect.
The next step was to switch to stereo, once this is done the tracks are split so one mic records to one audio channel, which can then be separated and manipulated in post. Here, the results really took a leap, with the vocal audio being nicely adjustable and placed as dual mono over the left and right channels in DaVinci Resolve 18 Fairlight. Then, the volume of the ambient noise could again be split and laid over two further channels at dual mono, and the volume and tone adjusted. This small feature is able to give your audio a huge boost in quality.
Obviously, the main reason you would want a two-mic system is to conduct interviews, and here the mic system works well but does show its limitations. Overall, splitting the tracks with the interviewer and interviewee on different tracks works well, but there’s no ability to individually adjust the volume of each mic. However, you can of course do this in post.
Again, the audio quality is good, a huge leap up from the camera or on-camera mics with a more focused audio capture, and you can get a little more creative with your audio. However, while good, don’t expect the level of quality that you would get from the HollyLand Lark Max or DJI Mic 2.
