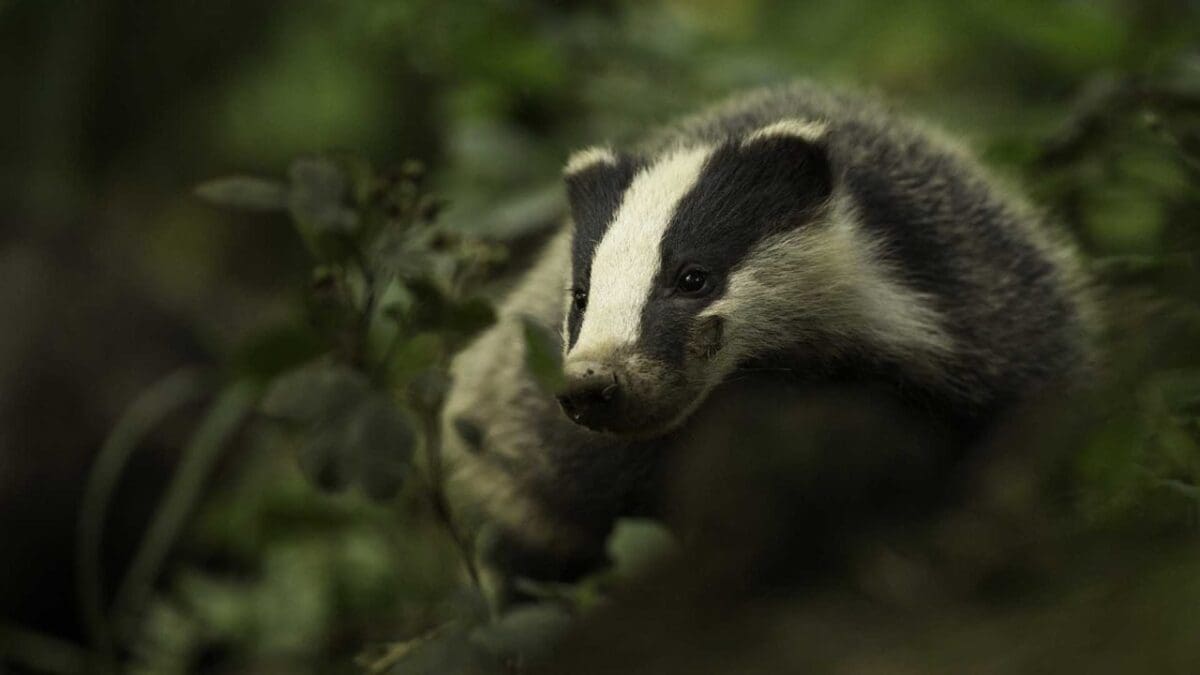
In my last article about photographing badgers I explained how to locate and see them, now I’ll turn my attention to technical issues associated with taking pictures of them.
Photographing badgers: the challenge
Badgers are nocturnal, making it challenging to see them during daylight hours. In summer the nights are shorter, giving badgers less time to forage for food and this can give you greater opportunity to see them whilst the sun is still up and shining.
Even if you do have a family of badgers who appear during the day, they are often sheltered by shrubs, forests or hedgerows until the light begins to fade and they feel more comfortable. This gives you a substantial challenge when it comes to exposing your image correctly.
Sometimes photographing badgers comes down to a little luck. You may be fortunate enough for them to be comfortable and happy coming out in broad daylight, but if you find that this is not the case, it’s time to be creative.
Read more: Backlighting in photography: How to shoot animals against the light
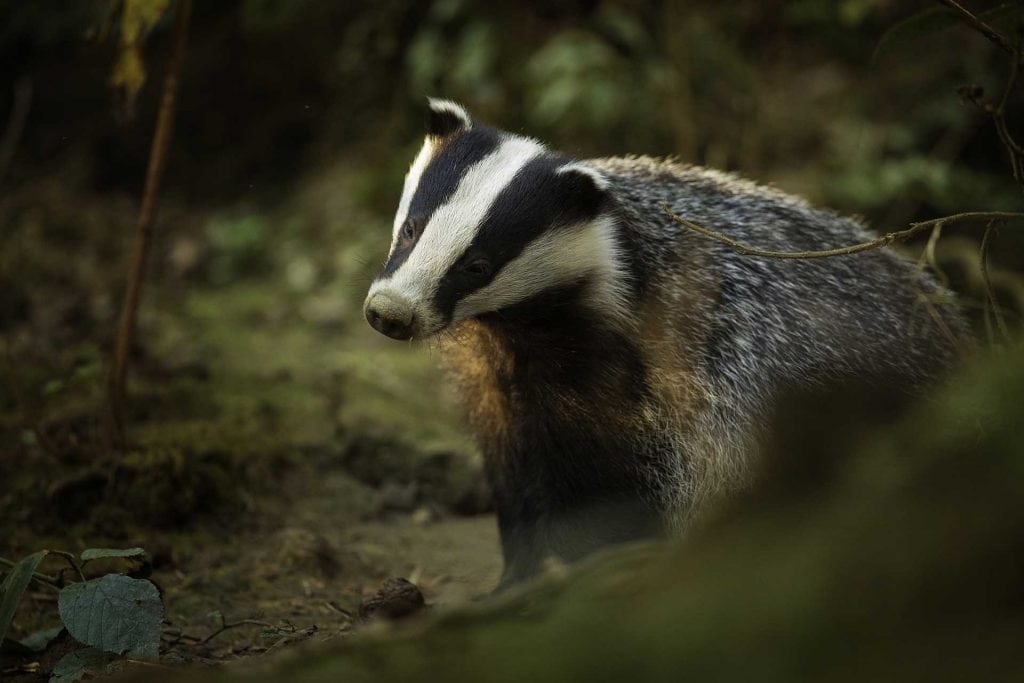
What equipment do you need to photograph badgers?
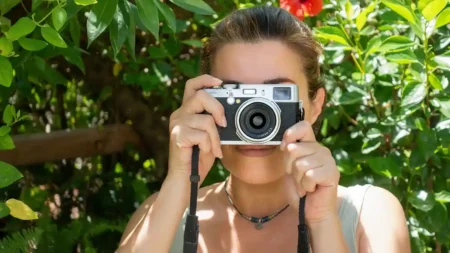
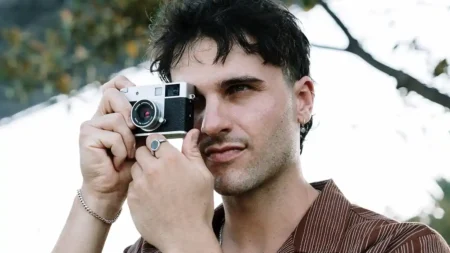
- Camera: Full-frame sensors generally cope with low light and higher ISO better than cropped sensor models. Although using a bigger sensor means you sacrifice some focal length, you may be able to shoot in more challenging conditions.
- Lenses: With badgers it’s best if they are completely unaware of your presence, meaning it’s advised to stay well back. My go to lens is a 500mm f/4 on a full-frame camera, however, in the low light an f/2.8 could be a real advantage. There’s also the potential to use camera traps or wide angle lenses to try and capture more environmental style images if you have the correct set up.
- Tripod: Sometimes you can spend literally hours waiting for a badger to appear with only a small window of opportunity before they move on. If your camera is on the ground you may startle the badger when you pick it up to start shooting and you may also miss your chance. Having it primed and ready on a tripod, pointing in the direction you hope the badger will appear in will increase your chances of success. Using a tripod also cuts out any shake from hand-holding the camera and which could make using slow shutter speeds near impossible, even with the latest image stabilisation technology.
- Flash: This will always be a controversial subject within wildlife photography and it causes issues with badgers due to current legislation (see How to Photograph Badgers: Locating and Seeing Them). I advise against using external lighting or flash units, however, I recognise that these are far less likely to impact urban badgers than their rural counterparts.
Read more: How to choose the best wildlife photography kit
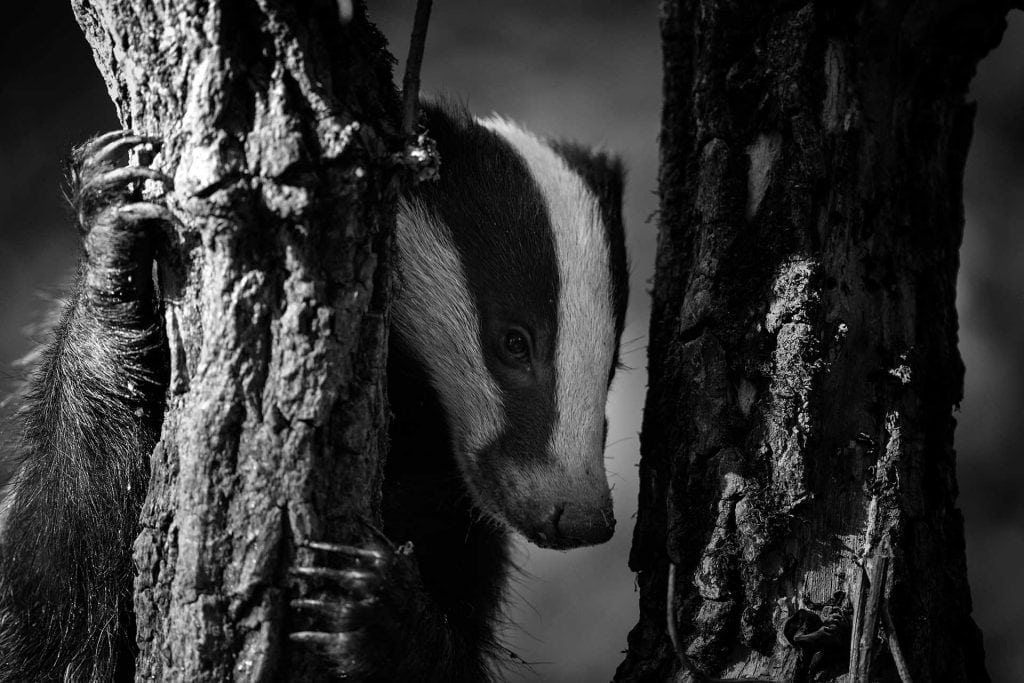
What camera settings do you use for photographing badgers?
- Aperture: In dark conditions you need to let as much light in as possible. Many lenses have a ‘sweet spot’ that will produce sharper images, but you may not have the luxury of being able to stop down at all in the low light conditions, so I advise keeping your aperture as wide as possible (ie using the lowest number such as f/2.8, f/4 etc)
- ISO/sensitivity: Depending on your camera, you may be able to use a higher IISO (sensitivity) setting without impacting much on the image quality. Many cameras these days perform well at ISO 3200 if not more, with some flagship cameras comfortably delivering at ISO 10,000+. However some cameras struggle with these settings, leading to considerable colour grain and a significant loss of detail and poor image quality. If it’s not possible to push your camera’s ISO very high, you need to consider other methods to let more light reach the sensor.
- Shutter Speed: This is where things get a bit more tricky. If you’ve not been able to get enough light into the camera using your ‘ideal’ shutter speed (1/500th of a second for a 500mm lens for example), we need to start slowing things down. I have successfully photographed badgers at 1/30th of a second, but also captured numerous blurred images in the process. Badgers are very rarely still, they’re constantly twitching and on the move. If slowing your shutter is the only option to get an image, it’s a step you need to take.
- Burst mode: Many photographers prefer to try and capture the image at the perfect moment rather than using a burst mode, but when shooting at such slow shutter speeds with such twitchy subjects, sometimes it’s down to luck whether you capture a sharp image as you hit the shutter release. Using a burst or continuous shooting mode will give you more images to sort through, but tilt the odds in your favour that you’ll capture some that are sharp.
Photographing badgers: knowing the subject
As Badgers don’t rely on their eyesight, they seldom look up and around at their settings. They will often tilt their heads back and up when sniffing the air for a scent, but the majority of their time will be spent sniffing the ground in search of earthworms and other sources of food. Your ability to capture unique behaviour develops over time as you gain a greater understanding of their body language and daily routines. Grooming, playing, fighting and generally being clumsy are just some of the things to watch out for.
