Each GoPro Hero model brings something new to the action camera format, building on the features and abilities of the last. The main aim of GoPro cameras is to simply capture the action as it happens, so if like most users you simply want to grab the camera and head straight out and film, then the GoPro is the perfect option for you.
The GoPro Hero has been designed to capture stunning footage with minimal fuss. However if you want more options than simply record then the GoPro Hero Black packs in high quality advanced settings that make this camera popular with the broadcast industry.
In late 2016 GoPro simplified the range further than ever before with just two cameras; the GoPro Hero5 Black and GoPro Hero5 Session both launched at Photokina 2016. The design of both makes them even easier than ever to use, if you want to know a bit more then check out our initial impressions and comparisons between the latest Hero5 Black and Hero4 Black.
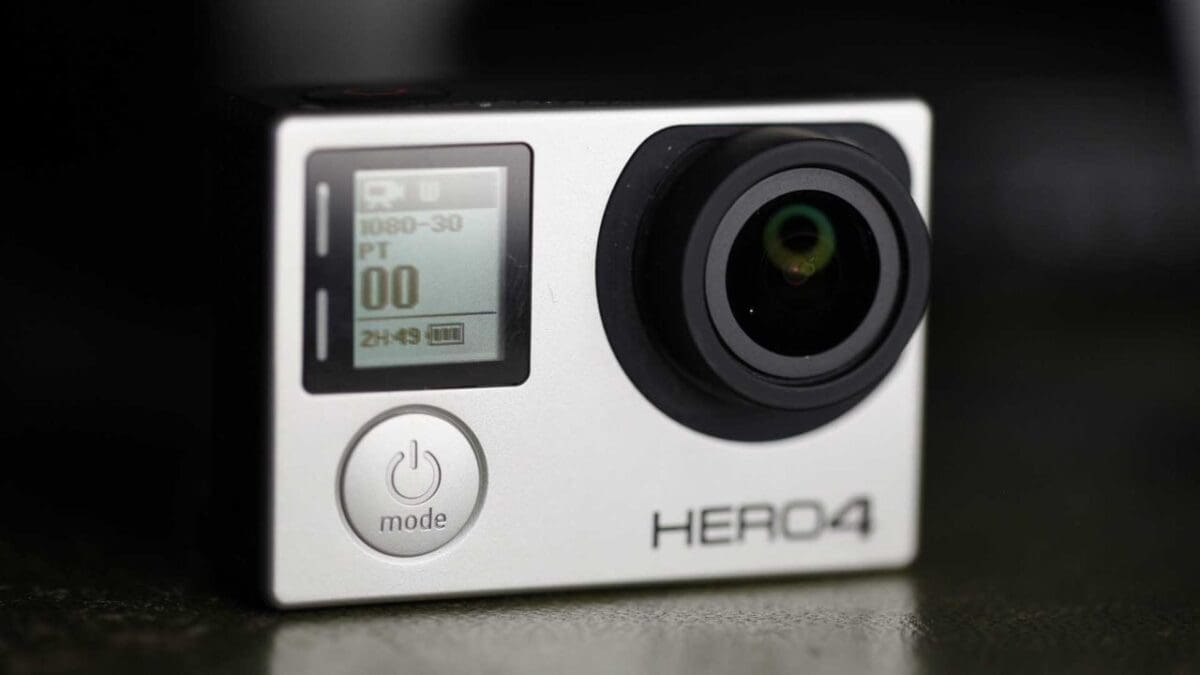
The new models have a good amount of changes and we’ll be taking a look at those as soon as the camera’s are launched. For now we’ll take a look at the Hero4 series and a few of the features and settings that are common across the Hero, Hero4 Silver and Hero4 Black.
SEE MORE: The definitive starters guide to the GoPro Hero and action cameras
Removing the GoPro Hero’s waterproof housing
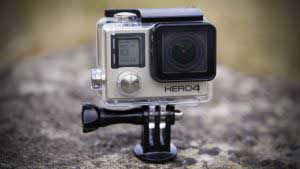
When the cameras arrive each GoPro is protected by a waterproof housing. On the Silver and Black versions of the GoPro the housing needs to be removed before the camera can be charged, a memory card inserted or connected to a TV.
The waterproof housing is held closed by a compression clip, to release simply flip it open. For the Silver and Black versions of the camera flip the housing over with the opening facing down and with your hand underneath tap gently and the camera will drop out.
The Hero is the base level camera and the waterproof housing is fixed in place, once the back is released you then have direct access to the USB and MicroSD Card slots.
With all cameras when it comes to re-closing the case make sure that the seal is free from dust or fabric, anything obstructing this seal might effect the waterproofing quality of the case and then clamp closed.
SEE MORE: 5 quick GoPro Hero tips to get more from your action camera
Charging the battery
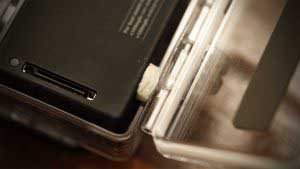
GoPro’s have a battery charger built in through USB (USB micro) this simply plugs directly into the side of the GoPro and then into your charger of choice. If you can use a USB plug that goes directly into the wall as this will almost certainly be a 2amp rather than 1amp connection. All this means is that your GoPro will charge up that much faster.
The GoPro Hero has the USB port positioned on the back of the camera.
Storage
All GoPro’s take a form of memory card called a MicroSD card. These small cards are commonly used in mobile devises and range in capacities from 1GB to 512GB although larger capacity MicroSD cards are being announced.
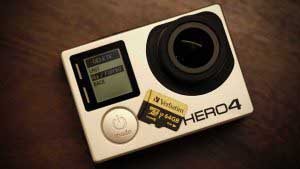
When it comes to buying one for your GoPro there are a few important factors that you should look out for. Unlike a mobile phone or tablet where the READ SPEED of a card is important in order to watch back movies or listen to music, when it comes to the GoPro it’s the WRITE SPEED that is the most important figure. This is due to you using the card primarily to record high definition video footage to the card.
When you start to look around you’ll see the many cards will quote big numbers such as 95mb/s on the packaging, unfortunately this will often refer to the write speed, flip the package over and have a close look at the details, you’re looking for a write speed of at least 50mb/s but the higher the better, if there’s no write speed quoted then you know that the card will probably not be suitable for your GoPro.
The card should also be a minimum of class 10, you’ll see this on the packaging and printed on the card. Class 10 simply means that the card has a minimum transfer rate of 10 MB/s.
There is another marking that shows just how fast the card is, and this usually looks like a U with a number in, normally 1 or 3. If it has this but no class rating then it’s safe to use the card in your GoPro. The marking shows that the card is UHS Class. UHS Class 1 means that it also has a minimum transfer rate of 10 MB/s, more common for the latest batch of cards is UHS Class 3, this has a minimum transfer rate of 30MB/s.
You’ll also need quite a high capacity card and here anything from 16GB up will do, the size will really be dictated by the resolution and length of footage that you shoot.
SEE MORE: The best Official GoPro accessories
Switching on
Power up your GoPro using the large button on the front of the camera, this as with all buttons can be operated through the casing. Hold the power button down and hold for a couple of seconds to switch the camera on, then to switch off hold down again to power down.
Select your mode
The power button has two uses; Power on and off when held down for a few second, or once the camera is switched on you can toggle through the different modes, video, photo, burst, time-lapse and settings by quickly pushing the button. On the Hero it’s all quite straight forward tap the power button to mode you want and it will be selected, the small LCD on the front will also highlight which mode you are in.
Start recording
It doesn’t matter if the power is on or off , you can start the GoPro recording by pushing the button on top. One push to start and another to stop. A red light will flash on the front to let you know that it’s recording and if you look at the LCD screen you’ll see the duration that you’re recording.
Buy the GoPro HERO4 BLACK at Amazon
Buy the GoPro HERO4 SILVER at Amazon
