The Moza Air 2 from Gudsen is one of the best gimbal stabilisers you can buy for your camera, offering a robust build and wealth of features at a competitive price. But balancing your camera on a gimbal can be tricky if it’s your first time using a three-axis stabiliser like the Moza Air 2.
In this quick guide we explain step-by-step how to balance your camera on the Gudsen Moza Air 2 three-axis stabiliser.
Balancing the Moza Air 2
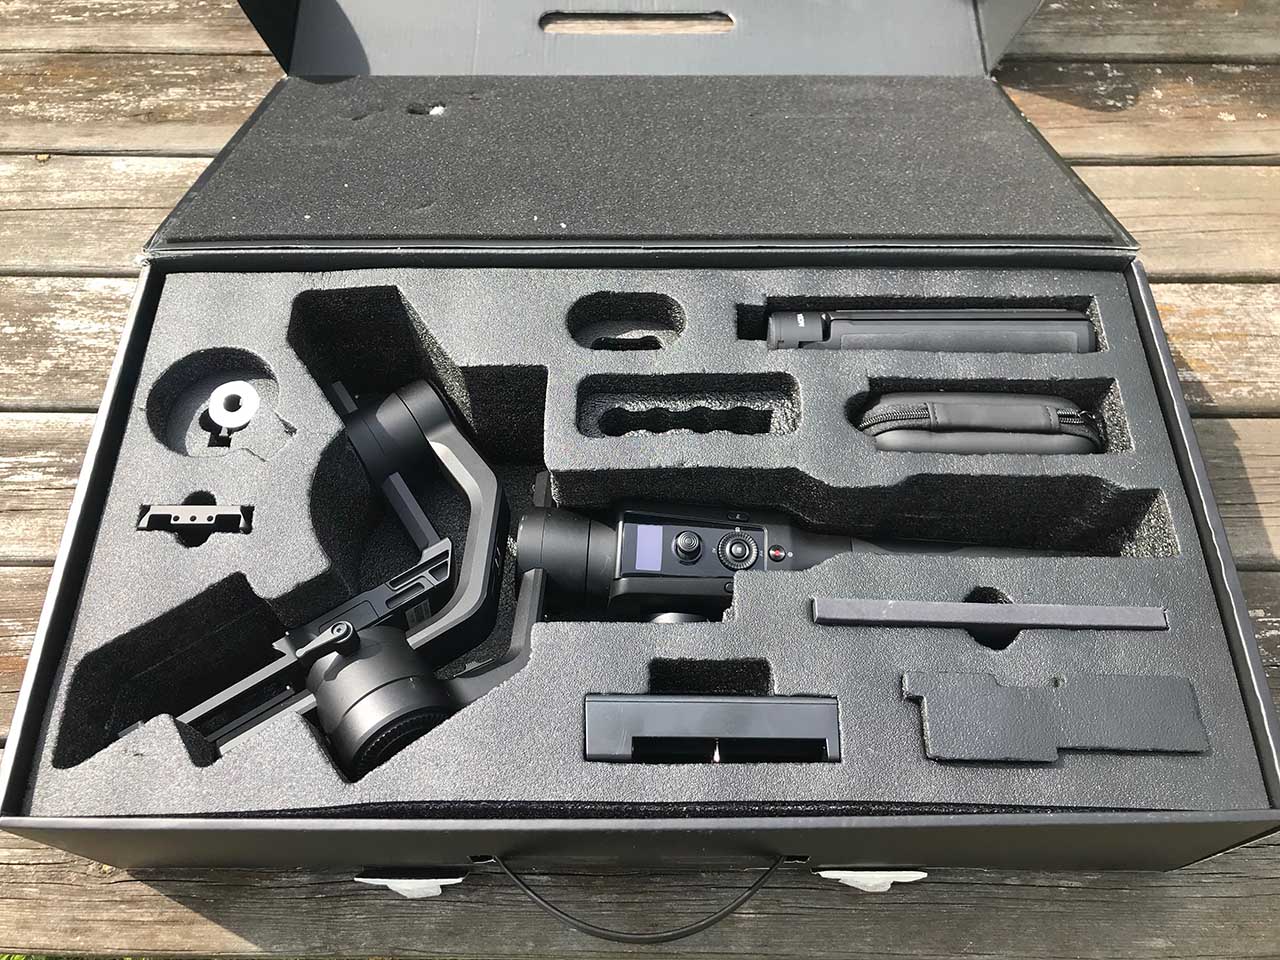
01 Lay out components and attach mini tripod
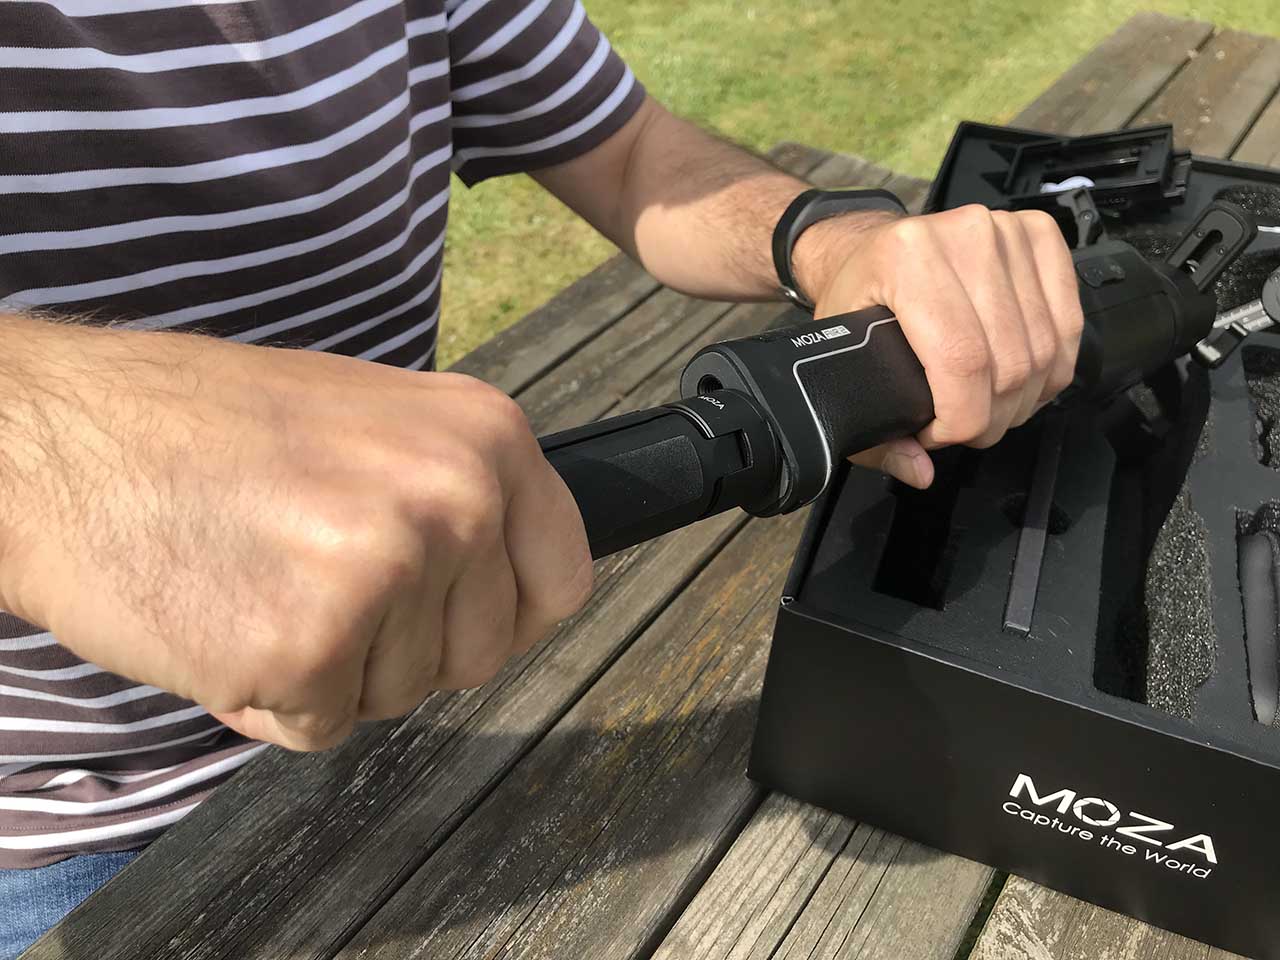
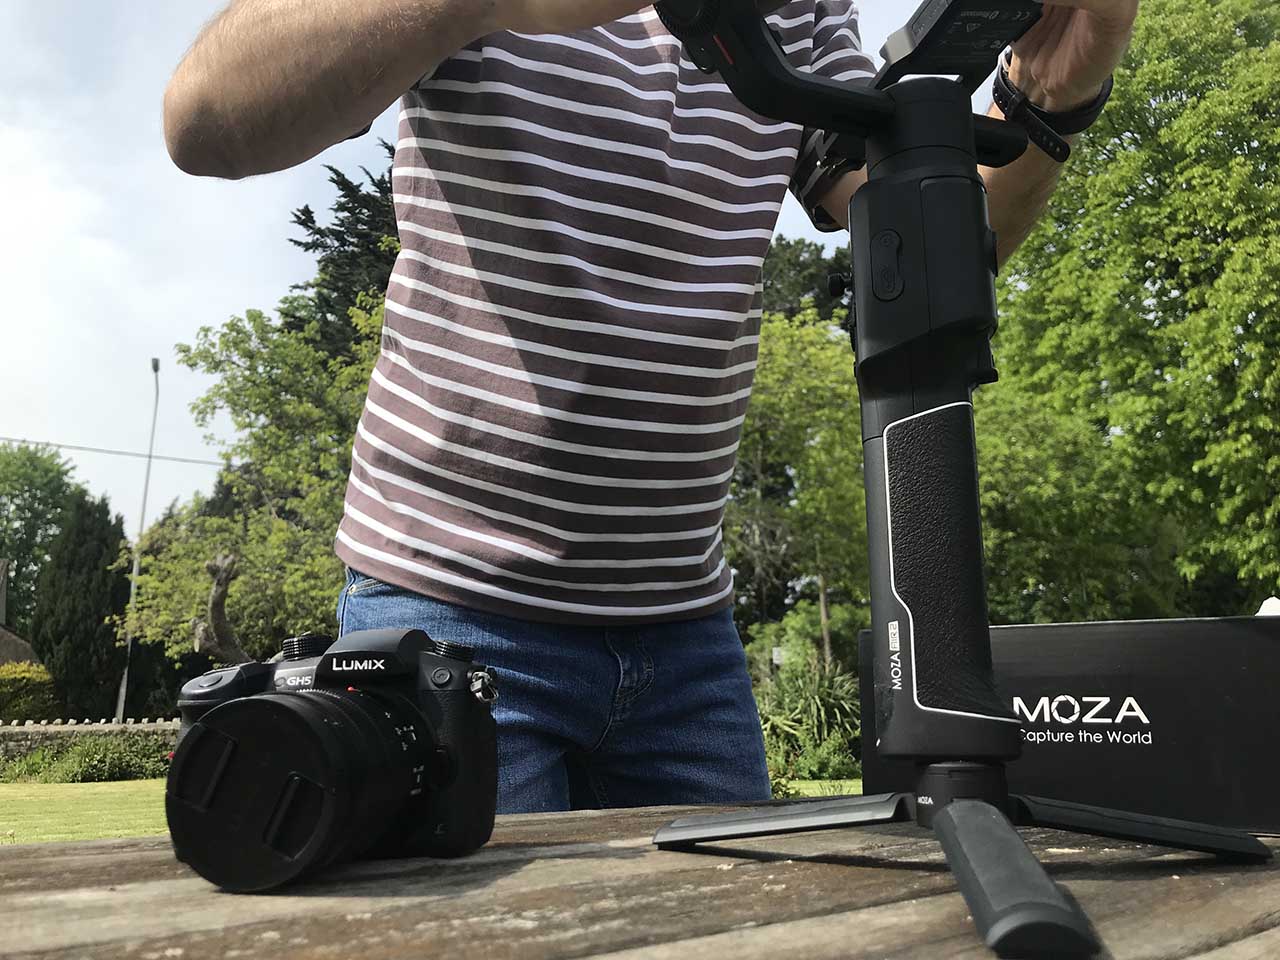
The first step in balancing your camera on the Moza Air 2 is to take all the components out of the box and set aside. Next, screw the mini tripod into the base of the grip using the 1/4-inch screw thread and set the unit upright on a flat surface.
02 Get your camera ready
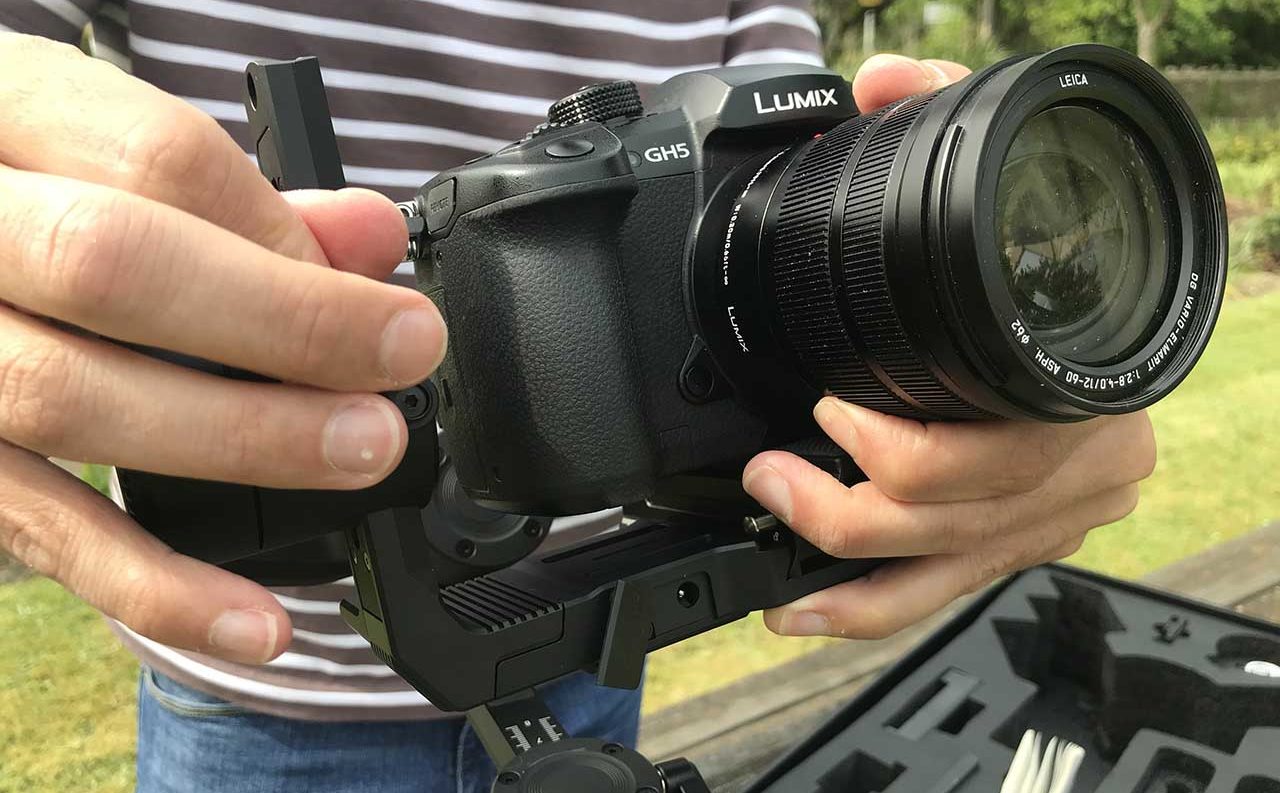
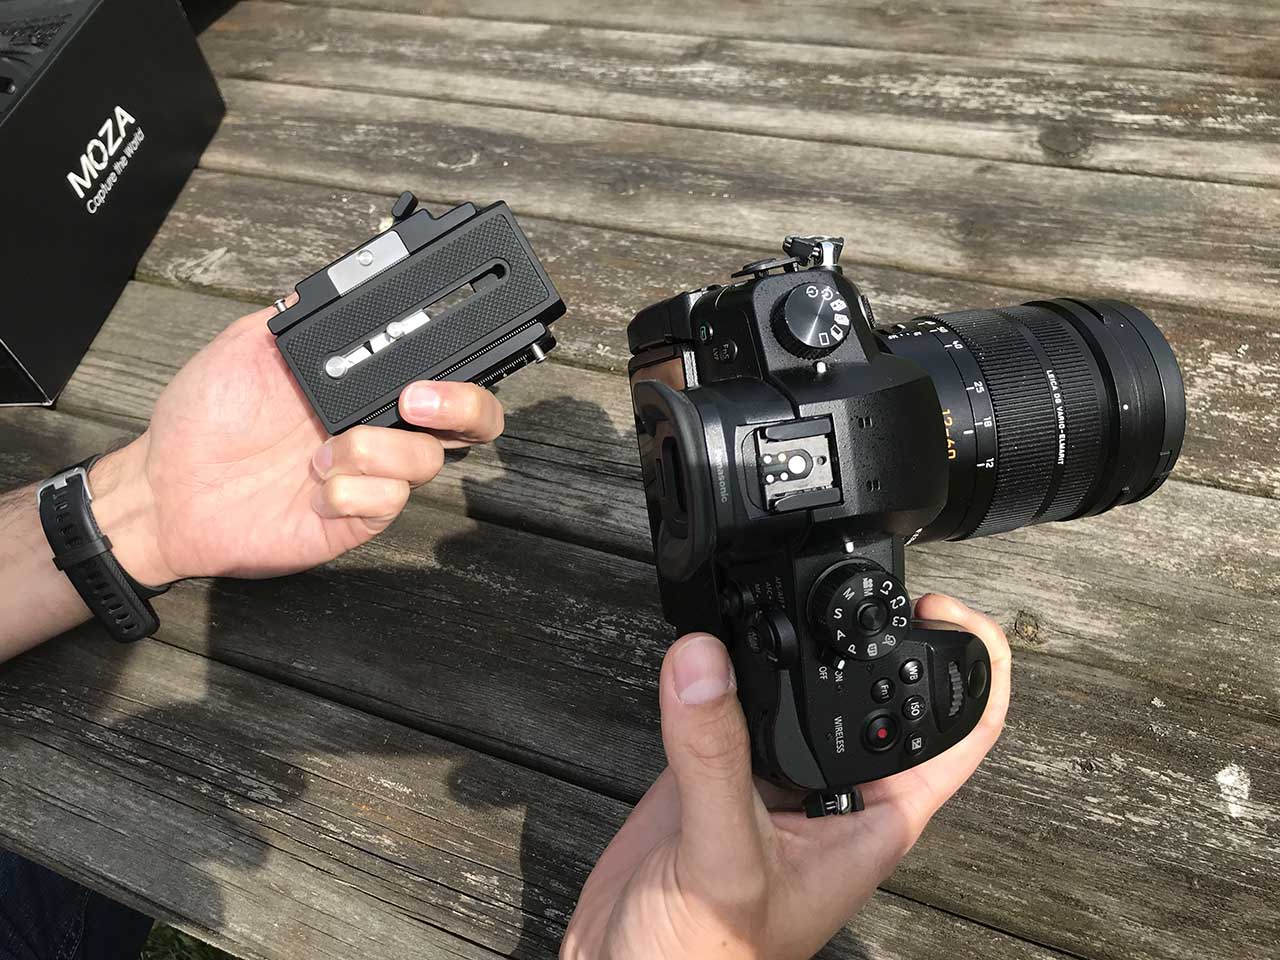
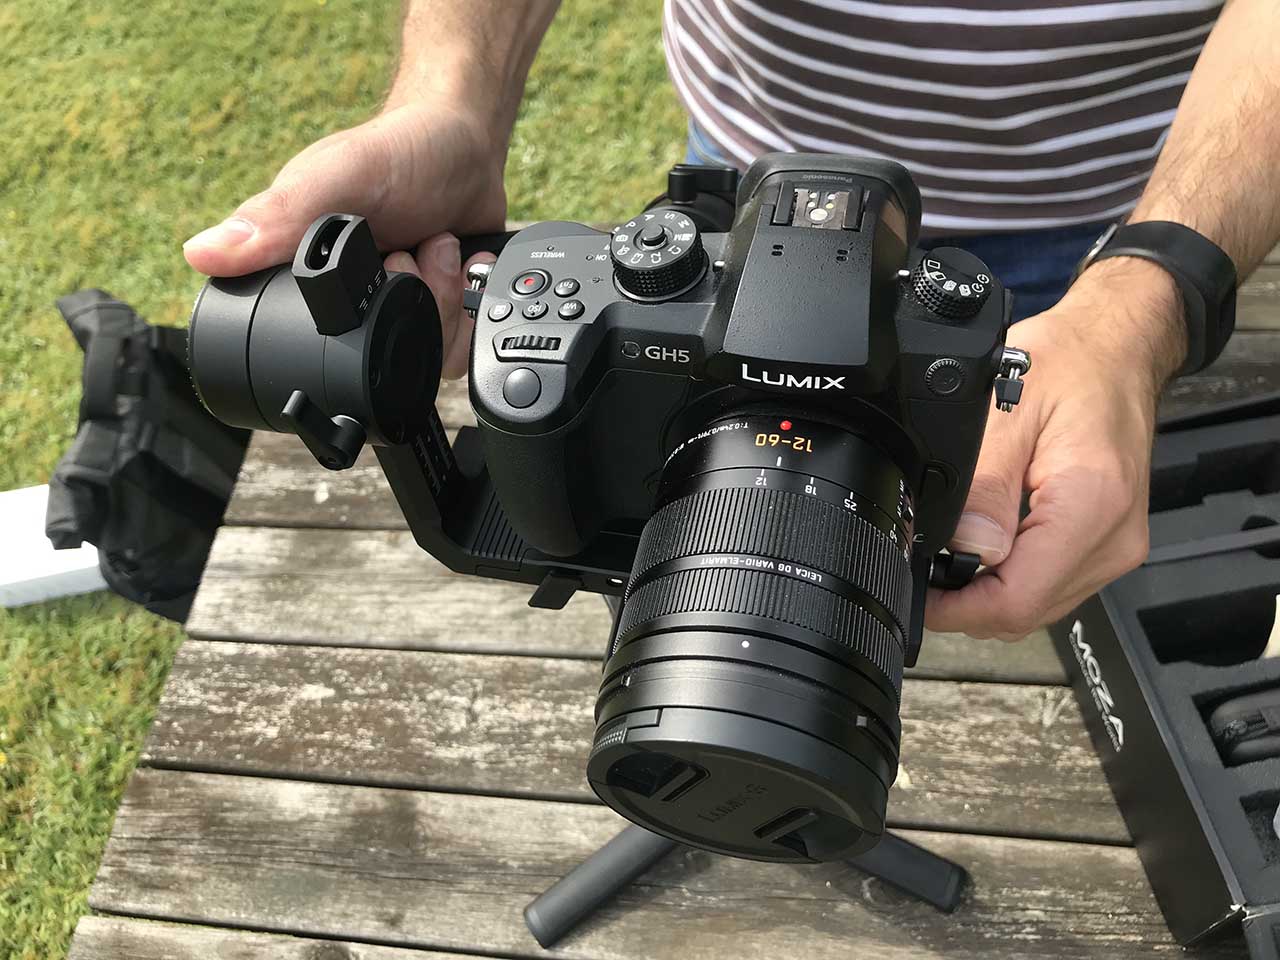
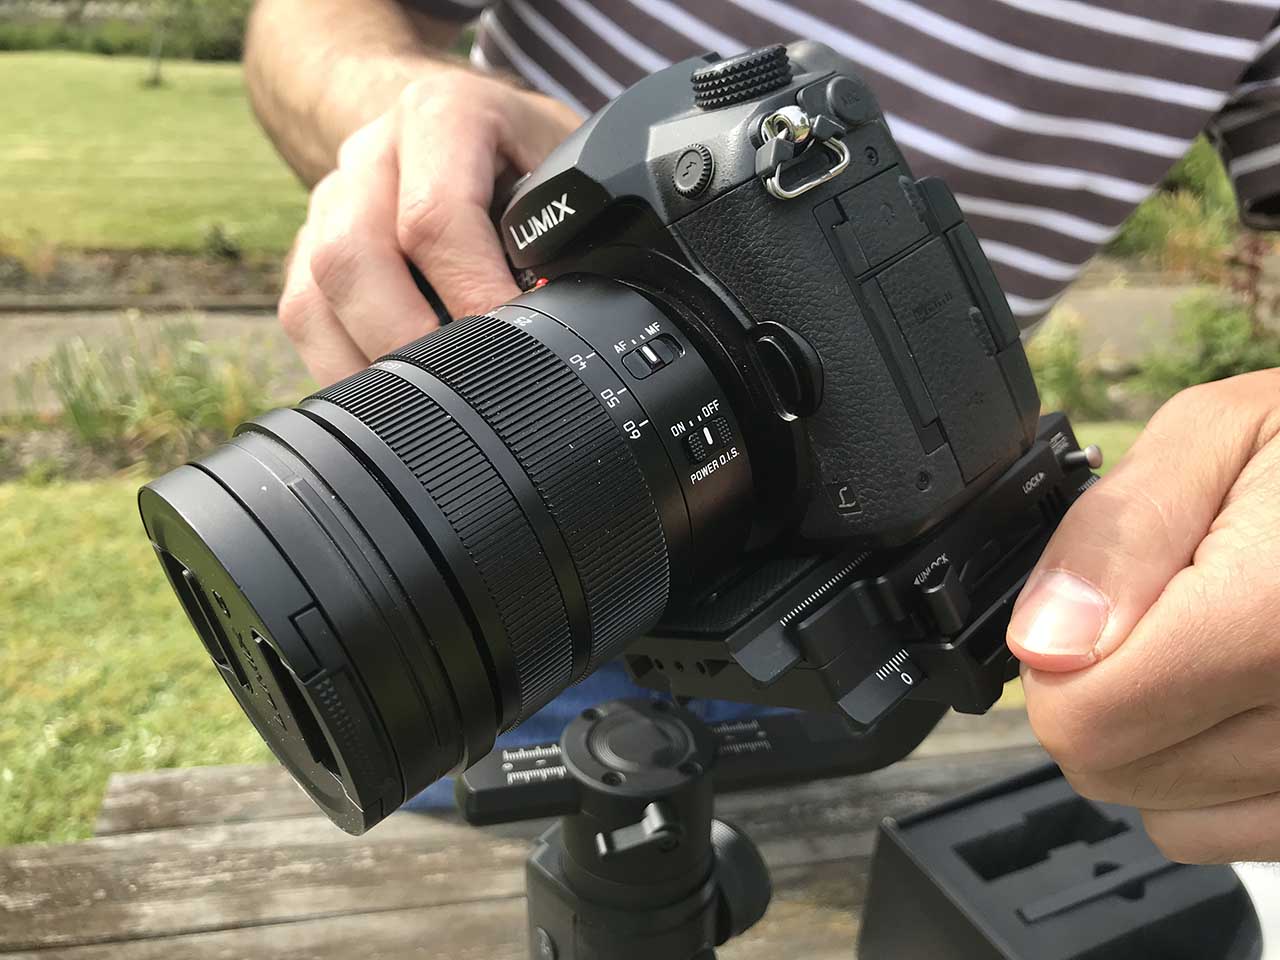
Take your lens cap off and ensure your battery and all memory cards are in the camera. Before balancing your camera on the Moza Air 2 you want it to be in the exact state you’ll be using it. Any slight change in weight could throw off the balance. You’ll also now want to attache the quick release plate.
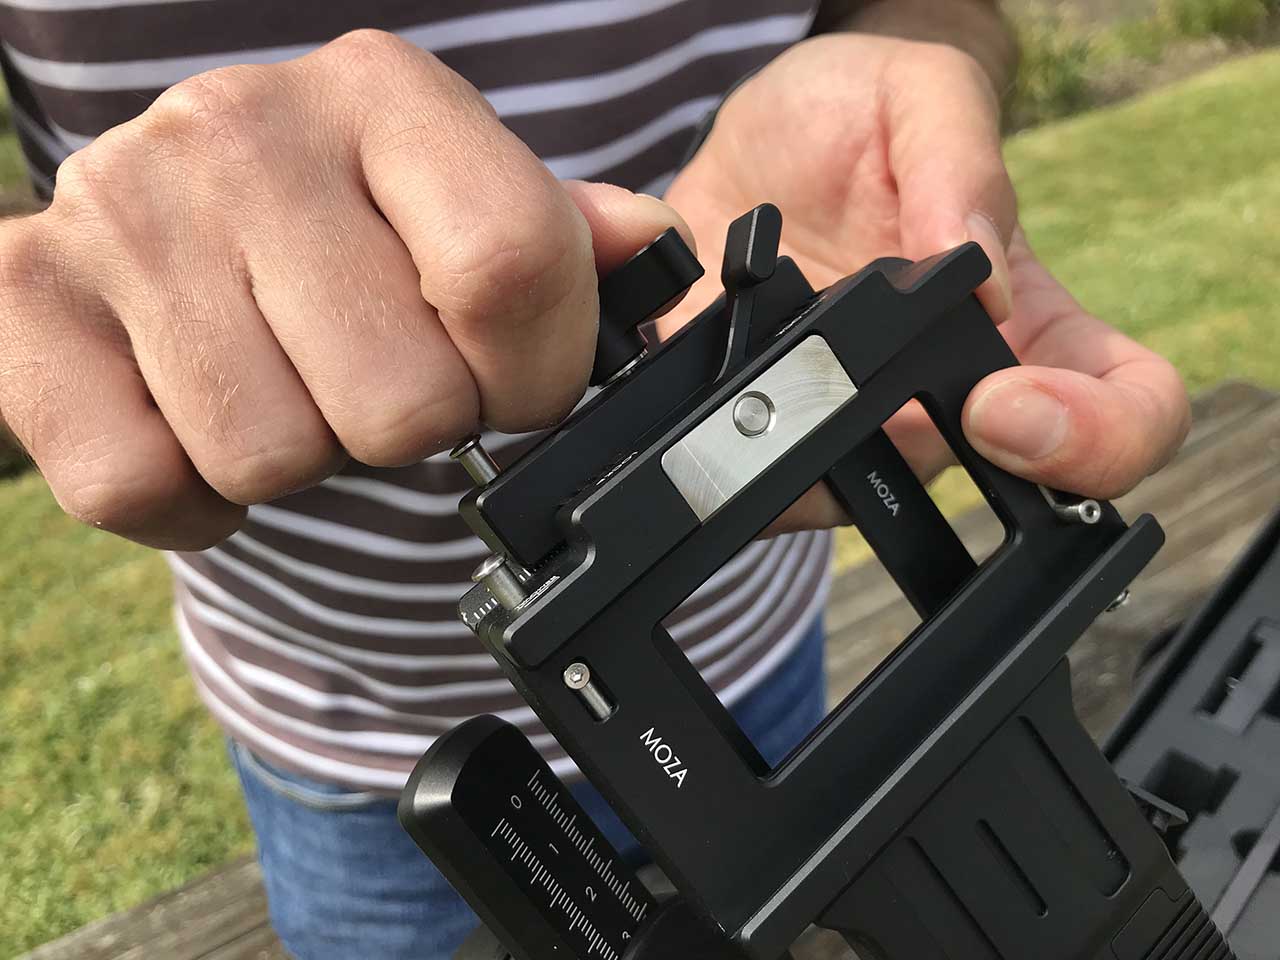
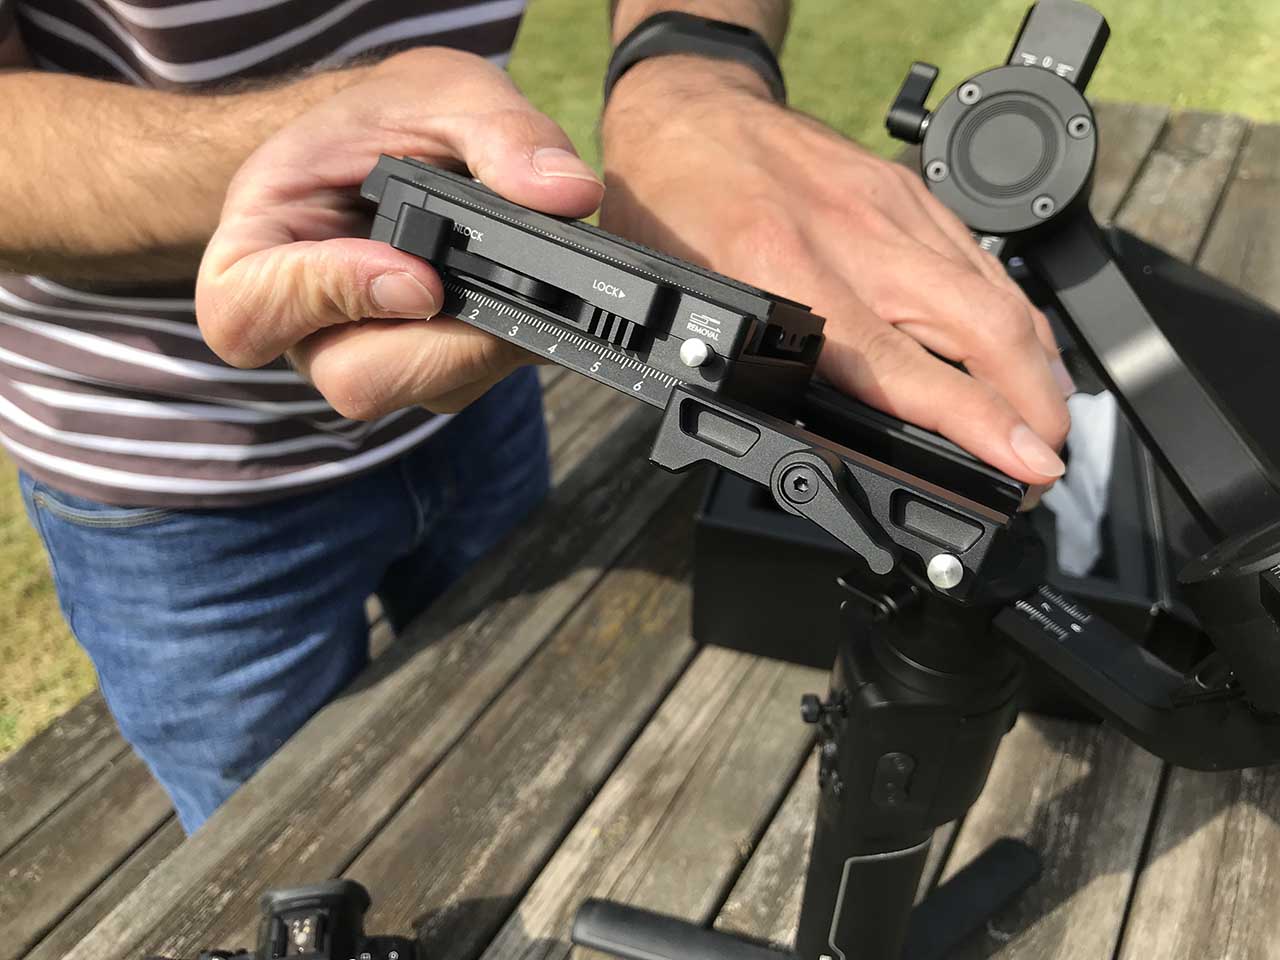
This is quite a novel feature with the Moza Air 2. The quick release plate not only lets you fine-tune your camera’s adjustment on the gimbal, but it allows you to swap the camera between the Moza Air 2 and your tripod without having to re-balance the gimbal.
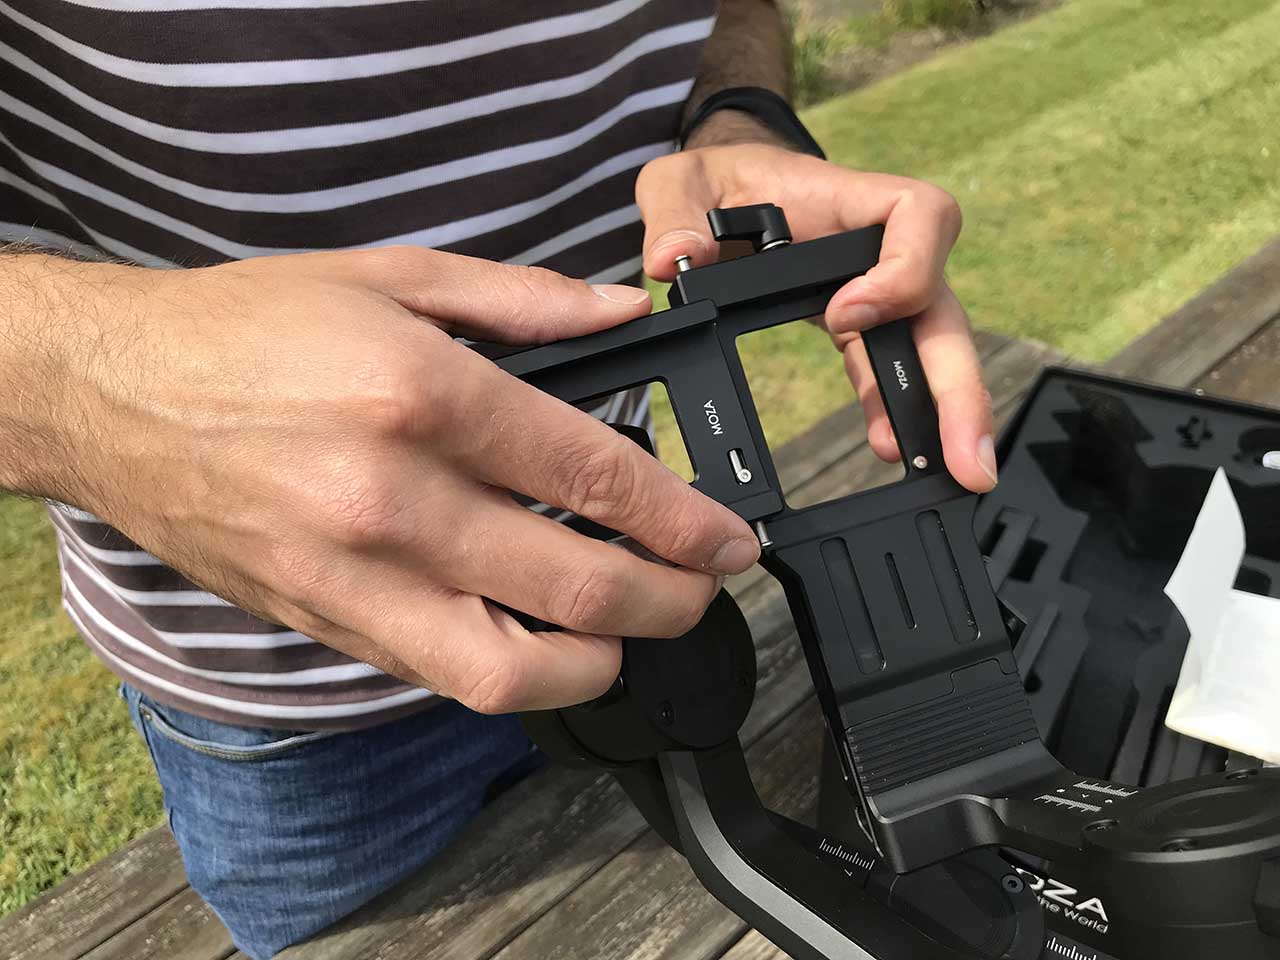
The quick release plate slides into a base attachment on the Moza Air 2, which you can slide forward and backward and then lock into place. There’s also a handy stop in place that prevents your camera from sliding off the gimbal when the base plate is loosened.
03 Balance the tilt axis
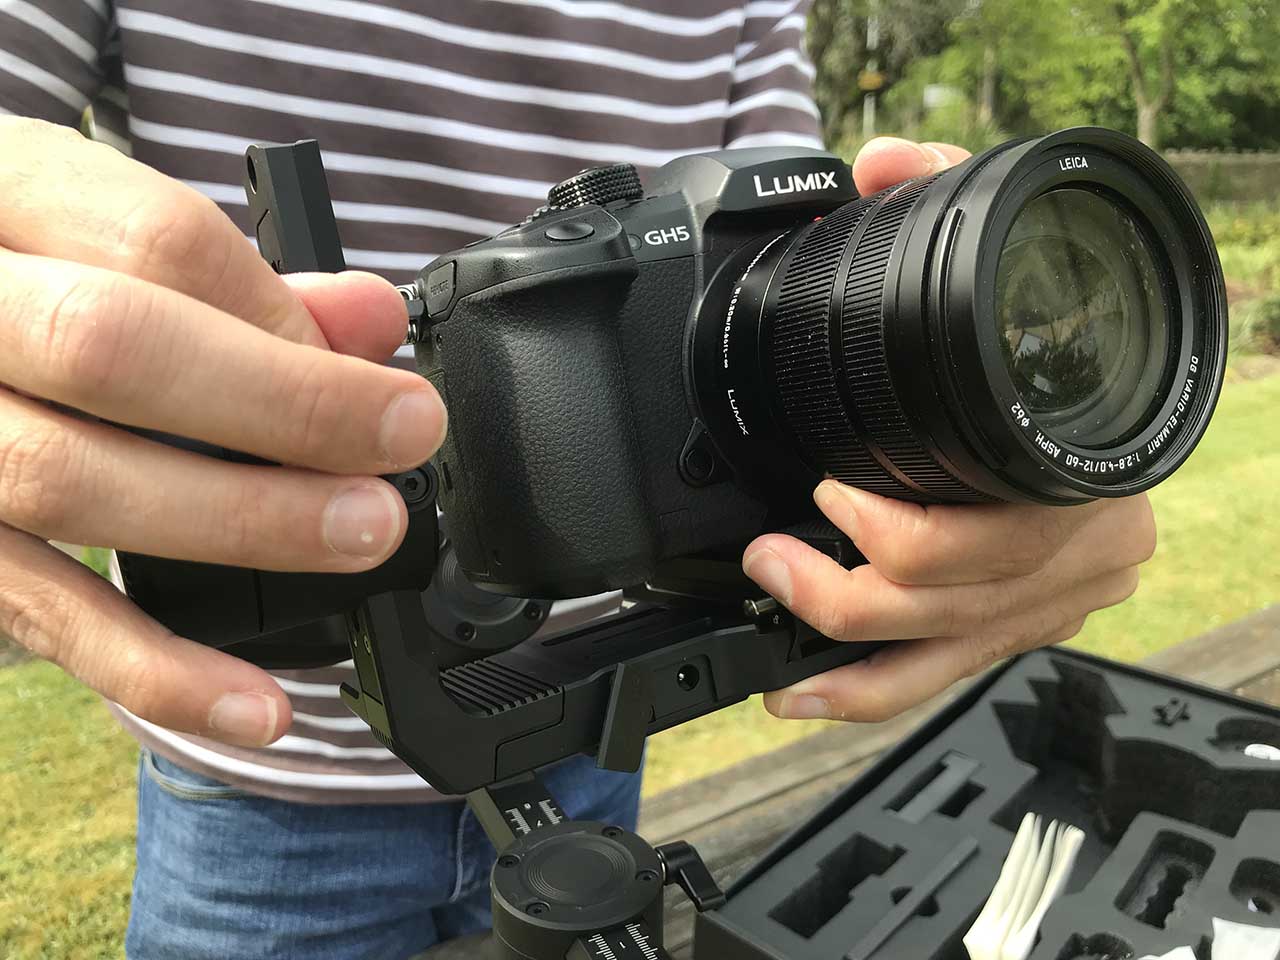
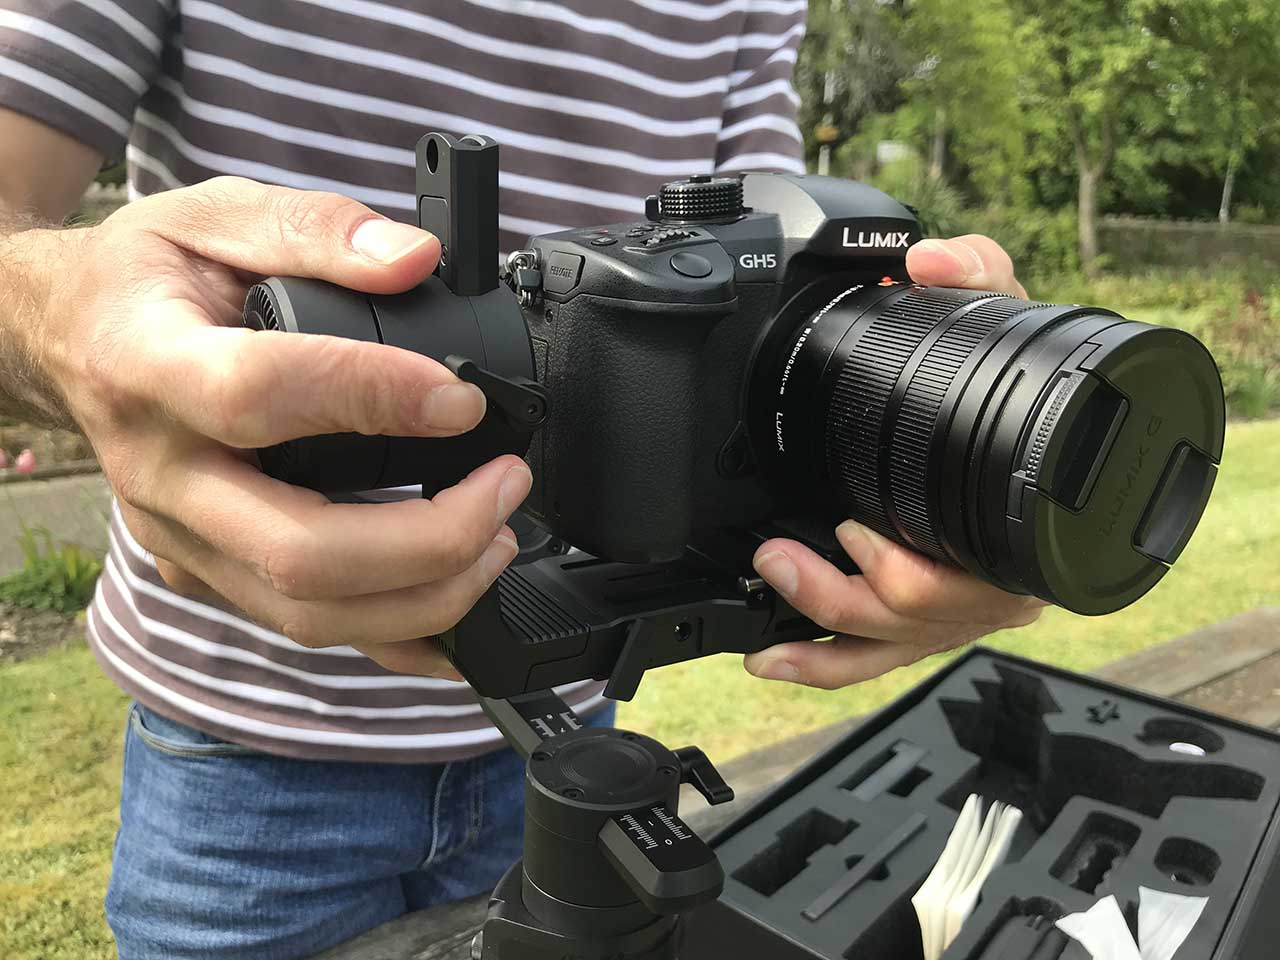
First you want to balance on the tilt axis. Getting the tilt axis balanced can take a little time, so don’t worry – you’ll get there! The adjustment bars require precision and getting this right can take diligence, especially your first few times setting it up.
Essentially with the tilt axis you want to loosen the knob and move the adjustment arm until you get it to the point that you are able to tilt your camera upward or downward and have it stay in position when you remove your hand.
Sometimes the most challenging bit of this process is getting rid of the forward tilt. If you’re struggling with this this, try moving your baseplate back a touch. You’ll know your tilt axis is balanced when you can tilt the camera both up and down and it stays in its position.
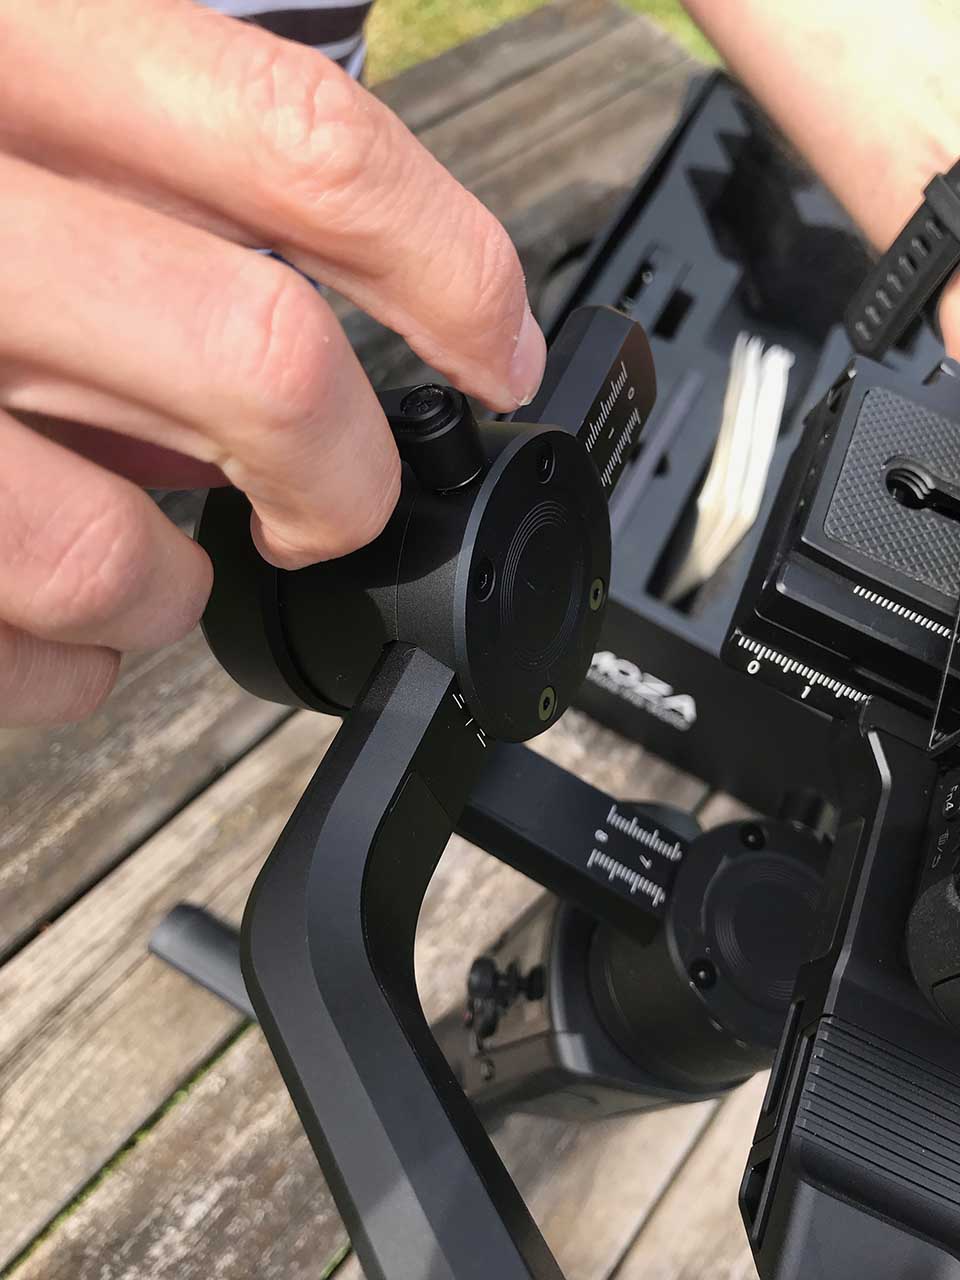
04 Roll axis
Once your tilt axis is set you want to balance the roll axis. Again, the goal here is to balance it so precisely that you can move it one way or the other and your camera stays in its position. Again, the adjustment arm can be moved by releasing the metal knob at the back.
You should find the roll axis a little easier to balance than the tilt axis. In fact, it all gets a bit easier from here.
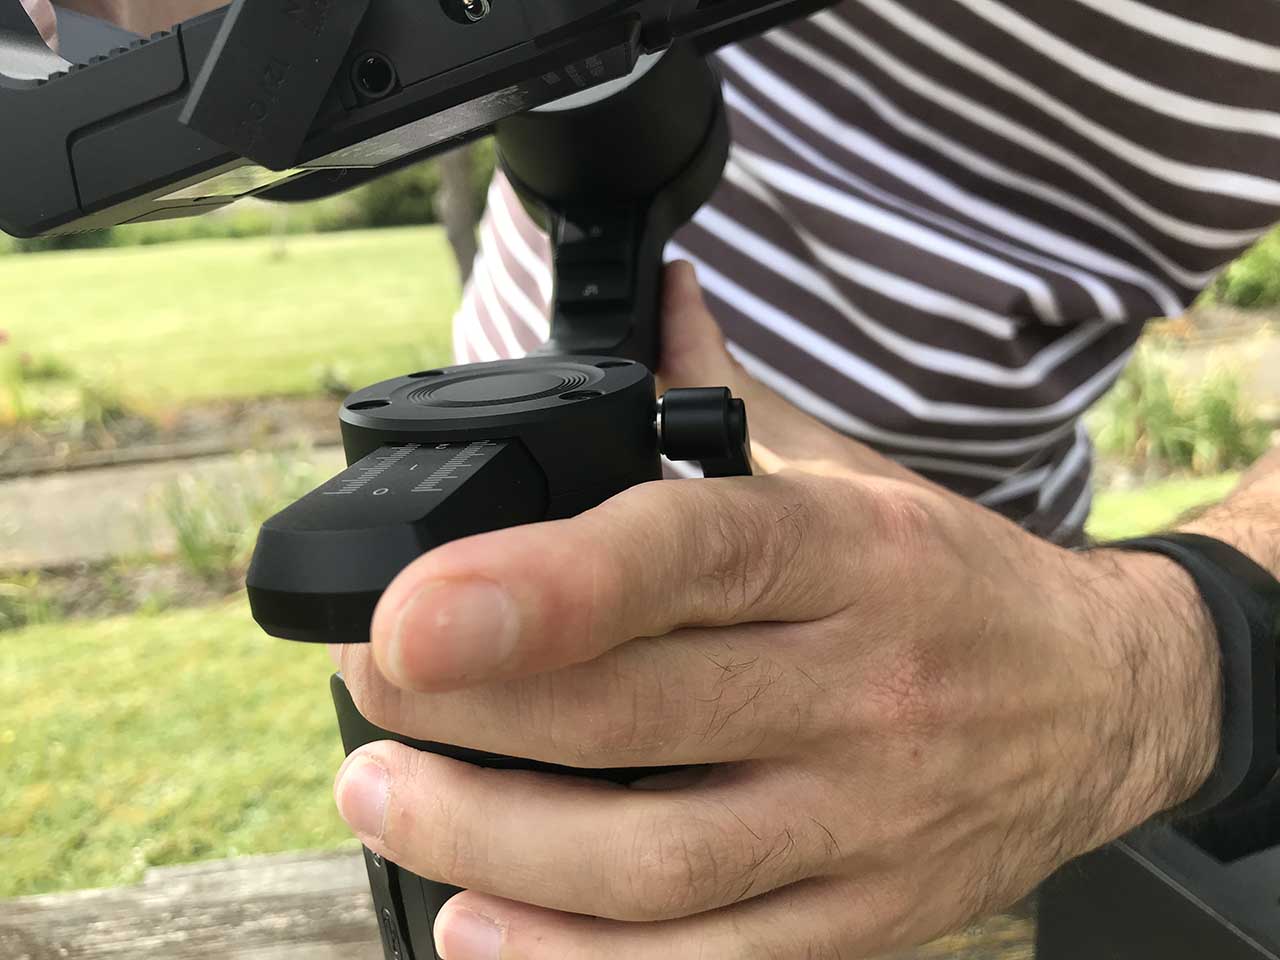
05 Pan axis
Lastly you need to balance the Moza Air 2’s pan axis. That’s the lower arm that rotates around the top of the grip. To do this, tilt the grip forward at 45 degrees. Move the camera to the left or right. If it doesn’t stay in position, loosen the knob and adjust the pan arm in increments until the camera stays in position when you move it.
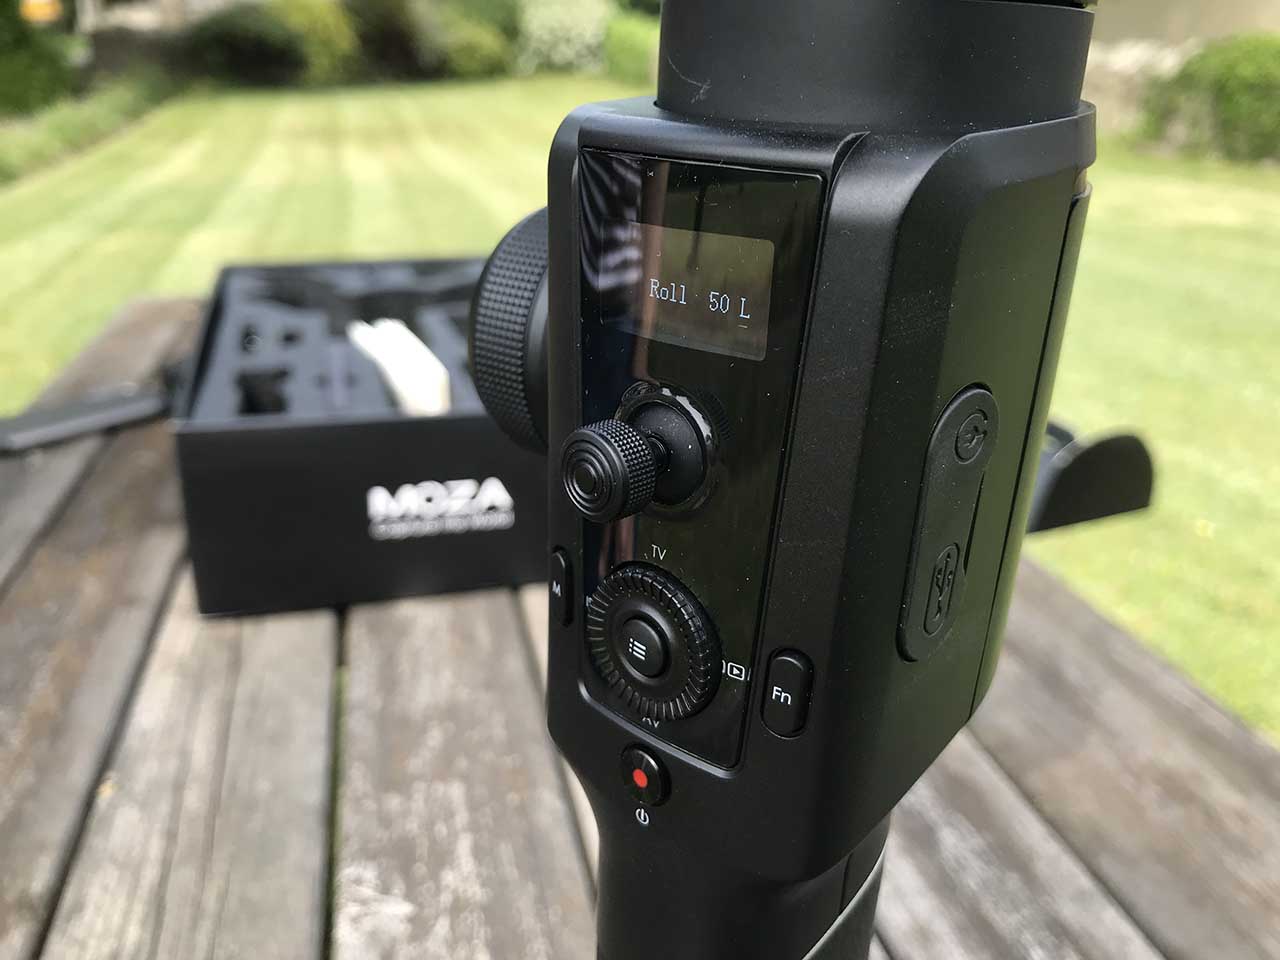
06 Turn on the gimbal
Now you’re ready to turn on the gimbal. Press and hold the Power button and the Moza Air 2 will turn on. You’ll notice the camera sort of twitch as the gimbal’s motors fire up, and now you’re set.
07 Auto-Tune the gimbal
Lastly, the Moza Air 2 has a very good companion app that offers a wealth of control over your gimbal. Here you can use the Auto-Tune function, which helps the Moza Air 2 manage its power better by gauging your payload.
Final Tip
It’s also worth noting that the Moza Air 2’s three arms are marked with a ruler. It’s worth noting these measurements on your smartphone – or something else you’re likely to have with you – to help speed up the balancing process next time.


The Moza Air 2 can also perform a balance check which will direct the user on how to correct the imbalance on the gimbal. Auto-Tune and Balance Check are two different functions.