Boosting the RAM and CPU in the old Mac Pro 5,1 has already made a huge difference to the overall speed of the machine. Compare the speed of it now with that of a few weeks ago and there’s just no comparison.
While the CPU and RAM have certainly given it a boost, it’s still nothing compared with the 2018 MacBook Pro’s I use for the majority of my work.
The next part of the upgrade journey will be about speeding up the hard disk speeds, and it’s taken a bit of experimenting to get there to make the journey as easy as possible for you.
The first big upgrade, aside from the CPU, is always the hard drive. Hard drive upgrades used to be made to increase capacity, but these days the usual reason is to swap out the old optical drive and replace it with a far smaller capacity but faster SSD.
SSD’s are far faster than a standard optical, so the first step was to buy a cheap one slot it in a see the difference. After I bought, installed and ran the cheap SSD, I took it out and bought a decent WB Blue SATA 500GB. It seems not all SSD are the same.
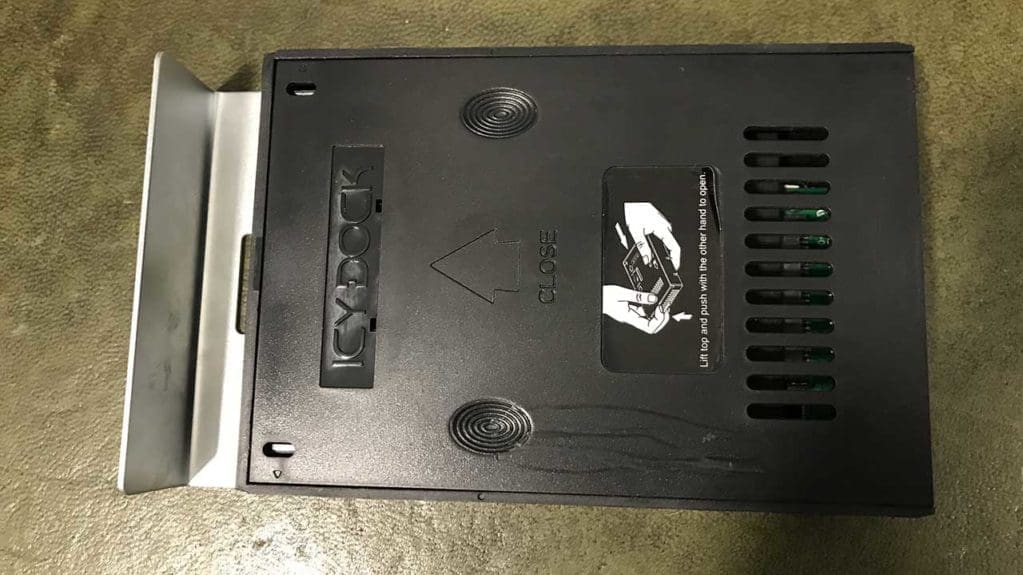
Here’s seems like a good time to point out that as the physical size of an SSD is smaller than a standard optical HD you’ll need an adapter to make sure it fits. I went for the:
HDD Converter 2.5″ Sata into a 3.5″ Sata HDD from Icydock MB882SP-1S-1B

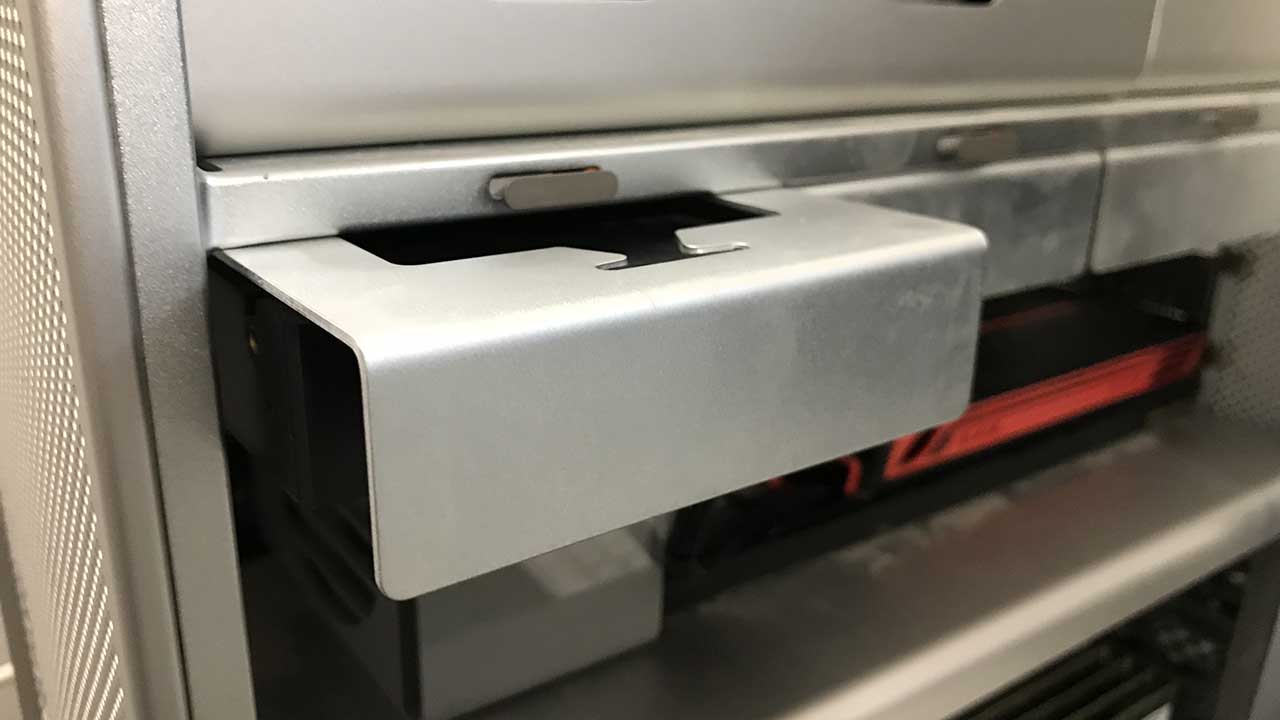
Once the SSD is bolted in then it fits the Mac hard drive caddy like any other standard 3.5 drive.
One SATA or two?
This is where it gets interesting, one SSD it would seem is not enough, and for this journey, I require a SATA SSD for my boot drive and a PCI-E Nvme SSD for my working drive.
It is possible to go all out and install the Nvme as the boot drive but as I found out this requires editing your Mac EFI, and this takes time and quite a bit of know how. The idea here is to get the same results with a workaround that makes it accessible for anyone without any prior coding knowledge.
Here we’re going to look installing the SATA SSD Boot Drive.
The first step is to install the WD Blue SATA SSD.
With the Mac powered down and all other drives removed from the system, just in case, it was now time to format and install OSX.
Installing OSX on a new SSD
- Hold down cmd R and power on
- Select Disk Utility
- Select the new disk on the left and select Erase
- Select APFS and click OK Erase
- If APFS isn’t available select Mac OSX Journaled
- Exit Disk Utility
- Select Reinstall Mac SO and follow the instructions
Once the installation process has finished you’ll be able to start up and use the Mac Pro as usual.
Although the SSD once bolted into a spare carrier will work to make the most of the speed you have to enable TRIM. You’ll find more about this online but essentially it manages the way files are deleted and written to the disk.
You can run the SSD without TRIM activated but you won’t get the performance benefits. After installing an SDD you then need to open Terminal and run, it goes without saying make sure you have everything backed up before you do this.
How to enable TRIM for Mac SSD
sudo trimforce enable
You can undo TRIM by entering the following into Terminal
How to disable TRIM for Mac SSD
sudo trimforce disable
Agree to the notice and hit enter. Now re-run the BlackMagic speed test and you should see a significant difference in speed.
You should now be up and running and ready to install the major speed boost for the working drive in the WD Black Nvme SSD.


