You’ll need to have a good overall grasp of working with colour within your video footage before you start to work on any video edit. To guide you through this process, we explain the fundamentals of colour and outline the best colour grading software packages and apps for fine-tuning the colours in your footage.
Before entering the world of working with colour in your post-production process there are a few fundamentals you must know so that you’re in the best possible place before you begin colour correcting and grading.
In this guide we’ll explain the key basics you’ll need to know about colour before you begin to work with it in an edit and reveal our picks for the best colour grading software packages and apps.
Colour correction and colour grading tools are often contained within the same editing software packages, but they have two very different goals – so what exactly are they?
What is colour correction?
Colour correction is the adjustment (correction) of white balance, contrast, exposure values and so on in order to gain a neutral and balanced image. It can also be used to match footage that may have been shot on different cameras, so that you have a unified place from which to start off the creative colour grading process.
In essence, colour correction should be the first part of the process before moving on to colour grading…
What is colour grading in video?
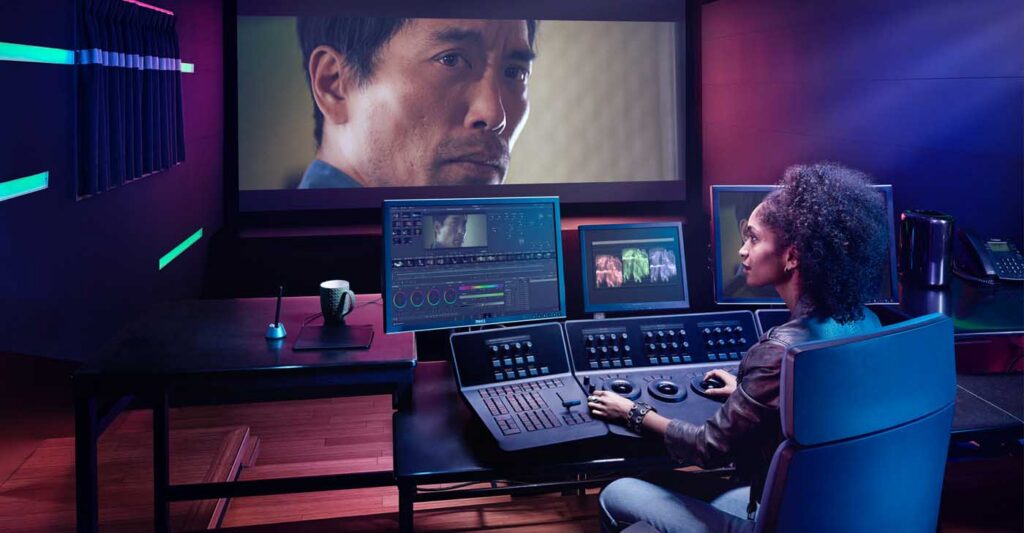
Rather than a correction process, colour grading usually refers to the creative choices that a ‘colourist’ will make. The grading process can include shot matching, removing any distractions that might prevent shot matching, using shape masks or other techniques to attract the eye of the viewer to the main focal point of a scene and creating a ‘look’ for a film (either for a whole film or for some of the sequences within it).
How does colour convey moods?
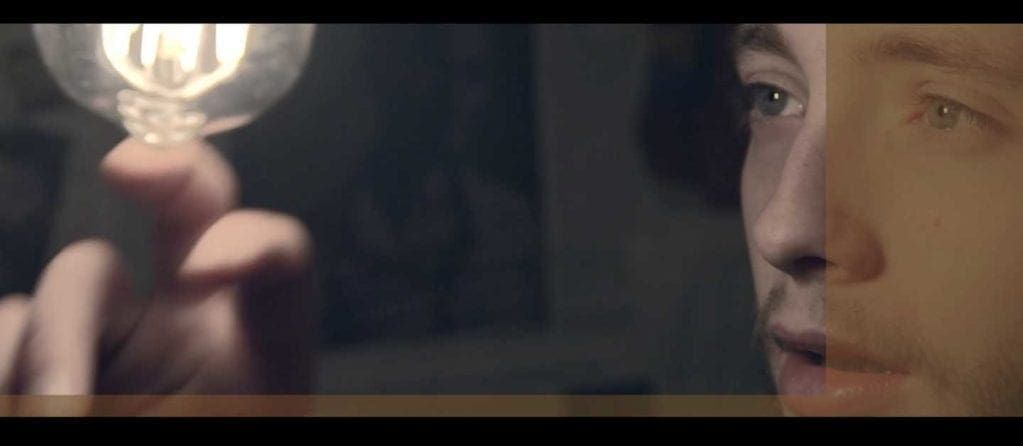
For TV dramas and films colour grading is often done with significant input from either the cinematographer or the director in terms of helping to show how colour can affect the storytelling process. For example, a horror film will usually be graded with very dark colours – such as greys, greens, blacks and darkish blues – to convey horror, doom and despair.
On the other hand fantasy or comedy movies will probably be graded with more vibrant colours that ‘pop’ – such a bright reds, blues, greens and yellows – to give a more uplifting watch for the viewer.
Colour can be graded in a subtle way or a vibrant way depending on the mood that is being conveyed – for example, stronger reds for anger or stronger blues for either a laid-back or a ‘cold’ mood! All of this is simply designed to convey specific moods within a film, so that the viewer is drawn deeper into the story.
Key terms explained
The three key technical terms that you’ll need to know when delving into the world of colour in videos are Log, RAW and Rec.709…
What is Log video?
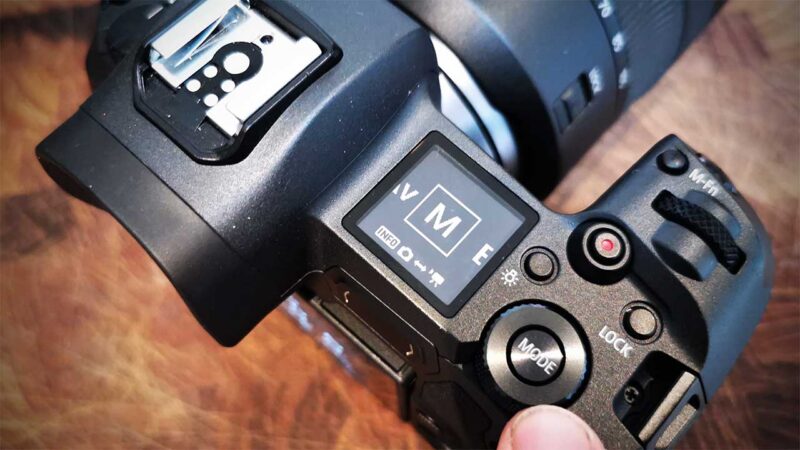
Log video is standard recorded video but with a flatter colour profile. Basically the entire dynamic and tonal range of the camera is squeezed in to a limited space of the video format.
Viewing Log footage can be deceptive as it will initially look dull and washed out but this is simply because it will require colour correction or the use of a LookUp Table in post-production to expand it back to its normal range.
Log can often offer 12 stops of latitude or more and it is especially useful for when you’re shooting in tricky lighting conditions when there are high contrast between light and dark areas – in such a situation it greatly reduces the chance that important details are missed out by any overexposure or underexposure.
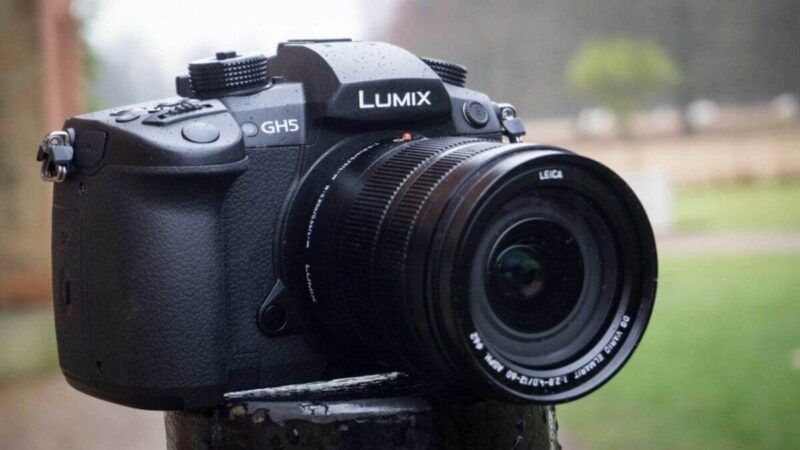
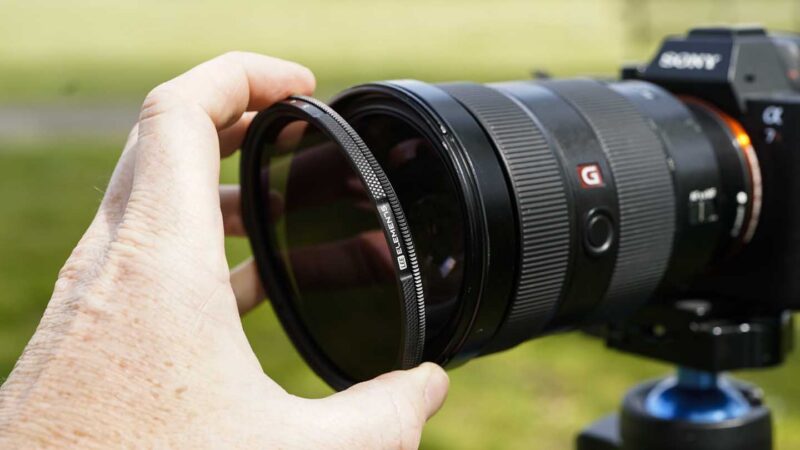
Just a few years ago Log was only available for use with high-end digital cinema cameras but it has now trickled down – either built-in or via firmware upgrades – to DSLRs and mirrorless cameras, such as Sony’s Alpha series and Panasonic’s LUMIX cameras.
Using Log ensures you’ve captured as many of the details in the highlights and the shadows as possible so that you can then manipulate much more of the tonal detail in post-production. However, you are still limited in that the footage was shot in a standard video format, which leads us on to RAW…
What is RAW video?
RAW is the actual light data that is captured by the sensor of a camera before being converted into a video format. This means you will have so much control over the final image, such as finely tuning the white balance and even controlling the ISO values in post-production too.
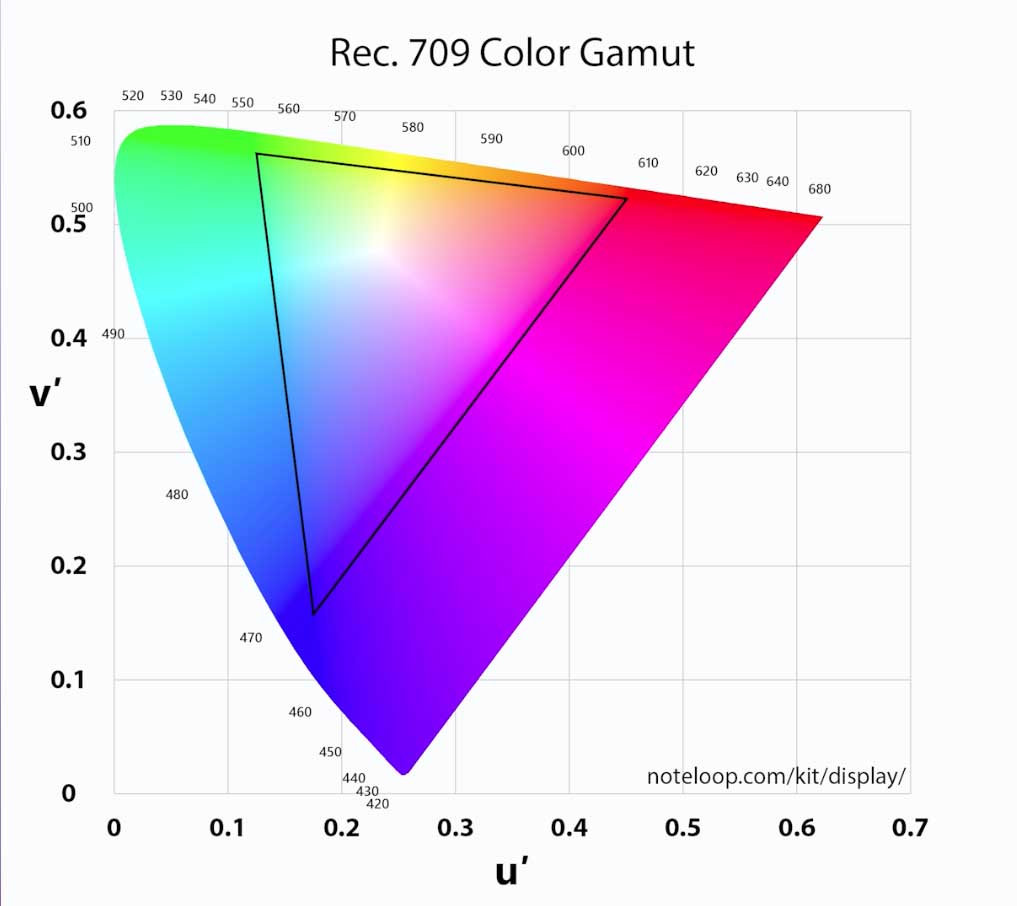
What is Rec.709?
Both Log and RAW often get graded and reduced to a much more common format, which is Rec.709. Rec.709 is the standard colour space in which most HD video is recorded and displayed – TVs, Blu-rays and most non-cinema cameras will operate in Rec.709.
Colour balancing using scopes
Within editing software packages you’ll have a range of scopes to help you better assess what changes to make to balance your footage. If your original footage was a bit ‘off’ in-camera you can use a number of tools/scopes to rescue and work with footage. The two key scopes are the waveform monitor and the RGB parade…
The waveform monitor
The waveform monitor shows the darkest and lightest points of your image and is used to indicate the level of contrast in your footage. Basically on a waveform monitor 0 (at the bottom) is black and 100 (at the top) is white.
So, for example, a waveform with the highest line above black can indicate a lack of contrast whilst a value of 100 will indicate clipping in highlights that will need to be brought down in value. Shots with more contrast tend to look more dynamic and striking.
Once you get to grips with the waveform monitor you’ll be able to give your footage a ‘punchy’ look or dial the contrast back for a flatter image, depending on the effect you’re trying to create.
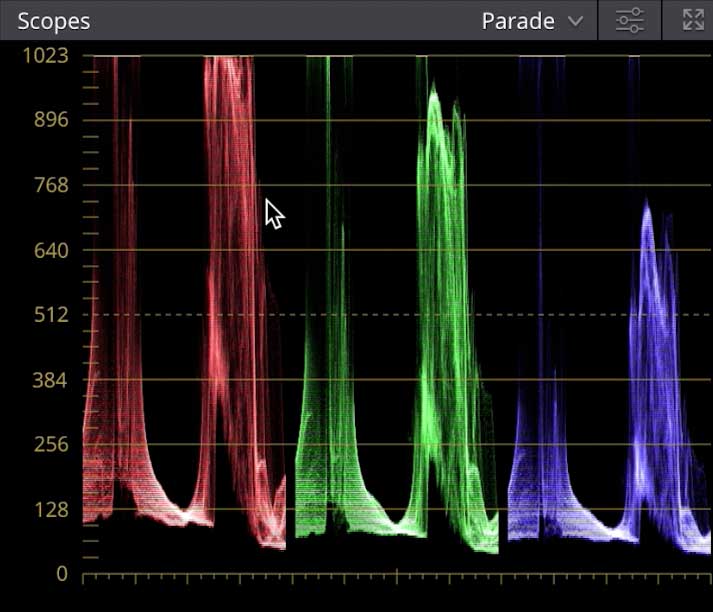
The RGB parade
The RGB parade is concerned with colour and is, essentially, three histograms that display the levels of red, green and blue channels in any shot. If your shot is over-tinted with one colour you can use the RGB parade to pull it back and create a more balanced final image.
Getting your three colour channels to mirror each other is the key to creating a balanced shot (where the highlights are white and the shadows are black).
Alternatively, you can punch up one colour to produce a highly stylised shot, such as a red to emphasise danger or a cool blue to indicate a laid-back mood.
NLE software & editing apps
Non-linear editing (NLE) is a video (or audio) editing system that performs non-destructive editing of your digital source material. Put simply, it allows you to edit any video frame/clip in isolation from others whilst also retaining the original source material.
It also gives video editors the flexibility to make different creative choices and edits and then make comparisons before settling on a final look.
A big advantage for video editors working in the digital age is the recent proliferation of a wide number of colour grading/editing apps, many of which are free of charge. You have the choice to work with NLE software or in a dedicated colour grading application.
The decision of which one to use will come down to how experienced an editor you are and where you want your final edit to be viewed. If you’re going for a top quality 4K edit for possible screen broadcast, then NLE software is the best option. If your edit is for online use then use of a free grading/editing app will probably suffice.
Best colour grading software packages
Although many other types of colour grading options are available this blog outlines what we think are the ‘best’ current software packages and apps for grading your videos.
Don’t forget to always make sure if your needs match our recommendations. See below for our best colour grading software packages and apps for colour grading your videos…

DaVinci Resolve
This free app is a great option for those who are less experienced at colour grading. Previously known as Resolve Lite it’s a kind of ‘stepping stone’ program for colour grading, which includes the Fusion Connect feature for correcting facial blemishes and temperature and tint sliders within the Colour Wheel portion of the software. This can help you make footage appear more attractive and to alter skin tones.
The downside of the free version of Resolve is that it won’t let you work beyond UHD resolution, but that might well be more than enough for your needs. Once you are feeling more at home with colour grading you could consider investing in a more sophisticated version of DaVinci Resolve, such as Resolve Studio.
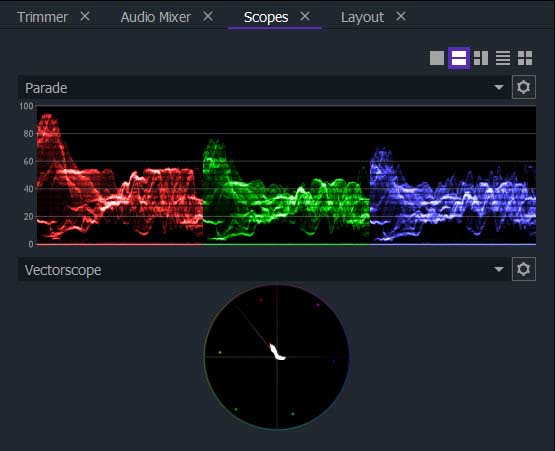
Wondershare FilmoraPro
This editing software is designed to help you to produce professional-looking videos with ease. The colour grading aspects of it allow you to precisely adjust colour values via scopes such as Parade, Vectorscope, Histogram and Waveform. FilmoraPro firstly lets you adjust YUV colour correction and then gives you options to change hue, saturation and lightness values.
Following that you can use the ‘lights and flares’ options, then vignette effects and, if you’re happy with the results of the effects you’ve added, you can save them as a preset for future use.
The colour grading folder within FilmoraPro offers aspects such as Color Cycle, Day for Night, Hue Colorize, Hue Shift, Invert, LUT, an RGB Three Color Strip, a Two Color Strip, Vibrance, Vignette and Vignette Exposure. All-in-all, it’s a very versatile and useful tool.
Click here to download FilmoraPro.
Red Giant Colorista Free
This free to download software tool is a great program that gives you three-way colour correction and a variety of different inputs. This solution comes as a plug-in for Adobe After Effects, Adobe Premiere Pro and Apple Final Cut Pro. Red Giant’s original reasoning behind making Colorista a free download was to make colour grading more accessible and to share colour decisions easily and fluidly.
Notably, it may seem like it is reacting slowly to your colour changes, but this is because Colorista Free is giving a real-time preview when you make any change to a colour value.
The key with this tool is that it has a very simplified interface to work with but it will appeal to both those dipping their toes into colour grading for the first time and more experienced colourists who operate want a Colour Decision List (CDL) – it’s an industry standard for filmmakers – workflow.

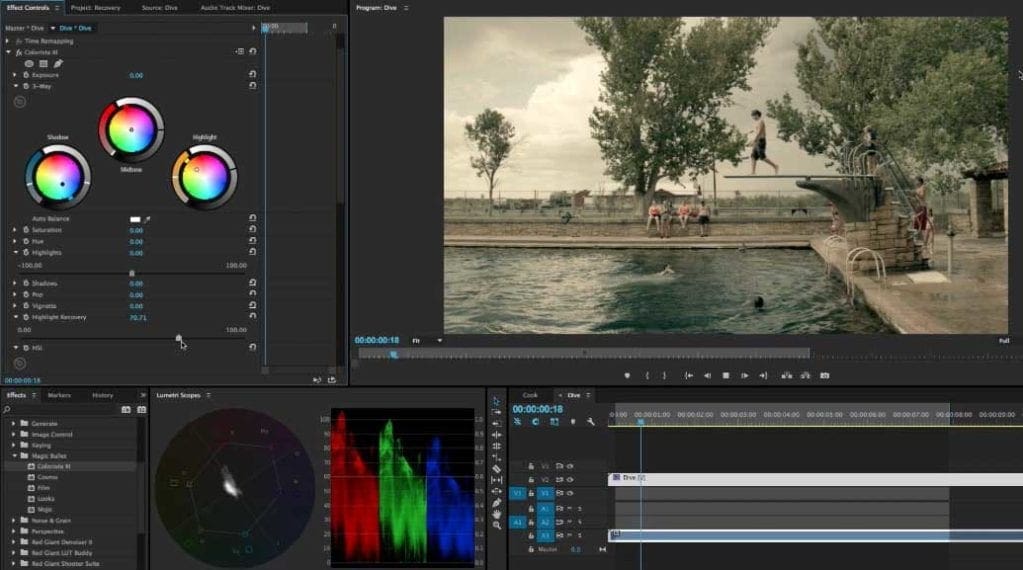
Adobe Premiere Pro CC (with Lumetri Colour)
The colour grading aspects of Premiere Pro have come on significantly in the past two or three years thanks to the expansion of the Lumetri panel. It’s essentially a colour workspace that opens the Lumetri Colour panel to the right and a Lumetri Scopes panel to the left of the program monitor. The colour panels are split into six default menus – Basic Correction, Creative, Curves, Colour Wheels, HSL Secondary and Vignette.
Each tool works independently and you can simply double click on the slider circle if you’ve made an adjustment you don’t like. The Creative menu allows you to use .look files and if you like a ‘look’ for your film you can save the adjustments as a preset file.
You can also export and save LUTs for importing them into other colour grading applications. You will require an Adobe subscription for this software – the latest version of it, 14.0, launched in November 2019.
Apple Final Cut Pro X (with Color Board)
This colour adjustment aspect of this NLE editing software operates in a fairly standard way – first off, you’ll need to apply a Color Correction effect to a clip and then use the Color Board to adjust the look of the footage. The Color Board has four adjustment ‘pucks’ – one each for Global, Highlights, Midtones and Shadows.
There are upsides and downsides to this – the upside being it is pretty simple to work out and work with. On the downside if you’re looking to make more complex colour adjustments this might not be ideal for you. However, as a whole, Final Cut Pro X software remains a highly intuitive and affordable software option.
Free & easy access
If you’re considering jumping into the world of colour grading it’s now simple to buy affordable colour grading tools or to download free colour grading apps and plug-ins. It’s worth going online to investigate exactly having what’s available and, if you’re a beginner, just download one of the free grading programs and start playing with the colours in your footage.
There are also plenty of online video tutorials that will help to enhance your understanding of colour and how it fits into the video editing workflow. Just don’t be afraid to play and experiment as, after all, until you’re ready to share it in a final edit you’ll be the only person looking at the colour changes you’ve made.