Today we take autofocus for granted, but that wasn’t always the case. During the mid-’80s, autofocus became mainstream, with the Nikon F3AF and Canon T80 standing out as two pioneers of the technology.
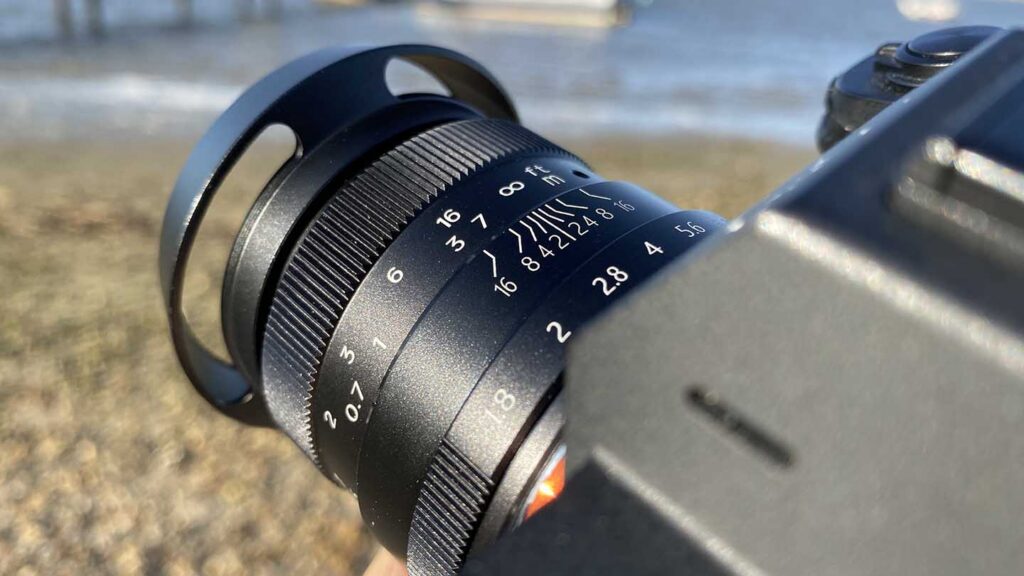
In a relatively short space of time, autofocus became an integral part of the lens building process. Now it’s rare to find a lens from a major manufacturer that is fully manual, Leica being the exception.
However, while almost all bar Leica have turned their backs on the manual world, many other manufactures including Zeiss and Schneider still produce outstanding premium manual lenses.
Of course most lenses have the option to switch to manual focus either on the body of the lens or in camera, if you want to find out more about how autofocus lenses can be used in manual then check out our feature here Manual focus: 3 modern technologies that make sharp images easier
Manual lens manufacturers often state that you can get a higher quality lens without the electronics required to shift lens elements. Through the lens design process, there’s also more scope to create a contrast or resolution lens. The manufacturers can get truly creative with the lens design, something that becomes far more complex once electronics are involved.
Alongside the premium lens manufacturers, there’s an increasing selection of budget and mid-range manual focus lenses; such as the Pergear 50mm f/1.8.
Then there’s the huge back catalogue of manual Focus DLSR lenses that you can pick up from charity shops, family members or a quick look at any online market place, often for free or next to nothing.
Manual focus lenses have a lot to offer. In this tutorial, I will look at those manual focus lenses that have been designed recently and will fit directly to your camera without the need for adapters or converters.
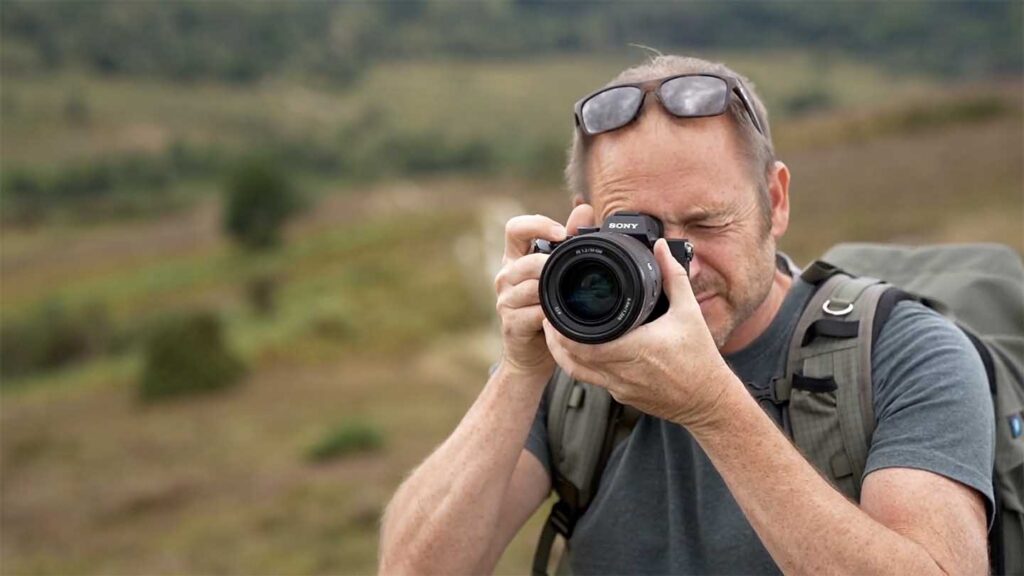
Whatever camera you own, popping a manual lens on the front of your body will completely change the way your camera works and feels.
Let’s take a look at what you need to do to make the most of your manual lenses. I’ll be using a Sony A7 III and outline the settings you need to adjust when using the Pergear 50mm f/1.8. While the settings will be differently named to those used on the Sony A7 III, delve into the menus of your camera, and you should find similar options.
Please note that not all cameras will have all of the features on offer from Sony. Likewise, some cameras will have further options that will increase your manual focus experience.
Select APS-C / Super 35mm
On the market at present, there are three main sensor sizes, ignoring larger medium and large format cameras, APS-C / Super 35mm, MFT and Full Frame.
Each of these sensors requires a compatible lens capable of 100% light transmission coverage through the lens onto the image plane. Essentially does the projected image passing through the lens cover the whole of the sensor?
This cone of light, as it is often termed, is known as the image circle, and each lenses image circle size is different. The main point being that the lenses image circle is big enough to cover the sensor.
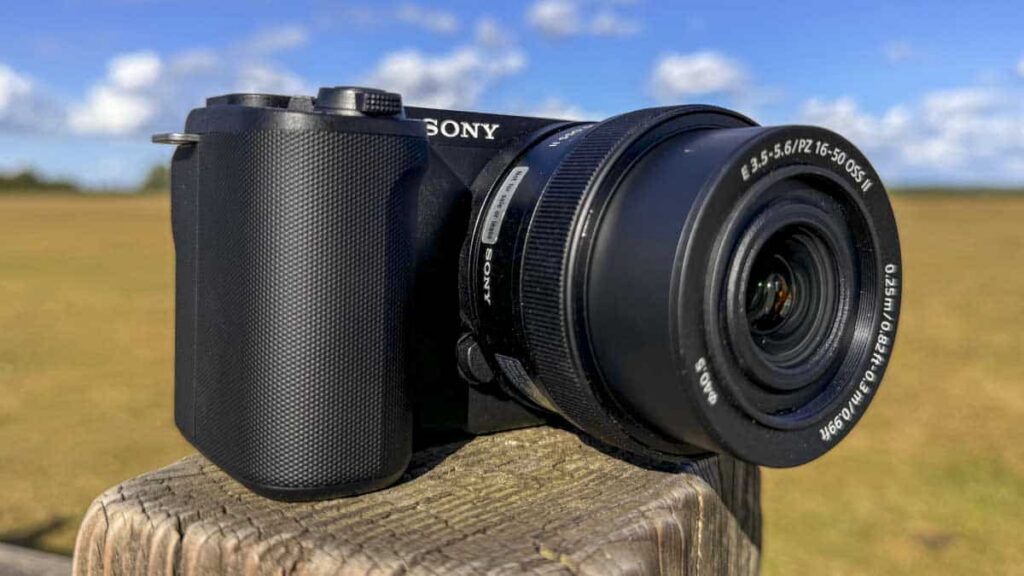
Taking the Sony A7 full-frame camera range as an example, pop an APS-C lens onto and you’ll see a vignette around the edges. This is due to the APS-C lens transmitting a cone of light smaller than required to cover the sensor.
Pop a Full Frame lens onto an APS-C sensor, and the cone of light will be larger than the APS-C sensor so you won’t see any adverse effect.
Most Full Frame cameras will have a crop mode that enables you to use an APS-C lens with a full-frame body, essentially the camera crops into the image.
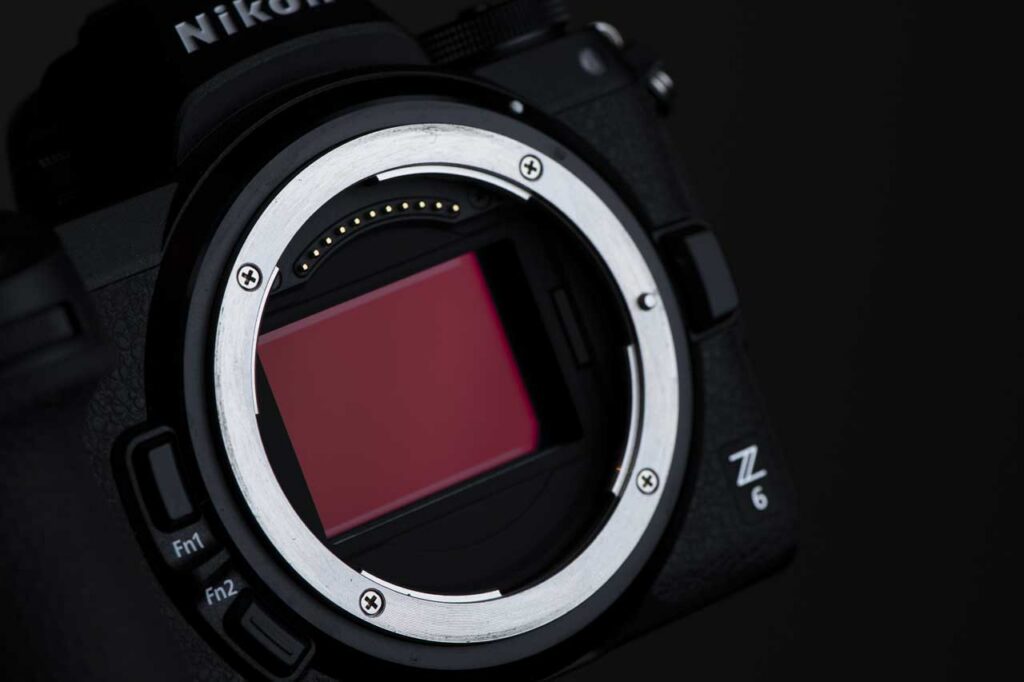
When you pop a modern lens onto a camera such as the Sony A7 III, the lenses and body’s electronics instantly recognise each other and communicate settings, such as focal length, aperture and Focus.
However, pop a fully manual lens with no electronics and the lens won’t have a clue what, if anything, is attached.
Here I’m going to take a look at the settings on the Sony A7 III that you need to adjust to ensure that the camera knows wether to crop or not.
Set to APS-C / Super 35mm
First stop is to let the camera know that the lens attached has no communication form; it’s what we could term a dumb lens. If you’re getting creative with making your lenses or a simple pinhole, then these settings are also the ones that you want.

01 Open Menu
Push the menu button and then Settings 1 (Quality / Image Size 1 and scroll down to the APS-C / Super 35mm option.
02 APS-C / Super 35mm
If using a lens like the Pergear 50mm f/1.8 select APS-C S35 Shooting and select Manual. Then select APS-C C35 Shoot.: Manual to On.
Set to Live Exposure
One of the great features of digital cameras is that we can set the live view and EVF to show a well-exposed preview of the shot. This means that for composition purposes, we can always see what’s in and out of shot.
However, in the age of manual cameras, the lenses aperture adjustment would give you a good idea of whats going on. To get this effect on digital, we need to switch off the Live View Display effect.
We also need to pay more attention to the exposure level indicator. This level can be seen through the viewfinder or on the live screen as a numeric.

01 Adjust the Live View preview
Push Menu and select the 2nd camera icon and the Sony A7 III page 6/9 (Display/Auto Review1). Scroll down to Live View Display.
02 Switch off the Live View effect
Scroll to Live View Display and select Setting Effect ON. Push Menu to exit, now when you adjust the exposure, you should see the effect on the Live View.
03 Use the exposure level indicator
On all cameras, you’ll find the Exposure Level Indicator. This is the dashed line with a 0 in the middle and a series of numbers to the left and right, usually from 1 to 5, these are exposure stops. Sometimes you’ll see lines and no numbers at all, whatever you have there will be an indicator to say whether the camera thinks the image will be over or underexposed. You want to adjust the exposure so that the indicator rests at 0.
Switch on Peaking
Focus peaking is a feature that has migrated from video cameras and plays a major part in ensuring that the camera operator stays focused on the subject’s right part.
It essentially highlights the contrast edges with a coloured outline such as green, red or blue. While the lines can get distracting on your camera’s small screen rather than a large video monitor, they’re still useful.

01 Switch on Focus Peaking
Push the Menu button, and under the 1st camera icon scroll to page 13/14 and the bottom, the option should be Peaking settings.
02 Peaking Display
The top option in peaking display, click and select On to switch on Focus Peaking on the Sony A7 III.
03 Peaking color
The standard outline colour for Focus Peaking varies between manufacturers. It changes it on the Sony A7 series cameras scroll down to Peaking Color and select the colour you want from Red, Yellow or White. I find keeping it set to Red is the best option.
04 Peaking level
This option is best left at Mid; it dictates the degree of contrast required to be highlighted. You’ll find that when shooting some highly detailed shots, the peaking highlights everything, decreasing or increasing the Peaking level should help.
05 Custom button focus peaking
Focus Peaking, useful as it is, can get in the way. Assigning the visibility to a Custom button is a great idea. Push Menu and then scroll to the second camera icon page 8/9 Custom Operation and select Custom Key.
06 Assign Focus Peaking
Scroll down to Custom Button 2 and select, then scroll to page 12/23 (Focus Assist) and Select Peaking Display Sel. and confirm. When you push the C2 button on top of the camera, the peakiPeaking appears and disappears as required.
Switch on Zebras
Like using Focus peaking Zebras have migrated from the video world and are a great way to tell if parts of the image will be overexposed.
As the name suggests, Zebras appears as a series of lines over the highlight areas of the image.
As well, switching zebras on and off the other option are the Zebra level, this refers to the exposure level, as default selectable from 70 to 100. Depending on your subject it’s best to set these to between 70 and 95.

01 Switching on exposure zebras
Push Menu and scroll to the second camera icon and page 6/9. Scroll down to Zebra Setting then click Zebra Display and On.
02 Setting the Zebra Level
There are basic guidelines when using Zebras and over time; you’ll get familiar with their Use and how to adjust and use. For general Use set the Zebra Level to 100+, now whenever you take a picture, you can adjust the settings to hide the zebras and be sure that no part of the image is exposed.
03 Real use of Zebras
While it may seem a good idea to set the Zebras at 100+ in reality that will mean that whites will look a little grey, to avoid this set the Zebra Level to between 90 and 95 and take the picture again adjusting so the zebras appear in the highlights.
04 Use Zebras on people
Set the Zebra level to 85 and then take a portrait using the zebras to highlight when the highlights are at 85% exposure and take the shot. Have a play with the settings, and you’ll be able to tune to your camera.
05 Custom button Zebra
As with Focus peaking, Zebras can get annoying, so we’ll assign the visibility to a Custom button once again. Push Menu and then scroll to the second camera icon page 8/9 Custom Operation and select Custom Key.
06 Assign Focus Peaking
Scroll down to Custom Button 1 and select, then scroll to page 17/23 (Display/Auto Review1) and Select Zebra Display Select and confirm. When you push the C1 button on top of the camera, the Zebras will appear and disappear as required.
Set magnification
If your manual focus lens features electronics, then you’ll be able to rotate the focus ring, and the camera will automatically zoom into the scene. However, if you’re using a fully manual lens, the camera will have no way of telling that you’re trying to focus.
In this situation assigning the Focus magnifyer to a custom button is a good idea. On the Sony A7 III, I like to use C3; it’s in an easy location to toggle with your left-hand thumb when needed.

01 Custom button focus magnifier
Push Menu and then scroll to the second camera icon page 8/9 Custom Operation and select Custom Key.
02 Assign Focus Peaking
Scroll down to Custom Button 3 and select, then scroll to page 12/23 (Focus Assist) and Select Focus Magnifier and confirm. When you push the C3 button on the back of the camera, the preview will zoom, push again to zoom further and return to normal.
If you have any further suggestions for using manual focus lenses, let me know at ali@camerajabber.com