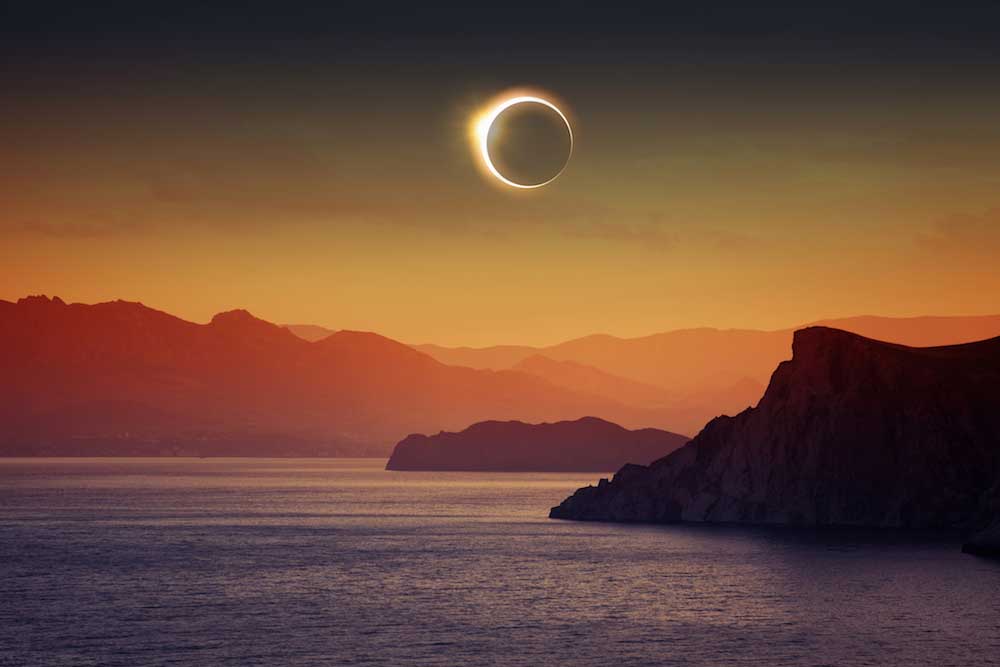
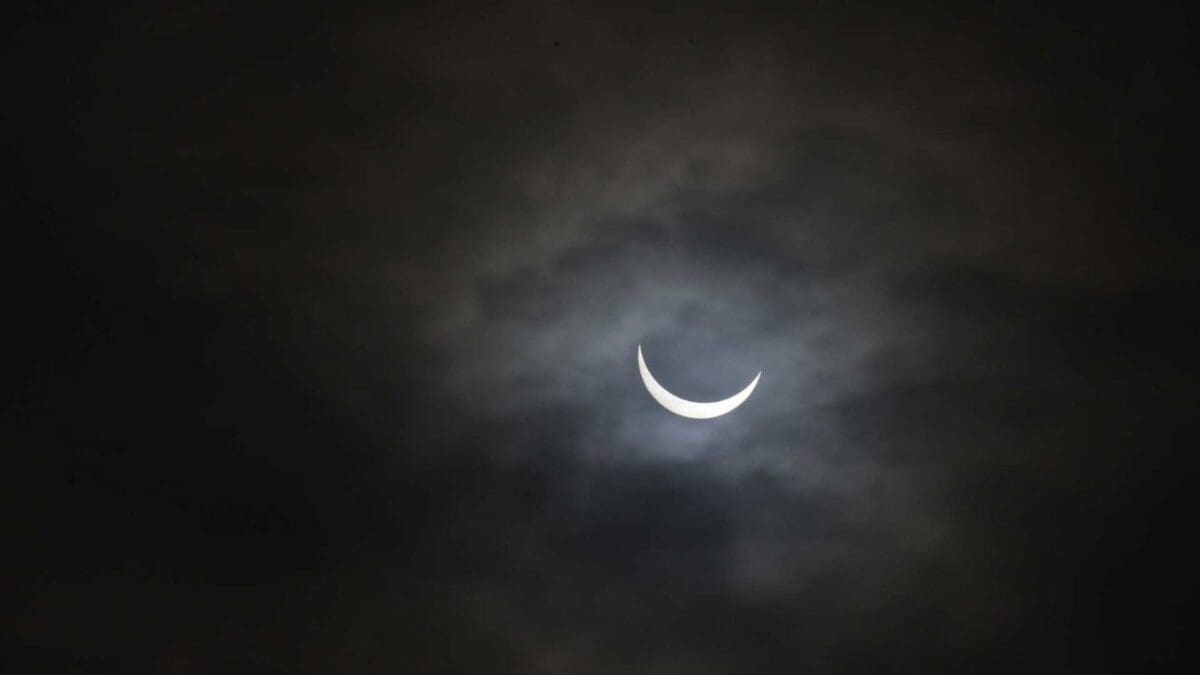
A solar eclipse can be a once-in-a-lifetime opportunity for many photographers to capture truly otherworldly images. But it doesn’t come without its challenges. In this tutorial we’ll explain how to photograph a solar eclipse, from setting up your camera to focusing and staying safe. We’ll take you through how we shot our gallery of images below during the 2015 solar eclipse.
How to stay safe when photographing a solar eclipse
- get a pair of certified eclipse glasses
- build a small pinhole camera/projector
The most important thing to remember is that you should NEVER look directly at a solar eclipse with your eyes, especially through a viewfinder with a telephoto lens attached, which magnifies the sun even more.
Staring directly into an eclipse can result in serious eye injury or permanent blindness. You risk damaging your camera equipment as well if you don’t take proper precautions.
If you prefer to see the eclipse with the naked eye, then get a pair of certified eclipse glasses.
Or, build a small pinhole camera/projector. Grab two pieces of stiff cardstock or two paper plates, make a small hole in one, then hold that cardstock or plate above the other one and align them with the sun.
The sun’s image will then be projected through the hole. There are several quick tutorials on how to make a pinhole projector online.
Gear we used to photograph a solar eclipse
- Solar Filter for camera and Solar Glasses
- Manfrotto 005 Aluminium 3-Section Tripod with XPRO Ball Head
- Nikon D600
- Nikon 200-400mm f/4 (Longer if possible)
- Sony CLM-V55
- Lee Filters Big stopper (10 stop ND)
Using Solar Filters
For solar observation and photographing, there are special solar filters that should always be used. I photograph exclusively with these filters, I don’t improvise.
There are a variety of solar filters available for lenses. Some of these filters are made of optical-quality film and some are made from glass. Most of these solar filters are equivalent to 16- to 20-stop neutral density filters.
In most cases, I use a live view because the focus of the 1500mm telescope was easier to find that way. The Crop DSLR 1500mm telescope shows the sun in full-screen.
With the assumption of clear skies, I photograph a solar eclipse with the following settings: Telescope is 1500mm aperture f/12, time value 1/400, ISO 100.
Best camera settings to photograph a solar eclipse
- Shutter speed: 1/1000sec and 1/4000sec
- Aperture between f/8 and f/16
- ISO 200-400
- Focal length 400mm
Once you get the proper Solar filter then it’s time to set up the camera. The best lens to use for photographing a Solar eclipse is over 400mm. Be sure to minimize vibrations and keep it steady.
The best camera settings for a solar eclipse are fairly simple. Here is what I recommend:
- Again, we want to reiterate, whatever you do, don’t look directly at the sun – and especially don’t look through the viewfinder. If you do you could damage your eyes permanently. Make sure through the whole process you’re wearing the solar glasses we mentioned at the start.
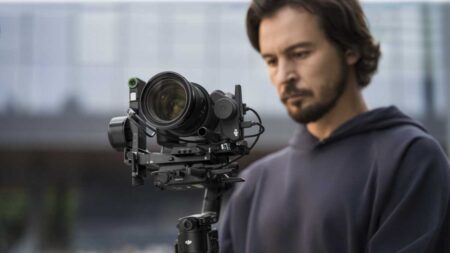
- Mount your camera onto a tripod, ideally a 400mm or longer lens so you can fill the frame with the eclipse. Make sure the camera is positioned in such a way that you can look at the back of the screen without looking towards the sun yourself. A flip-out or articulated screen is ideal in this situation. If your camera’s LCD is fixed, you could also try attaching a monitor.
- Attach the Solar Filter (Lee Filters makes a good one); you’ll need this in order to capture the sun’s corona. The images we shot were on a cloudy day (we live in England; such is life) so we didn’t manage to capture the effect. Now set the focus of the lens to manual and lock it out to infinity.
- Set the ISO to between 100-400 ISO. This may seem low, but even though it’s going to get dark there will still be plenty of light around the subject.
- Set the camera’s exposure mode to Manual. As the moon shifts across the sun, the amount of light available is also going to change. You need to be able to adjust the settings accordingly – and quickly
- Set the aperture to f/8. You may find that you need to stop this down to f/16, but any higher f number and you really will start to see the effects of lens diffraction. That said, in these images that shouldn’t be too much of an issue for you because we’re not looking to capture fine detail and tone.
- Set the shutter speed to 1/1000 and take a shot, then preview the image and zoom in to check you have it in focus. You probably don’t want the fastest shutter speed available, but close to it. And you’ll likely need to increase and decrease this shutter speed during the time of the eclipse.
- You may find that your lens defocuses slightly at infinity. If so, pull back the focus slightly or use the live view screen on your camera to adjust. Again, don’t look through the viewfinder and don’t look directly at the sun!
- Although the eclipse is short-lived – often just a few minutes – you’ll find that there’s plenty of time to experiment and get the shot you want. To avoid disappointment, remember to periodically review your images and zoom in to check focus.

Tips for focusing during a solar eclipse
Aleksandar Vukićević, photographer for Dreamstime, also shared with us his tips for focusing during a solar eclipse.
It is important to know that the DSLR sensor can be damaged if the proper filters are not used.
No matter what lens you are using, getting accurate focus on the sun is extremely important.
Some photographers suggest shooting at infinity using the lens marks, but since many lenses now allow focusing “beyond infinity,” getting a true infinity focus is not that easy.
A good trick is to point your lens at an object that’s very far away and focus on that object.
I highly recommend turning off autofocus once you get an accurate focus. Take a picture and use the LCD screen of the camera to see how sharp the sun is.
Lastly, if possible, track the sun. The Earth turns, and with a larger focal length of the lens, the turning becomes more noticeable.


Leave a Reply
You must be logged in to post a comment.